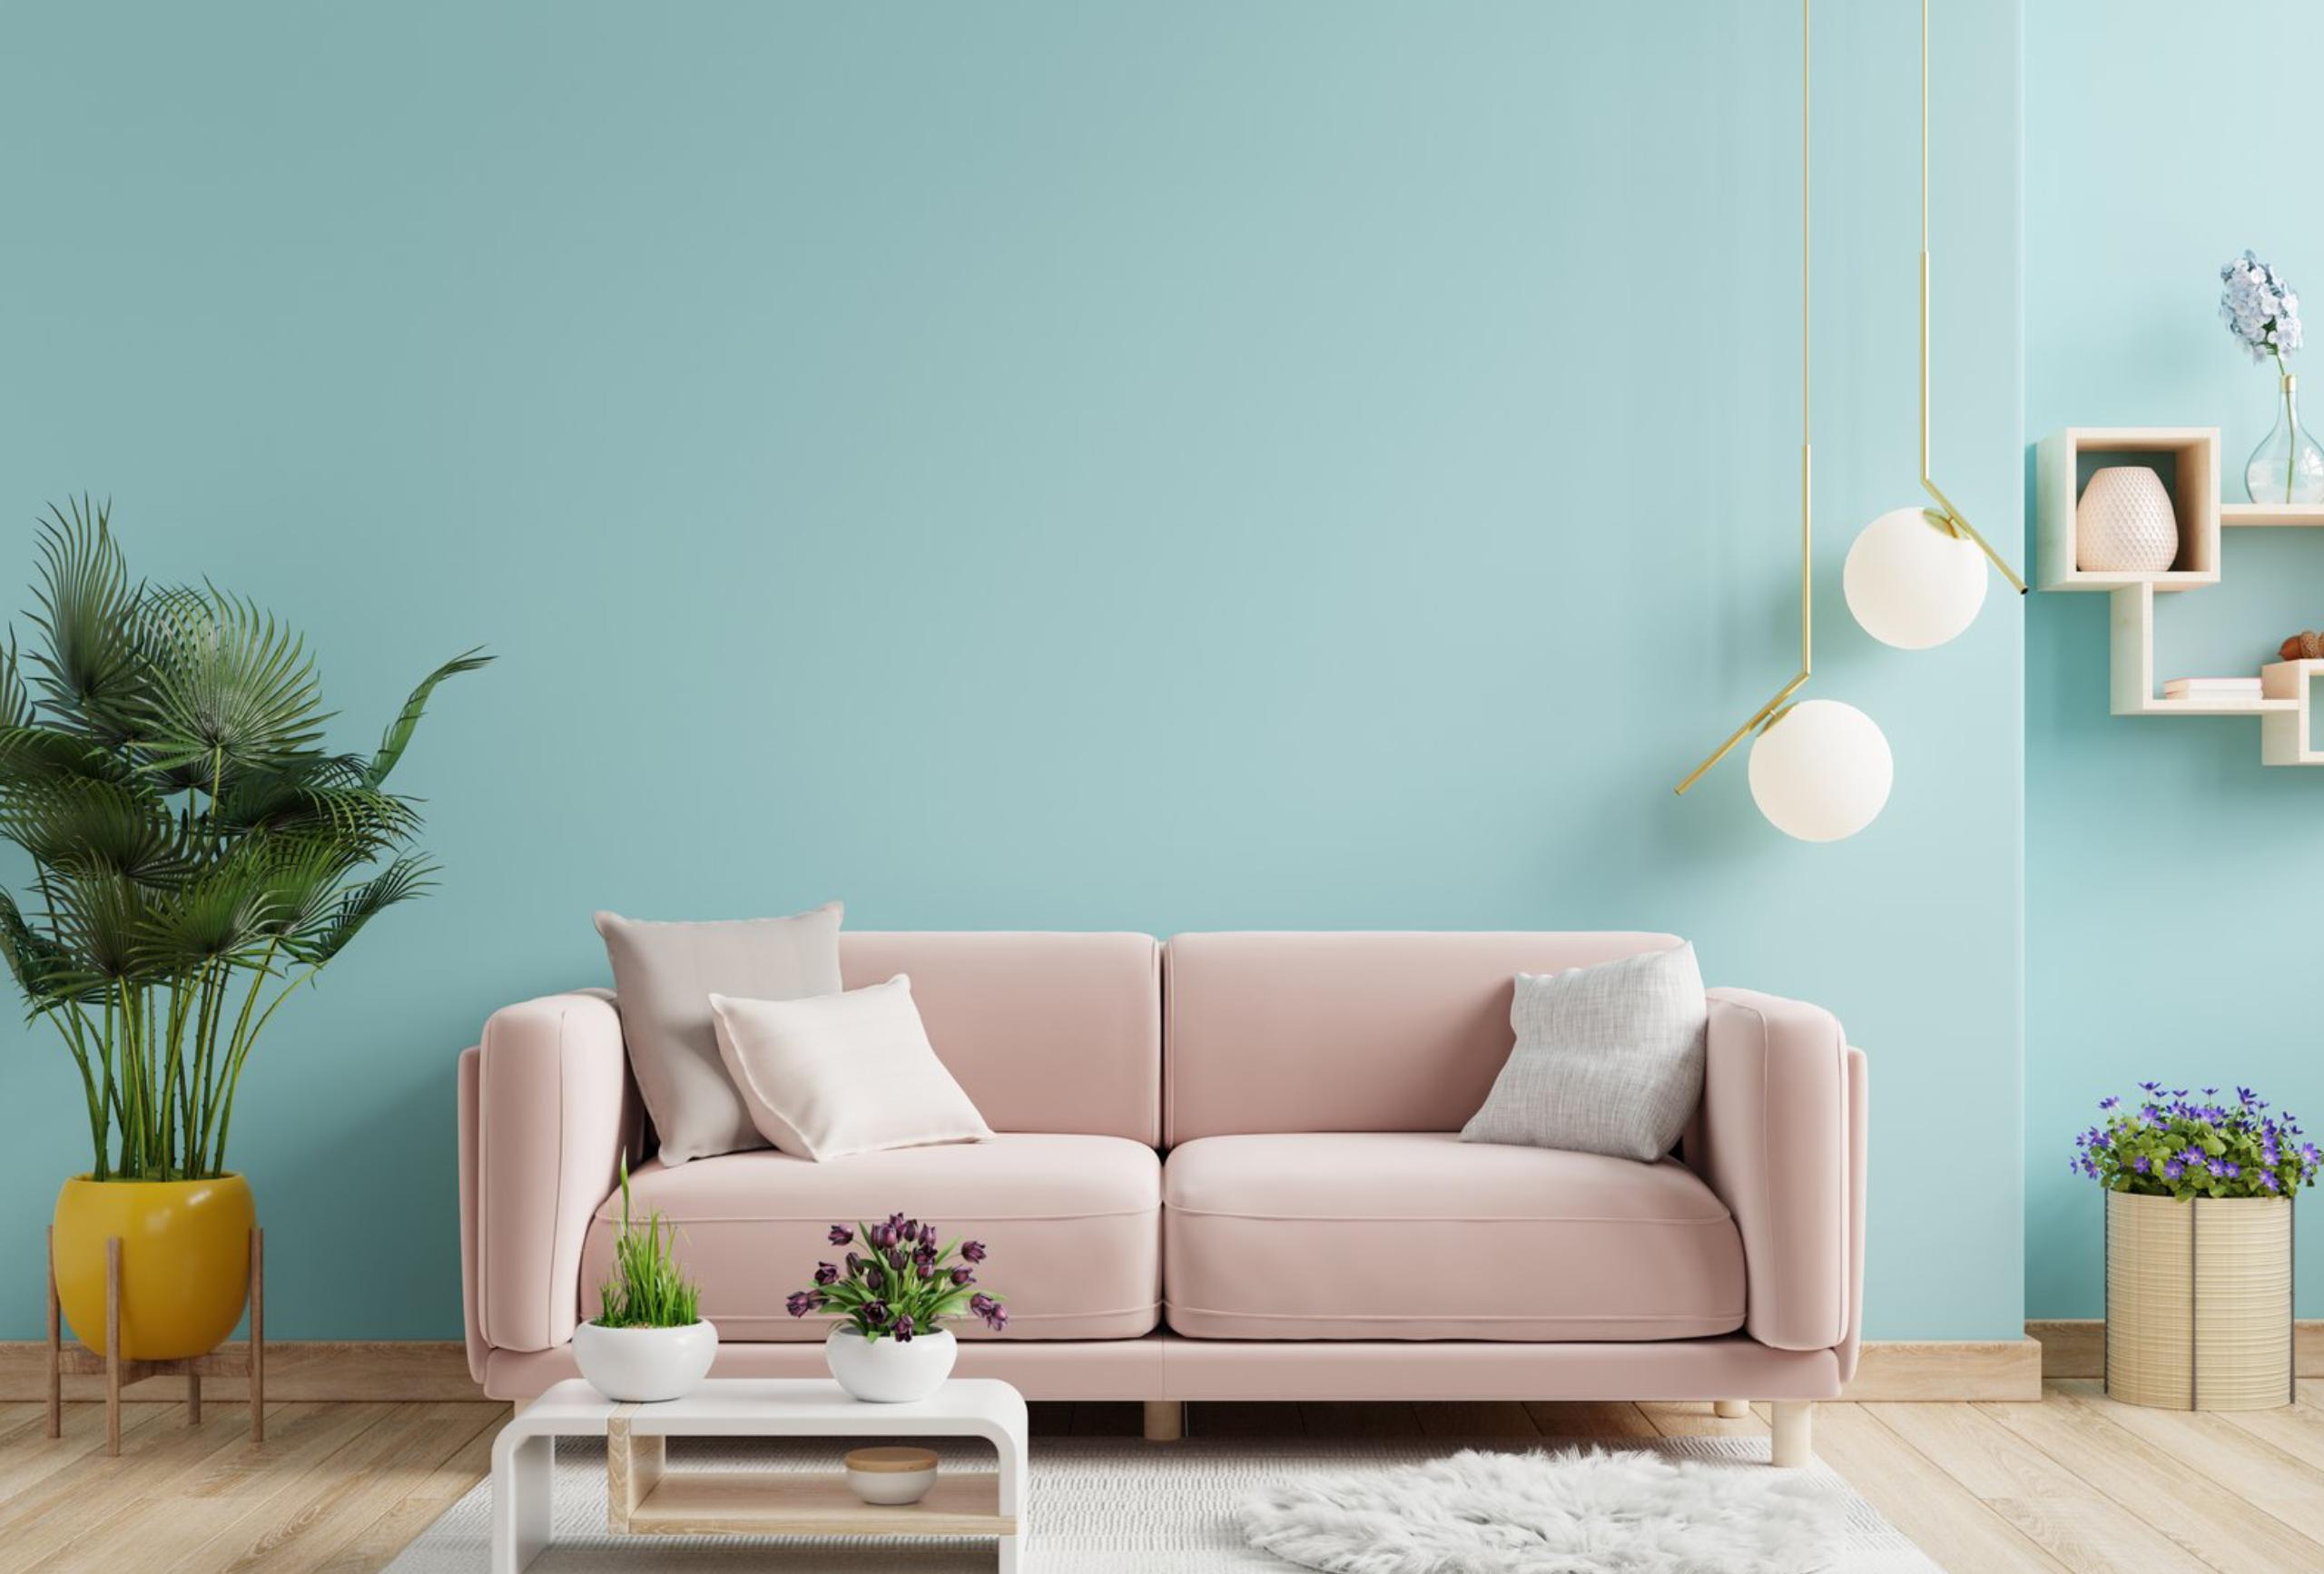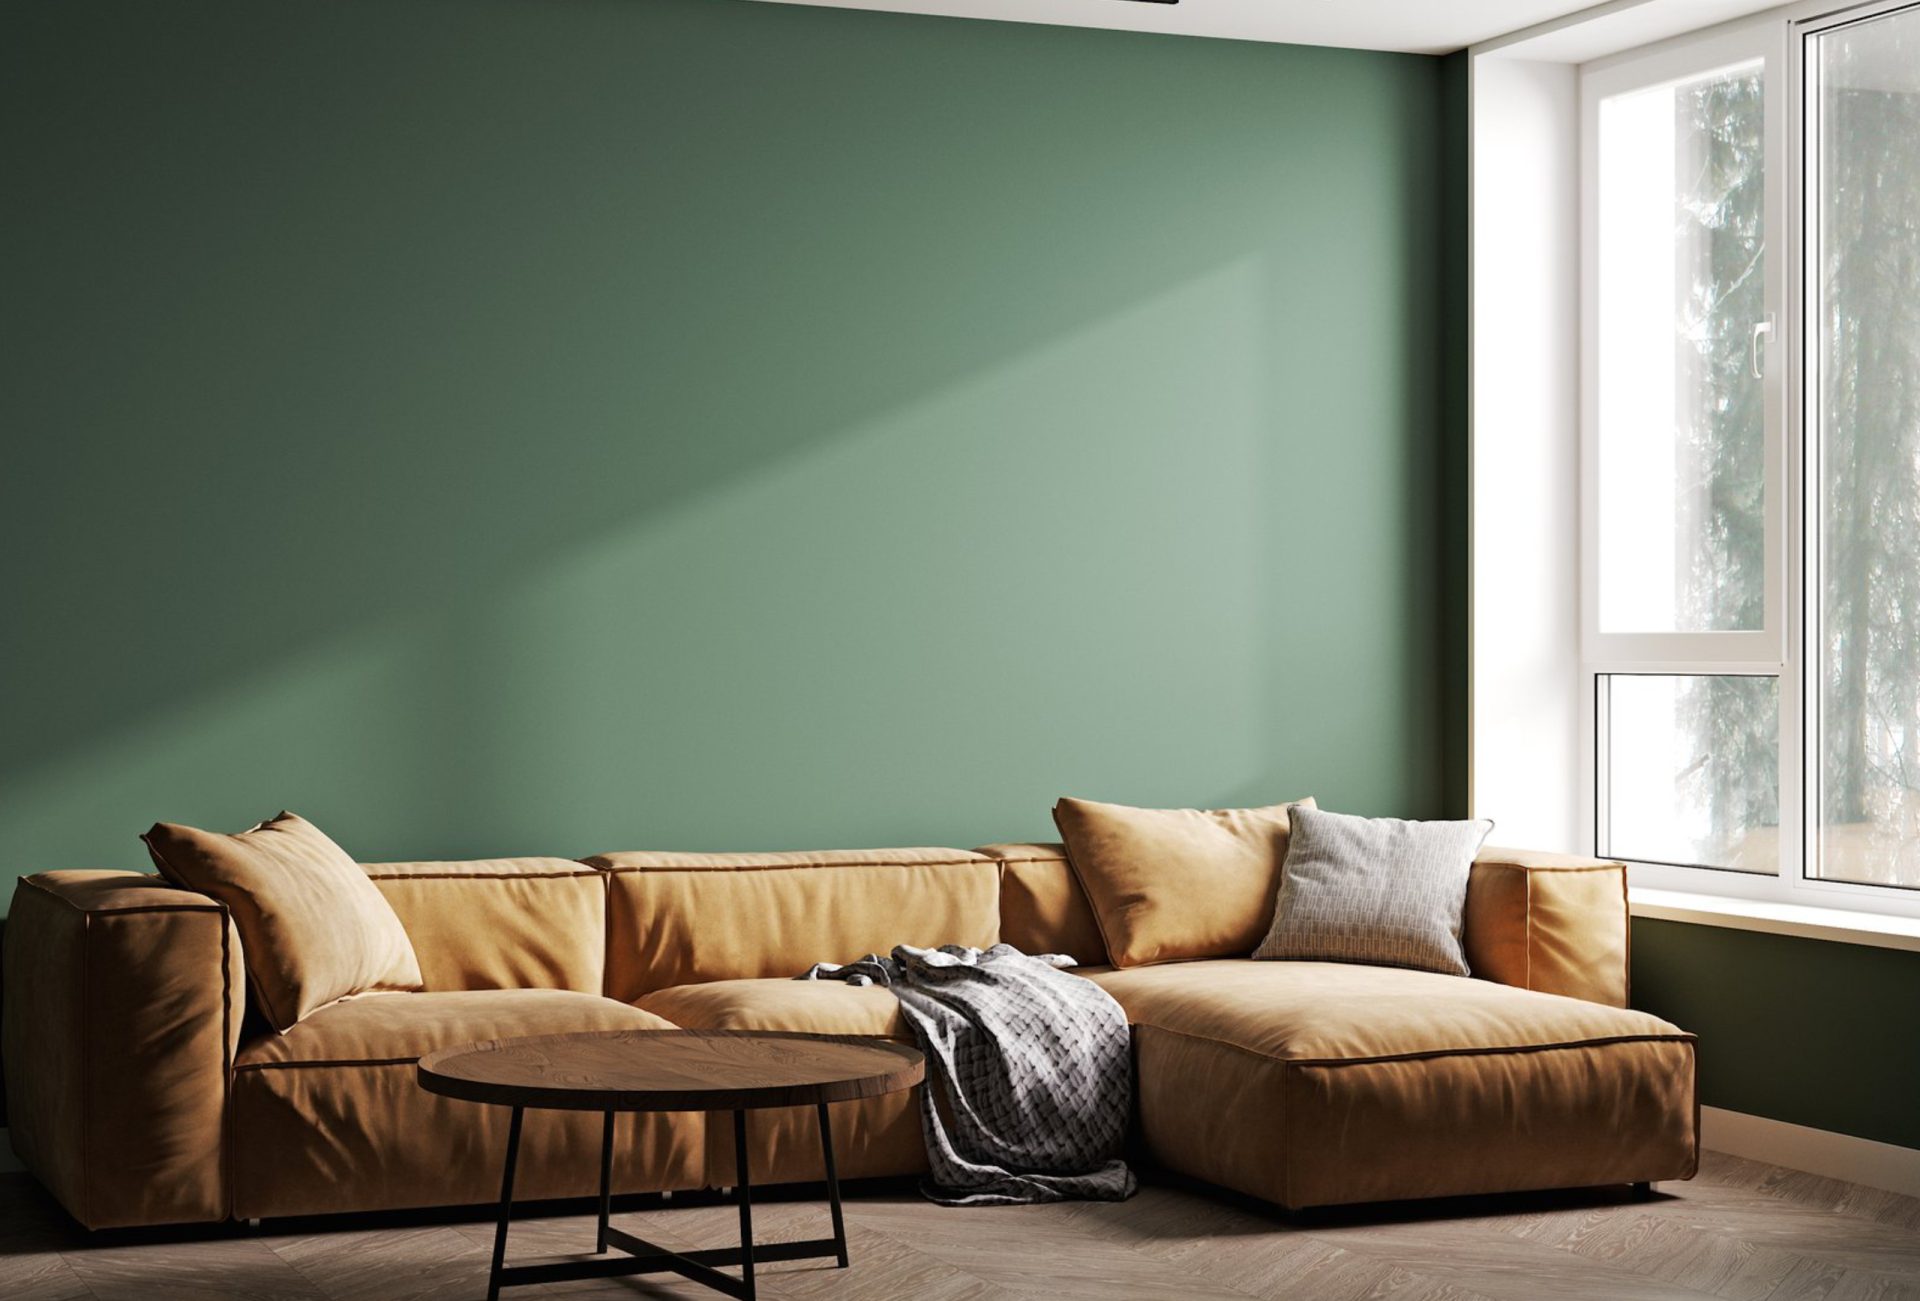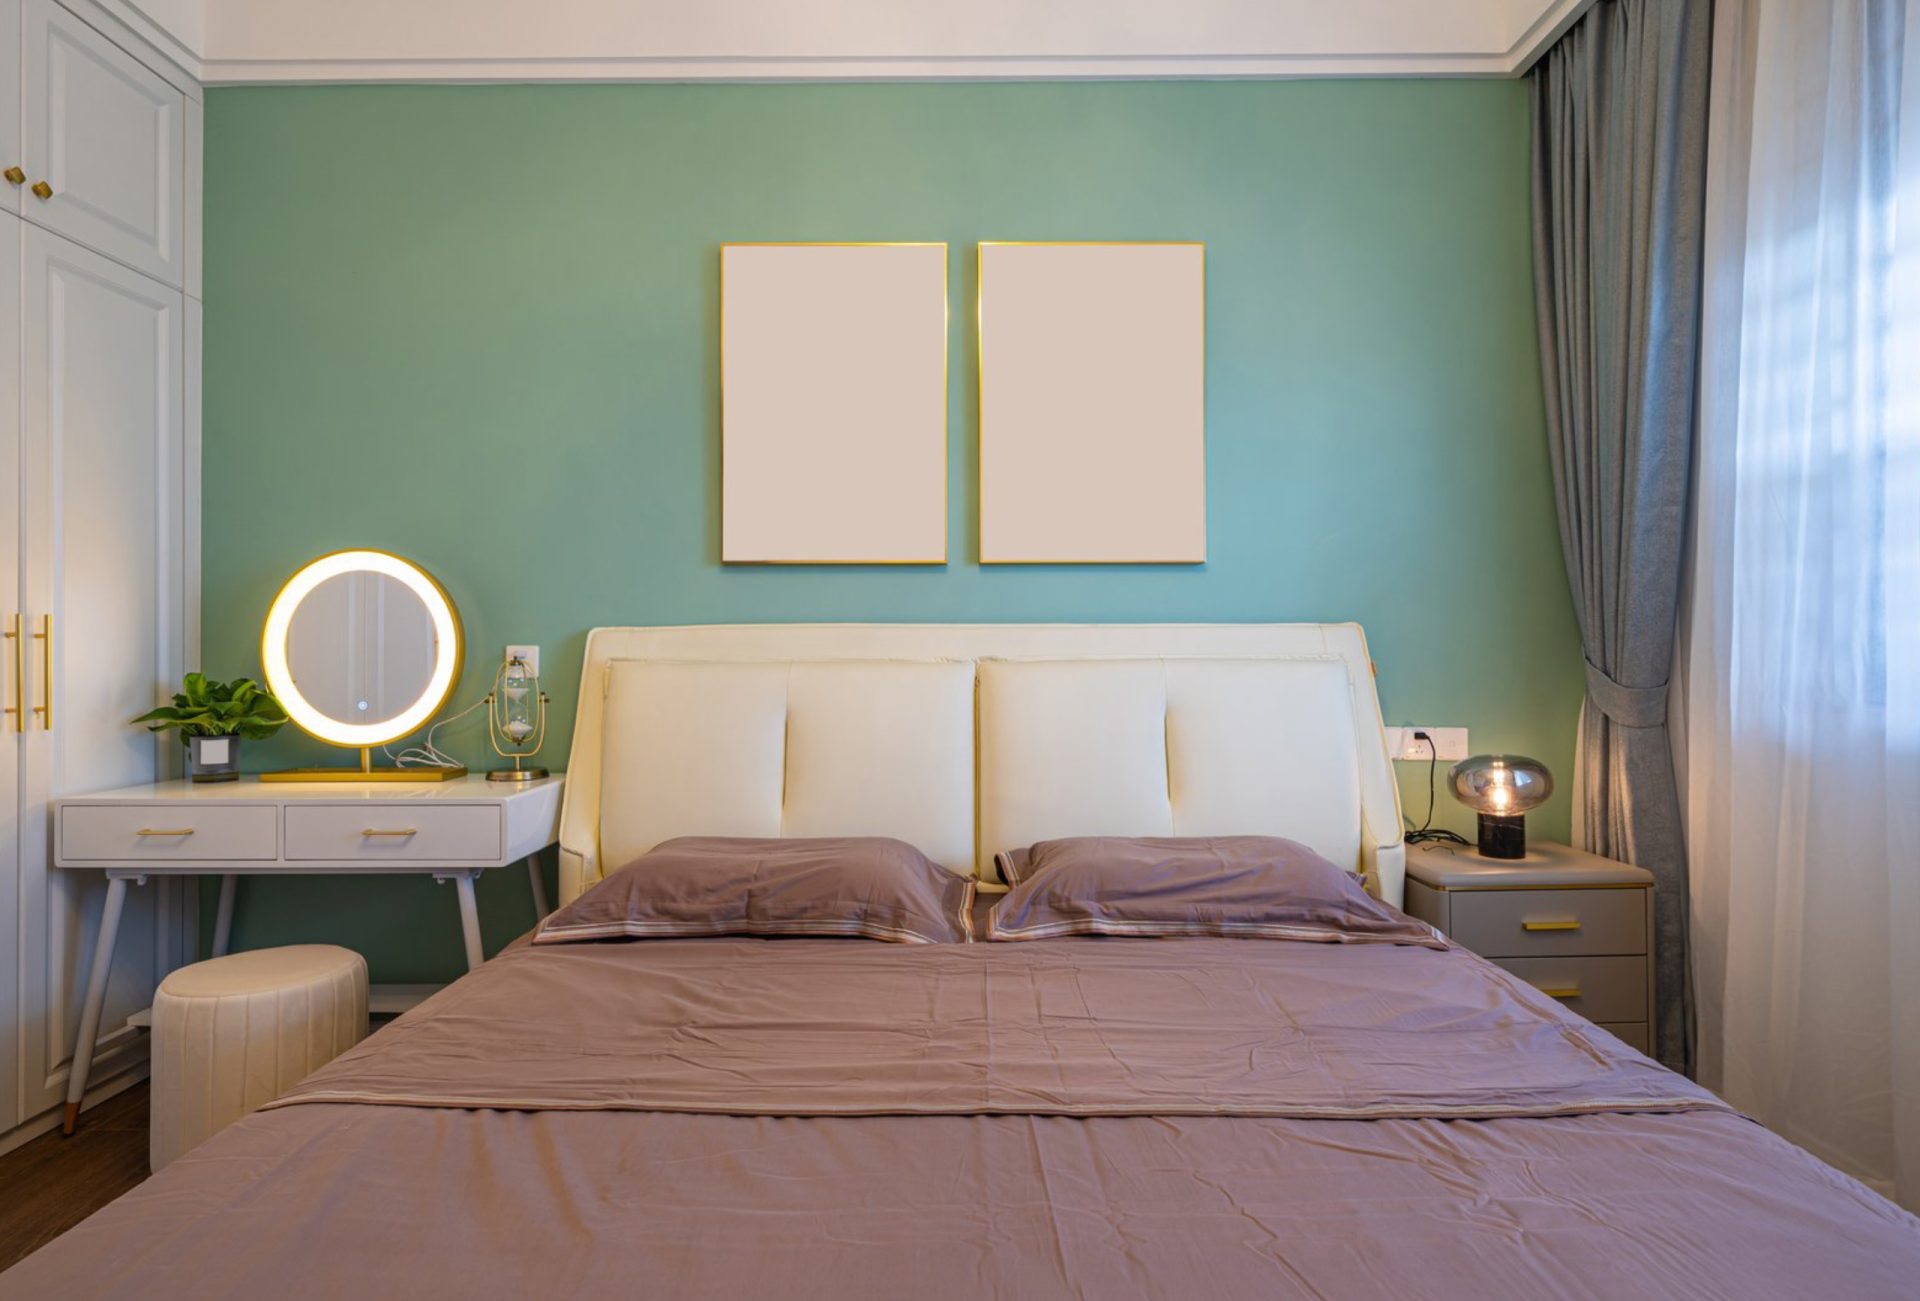

Painting your living room can dramatically transform the look and feel of your home. A well-executed paint job enhances the room’s ambiance, complements furniture, and adds lasting value. Whether you’re updating your space with trendy 2026 colors or refreshing a tired room, following a systematic approach ensures professional-looking results. This step-by-step guide covers everything from planning to finishing touches, helping homeowners and DIYers achieve a flawless living room paint job.
Step 1: Plan Your Paint Project
Assess Your Space
Start by evaluating your living room’s layout, lighting, and current wall colors. Consider the type of mood you want to create: cozy, vibrant, modern, or serene. Take note of existing furniture, artwork, and flooring to choose complementary paint colors.
Choose the Right Color
2026 living room paint trends include warm neutrals, earthy tones, soft pastels, and bold accent walls. Test paint samples on your walls before committing, as lighting and furniture can alter how the color appears.
Calculate Paint Quantity
Measure your walls to determine how much paint you’ll need. Most paint cans indicate coverage per gallon, but it’s better to buy a little extra for touch-ups.
Pro Tip: Choose high-quality paint and primers to ensure smooth application and long-lasting results.
Step 2: Prepare Your Living Room
Clear and Protect
- Move furniture out of the room or place it in the center and cover with drop cloths.
- Remove wall hangings, curtains, and outlet covers.
- Protect floors, baseboards, and trims with painter’s tape or drop cloths.
Repair Walls
Inspect your walls for cracks, holes, or dents. Fill minor imperfections with spackle or joint compound. Sand smooth once dried to ensure a flawless surface for painting.
Clean Surfaces
Wipe walls with a damp cloth or mild cleaning solution to remove dust, grease, and grime. Clean surfaces help paint adhere better and prevent uneven finishes.
Step 3: Prime the Walls
Priming is essential, especially if you’re:
- Painting over a dark color with a lighter shade
- Covering stains or water damage
- Painting new drywall
Apply a thin, even layer of primer using a roller for large areas and a brush for edges and corners. Allow it to dry completely before painting.
Pro Tip: Choose a primer that suits your final paint finish for optimal adhesion.
Step 4: Cut In Edges
Using a quality angled brush, carefully paint along trims, ceilings, windows, and door frames. Cutting in first ensures clean lines and prevents paint from rolling onto areas you want to remain unpainted.
Step 5: Roll Large Wall Areas
Choose the Right Roller
Use a high-quality roller with the appropriate nap length depending on your wall texture:
- Smooth walls: Short nap roller
- Textured walls: Medium nap roller
Apply Paint Evenly
- Start from the top and work downward.
- Use a “W” or “M” motion to ensure even coverage.
- Apply two coats for consistent color and finish, allowing proper drying time between coats.
Pro Tip: Avoid overloading your roller with paint to prevent drips and uneven texture.
Step 6: Accent Walls and Patterns
If you’re incorporating an accent wall, stripes, or patterns, do this after the base coat has dried. Use painter’s tape for crisp lines and stencils for geometric designs or murals. Accent areas can add personality and depth to your living room.
Step 7: Paint Trim, Moldings, and Doors
Choose a semi-gloss or gloss finish for trims and moldings to make them stand out against your wall color. Doors can be painted in complementary or bold tones for added character.
Pro Tip: Use a smaller brush for detailed trims and edges for a professional finish.
Step 8: Clean Up
- Remove painter’s tape while paint is slightly wet to avoid peeling.
- Wash brushes, rollers, and trays for reuse.
- Properly dispose of leftover paint and primer according to local guidelines.
Step 9: Final Touches
- Inspect walls for any missed spots or uneven areas and touch up as needed.
- Rearrange furniture and hang wall décor after paint has fully dried.
- Step back and enjoy your refreshed living room!
Additional Tips for a Professional Finish
- Work in Sections: Break walls into manageable sections to maintain wet edges and avoid lap marks.
- Mind the Lighting: Paint looks different under various lighting conditions. Test colors at different times of day.
- Ventilation: Ensure proper airflow for drying and minimizing paint fumes.
- High Ceilings: Use an extension pole or scaffolding for safety and ease.
- Layering Colors: Use a lighter color first, then add a second coat if needed for deeper tones.
Common Mistakes to Avoid
- Rushing the prep work: Dirty or uneven walls result in a subpar finish.
- Skipping primer: Especially important for light-over-dark or patchy walls.
- Ignoring drying times: Applying a second coat too soon can cause streaks and peeling.
- Overpainting trims or ceilings: Take time to carefully cut in edges for a clean look.
When to Consider Professional Painters
While painting your living room can be a rewarding DIY project, professional painters provide:
- Flawless finishes, even on textured walls or high ceilings
- Expertise in color consultation and trends
- Time savings and minimal disruption
- Long-lasting results and warranty options
Chicagoland Paint Pro Tip: Even if you plan to paint yourself, consulting a professional for color and finish advice can make a huge difference in the final outcome.
Final Thoughts
A perfectly painted living room sets the tone for your entire home. By carefully selecting colors, finishes, and following a systematic approach, your living space can be transformed into a welcoming, stylish, and modern environment. Whether you opt for a DIY project or hire professionals, preparation, quality products, and attention to detail are the keys to success.