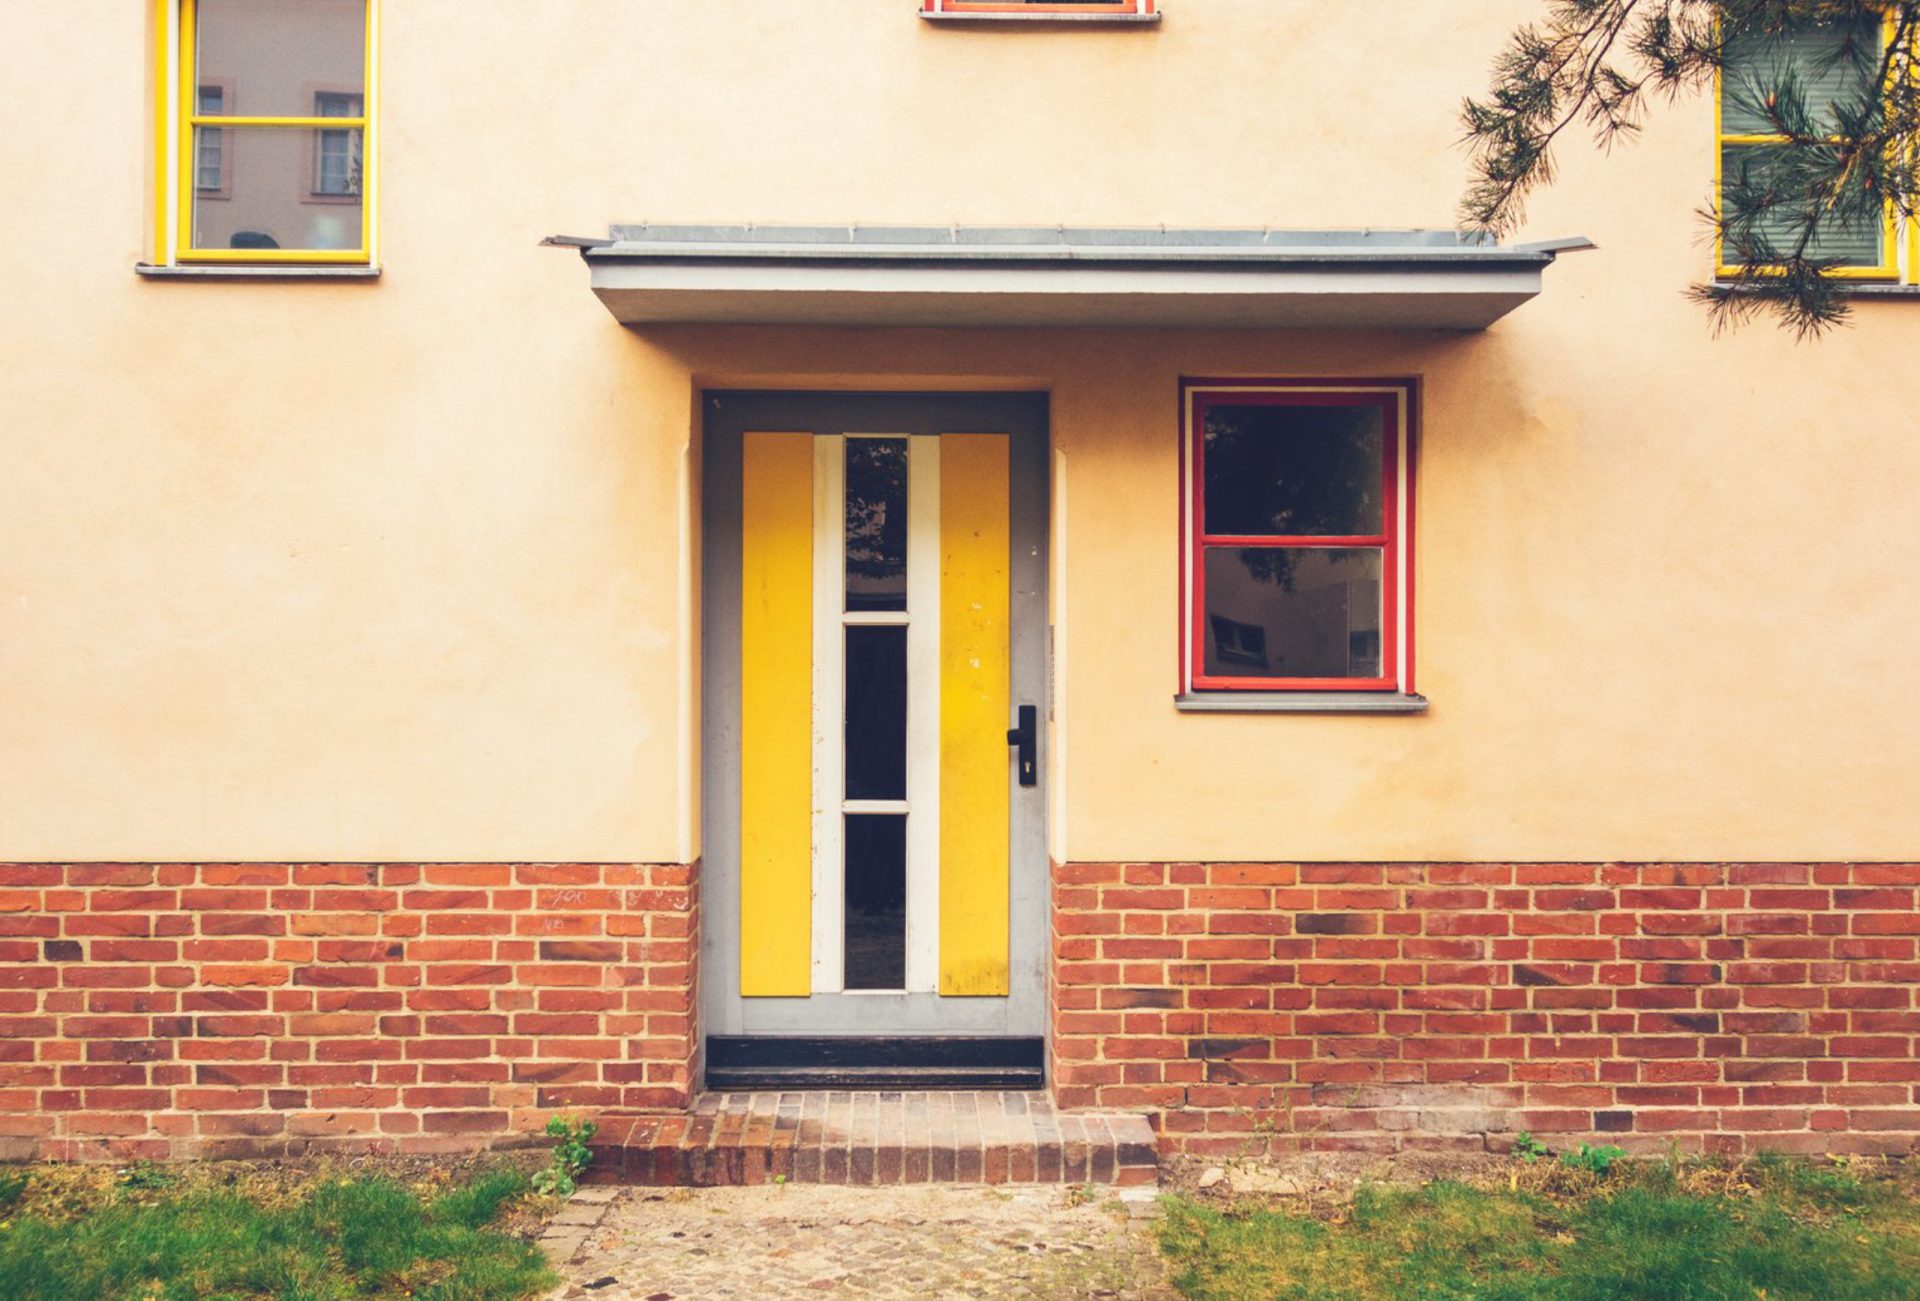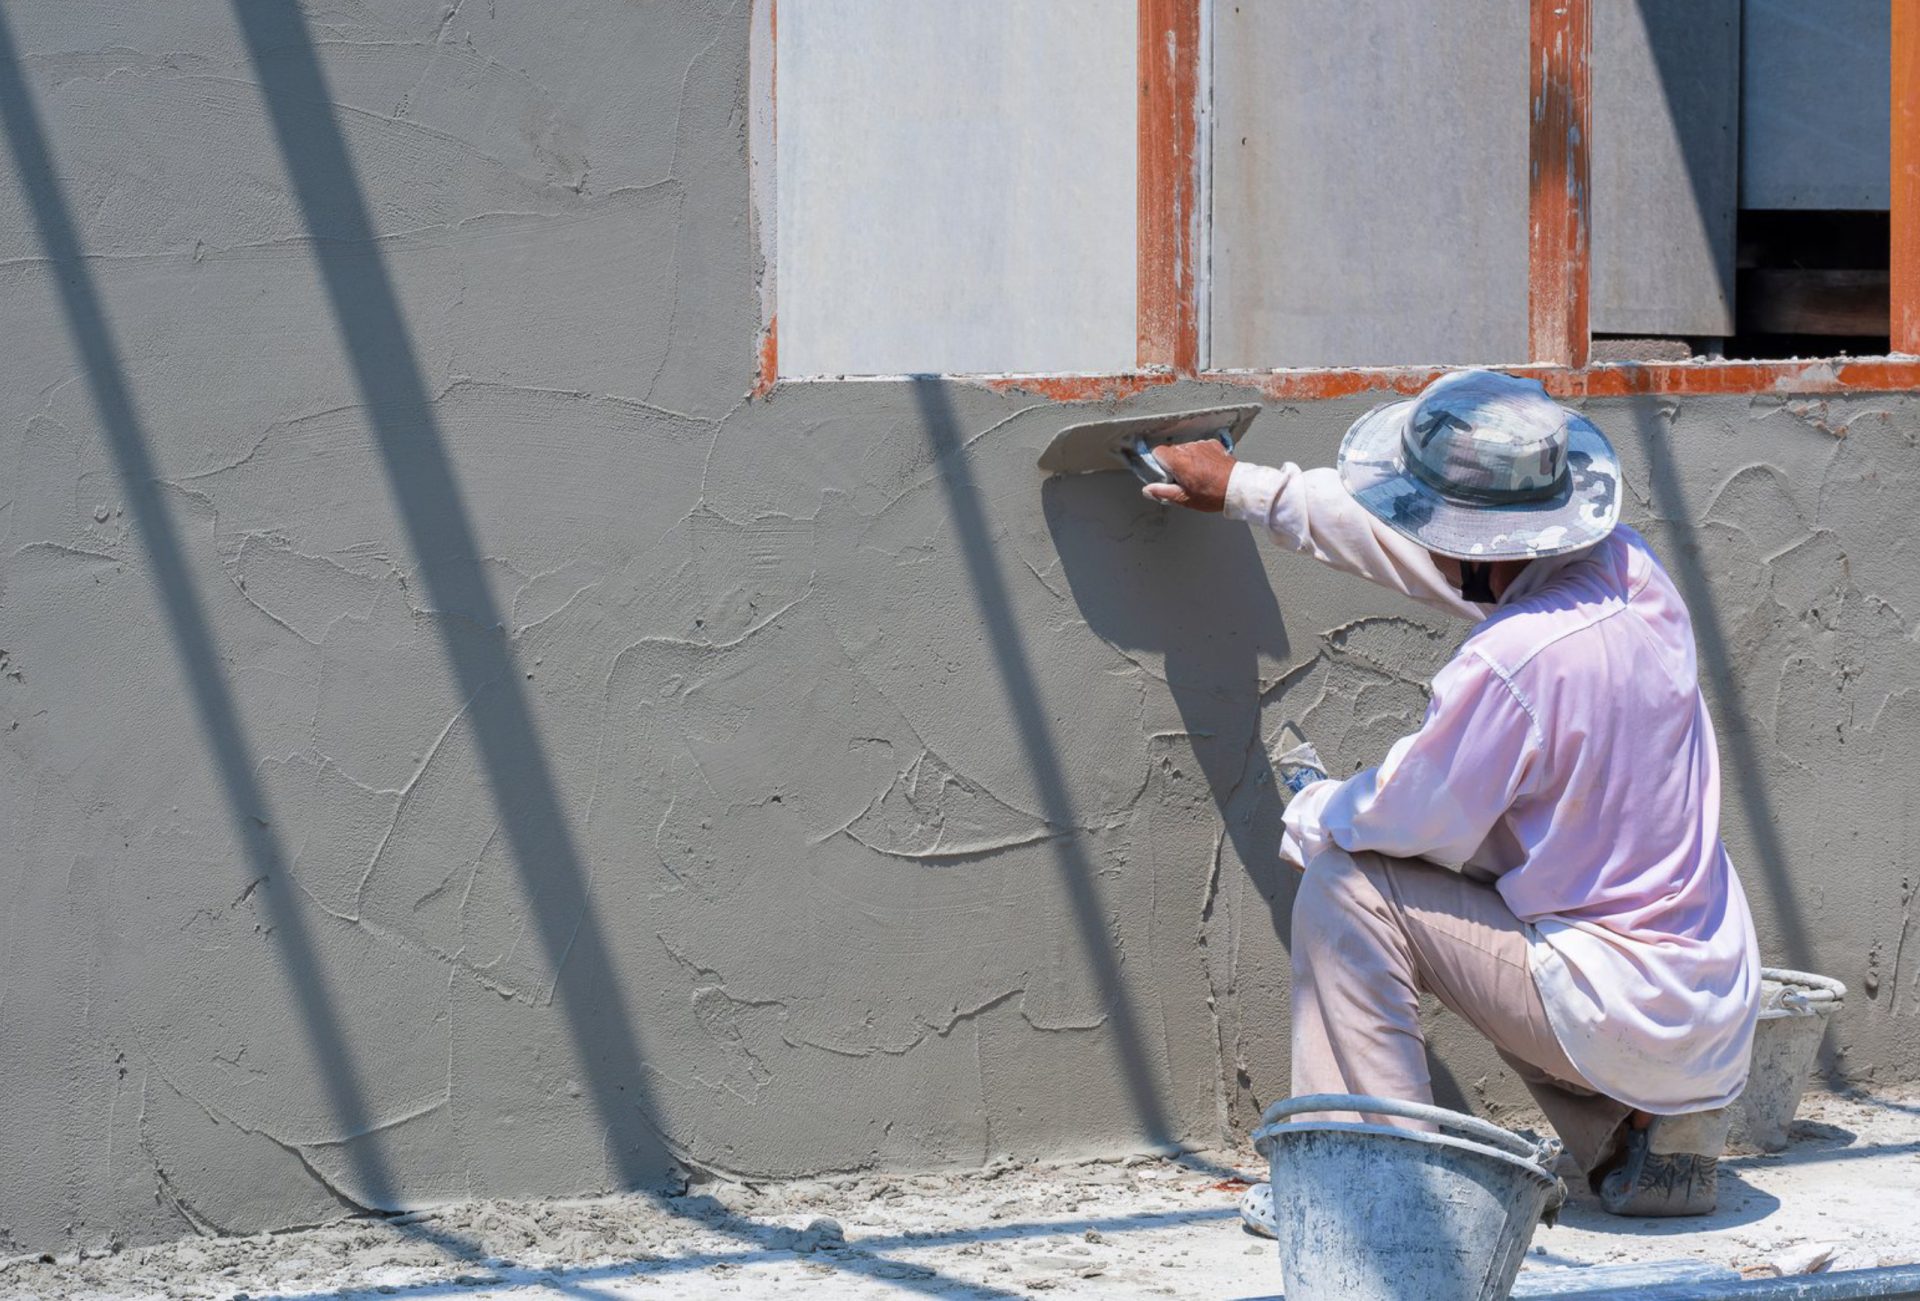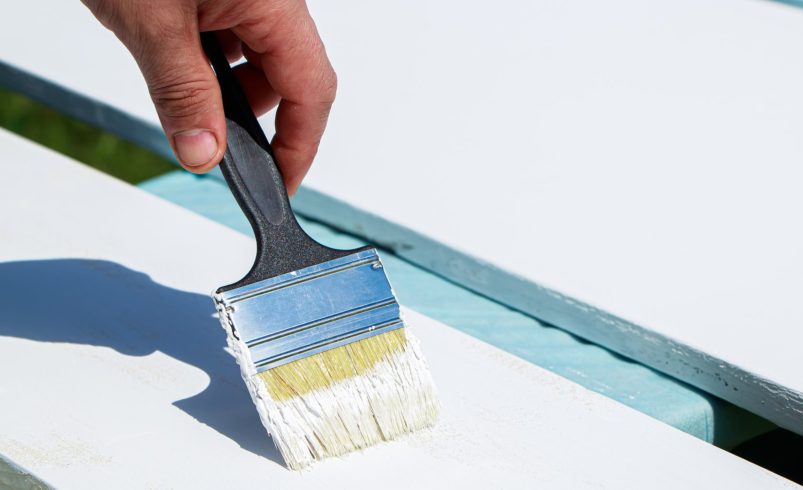

The exterior trim of your home—around windows, doors, eaves, and corners—may seem like a small detail, but it has a big impact on curb appeal. A freshly painted, well-maintained trim instantly elevates the look of your house, giving it a polished, finished appearance. However, painting exterior trim requires careful preparation, the right materials, and proper techniques to achieve a professional-quality finish.
For homeowners in Chicago, where weather conditions can be extreme, choosing the right products and applying them correctly is crucial for durability and beauty. This guide provides expert tips for painting exterior trim effectively.
Why Exterior Trim Painting Matters
- Enhances Curb Appeal: Crisp, clean trim makes your home look well-maintained and visually appealing.
- Protects the Wood: Paint shields trim from moisture, UV rays, and temperature fluctuations.
- Increases Longevity: Properly painted trim lasts longer, reducing the need for frequent repairs or repainting.
- Defines Architectural Details: Trim highlights windows, doors, and rooflines, adding character and style.
Chicagoland Paint Pro Tip: Trim painting may seem like a small project, but it greatly influences the overall aesthetic of your home.
Step 1: Choose the Right Paint
- Exterior-Grade Paint: Always use paint formulated for exterior use to resist weathering.
- Acrylic Latex Paint: Flexible, durable, and resistant to cracking or peeling.
- Oil-Based Paint: Provides a harder, smooth finish and excellent adhesion, but longer drying time.
- Finish Options:
- Semi-Gloss: Ideal for trim; easy to clean and slightly reflective.
- Gloss: Highly reflective; shows details and highlights edges.
- Satin: Soft sheen; hides minor imperfections while still being durable.
Pro Tip: In Chicago, semi-gloss exterior paint is often the best choice for trim because it balances durability, appearance, and ease of maintenance.
Step 2: Prepare the Surface
Proper preparation ensures paint adheres well and lasts longer:
- Clean the Trim: Remove dirt, mildew, and old paint flakes using a brush, mild detergent, or pressure washer (carefully).
- Sand the Surface: Smooth rough or peeling areas with medium-grit sandpaper. Feather edges for a seamless finish.
- Repair Damage: Fill cracks, gaps, or holes with exterior-grade wood filler. Replace rotten sections if necessary.
- Mask Surrounding Areas: Use painter’s tape to protect siding, windows, and doors from accidental paint splatters.
Chicagoland Paint Pro Tip: Weather can make preparation tricky—ensure trim is dry and the temperature is moderate before painting.
Step 3: Prime the Trim
- Apply a high-quality exterior primer to bare wood or repaired areas.
- Priming improves paint adhesion, enhances color, and prevents stains or knots from bleeding through.
- Allow primer to dry fully according to manufacturer instructions.
Pro Tip: Even if the trim was previously painted, priming repaired or bare spots is essential for a flawless finish.
Step 4: Painting Techniques
- Brushes: Use angled brushes for edges, corners, and intricate details.
- Rollers: Efficient for long, flat surfaces but may not reach corners or grooves.
- Sprayers: Provide smooth, even coverage for large trim areas.
- Thin Coats: Apply 2–3 thin coats rather than a single thick layer to prevent drips, runs, or uneven drying.
- Work Methodically: Start from the top and work down, maintaining a wet edge to avoid lap marks.
Chicagoland Paint Pro Tip: Always paint with the grain of the wood for the best adhesion and finish.
Step 5: Drying and Curing
- Allow paint to dry completely between coats.
- Avoid heavy rain or high humidity during drying, as it can cause bubbling or peeling.
- Curing may take several days for full durability—limit contact with furniture, ladders, or ladders during this period.
Step 6: Maintenance Tips
- Inspect trim annually for peeling, cracking, or fading.
- Clean with a soft brush or mild detergent to remove dirt, pollen, and mildew.
- Touch up chips and scratches promptly to maintain protection and appearance.
- Repaint every 5–10 years, depending on exposure, climate, and paint quality.
Common Exterior Trim Painting Mistakes to Avoid
- Skipping cleaning or sanding before painting
- Using interior paint or low-quality exterior paint
- Painting on wet or frozen surfaces
- Applying thick coats that drip or peel
- Ignoring primer on bare or repaired wood
- Rushing the drying process between coats
Final Thoughts
Painting exterior trim is a relatively small project that delivers a huge impact on your home’s appearance. By choosing the right paint, properly preparing and priming the surface, and following professional painting techniques, Chicago homeowners can achieve a polished, durable finish that enhances curb appeal and protects wood for years.
A well-painted trim highlights architectural details, protects your investment from harsh weather, and makes your home look elegant, inviting, and professionally maintained.