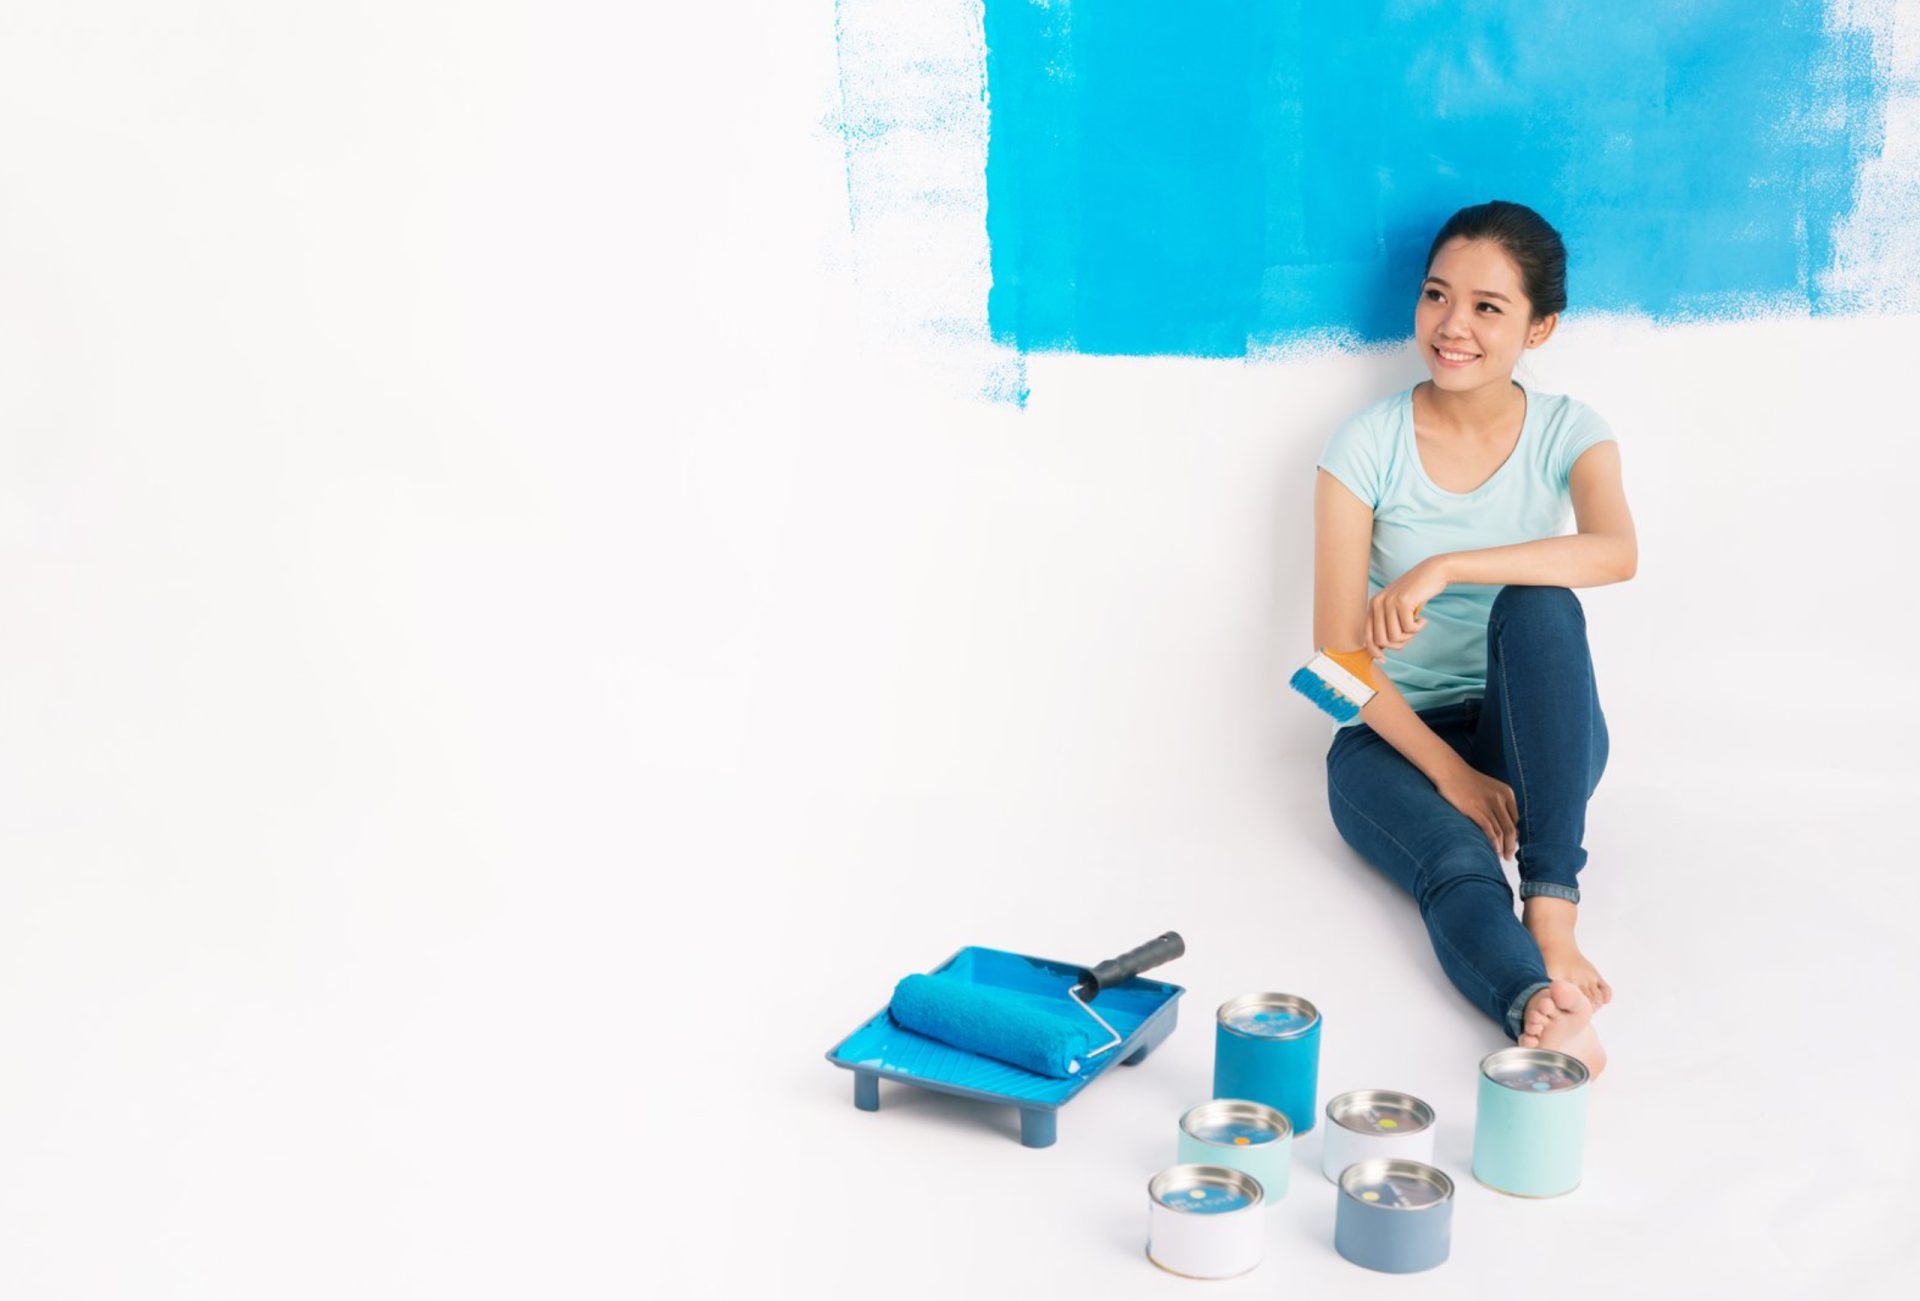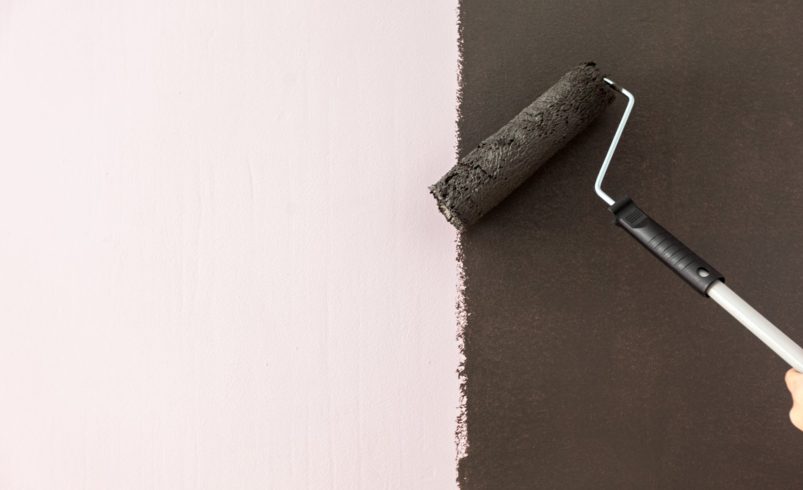

Achieving a flawless paint finish with a roller requires more than just dipping and rolling. From selecting the right roller to mastering technique, every step influences the final result. This guide shares expert tips for smooth, even coverage and professional-quality finishes.
1. Choose the Right Roller for the Job
Selecting the correct roller type is the first step to a perfect finish:
- Foam Rollers: Best for smooth surfaces like doors, cabinets, and trim. Leave streak-free finishes for water-based paints.
- Synthetic Fabric Rollers: Ideal for walls and ceilings, providing even coverage on light to medium textures.
- Natural Fiber Rollers: Perfect for oil-based paints, varnishes, and stains for a professional finish.
- Microfiber Rollers: Best for high-end finishes on smooth walls, reducing streaks and roller marks.
Pro Tip: Match roller material to paint type—synthetic for latex, natural for oil-based—to ensure smooth application.
2. Prepare Your Surface
Surface preparation is key to flawless results:
- Clean the wall to remove dust, grease, or debris.
- Fill holes and sand rough spots for a smooth surface.
- Apply primer if needed, especially on raw or previously painted surfaces with stains.
Pro Tip: A well-prepared surface allows the paint to adhere evenly and reduces roller marks.
3. Load the Roller Correctly
Proper paint loading prevents drips and uneven coverage:
- Pour paint into a tray and roll the roller into the paint until fully coated.
- Roll off excess paint on the tray’s slope.
- Avoid overloading; too much paint leads to drips and streaks.
Pro Tip: Keep a consistent amount of paint on the roller for even application.
4. Use the Right Rolling Technique
- Start with a “W” or “M” pattern to spread paint evenly.
- Fill in spaces with vertical or horizontal strokes.
- Apply light, even pressure—pressing too hard can create streaks or roll marks.
- Overlap slightly with each pass to avoid gaps or uneven coverage.
Pro Tip: Maintain a wet edge while painting to prevent lap marks.
5. Roll in Sections
Divide walls or ceilings into manageable sections (4–6 feet wide) to ensure even coverage:
- Start at the top and work downward to avoid drips.
- Blend edges of each section before paint dries.
Pro Tip: Working in sections ensures consistent color and finish across the surface.
6. Maintain Roller Moisture
- Don’t let the roller dry out during breaks; keep it covered or wrap it in plastic.
- Reload paint as needed, but avoid over-saturating.
Pro Tip: A moist roller ensures smooth, streak-free application throughout the project.
7. Use Quality Rollers and Frames
- High-quality rollers reduce shedding and uneven coverage.
- A sturdy frame prevents wobbling and ensures smooth strokes.
- For ceilings or high walls, use extendable handles for comfort and control.
Pro Tip: Investing in professional-grade rollers and frames saves time and improves finish quality.
8. Clean and Store Properly
- For water-based paints: rinse with warm, soapy water.
- For oil-based paints: clean with mineral spirits or paint thinner.
- Store rollers upright or wrapped to maintain nap and shape.
Pro Tip: Proper cleaning extends roller life and preserves its ability to deliver a perfect finish.
9. Final Recommendations
- Always match the roller type and nap length to the surface and paint.
- Prepare surfaces thoroughly before painting.
- Use proper rolling techniques and maintain a consistent wet edge.
- Invest in high-quality tools and maintain them well for long-term performance.
By following these steps, even DIY painters can achieve smooth, professional-quality finishes with a paint roller. Perfect coverage, minimal streaks, and consistent results are all possible with the right tools, preparation, and technique.