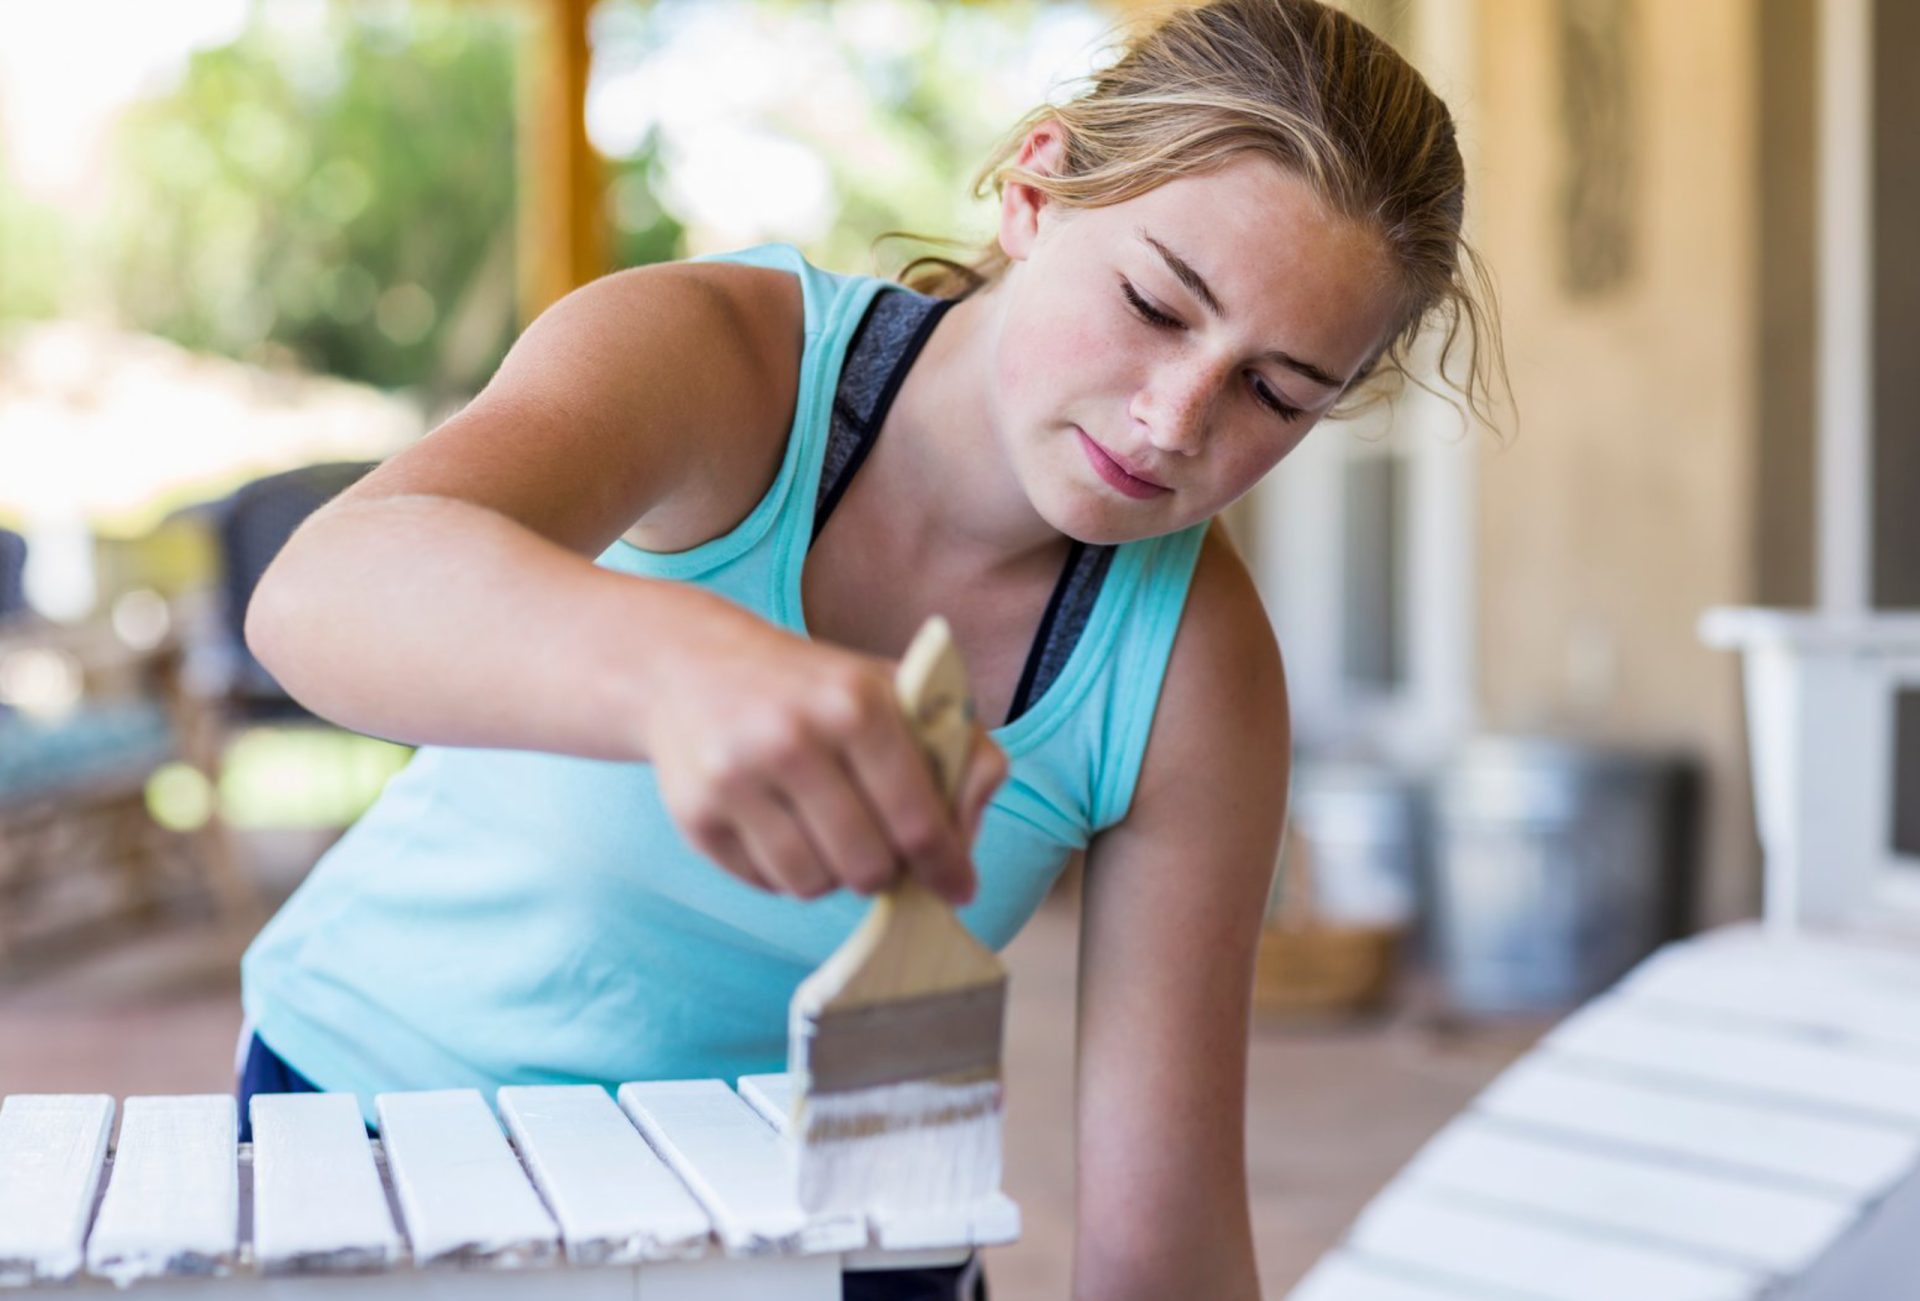

Spring is the ideal season for refreshing your home’s interior and exterior, but the key to a flawless, long-lasting paint job is proper preparation. Whether you’re painting interior walls, exterior siding, or outdoor decks, skipping prep work can lead to peeling, uneven coverage, or premature wear. For Chicagoland homeowners, where harsh winters take a toll on surfaces, thorough preparation is especially important. This guide walks you step by step through preparing walls and decks for spring painting, ensuring your home looks beautiful and professional.
Why Proper Preparation Matters
Painting is more than just applying color — it’s about creating a durable, smooth, and visually appealing finish. Skipping prep can result in:
- Uneven Coverage: Dirt, grime, or peeling paint prevents new paint from adhering properly.
- Peeling and Flaking: Moisture, rough surfaces, or cracks cause paint to lift and deteriorate quickly.
- Wasted Materials and Time: Poor prep can force multiple coats, touch-ups, or repainting, costing more in time and money.
Professional painters know that prep work is 50–70% of a successful paint project. Doing it correctly ensures your spring refresh lasts for years.
Preparing Interior Walls for Spring Painting
1. Inspect and Assess
- Look for cracks, holes, dents, or peeling paint.
- Identify areas with water damage, mold, or stains that may require special treatment.
- Check walls near windows, doors, and high-traffic areas, as these spots often need extra attention.
2. Clean Surfaces
- Dust and dirt can prevent paint adhesion. Use a damp cloth or sponge with mild soap to wipe walls.
- For stubborn stains or grease (especially in kitchens), use a degreasing cleaner.
- Rinse and allow walls to dry completely before painting.
3. Repair Imperfections
- Fill small holes or cracks with spackle or joint compound; sand smooth once dry.
- For larger wall damage, consider patching or replacing drywall sections.
- Sand rough patches or previous paint drips to create an even surface.
4. Remove Old Paint and Glossy Finishes
- Walls with high-gloss paint may require sanding or priming to ensure new paint adheres.
- Use fine-grit sandpaper or a deglosser to smooth surfaces without removing too much material.
5. Protect Surroundings
- Move furniture or cover it with drop cloths.
- Use painter’s tape to mask edges, trim, light switches, and outlets.
- Cover floors to protect from drips or splatters.
6. Prime the Walls
- Apply a high-quality primer, especially if changing colors, covering stains, or painting over new drywall.
- Priming ensures even coverage, reduces the number of topcoats, and improves paint adhesion.
Preparing Exterior Walls for Spring Painting
1. Inspect the Exterior
- Check siding, trim, and fascia for cracks, rot, or peeling paint.
- Pay attention to areas exposed to snow, ice, and wind. Winter damage may be subtle but can compromise a new paint job.
2. Clean Thoroughly
- Use a pressure washer to remove dirt, mildew, and loose paint.
- For stubborn mildew or mold, scrub with a bleach solution or mildew cleaner.
- Allow the surfaces to dry completely before painting.
3. Repair Damaged Areas
- Replace or repair rotted wood or damaged siding.
- Fill cracks and holes with exterior-grade filler.
- Sand rough areas for smoothness and to ensure paint adhesion.
4. Prime for Success
- Apply exterior primer to bare wood, repaired areas, or previously dark surfaces.
- Primer improves paint adhesion, color vibrancy, and durability.
5. Plan for Weather
- Avoid painting during rainy days, freezing temperatures, or high winds.
- Early to mid-spring is usually ideal in Chicagoland to allow paint to cure before summer humidity or summer heat affects the finish.
Preparing Decks for Spring Painting
Wooden decks and fences endure harsh winter conditions, including snow, ice, and freezing temperatures. Proper preparation ensures your spring staining or painting project protects your investment and enhances curb appeal.
1. Clean the Surface
- Remove leaves, dirt, and debris with a broom or leaf blower.
- Wash the deck using a deck cleaner or mild detergent and water. Power washing can be effective but should be done carefully to avoid damaging the wood.
2. Inspect for Damage
- Check for loose or damaged boards, nails, and screws. Replace or secure as needed.
- Look for signs of rot or water damage that may require repair or replacement.
3. Sanding
- Sand rough spots, splinters, and old paint or stain.
- Use medium-grit sandpaper for worn areas and fine-grit for finishing.
- Sanding ensures smooth adhesion of new paint or stain and improves the overall appearance.
4. Choose the Right Product
- For wood decks, staining preserves natural grain and adds water resistance.
- For fences or composite decks, exterior paint provides uniform color and additional protection.
5. Seal and Protect
- Apply a weather-resistant sealant after painting or staining to prevent moisture damage.
- Reapply sealant every 2–3 years for optimal protection.
Tools and Materials Needed for Spring Prep
- Spackling compound and putty knife
- Sandpaper (medium and fine grit)
- Painter’s tape and drop cloths
- Pressure washer (for exterior surfaces and decks)
- Cleaning supplies (soap, degreaser, mildew cleaner)
- Primer (interior or exterior as needed)
- Caulk for cracks and gaps
- Protective gloves, goggles, and masks
Tips for a Smooth, Professional Finish
- Start with Smaller Areas – Tackle a single wall, trim, or deck section at a time to ensure focus and quality.
- Follow Drying Times – Allow primer, paint, or stain to dry completely between coats for best results.
- Weather Awareness – Check local Chicago weather forecasts to avoid rain, high humidity, or frost during painting.
- Consider Professional Help – For multi-story homes, large decks, or intricate trim, professional painters can save time, ensure safety, and deliver flawless results.
Final Checklist for Spring Painting Prep
- Inspect walls, siding, and deck for damage
- Clean surfaces thoroughly
- Repair cracks, holes, and rough patches
- Sand glossy, peeling, or rough areas
- Apply primer where necessary
- Protect furniture, floors, and landscaping
- Choose weather-appropriate days for exterior work
- Consider professional painters for complex projects
Conclusion
Proper preparation is the cornerstone of any successful spring painting project. Whether updating your interior walls, restoring exterior surfaces, or reviving your deck, the time spent on cleaning, repairing, sanding, and priming ensures your paint job looks professional and lasts for years. For Chicagoland homeowners, spring is the perfect season to transform your home after a long winter — but preparation is key.
By following these steps, you can achieve smooth, vibrant, and durable results that enhance the beauty and value of your home. Ready to get started? Contact Chicagoland Paint Pro today and let our experts help you prepare and paint your home this spring with precision and care.