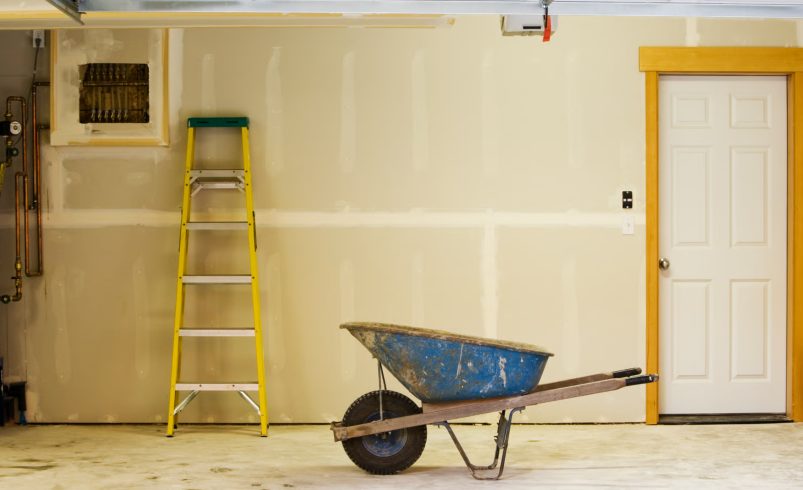

A fresh coat of paint can completely transform your basement, but proper preparation is key to achieving a long-lasting, smooth, and professional finish. Basements often present unique challenges, including moisture, uneven surfaces, and cracks, making prep work even more critical.
This guide will walk you through essential steps to prepare basement walls for painting, ensuring your project is durable, beautiful, and hassle-free.
Why Wall Prep Is Crucial for Basements
Basements are susceptible to:
- Moisture and humidity: Can lead to peeling, bubbling, or mold growth.
- Cracks and imperfections: Common in concrete or drywall walls.
- Dust and debris: Reduces paint adhesion and creates an uneven surface.
- Stains or old finishes: May bleed through new paint if untreated.
Skipping proper preparation can lead to premature paint failure, uneven coverage, and costly touch-ups.
Step 1: Clear and Protect the Space
- Remove Furniture and Items: Clear out furniture, rugs, and stored items to avoid damage.
- Cover Flooring and Fixtures: Use drop cloths or plastic sheeting to protect floors, light fixtures, and outlets.
- Tape Trim and Edges: Painter’s tape prevents paint from spilling onto baseboards, windows, or ceilings.
Step 2: Clean the Walls
Dirty walls prevent paint from adhering properly. Proper cleaning involves:
- Dusting and Sweeping: Remove cobwebs, dust, and loose debris.
- Scrubbing Stains: Use a mild detergent or TSP (trisodium phosphate) solution for grease, dirt, or mildew.
- Rinsing and Drying: Wipe with a damp cloth and allow walls to dry completely.
Pro Tip: Moisture-prone walls may require a dehumidifier to ensure complete drying before painting.
Step 3: Inspect for Damage
Check walls carefully for:
- Cracks or Holes: Common in concrete or drywall.
- Water Damage: Stains or efflorescence indicate potential moisture issues.
- Uneven Surfaces: Rough patches or peeling paint can affect finish.
Repairing these issues before painting ensures durability and a smooth final appearance.
Step 4: Repair Cracks and Holes
- Small Holes or Dents: Fill with spackling compound and sand smooth.
- Large Cracks: Use a patching compound suitable for concrete or drywall.
- Peeling Paint: Scrape away loose paint and sand edges for a seamless surface.
Pro Tip: For concrete walls, consider a masonry patch for deep cracks.
Step 5: Sand the Walls
Sanding is essential for smooth paint adhesion:
- Use medium-grit sandpaper for rough areas or repaired spots.
- Smooth all surfaces evenly to remove bumps and imperfections.
- Wipe walls with a damp cloth to remove dust after sanding.
Step 6: Apply a Primer
Priming is one of the most important steps in basement painting:
- Seals Surfaces: Ensures paint adheres properly.
- Blocks Stains: Prevents water stains or discoloration from bleeding through.
- Prevents Mold: Moisture-resistant primers help protect against mildew in damp environments.
- Improves Coverage: Reduces the number of paint coats needed.
Pro Tip: Use a high-quality, moisture-resistant primer specifically designed for basement walls.
Step 7: Choose the Right Paint
After prep and priming:
- Use moisture-resistant paint suitable for basements.
- Light colors such as soft grays, creams, or whites reflect light and brighten the space.
- Semi-gloss or satin finishes are durable, easy to clean, and moisture-resistant.
Additional Basement Prep Tips
- Improve Lighting: Proper lighting helps identify imperfections during prep and painting.
- Ventilation: Ensure adequate airflow to dry walls after cleaning, sanding, and priming.
- Check for Mold: Treat any visible mold with an appropriate cleaner before painting.
- Plan the Layout: Consider accent walls or zones before painting to minimize mistakes.
- Test Paint Samples: Test colors on a small wall section to see how it looks in basement lighting.
Common Mistakes to Avoid
- Painting over unclean or damp walls
- Skipping sanding or patching imperfections
- Using low-quality primer or paint
- Ignoring moisture issues or water stains
- Not allowing primer to dry fully before painting
Professional vs DIY Basement Prep
Proper basement prep is critical for success, and professionals offer:
- Expert surface inspection and repair
- Knowledge of moisture-prone areas and mitigation techniques
- High-quality sanding, priming, and finishing for flawless results
- Time-saving and durable outcomes
Chicagoland Paint Pro Tip: Even a consultation ensures your basement walls are properly prepared for a long-lasting paint finish.
Final Thoughts
Preparing basement walls is essential for a smooth, durable, and professional paint finish. By cleaning, repairing, sanding, and priming, you create a surface that ensures your paint looks flawless and withstands the unique challenges of basement environments.
With proper prep, the right paint, and thoughtful color choices, your basement can be transformed into a bright, welcoming, and stylish extension of your home—perfect for family areas, home theaters, or recreational spaces.