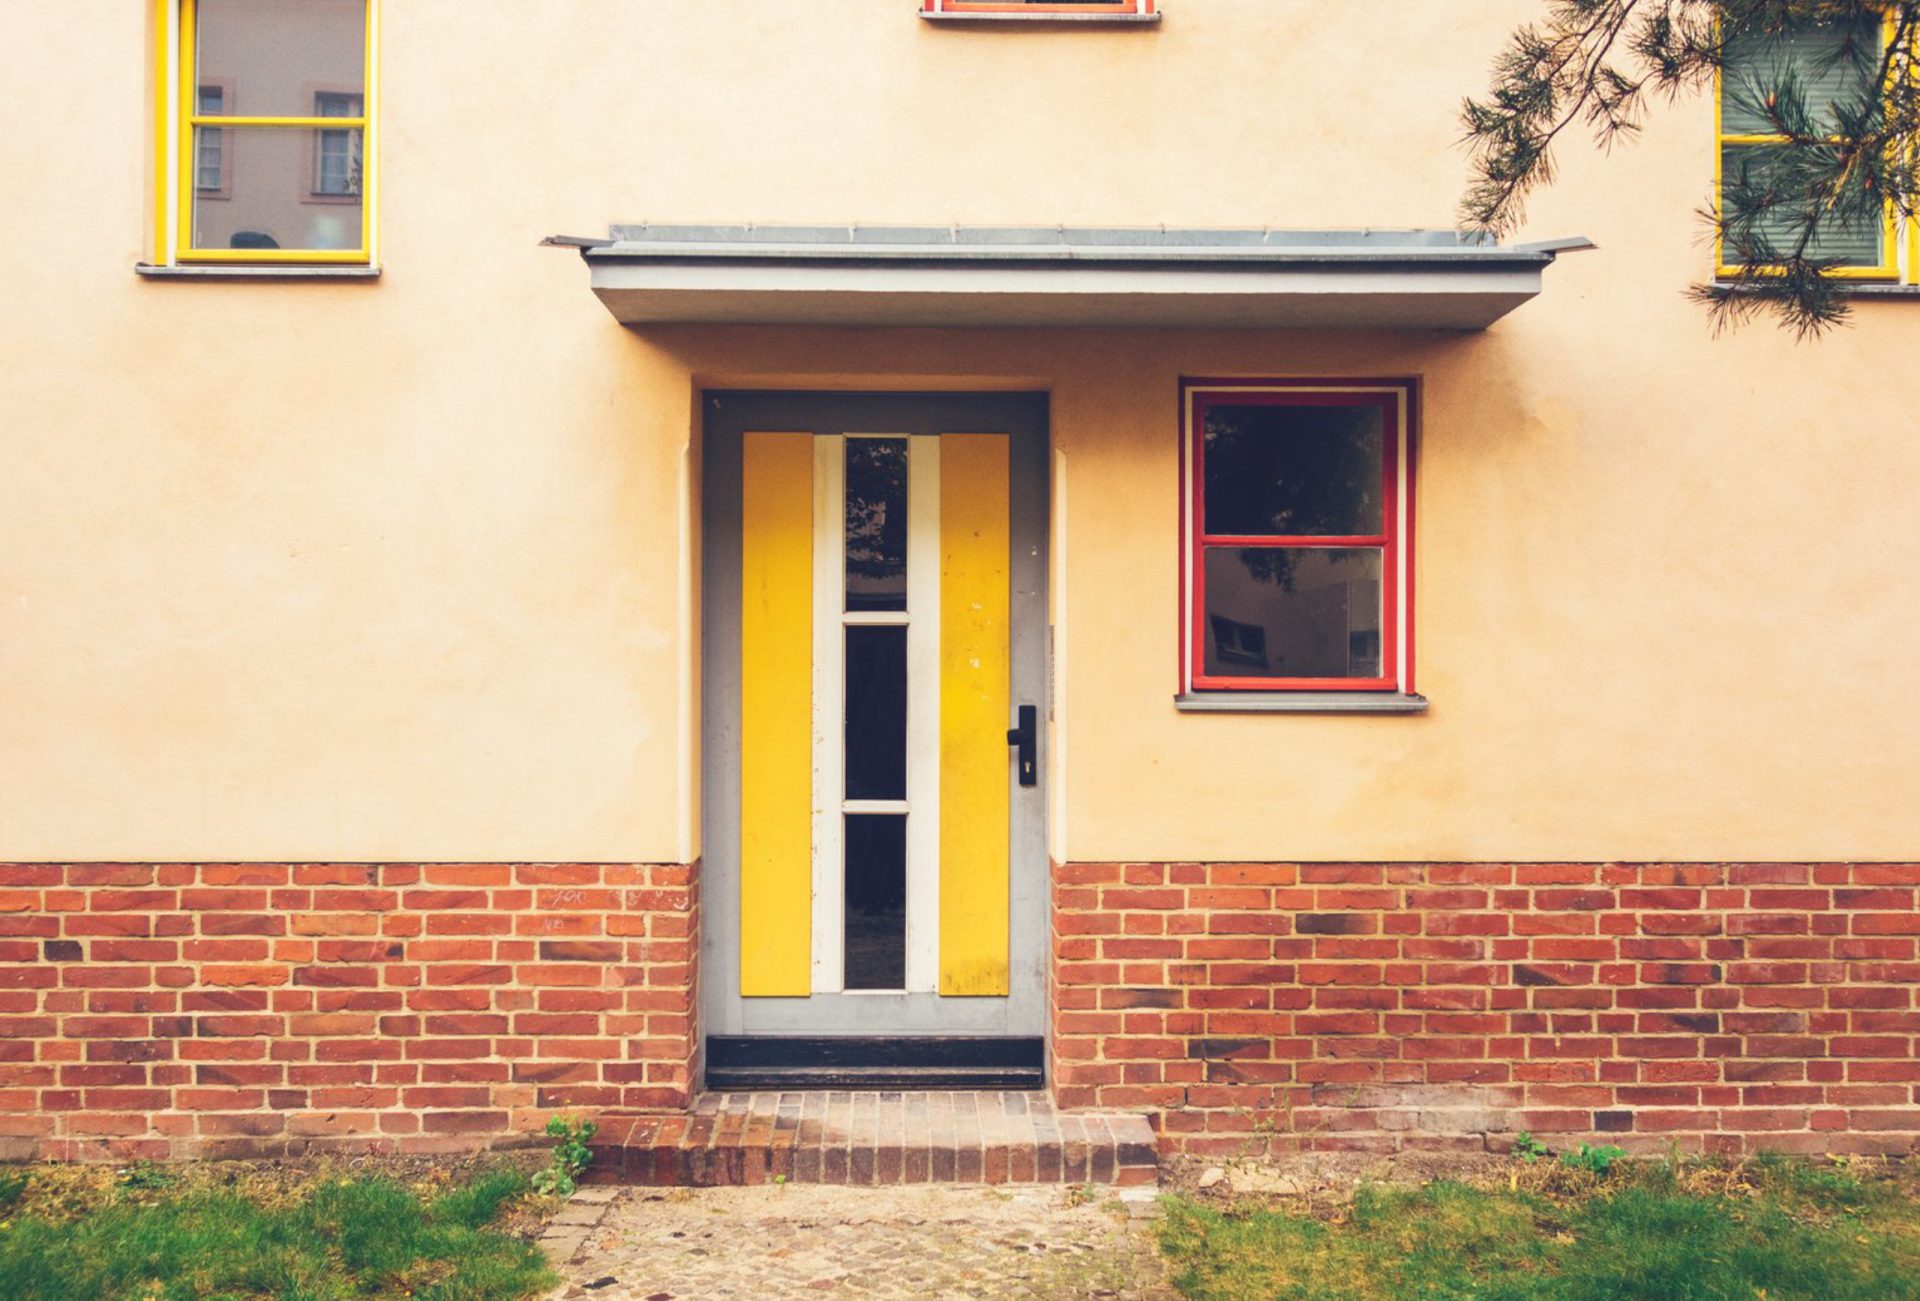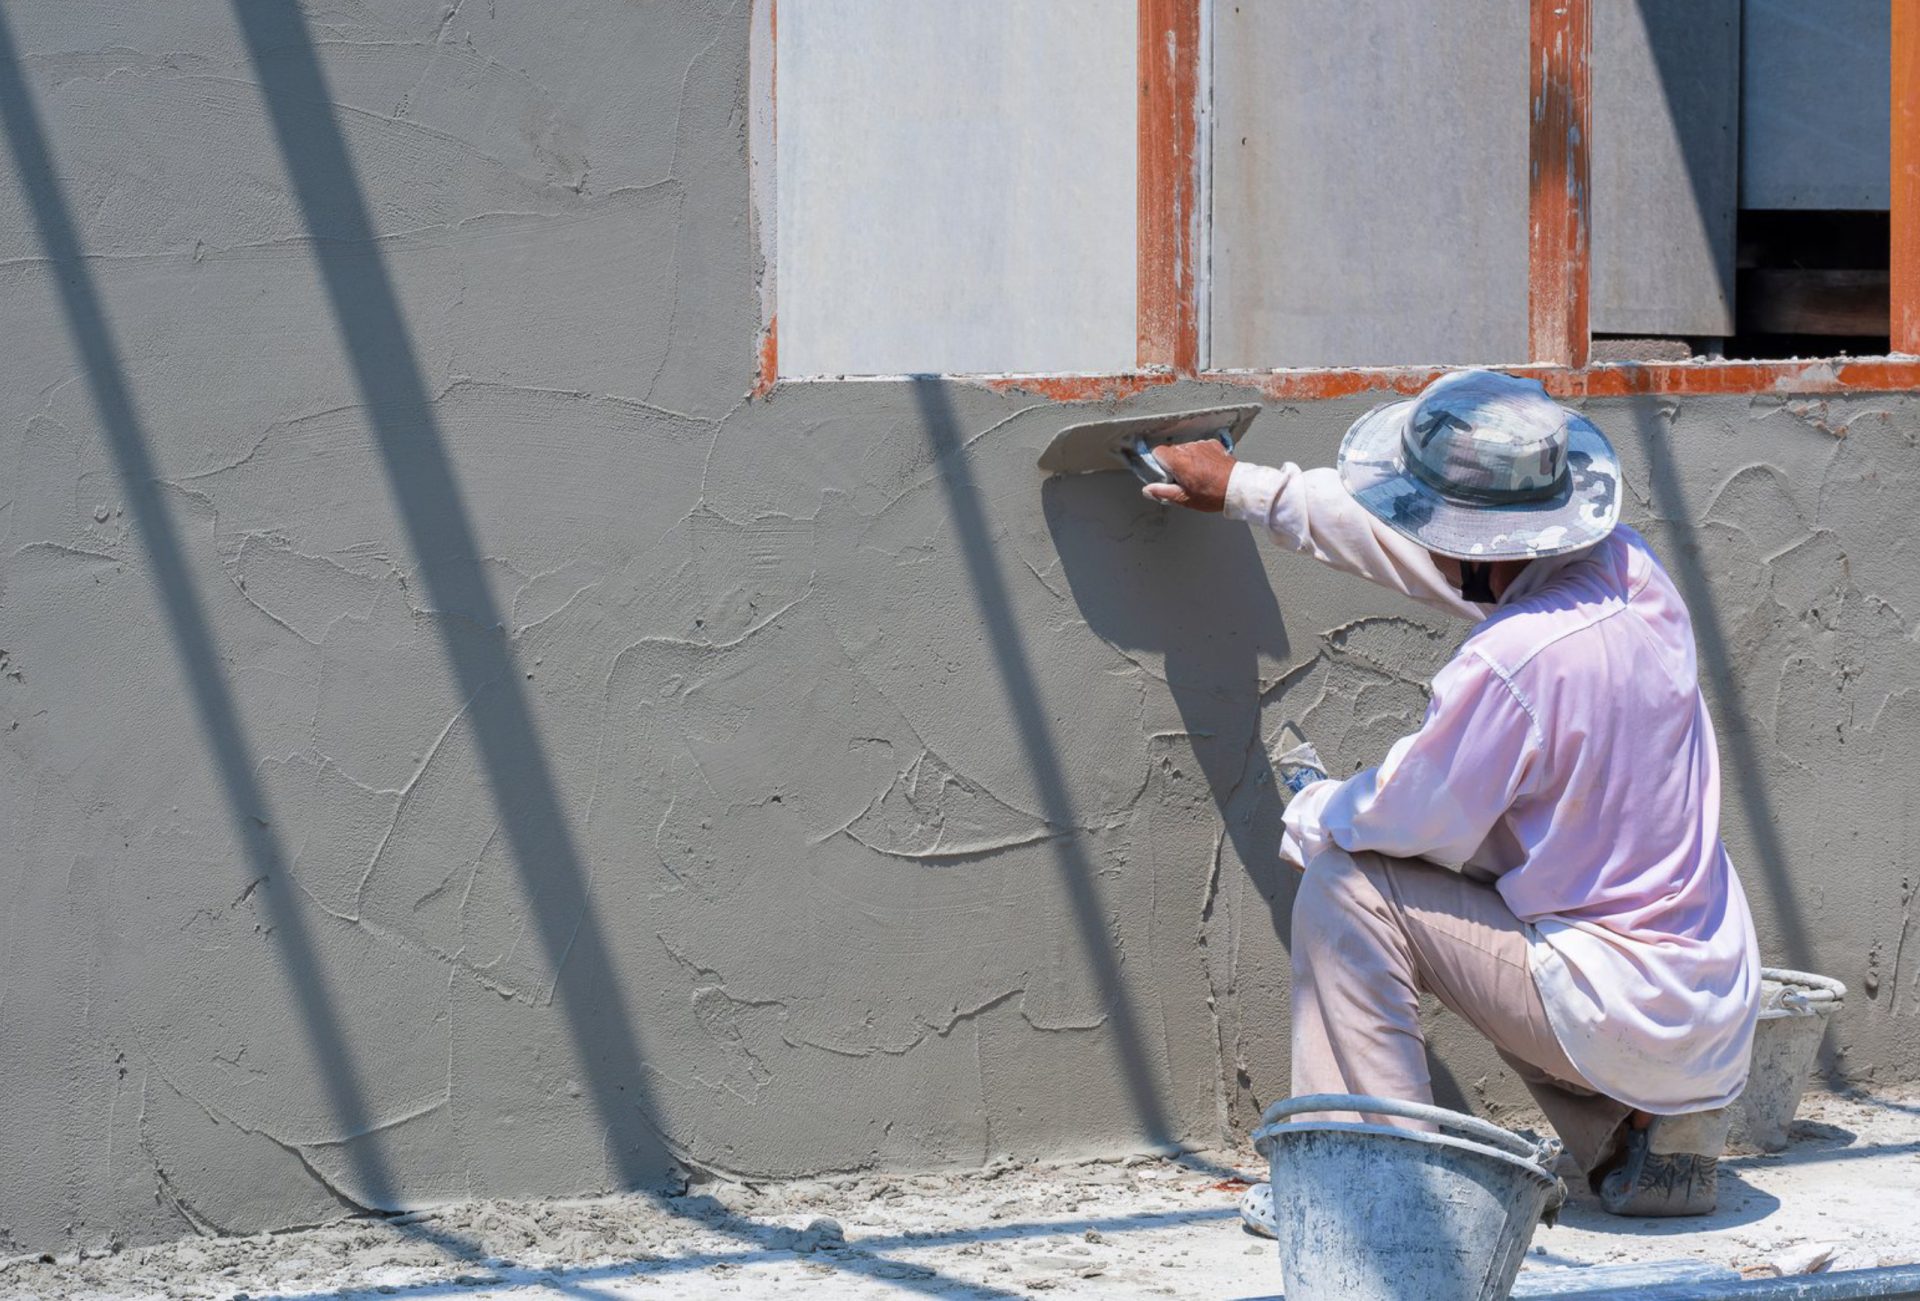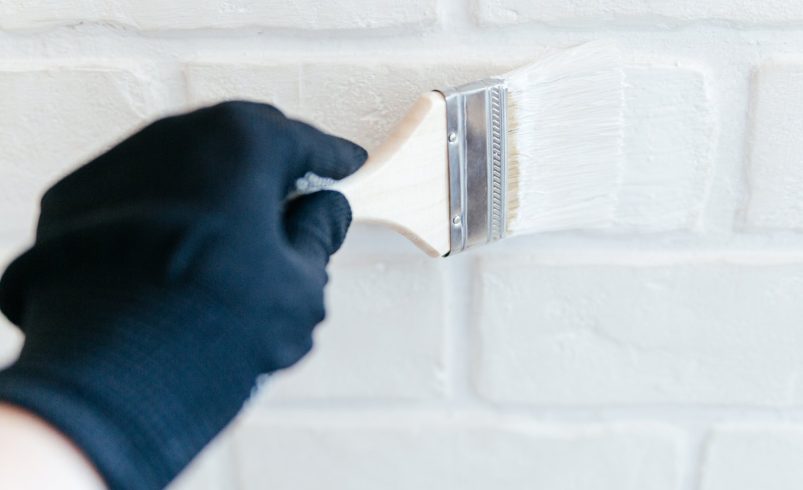

Painting brick walls can completely transform the look of your home, giving it a fresh, modern, or classic aesthetic. However, brick surfaces require careful preparation, the right materials, and proper techniques to ensure a durable, long-lasting finish. Whether you’re updating your home’s exterior or creating a striking interior feature wall, following a step-by-step approach is essential.
This guide provides a complete process for painting brick walls, ensuring professional-quality results.
Step 1: Assess Your Brick Surface
Before painting, examine your brick walls for:
- Structural Integrity: Check for cracks, crumbling mortar, or loose bricks. Repairs are essential for a smooth finish.
- Existing Paint: If bricks are previously painted, check for peeling or flaking paint. Remove loose areas for better adhesion.
- Moisture Issues: Ensure bricks are dry and free of water damage, efflorescence, or mold.
Pro Tip: Only paint bricks in good condition to avoid future peeling or damage.
Step 2: Clean the Brick
Clean bricks thoroughly to remove dirt, dust, mold, and efflorescence:
- Exterior Walls: Use a pressure washer or hose with a stiff brush and mild detergent.
- Interior Walls: Use a brush or vacuum to remove loose dust and grime.
- Stubborn Stains: Apply a brick cleaner or TSP (trisodium phosphate) solution.
Rinse thoroughly and allow the brick to dry completely before painting.
Step 3: Repair and Prep the Surface
- Fill Cracks and Holes: Use masonry caulk or filler to repair damaged areas.
- Repoint Mortar (if needed): Replace deteriorated mortar for exterior walls.
- Scrape Loose Paint: Remove any peeling paint to create a smooth surface.
- Sand Rough Areas: Smooth uneven patches for even paint application.
Proper surface prep ensures paint adheres correctly and lasts longer.
Step 4: Prime the Brick
Priming is critical, especially for unpainted, porous, or highly absorbent brick:
- Masonry Primer: Designed to seal the brick and improve paint adhesion.
- Application: Use a brush for grooves and a roller for flat surfaces.
- Drying Time: Allow primer to dry fully according to manufacturer instructions.
Chicagoland Paint Pro Tip: Skipping primer can lead to uneven color, peeling, or reduced paint durability.
Step 5: Choose the Right Paint
- Exterior Walls: Use acrylic latex, elastomeric, or masonry paint for weather resistance.
- Interior Walls: Acrylic latex or specialized brick paints work well.
- Finish: Flat, eggshell, or satin finishes are common; choose based on desired appearance and cleaning needs.
- Color Selection: Test samples on small areas to ensure desired results in different lighting conditions.
Step 6: Apply the Paint
- Tools: Use a high-quality brush for mortar lines and grooves; rollers or sprayers for larger surfaces.
- Technique: Apply multiple thin coats rather than a single thick coat to avoid drips and uneven coverage.
- Drying: Allow each coat to dry completely before applying the next one.
- Consistency: Maintain a wet edge to avoid lap marks and color inconsistencies.
Tip: Use painter’s tape to protect trim, windows, and other surfaces.
Step 7: Inspect and Touch Up
- After the final coat, inspect the wall for missed spots, streaks, or thin areas.
- Touch up with a small brush or roller to ensure full coverage and even finish.
- Remove painter’s tape carefully once paint is dry to avoid peeling edges.
Step 8: Seal and Protect (Optional)
For additional durability:
- Sealant: Apply a clear masonry sealer to protect painted brick from moisture, UV damage, and dirt accumulation.
- Maintenance: Regular cleaning with mild detergent or soft pressure washing keeps the paint fresh and vibrant.
Pro Tip: Sealing is especially useful for Chicago homes exposed to heavy rain, snow, and seasonal temperature changes.
Common Mistakes to Avoid
- Painting wet or damp bricks
- Skipping primer on porous or bare brick
- Applying too thick a coat, leading to drips and uneven texture
- Ignoring cracks or surface damage before painting
- Choosing interior paint for exterior walls
Following these steps avoids costly mistakes and ensures your brick walls look professional and last for years.
Final Thoughts
Painting brick walls is a transformative project that enhances your home’s aesthetic and protects the surface. By carefully assessing, cleaning, repairing, priming, painting, and optionally sealing the brick, homeowners can achieve a durable and visually stunning finish.
Whether you’re updating an exterior Chicago home or creating a stylish interior feature wall, a methodical approach ensures your painted brick remains vibrant, appealing, and long-lasting.