
Staining a wooden fence protects it from the elements, enhances its natural beauty, and boosts your home’s curb appeal. While the process may seem simple, proper preparation and technique are essential for a durable, even finish. This step-by-step guide will walk you through everything you need to know to stain your fence like a pro.
1. Gather the Right Tools and Materials
- Tools: Paintbrushes, rollers, sprayers, paint trays, drop cloths, scrapers, sanding block, or power sander.
- Materials: Wood stain (transparent, semi-transparent, or solid), primer (if needed), wood filler for cracks, painter’s tape, and gloves.
- Safety Gear: Goggles, gloves, and a dust mask.
Pro Tip: Having all tools and materials ready before starting ensures a smooth, efficient process.
2. Choose the Right Stain
- Transparent Stains: Highlight natural wood grain; best for cedar or redwood fences.
- Semi-Transparent Stains: Adds subtle color while showing grain; balances beauty and protection.
- Solid Stains: Completely cover the wood; ideal for older, weathered fences or uniform color.
Pro Tip: Pick a stain designed for outdoor wood and suitable for your region’s weather conditions.
3. Clean Your Fence Thoroughly
- Remove dirt, mildew, and debris with a brush, deck cleaner, or pressure washer.
- For stubborn mildew or stains, use a mixture of bleach and water (1:3 ratio) and rinse thoroughly.
- Allow the fence to dry completely, preferably 24–48 hours, before staining.
Pro Tip: A clean, dry surface ensures the stain adheres properly and lasts longer.
4. Repair and Prep the Wood
- Inspect for cracked, warped, or rotten boards and replace as needed.
- Fill small cracks or holes with exterior wood filler and sand smooth.
- Sand rough areas and splinters to ensure an even finish.
Pro Tip: Proper preparation prevents uneven color, peeling, or premature wear.
5. Protect Surrounding Areas
- Cover plants, garden beds, or patios with drop cloths.
- Use painter’s tape to protect posts, gates, or areas you don’t want stained.
- Ensure the workspace is clear to move around freely.
Pro Tip: Protecting your surroundings saves cleanup time and prevents accidental splatters.
6. Apply Primer (Optional)
- Priming is helpful if painting over old stain, softwoods, or previously painted fences.
- Use a thin, even coat and allow it to dry completely.
- Primer enhances stain adhesion and durability.
Pro Tip: While optional for most new wood, primer ensures maximum longevity in challenging climates like Chicago.
7. Apply the Stain
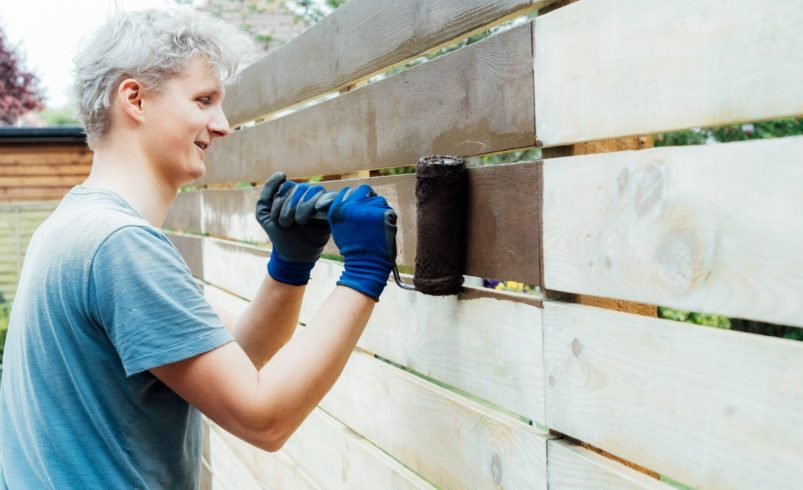
- Start at the top of the fence and work downward to prevent drips.
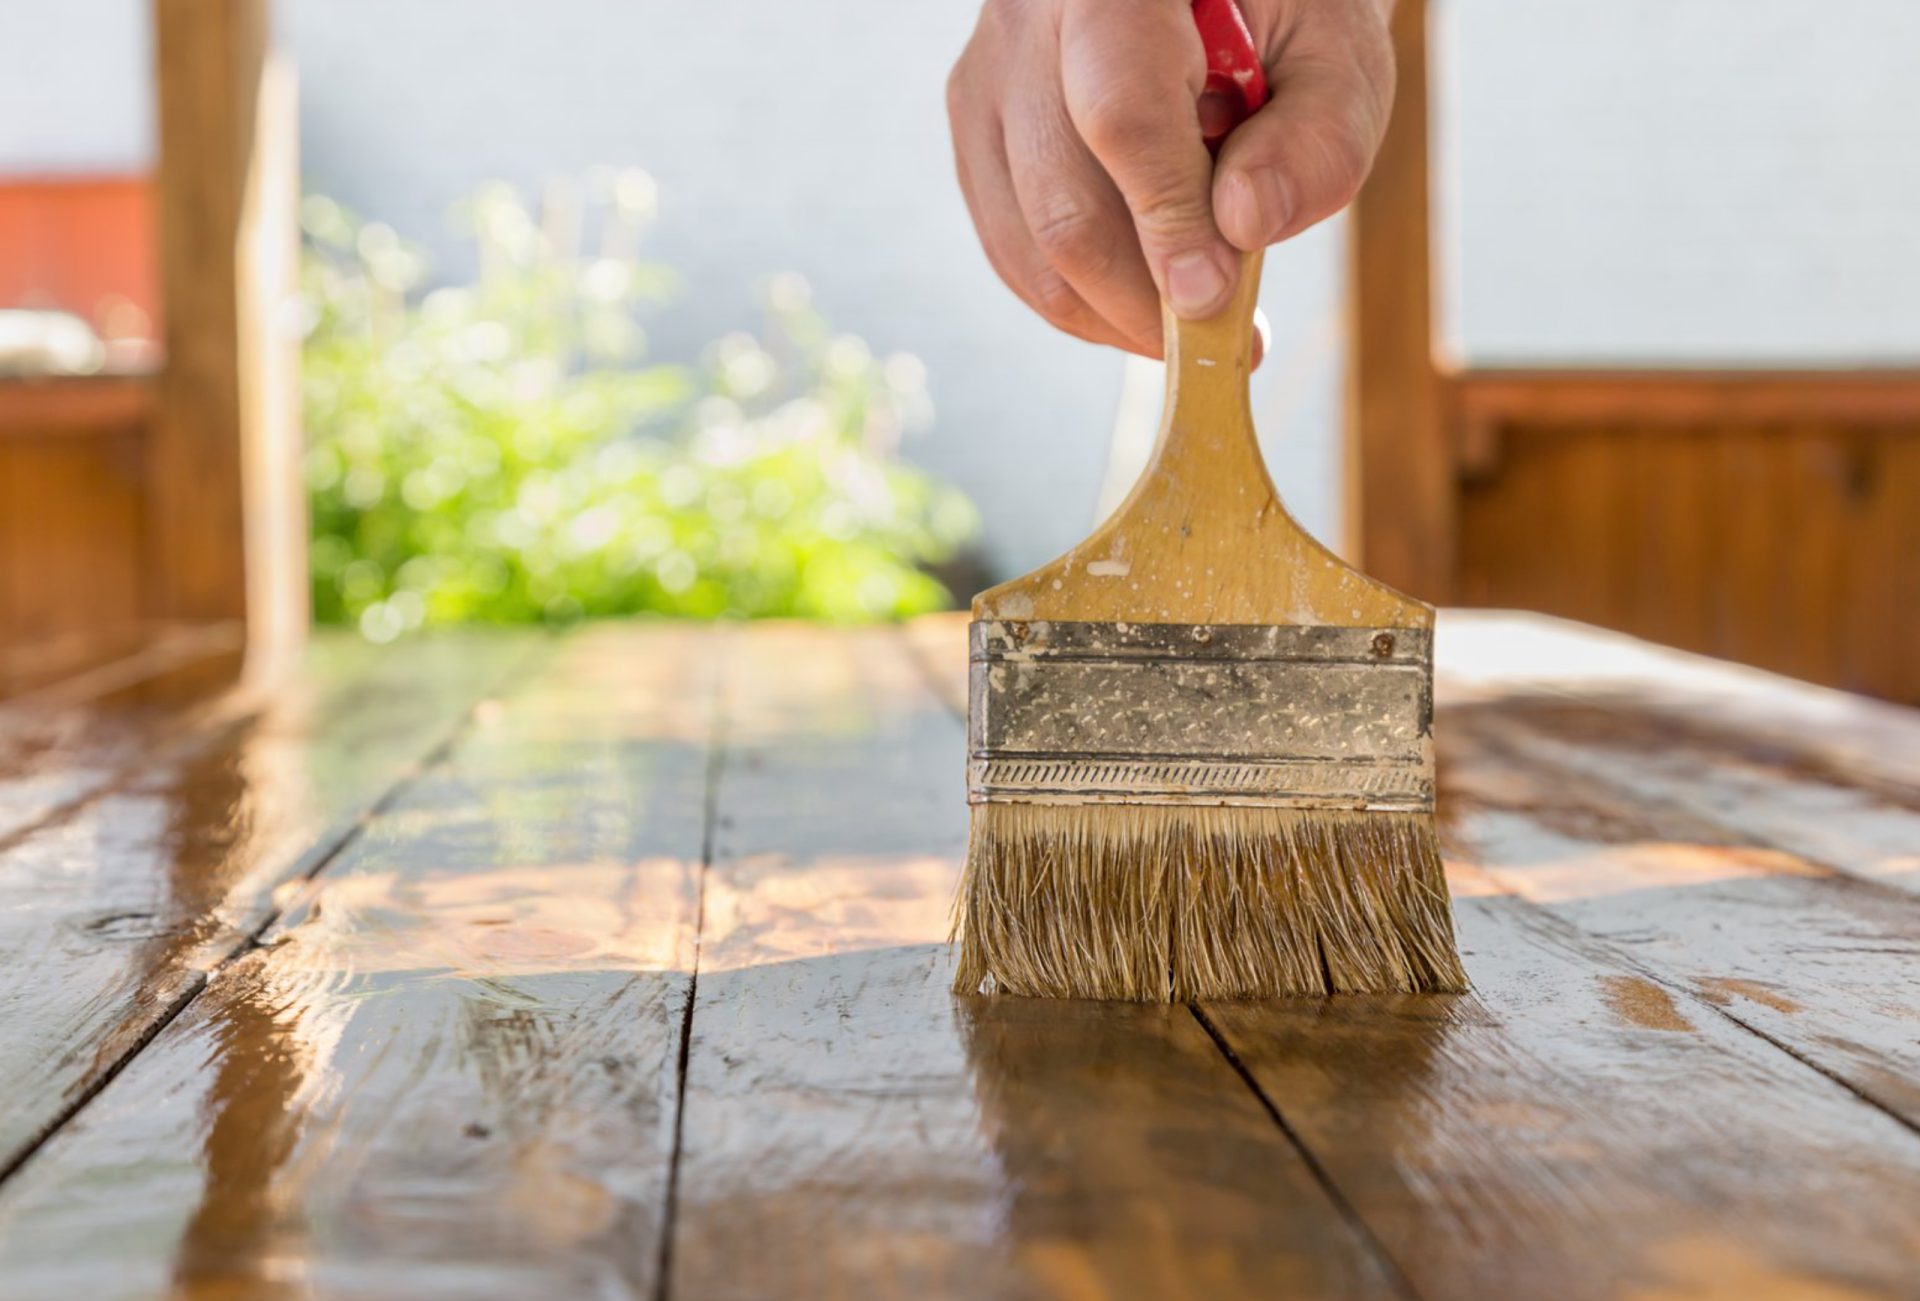
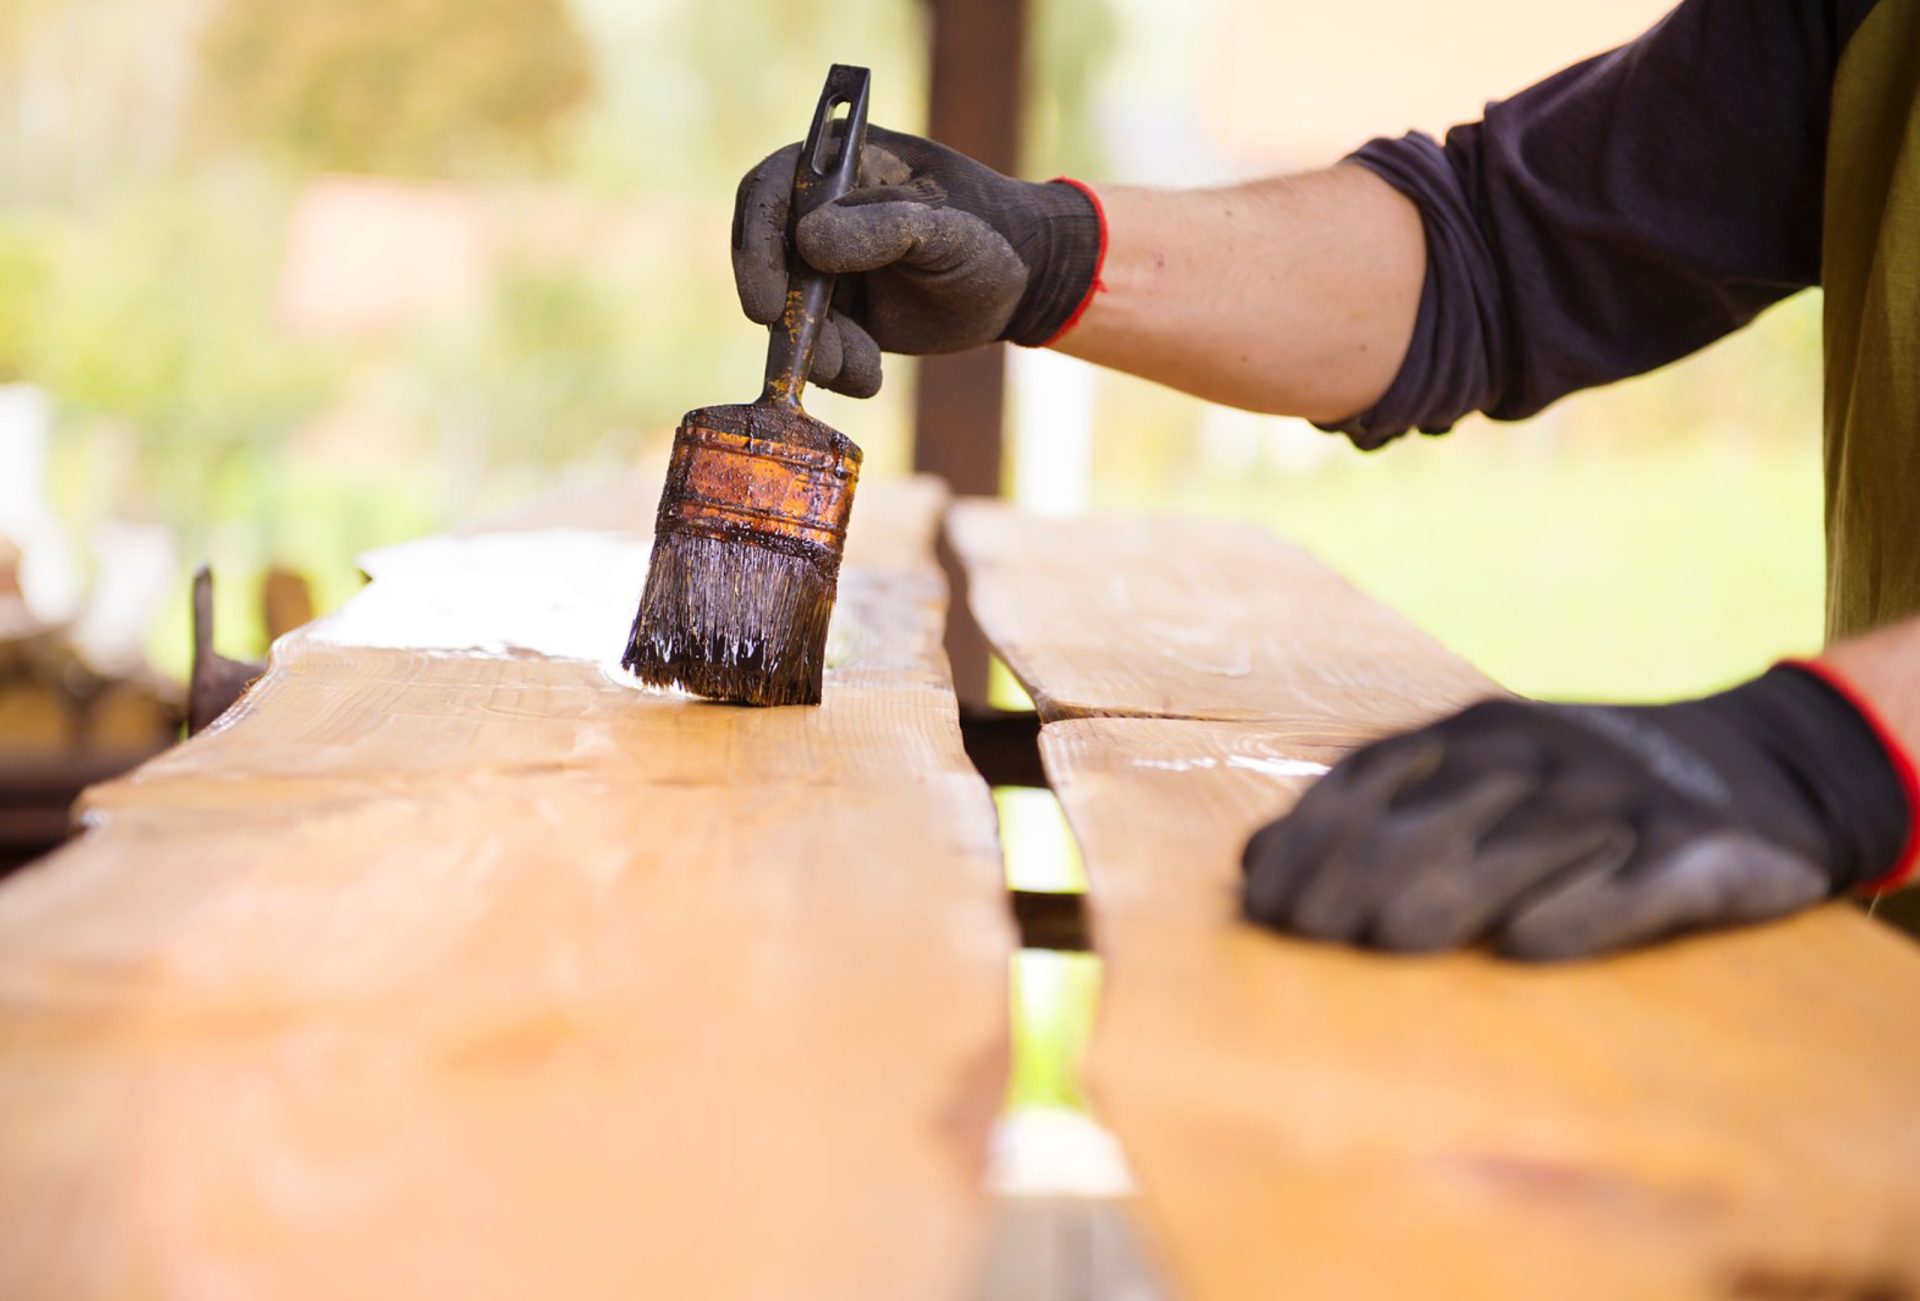
- Use brushes or rollers for smooth application; sprayers can save time for larger fences.
- Apply in the direction of the wood grain for consistent coverage.
- Apply thin, even coats and allow proper drying between coats (usually 24 hours).
Pro Tip: Avoid thick coats; multiple thin layers provide better protection and a professional finish.
8. Pay Attention to Fence Ends and Edges
- Fence posts, tops, and cut ends are more susceptible to moisture absorption.
- Apply extra stain to these areas for added protection.
- Ensure edges and joints are well-coated to prevent water damage and warping.
Pro Tip: Proper attention to ends and edges extends the life of your fence.
9. Allow Adequate Drying Time
- Avoid touching or leaning objects against the fence while drying.
- Check the manufacturer’s instructions for recommended drying and curing times.
- Weather conditions like humidity and temperature can affect drying duration.
Pro Tip: Patience ensures the stain sets properly, preventing peeling or uneven color.
10. Maintain Your Fence
- Clean annually to remove dirt, debris, and mildew.
- Reapply stain every 2–3 years, or sooner if fading occurs.
- Inspect high-traffic areas or exposed posts and touch up as needed.
Pro Tip: Regular maintenance keeps your fence looking fresh and protects it against weathering.
11. Professional Fence Staining Services
- Hiring professionals like Chicagoland Paint Pro ensures expert prep, uniform application, and long-lasting results.
- Professionals can handle large fences, multi-panel designs, and challenging weather conditions.
- Saves time, prevents mistakes, and guarantees a flawless finish.
Pro Tip: Even partial professional guidance can ensure your fence looks polished and durable.
Conclusion
Staining your wooden fence requires preparation, the right stain, proper application, and ongoing maintenance. Following this step-by-step guide ensures a durable, even, and visually appealing finish that enhances your home’s curb appeal. For expert assistance, precise application, and long-lasting results, Chicagoland Paint Pro offers professional fence staining services that protect your fence and elevate your outdoor space.