
Cabinet glazing is a transformative technique that adds depth, elegance, and character to kitchen cabinetry. While professional glazing delivers flawless results, beginners can achieve beautiful finishes at home with the right preparation, tools, and techniques. This guide provides step-by-step DIY tips for glazing your cabinets, helping you create a timeless, polished look without breaking the bank.
1. Gather the Right Tools and Materials
Before you start, make sure you have:
- Glaze: Oil-based, water-based, or gel glaze, depending on your preference.
- Paint Brushes: Soft bristle or foam brushes for smooth application.
- Rags or Cloths: For wiping and blending glaze.
- Sandpaper: Fine-grit (220) for smoothing surfaces.
- Protective Gear: Gloves, mask, and drop cloths to protect surfaces.
Pro Tip: Test your glaze on a sample piece of wood or an inconspicuous cabinet panel before applying it to the entire kitchen.
2. Properly Prepare Your Cabinets
Preparation is key to achieving professional-looking results:
- Remove doors, drawers, and hardware to make application easier.
- Clean thoroughly to remove grease, dirt, and dust.
- Sand lightly to create a smooth surface and promote glaze adhesion.
- Apply a base coat of paint if needed and allow it to dry completely.
Pro Tip: A well-prepared surface ensures the glaze adheres evenly and highlights cabinet details.
3. Choose Your Glaze Color
- For subtle effects, select a glaze slightly darker than your base paint.
- For contrast, choose a color that stands out against your base coat.
- Keep the kitchen’s overall color palette in mind to ensure harmony.
Pro Tip: Neutral glazes are beginner-friendly, while bold or metallic shades require more control for a professional finish.
4. Select the Right Glazing Technique
Beginner-Friendly Techniques Include:
- Wipe-Off Technique: Apply glaze and immediately wipe off excess with a cloth to highlight crevices and moldings.
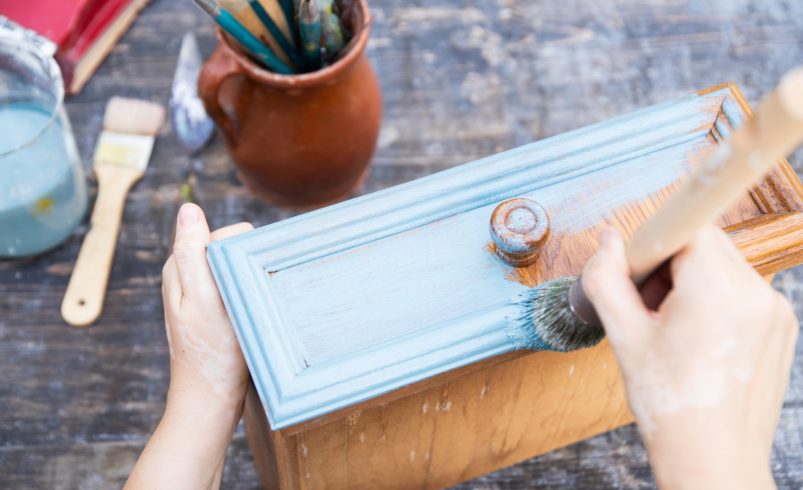
- Dry Brush Technique: Use a dry brush with minimal glaze to gently highlight raised panels and edges.
- Layering: Apply thin layers, allowing each to dry before adding the next for depth.
Pro Tip: Practice each technique on a test panel to build confidence before applying it to your cabinets.
5. Step-by-Step DIY Application
- Work on one cabinet or section at a time.
- Apply glaze evenly, starting in recessed areas for natural shadowing.
- Wipe away excess glaze immediately with a soft cloth to prevent streaking.
- Blend carefully to maintain a uniform look.
- Allow the glaze to dry completely before handling or reassembling.
Pro Tip: Patience is crucial—rushing the process can lead to uneven or blotchy finishes.
6. Protect Your Work With a Topcoat
- After glazing, apply a clear protective topcoat, such as polyurethane or water-based varnish.
- Thin, even layers prevent streaks and preserve the glaze.
- Lightly sand between coats for a smooth, professional finish.
Pro Tip: Sealing your glaze ensures durability and keeps cabinets looking fresh for years.
7. Common Beginner Mistakes to Avoid
- Applying glaze to dirty or unprepared surfaces.
- Using too much glaze at once, creating blotches.
- Skipping the test panel step.
- Ignoring drying times between coats.
- Failing to seal the glaze with a protective topcoat.
Pro Tip: Follow the preparation, application, and finishing steps carefully to avoid these pitfalls.
8. Enhance Your Cabinets With Glaze
- Highlight moldings, edges, and panels to accentuate detail.
- Combine glaze with subtle distressing for an antique or vintage effect.
- Layer glaze tones for more depth and complexity in the finish.
Pro Tip: Less is often more—subtle glaze can make a bigger visual impact than heavy application.
9. Maintenance Tips for DIY Glazed Cabinets
- Clean gently with mild soap and water or wood-safe cleaners.
- Avoid abrasive sponges or chemicals that can damage the glaze.
- Inspect periodically for scratches or wear and touch up as needed.
Pro Tip: Regular gentle maintenance preserves the beauty of your DIY glaze finish.
10. Final Thoughts
DIY cabinet glazing is achievable for beginners with preparation, patience, and the right tools. By practicing techniques, using quality materials, and taking your time, you can create a polished, elegant finish that enhances your kitchen’s depth and style. For those who want flawless, professional results, Chicagoland Paint Pro provides expert glazing services that bring timeless beauty to every cabinet.