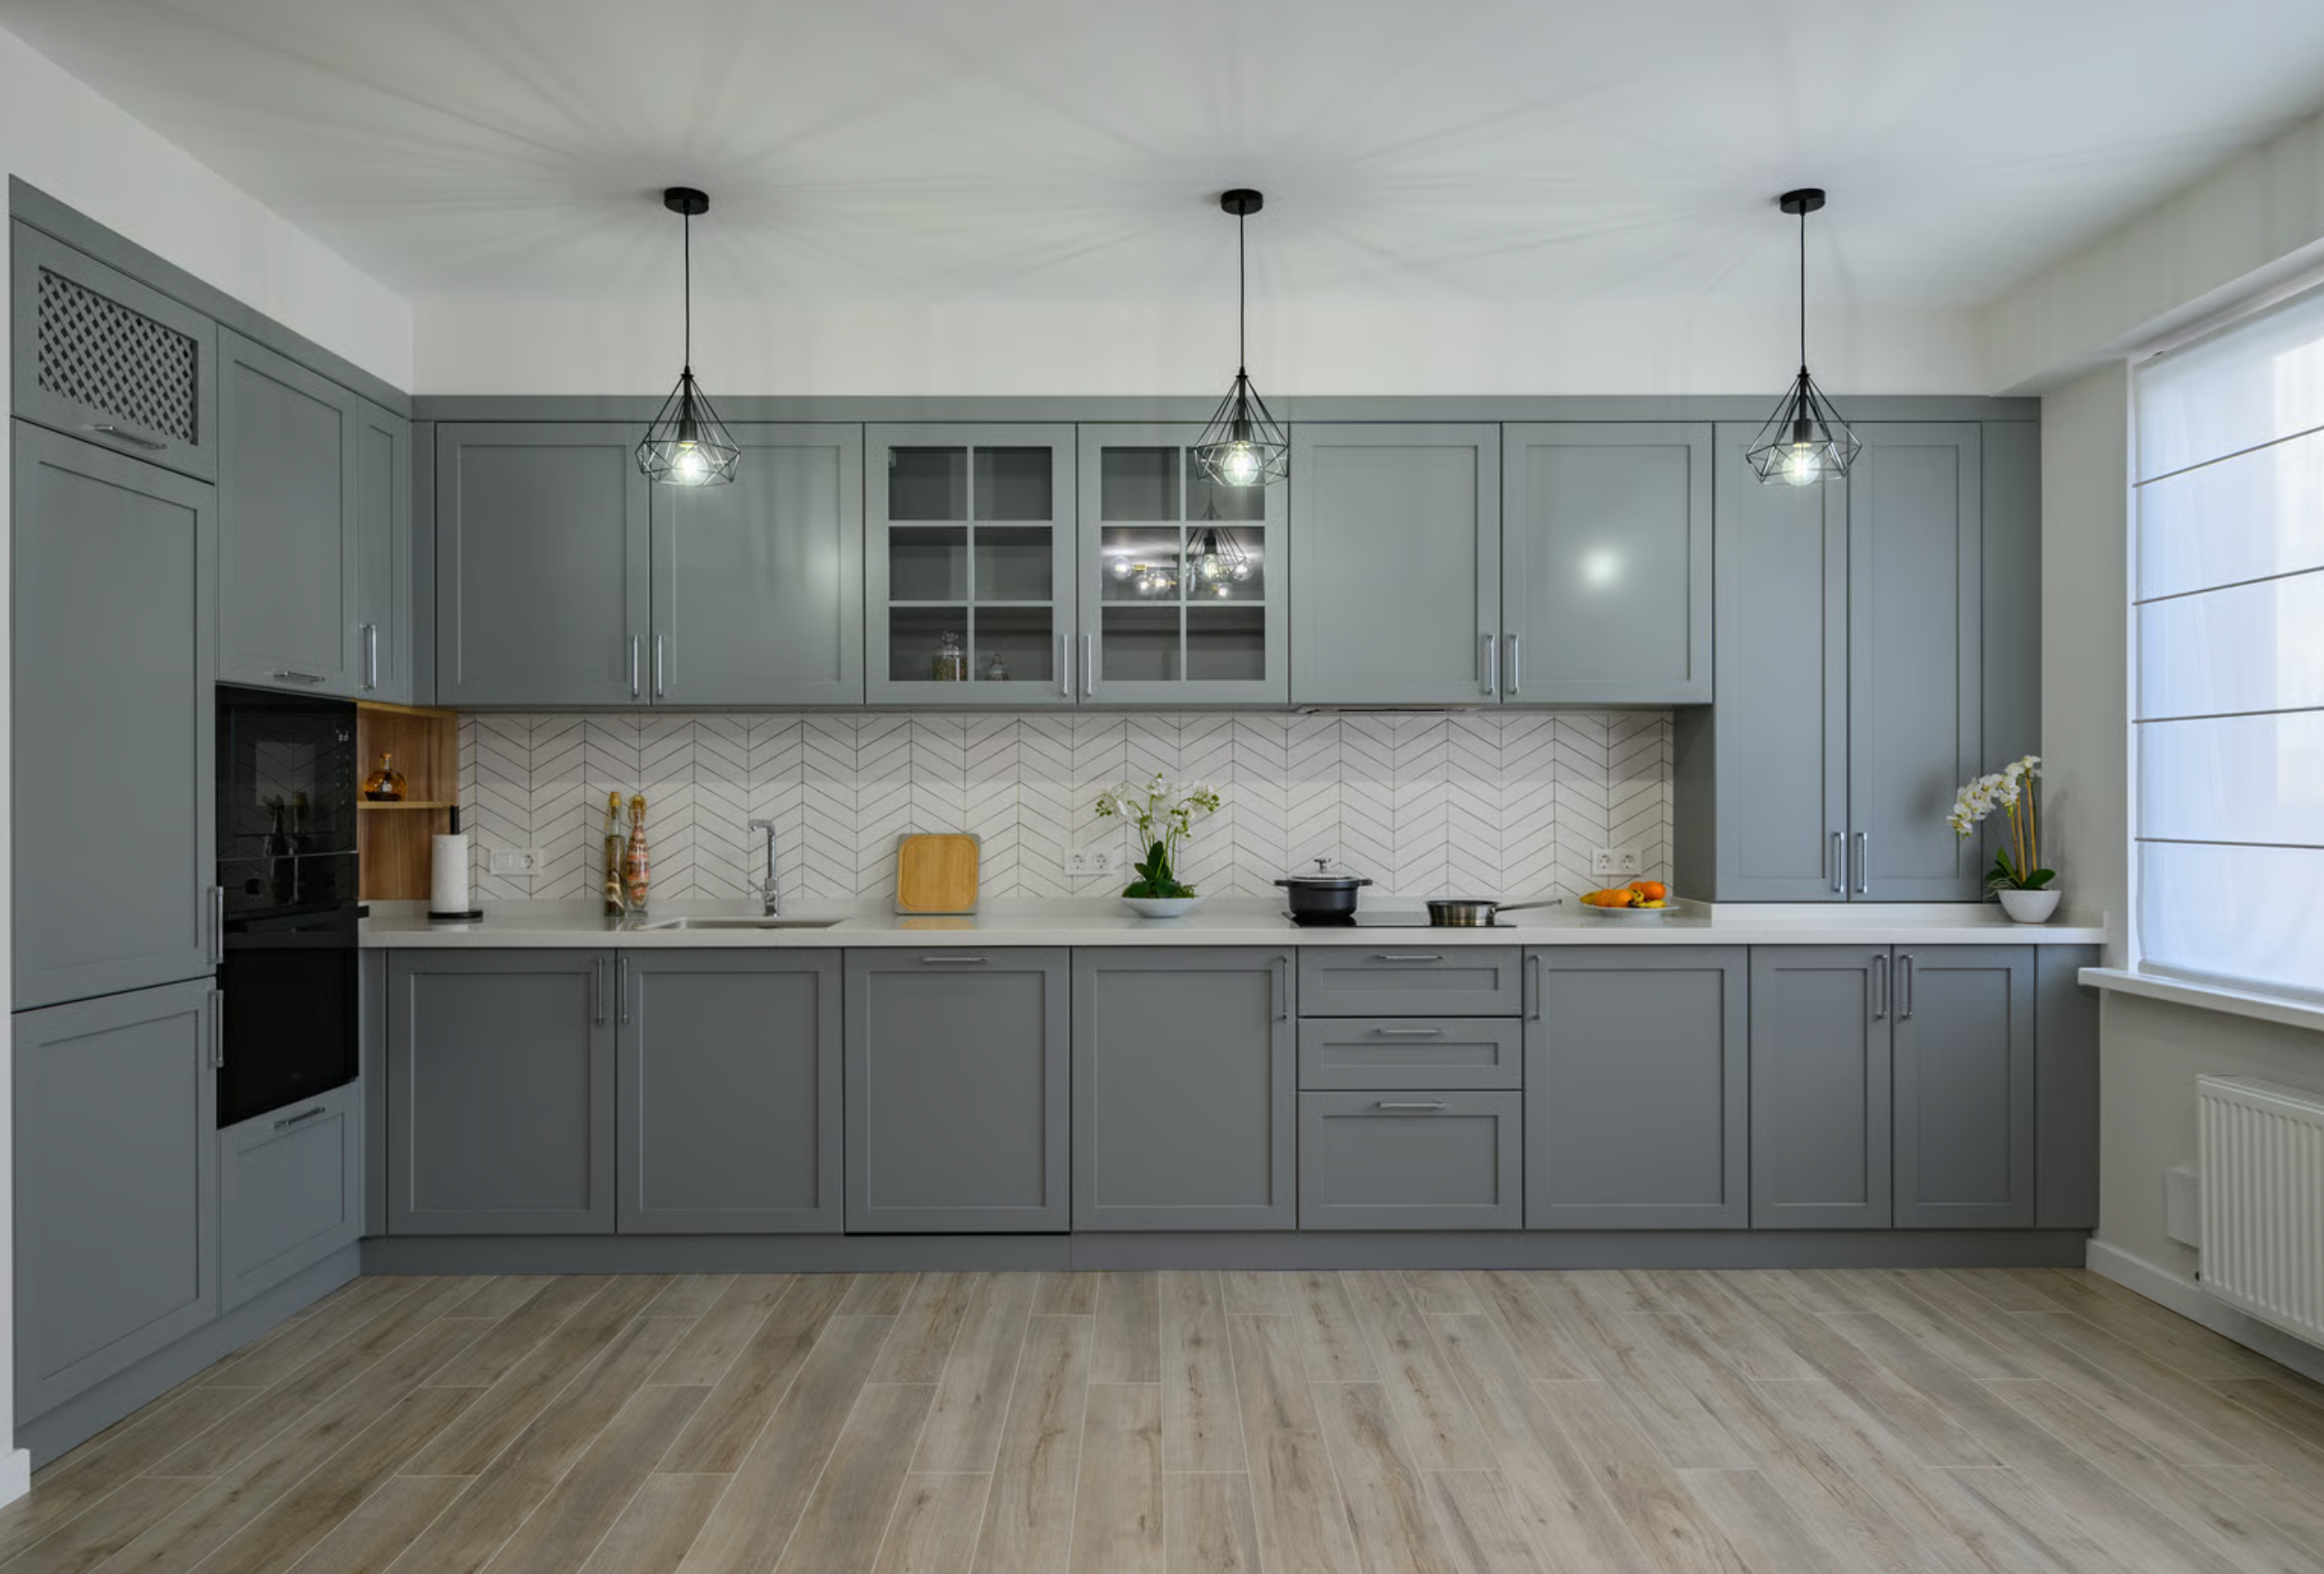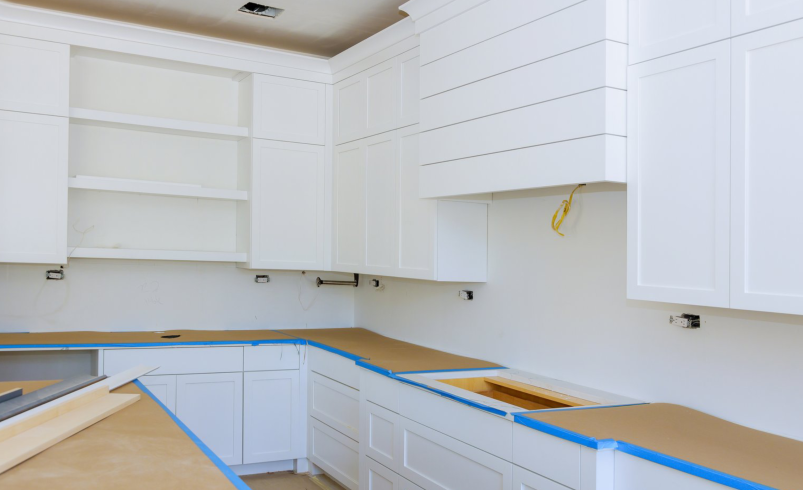

Painting your kitchen cabinets yourself can completely transform your space without the high cost of a full renovation. With the right preparation, materials, and techniques, DIY cabinet painting is achievable—even for beginners. In this guide, we’ll cover expert tips and tricks to ensure your cabinets look professional, last longer, and elevate your kitchen’s style.
1. Planning Your Project
Before touching a paintbrush, planning is key:
- Set a realistic timeline: Painting cabinets takes time. Expect 3–5 days depending on the number of cabinets and drying time.
- Choose the right paint: For durability, use semi-gloss or satin finishes. Acrylic or latex-based paints are easy to work with and clean.
- Gather tools and materials: Essential items include primer, paint, brushes, rollers, painter’s tape, sandpaper, and drop cloths.
Pro Tip: Take photos of your cabinets before disassembling hardware. This will help you reassemble everything correctly.
2. Removing Hardware and Doors
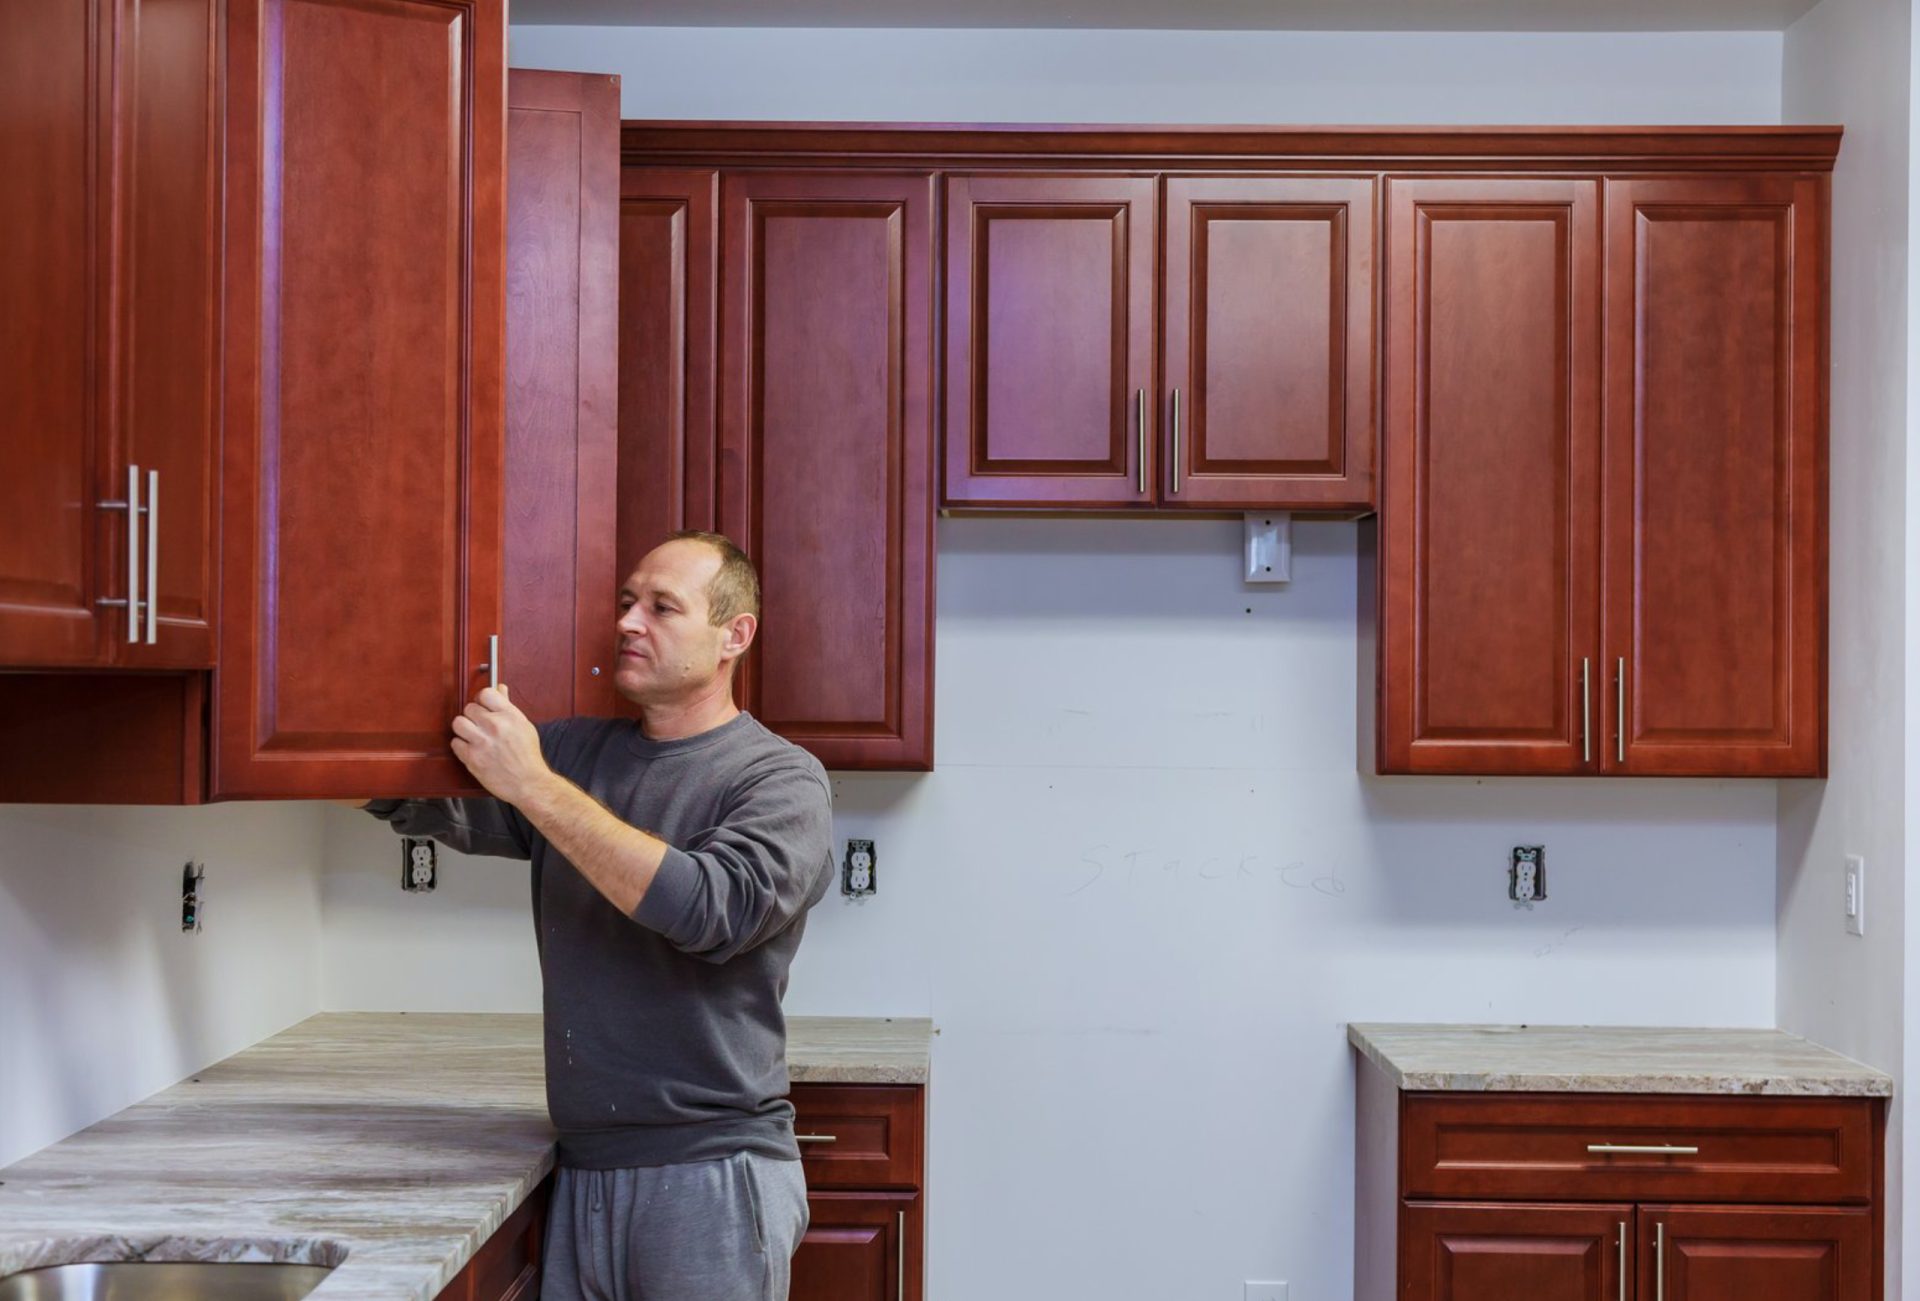
- Start by removing cabinet doors, drawers, and hardware (handles, knobs, hinges).
- Label doors and drawers with masking tape so you know exactly where each piece goes when reassembling.
- Keep screws, bolts, and hardware in small labeled bags.
Pro Tip: Number doors and drawers with a pencil on the back to avoid confusion.
3. Cleaning and Preparing Surfaces
Cleanliness is crucial for a smooth finish:
- Remove grease, dust, and grime using a degreasing cleaner or a mixture of warm water and mild dish soap.
- Rinse thoroughly and let surfaces dry completely.
- Sand cabinet surfaces lightly with fine-grit sandpaper (220 grit) to remove old finish and help the paint adhere.
Pro Tip: Use a tack cloth to remove all dust after sanding—it prevents bumps in your paint.
4. Priming Your Cabinets
Priming ensures a long-lasting and smooth finish:
- Apply a high-quality primer to bare wood or previously painted cabinets.
- For cabinets with stains or darker colors, use a stain-blocking primer.
- Let primer dry according to the manufacturer’s instructions before sanding lightly with fine-grit sandpaper.
Pro Tip: A thin coat is better than a thick one; multiple light coats prevent drips and uneven texture.
5. Painting Techniques
- Brush vs. Roller: Use a high-quality brush for edges and detailed areas; a small foam roller works best for flat surfaces.
- Thin Coats: Apply thin, even coats to prevent streaks and drips. Multiple thin coats are better than one thick coat.
- Drying Time: Allow each coat to dry fully before adding the next. Patience ensures a professional finish.
Pro Tip: Avoid painting in very humid or dusty environments—it can affect drying and smoothness.
6. Handling Cabinet Details
Many cabinets have intricate details, like panels or molding:
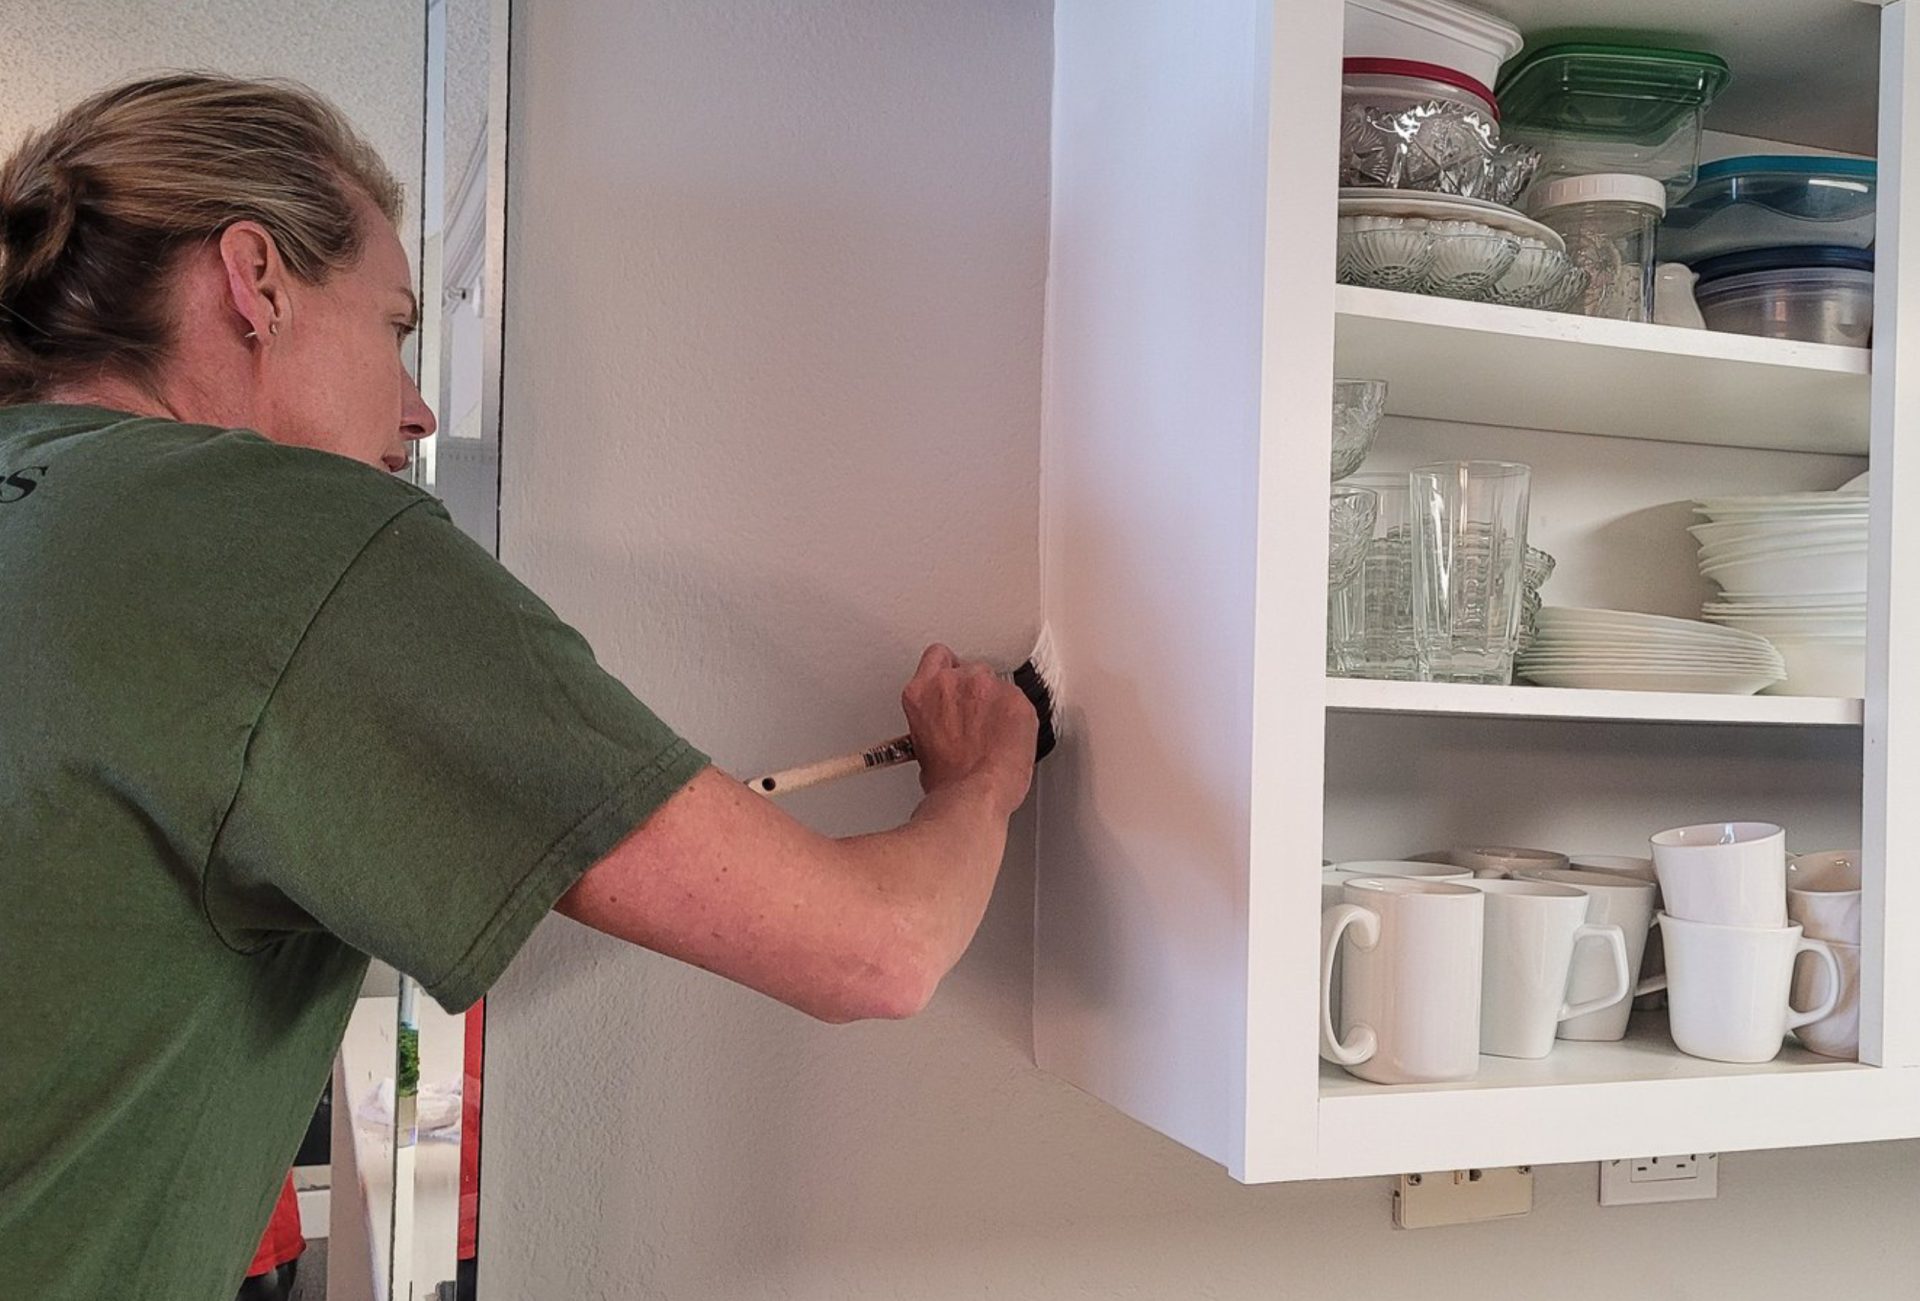
- Use an angled brush for corners and grooves.
- Roll flat surfaces for speed and smoothness.
- Consider lightly sanding between coats for a polished finish.
Pro Tip: Paint in the same direction as the wood grain for a natural, uniform look.
7. Reassembling Cabinets
After the final coat is dry:
- Reattach hardware carefully using your labeled bags as a guide.
- Rehang doors and drawers according to your numbered labels.
- Make final adjustments to hinges for perfect alignment.
Pro Tip: Avoid heavy use for at least 48 hours to allow paint to cure fully.
8. Maintaining Painted Cabinets
- Clean gently with mild soap and water. Avoid abrasive cleaners.
- Wipe spills immediately to prevent stains.
- Touch up minor scratches with leftover paint to maintain a flawless finish.
Pro Tip: Regularly inspect cabinets for chips or wear and address them promptly to extend the life of your paint job.
9. Common DIY Mistakes to Avoid
- Skipping primer: Paint won’t stick properly and may peel over time.
- Applying thick coats: Causes drips and uneven texture.
- Rushing the project: Not allowing proper drying time results in a less durable finish.
- Painting in poor lighting: Hard to see streaks or missed spots.
- Ignoring cabinet hardware: Old or mismatched handles can ruin the overall look.
Conclusion
DIY kitchen cabinet painting is a cost-effective way to revitalize your kitchen while expressing personal style. With careful planning, proper prep, and attention to detail, your cabinets can look professionally painted without the high price tag. Follow these tips and tricks from Chicagoland Paint Pro, and your kitchen will have a refreshed, modern look that lasts for years.