
A flawless paint finish on your kitchen cabinets doesn’t happen by accident—it starts with meticulous preparation. Proper prep ensures paint adheres correctly, lasts longer, and results in a professional-looking finish. Whether you’re planning a DIY project or hiring a pro, following these steps will save you time, frustration, and costly mistakes.
1. Remove Cabinet Doors, Drawers, and Hardware
Preparation begins with taking everything off:
- Remove doors, drawers, handles, knobs, and hinges.
- Label each piece with masking tape and a marker to ensure everything goes back in the correct spot.
- Keep screws and hardware in small labeled containers.
Pro Tip: Take photos before removal to make reassembly easier.
2. Clean Thoroughly
Grease, dirt, and grime prevent paint from sticking:
- Use a degreasing cleaner or a mixture of warm water and dish soap.
- Focus on high-touch areas like handles, edges, and corners.
- Rinse with clean water and allow everything to dry completely.
Pro Tip: For stubborn grease, a vinegar-water solution can help cut through residue.
3. Sanding for Smooth Surfaces
Sanding is critical for adhesion and smoothness:
- Lightly sand all surfaces with fine-grit sandpaper (220–320 grit).
- Remove old glossy finishes to create a slightly rough texture for paint to grip.
- Wipe surfaces with a tack cloth to remove dust.
Pro Tip: Always sand in the direction of the wood grain to avoid scratches showing through the paint.
4. Fill Imperfections
Even minor dents or scratches can show through paint:
- Use a high-quality wood filler for dents, holes, or deep scratches.
- Smooth filler with a putty knife and let it dry completely.
- Sand the filled areas to blend them with the cabinet surface.
Pro Tip: Lightly sand all edges and corners, as these areas are prone to chipping.
5. Apply Primer
Primer creates a uniform surface and enhances paint adhesion:
- Choose a stain-blocking primer for cabinets with previous stains or dark finishes.
- Apply thin, even coats using a brush for edges and a small roller for flat panels.
- Allow primer to dry fully before lightly sanding with fine-grit sandpaper for a smooth finish.
Pro Tip: Use a water-based primer for easier cleanup and faster drying times.
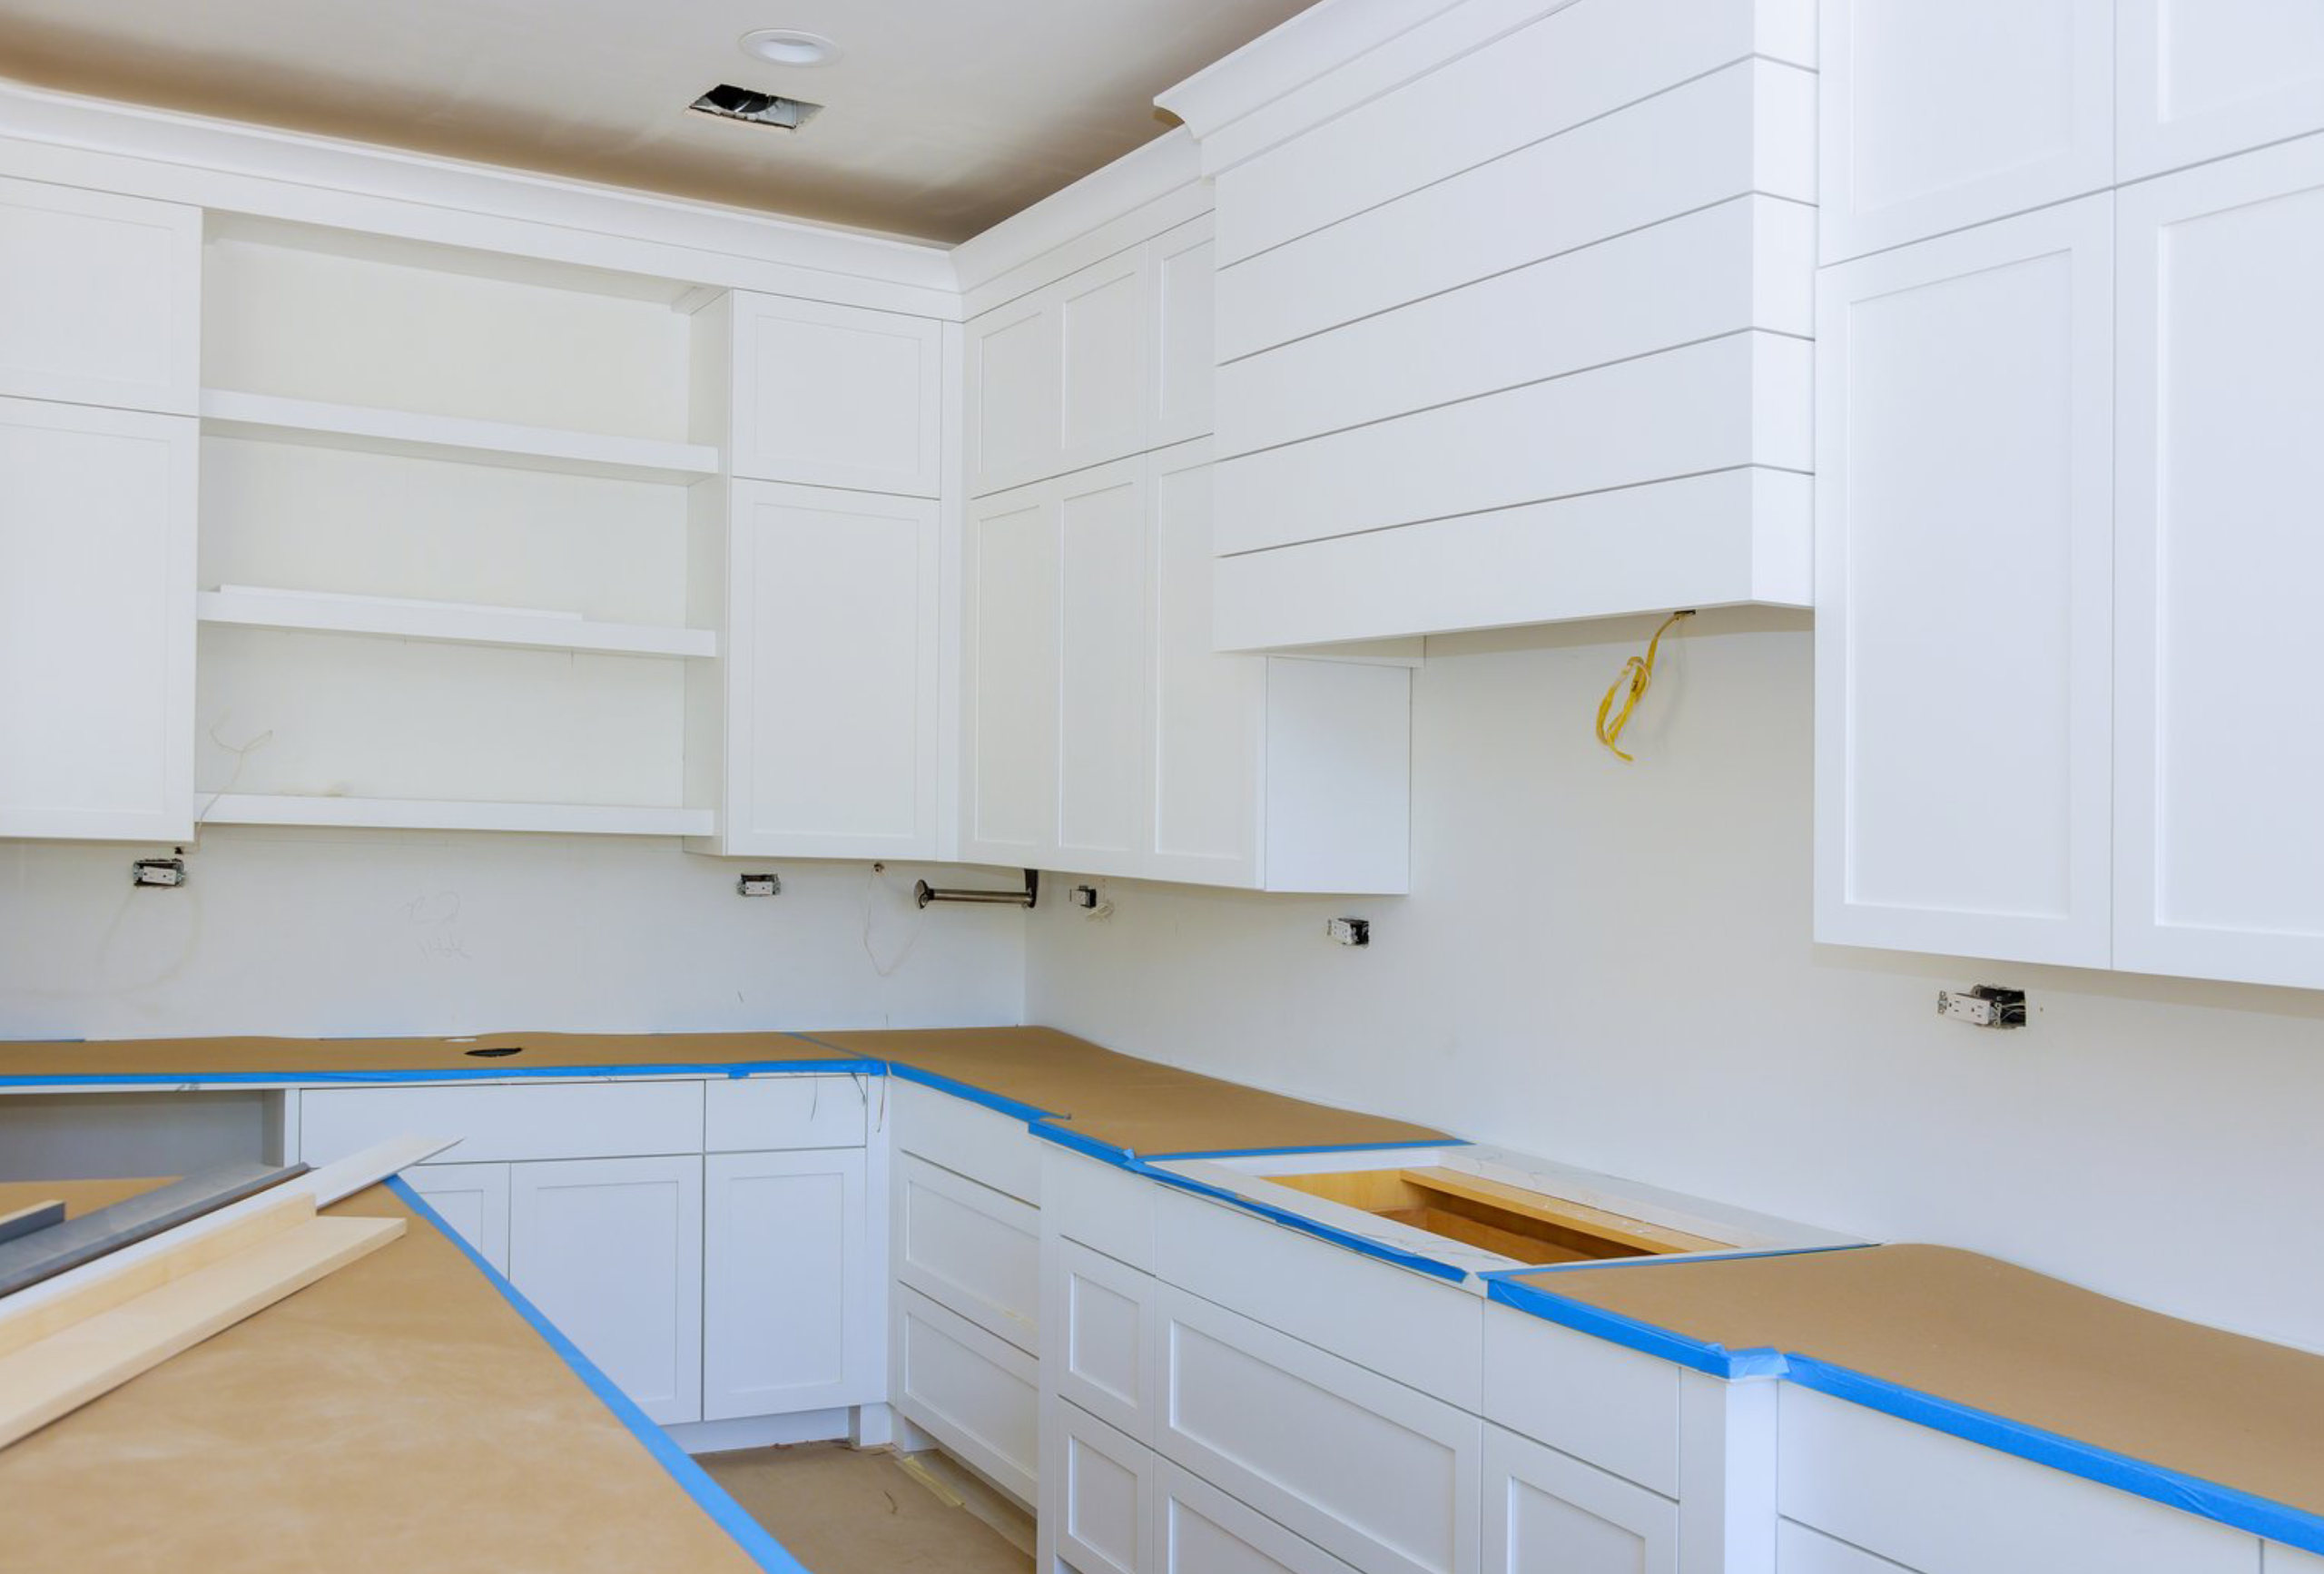
6. Protect Surrounding Areas
Even with careful painting, overspray or drips can happen:
- Use painter’s tape to cover walls, countertops, and floors.
- Lay down drop cloths or old sheets for extra protection.
- Remove tape immediately after painting edges for clean lines.
Pro Tip: Avoid using too much tape—it can lift primer or paint if left on too long.
7. Ensure Proper Environment
The right environment helps paint dry evenly and prevents imperfections:
- Work in a dust-free area.
- Maintain moderate temperatures (65–75°F / 18–24°C) for optimal drying.
- Avoid high humidity, which can cause paint to bubble or not adhere properly.
Pro Tip: Use a fan for air circulation, but avoid blowing dust onto wet paint.
8. Choosing the Right Tools for Prep
Using proper tools makes prep faster and more effective:
- Sandpaper or sanding block – for smoothing surfaces.
- Tack cloth – removes fine dust after sanding.
- Putty knife – fills imperfections.
- High-quality brushes and rollers – ensure even primer application.
Pro Tip: Foam rollers work best on flat panels to avoid brush strokes.
9. Common Prep Mistakes to Avoid
- Skipping cleaning – grease and dirt prevent paint adhesion.
- Not sanding enough – glossy surfaces can cause paint to peel.
- Ignoring imperfections – dents and scratches show through paint.
- Using low-quality primer – may cause uneven color or peeling.
- Painting in unsuitable conditions – too hot, cold, or humid environments affect finish quality.
10. Final Checklist Before Painting
Before applying paint, ensure you’ve:
- Removed all doors, drawers, and hardware.
- Cleaned and degreased every surface.
- Sanded and removed all dust.
- Filled dents and scratches.
- Applied a high-quality primer.
- Protected surrounding areas with tape and drop cloths.
- Verified the environment is suitable for painting.
Pro Tip: Take a final walk-through to check for dust, missed spots, or uneven surfaces.
Conclusion
Preparation is the secret to a smooth, professional-looking cabinet paint finish. By removing hardware, cleaning, sanding, filling imperfections, priming, and working in the right environment, you’ll create a surface that’s ready to receive paint flawlessly. Following these steps ensures your kitchen cabinets look polished, last longer, and transform your space into a modern, stylish haven. For professional results and expert guidance, trust Chicagoland Paint Pro to help you achieve the perfect kitchen cabinet makeover.