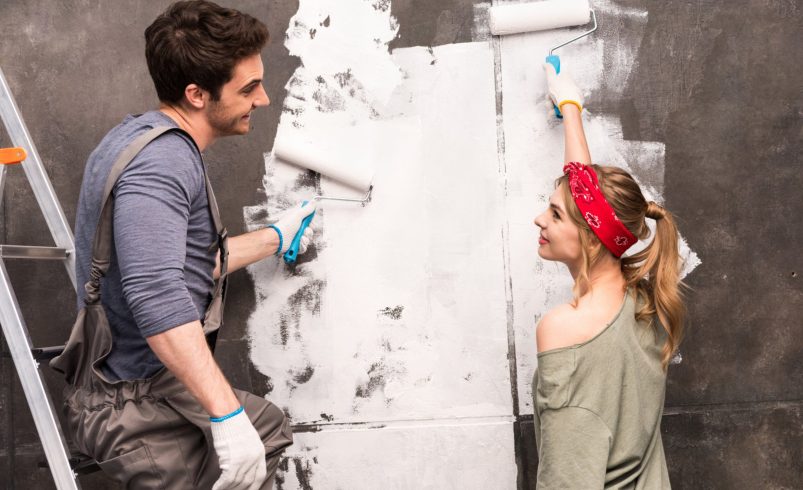

Tenant turnover is one of the most challenging times for property managers. Between move-outs and new occupants, walls often show signs of wear, minor damage, or accidental impacts. Repairing tenant damage before painting is crucial to ensure a smooth, professional finish that maintains the property’s value and appeals to new tenants.
This guide provides practical strategies for assessing, repairing, and prepping walls for painting after tenant damage, helping property managers complete projects efficiently without compromising quality.
Why Repairing Damage Matters
- Protects Property Value: Small cracks, holes, and dents can worsen over time if not repaired, leading to costly long-term maintenance.
- Ensures a Smooth Paint Finish: Uneven or damaged surfaces result in peeling, blistering, or streaky paint.
- Enhances Tenant Satisfaction: New tenants are more likely to be impressed by clean, damage-free walls.
- Reduces Rework: Proper repairs reduce the need for touch-ups or additional coats after painting.
Repairing damage first sets the foundation for long-lasting, high-quality paint results.
Step 1: Assess the Damage
- Walk Through the Unit: Inspect walls, ceilings, and trim for dents, holes, scratches, and stains.
- Identify Severity: Categorize damage as minor (nail holes, scuffs) or major (large holes, water damage, cracks).
- Document Findings: Take photos and notes for property records and possible tenant deductions.
- Prioritize Repairs: Focus on areas that will be painted, highly visible, or critical for aesthetic appeal.
A clear assessment ensures efficient repairs without wasting time or materials.
Step 2: Gather Repair Materials
- Spackling or Patch Putty: Ideal for small holes, nail marks, or minor dents.
- Joint Compound: Use for larger wall repairs, cracks, or uneven surfaces.
- Sandpaper: Fine-grit sanding ensures smooth finishes.
- Primer: Helps repaired areas blend seamlessly with the rest of the wall.
- Basic Tools: Putty knives, sanding blocks, and cleaning supplies.
Having the right materials prevents delays and ensures professional results.
Step 3: Repair Minor Damage
- Fill Nail Holes and Small Dents: Apply spackle, smooth with a putty knife, and allow to dry.
- Sand Repaired Areas: Once dry, lightly sand for a flat, even surface.
- Clean Walls: Remove dust, dirt, or grease to improve paint adhesion.
- Prime if Needed: Priming repaired spots prevents uneven texture or color differences.
Minor damage repairs are often the quickest but most impactful steps in preparing walls.
Step 4: Repair Major Damage
- Patch Larger Holes: Use wall patches or drywall pieces secured with joint compound.
- Smooth Cracks and Imperfections: Apply joint compound, feather edges, and sand after drying.
- Check for Structural Concerns: Ensure damage is not caused by water leaks or underlying issues.
- Prime Repaired Areas: Large repairs need primer to ensure consistent color and sheen when painted.
Major damage repair takes more time but is essential for a flawless, long-lasting finish.
Step 5: Prepare for Painting
- Masking and Protection: Cover floors, furniture, and fixtures to prevent paint splatter.
- Final Surface Check: Inspect repaired areas for bumps, ridges, or missed spots.
- Select Paint Wisely: Use durable, washable paint to withstand future tenant wear.
- Plan Workflow: Paint ceilings, walls, and trim in sequence to minimize mistakes and drying issues.
Proper preparation ensures smooth, professional painting results.
Step 6: Prevent Future Damage
- Use Durable Paint: Scrubbable or washable finishes reduce visible wear.
- Install Wall Guards or Bumpers: Protect high-traffic areas like hallways and kitchens.
- Provide Tenant Guidelines: Encourage careful handling of walls and furniture to minimize future damage.
- Regular Maintenance Inspections: Catch minor wear early before it becomes extensive damage.
Prevention strategies reduce repair needs and speed up future painting projects.
Step 7: Leverage Professional Painting Services
- Efficient Damage Assessment: Experts can quickly identify and prioritize repairs.
- Professional Repairs: Skilled teams apply patches, spackle, and joint compound for smooth results.
- High-Quality Finishes: Professionals ensure repaired walls blend seamlessly with surrounding areas.
- Time-Saving Solutions: Experienced teams can repair and paint multiple units efficiently.
Partnering with professionals like Chicagoland Paint Pro ensures fast, reliable repair and painting solutions.
Chicagoland Paint Pro Solutions
Chicagoland Paint Pro provides comprehensive services for property managers dealing with tenant damage:
- Damage Assessment & Repair: Identify and fix wall imperfections quickly and effectively.
- Interior Painting: Seamless, high-quality finishes that restore unit appeal.
- Fast Turnaround: Reduce vacancy time while ensuring professional results.
- Tenant-Friendly Execution: Minimal disruption and clear communication throughout the process.
Our services help property managers save time, maintain property value, and impress new tenants.
Conclusion
Repairing tenant damage before painting is a critical step in property maintenance. Proper assessment, efficient repairs, high-quality materials, and professional execution ensure a smooth, long-lasting finish.
By following these strategies and working with Chicagoland Paint Pro, property managers can quickly restore walls, reduce vacancy downtime, and provide tenants with clean, professionally painted spaces.