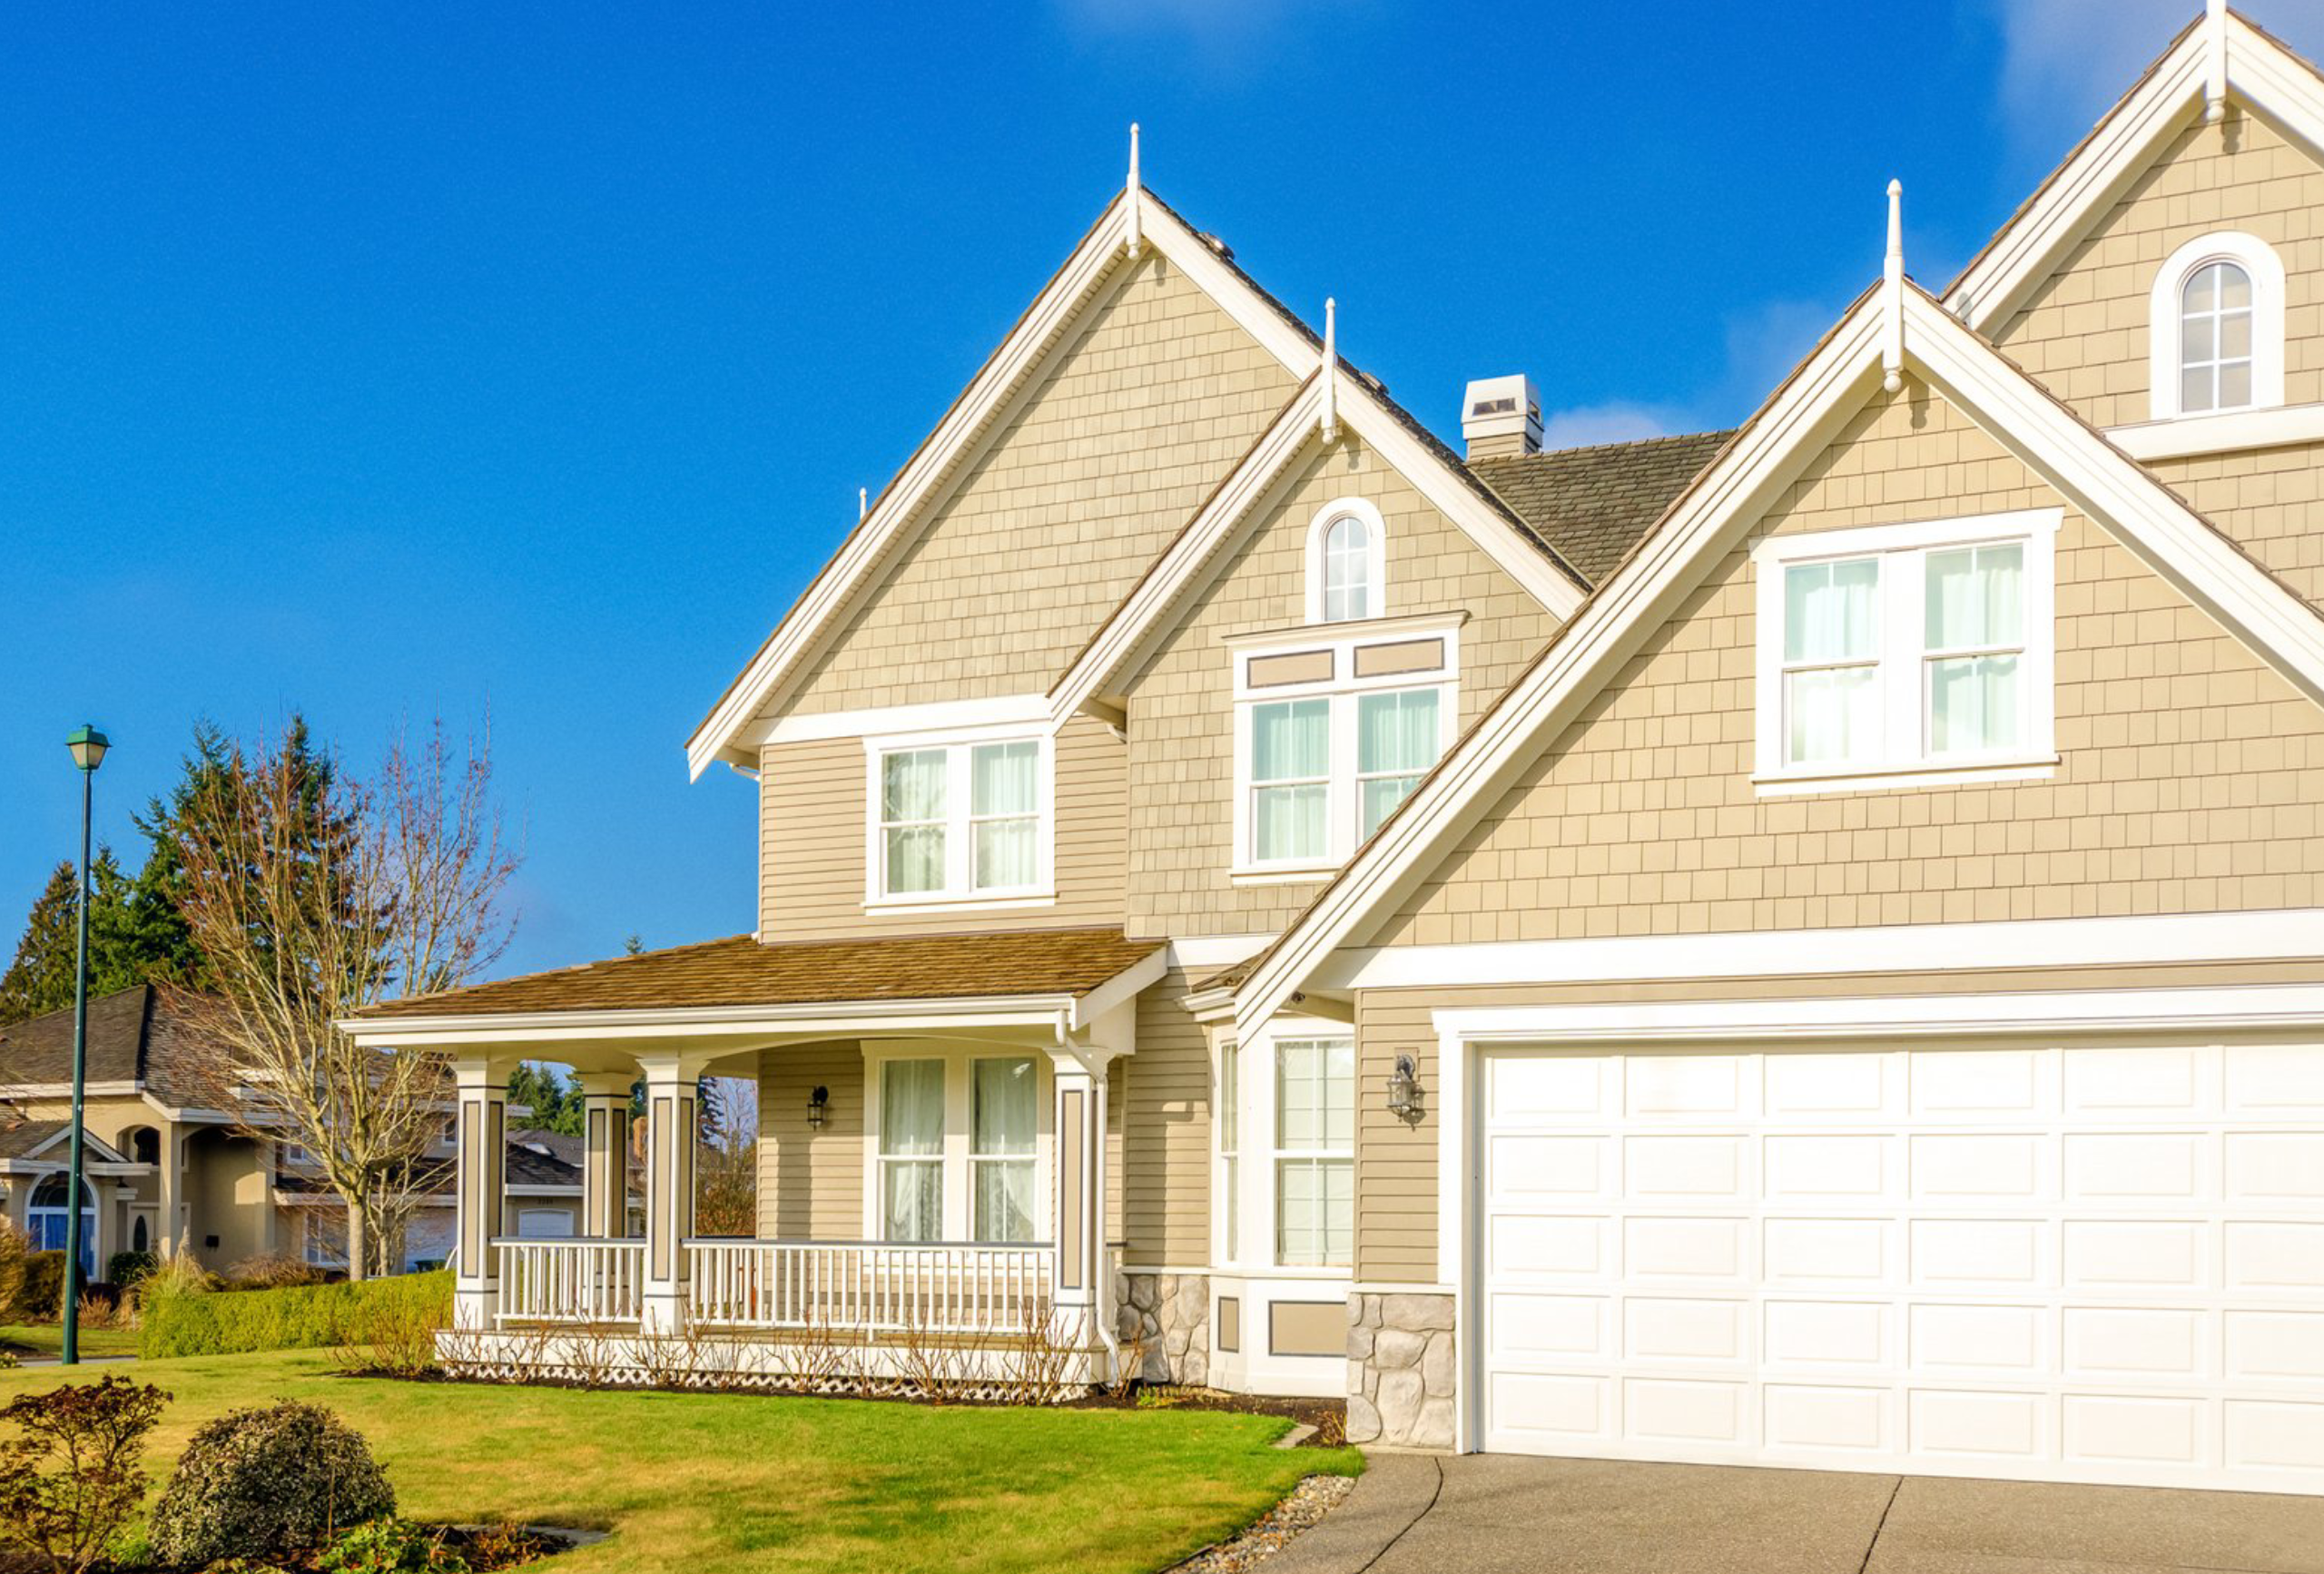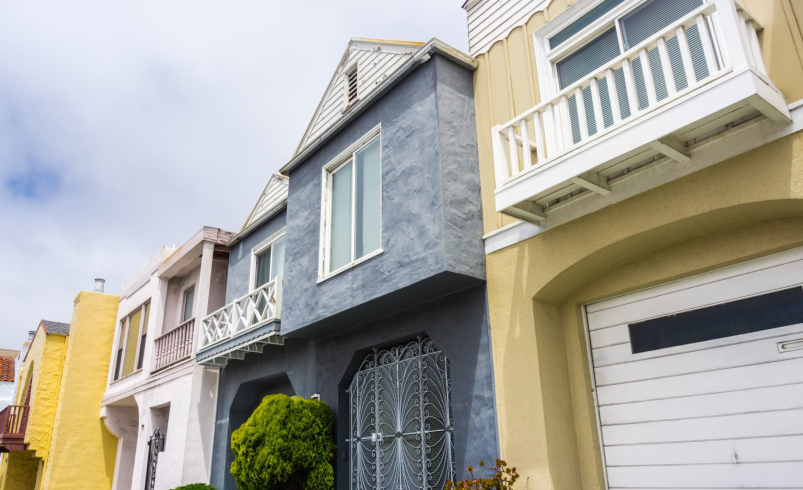

Painting the exterior of a townhouse is a major investment in both aesthetics and protection. Unlike single-family homes, townhouses are often connected, meaning your exterior paint not only reflects your style but also impacts the overall harmony of the neighborhood. Choosing the right techniques, finishes, and colors ensures a durable, beautiful exterior that stands the test of time.
In this guide, we’ll cover essential townhouse exterior painting tips, from preparation to finishing touches, so your home maintains lasting appeal.
Why Exterior Painting Matters for Townhouses
- Curb Appeal: A fresh coat of paint enhances the visual impact of your property.
- Weather Protection: Exterior paint shields siding, trim, and doors from moisture, sun, and wind.
- Neighborhood Harmony: Coordinated colors respect shared walls and community aesthetics.
- Long-Term Value: Properly maintained paint prevents damage, reducing costly repairs.
Chicagoland Paint Pro Tip: Townhouse exteriors face heavy foot traffic, urban pollutants, and Chicago weather extremes. Using high-quality paint and proper preparation is critical for longevity.
Step 1: Choose the Right Paint
- Acrylic Latex Paint: Flexible, durable, and suitable for most townhouse siding materials.
- Oil-Based Paint: Excellent for trim and doors; smooth finish and strong adhesion.
- Low-VOC Paint: Safer for densely populated areas and reduces fumes.
Pro Tip: Use exterior-grade paint formulated for harsh climates like Chicago’s freezing winters and humid summers.
Step 2: Select Colors Strategically
- Neutral Base: Soft gray, beige, or off-white works for the main siding.
- Trim and Accents: Use contrasting colors for doors, window frames, and shutters.
- Neighborhood Cohesion: Ensure your choices complement neighboring units, especially for connected townhouses.
- Test Samples: Always try small patches on each façade to observe color in natural light and shade.
Step 3: Prepare Surfaces Thoroughly
- Clean the Exterior: Power wash to remove dirt, mildew, and debris.
- Repair Damage: Fill cracks, holes, or chips in siding, trim, and doors.
- Sand Rough Areas: Smooth out peeling paint or uneven surfaces.
- Prime if Needed: Primer ensures paint adhesion and a uniform finish, especially for bare wood, stucco, or metal elements.
Chicagoland Paint Pro Tip: Skipping prep work significantly reduces paint lifespan and can lead to costly touch-ups.
Step 4: Protect Surroundings
- Cover walkways, landscaping, and shared walls with drop cloths.
- Mask windows, vents, and light fixtures with painter’s tape and plastic sheeting.
- Alert neighbors if painting might affect shared areas or cause temporary inconvenience.
Step 5: Use Proper Painting Techniques
- Top-Down Approach: Start with the upper walls and work downward to minimize drips.
- Even Coats: Apply thin, consistent layers for durability and smooth finish.
- Rollers and Brushes: Use rollers for large flat areas and brushes for edges, trim, and details.
- Maintain Wet Edges: Prevent streaks and lines by working quickly and blending sections as you go.
Step 6: Pay Attention to Trim and Doors
- Trim and doors receive more wear and need a semi-gloss or gloss finish.
- Sand and prime all wooden or metal surfaces for proper adhesion.
- Choose colors that complement siding while enhancing architectural features.
Step 7: Plan Around Weather
- Avoid painting during rain, freezing temperatures, or extreme heat.
- Ideal conditions: 50–85°F with low humidity.
- Chicago’s unpredictable weather requires flexible scheduling or professional help.
Step 8: Maintenance Tips for Long-Lasting Paint
- Inspect paint annually for peeling, fading, or damage.
- Clean exterior surfaces to remove dirt, pollen, and grime.
- Touch up small areas before they worsen.
- Repaint every 7–10 years depending on exposure and paint type.
Common Mistakes to Avoid
- Choosing low-quality paint to save money
- Skipping primer on bare or repaired surfaces
- Ignoring neighboring homes’ colors or HOA guidelines
- Painting in unsuitable weather conditions
- Applying thick coats that lead to bubbling or cracking
DIY vs Professional Painting
DIY Benefits
- Cost savings for small projects
- Flexible timing
- Personal satisfaction of completing the project
Professional Benefits
- Expertise with complex surfaces, ladders, and multi-story units
- Proper prep and high-quality finishes
- Efficient and timely completion
Pro Tip: For multi-story townhouses or large exteriors, hiring professionals ensures safety, precision, and durability.
Final Thoughts
Exterior painting is both an art and a science. For townhouse owners, choosing the right paint, colors, and techniques is essential for a polished look and long-lasting protection. By carefully preparing surfaces, selecting durable materials, and following professional painting practices, your townhouse will maintain curb appeal and withstand the challenges of weather and time.
Whether DIY or professional, these tips ensure your townhouse exterior looks modern, elegant, and inviting for years to come.