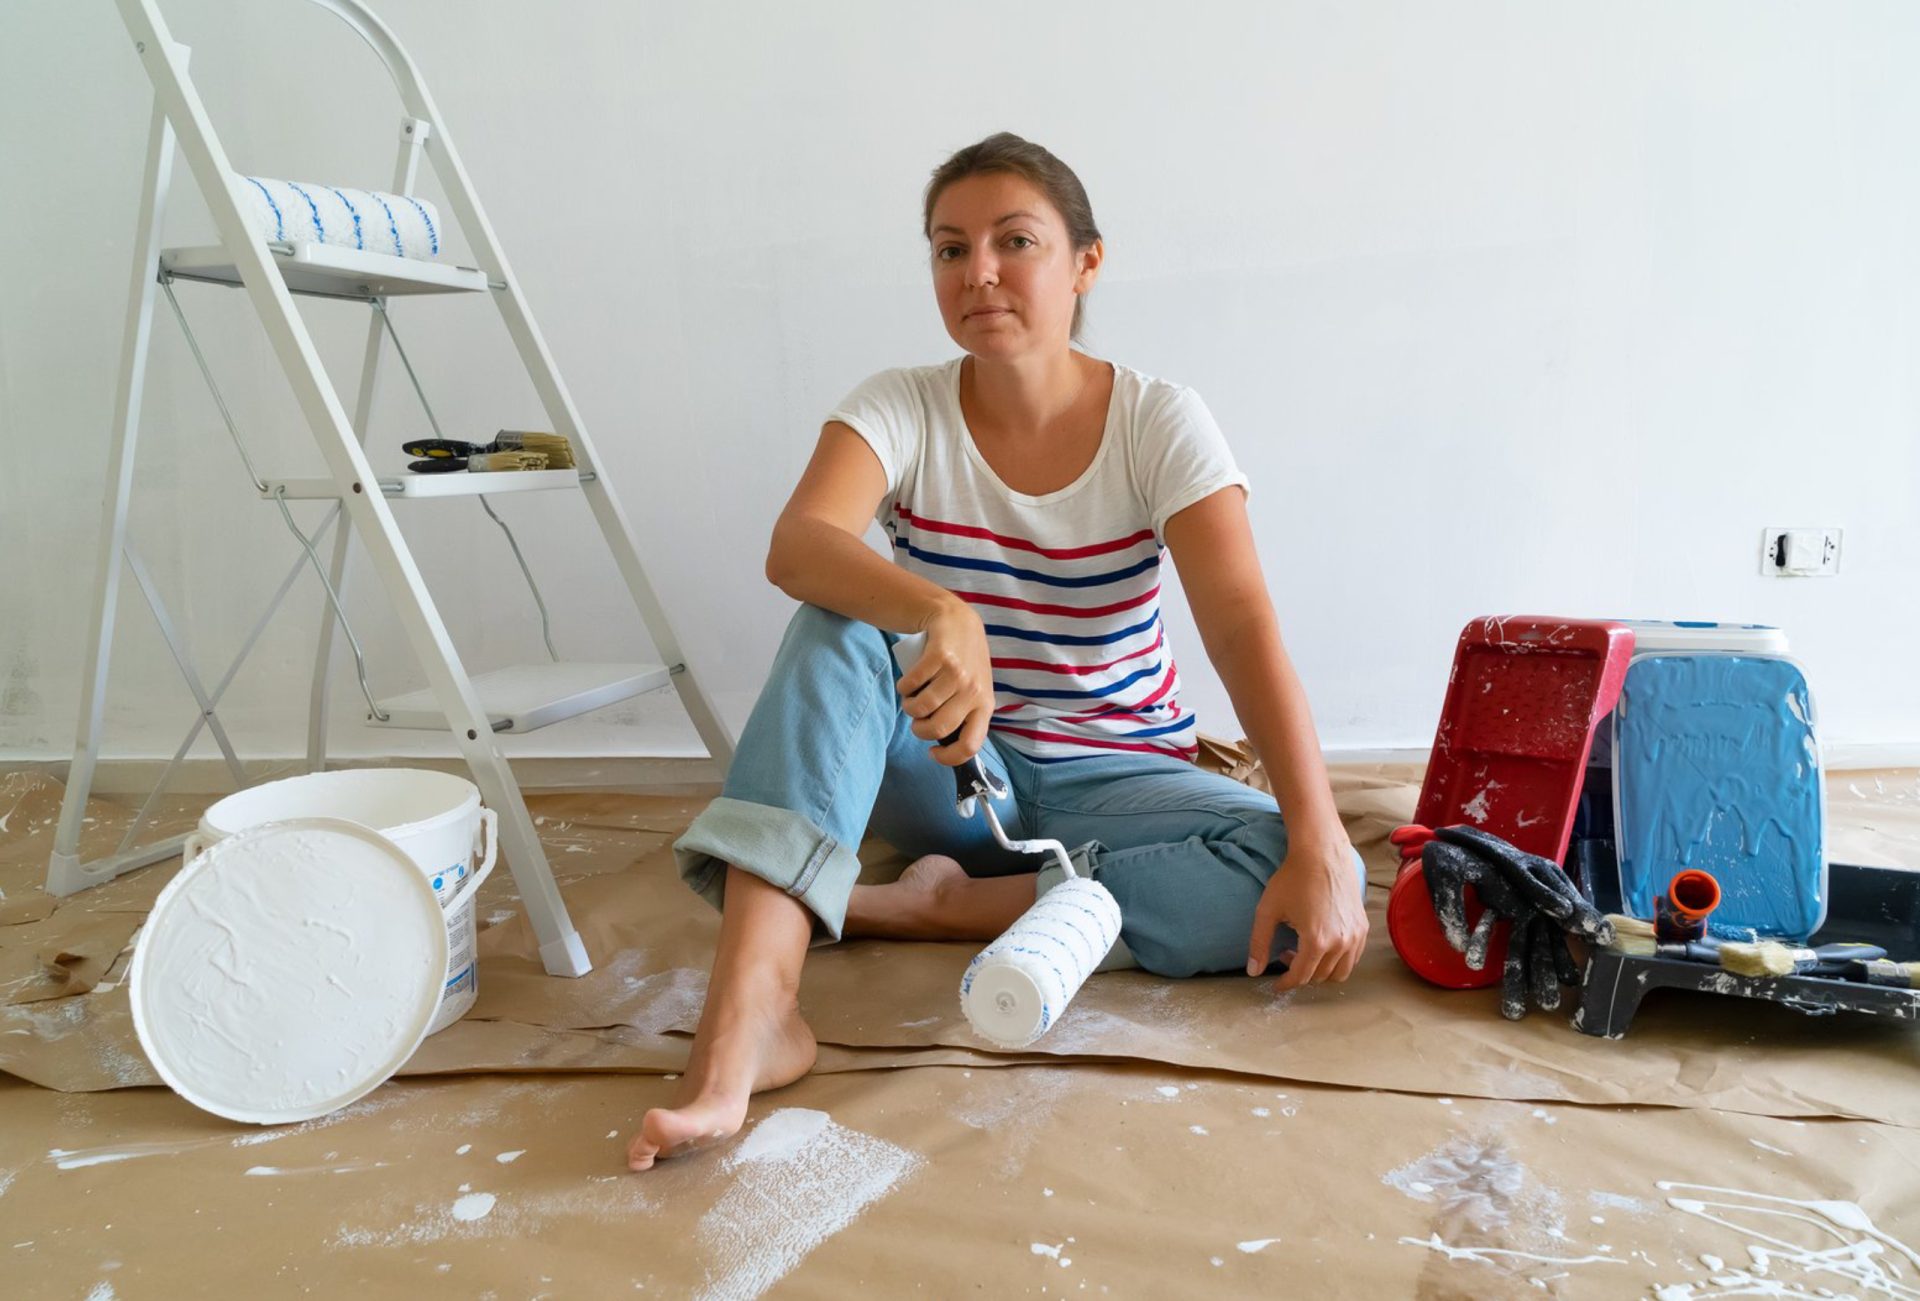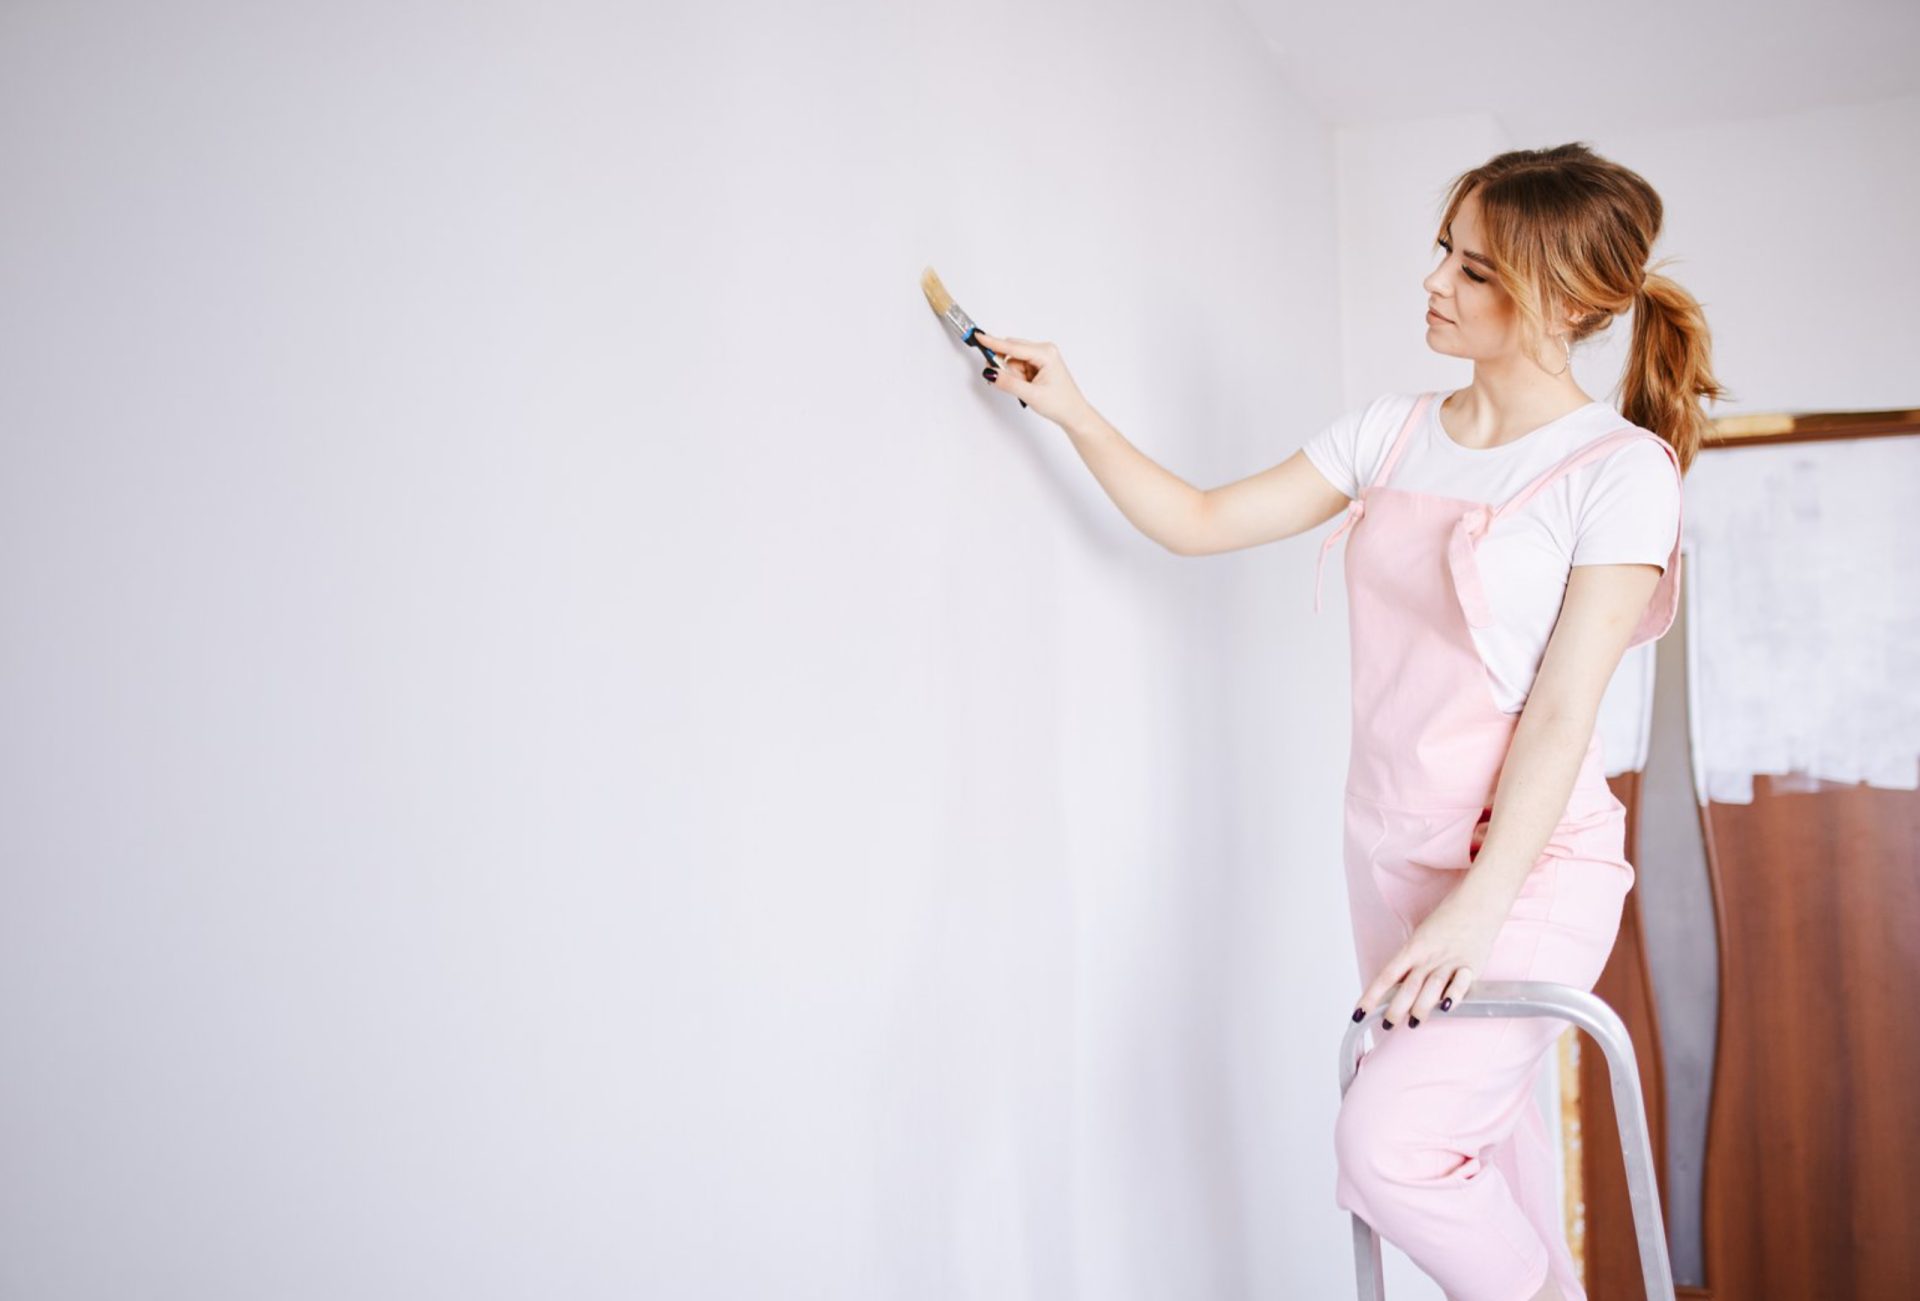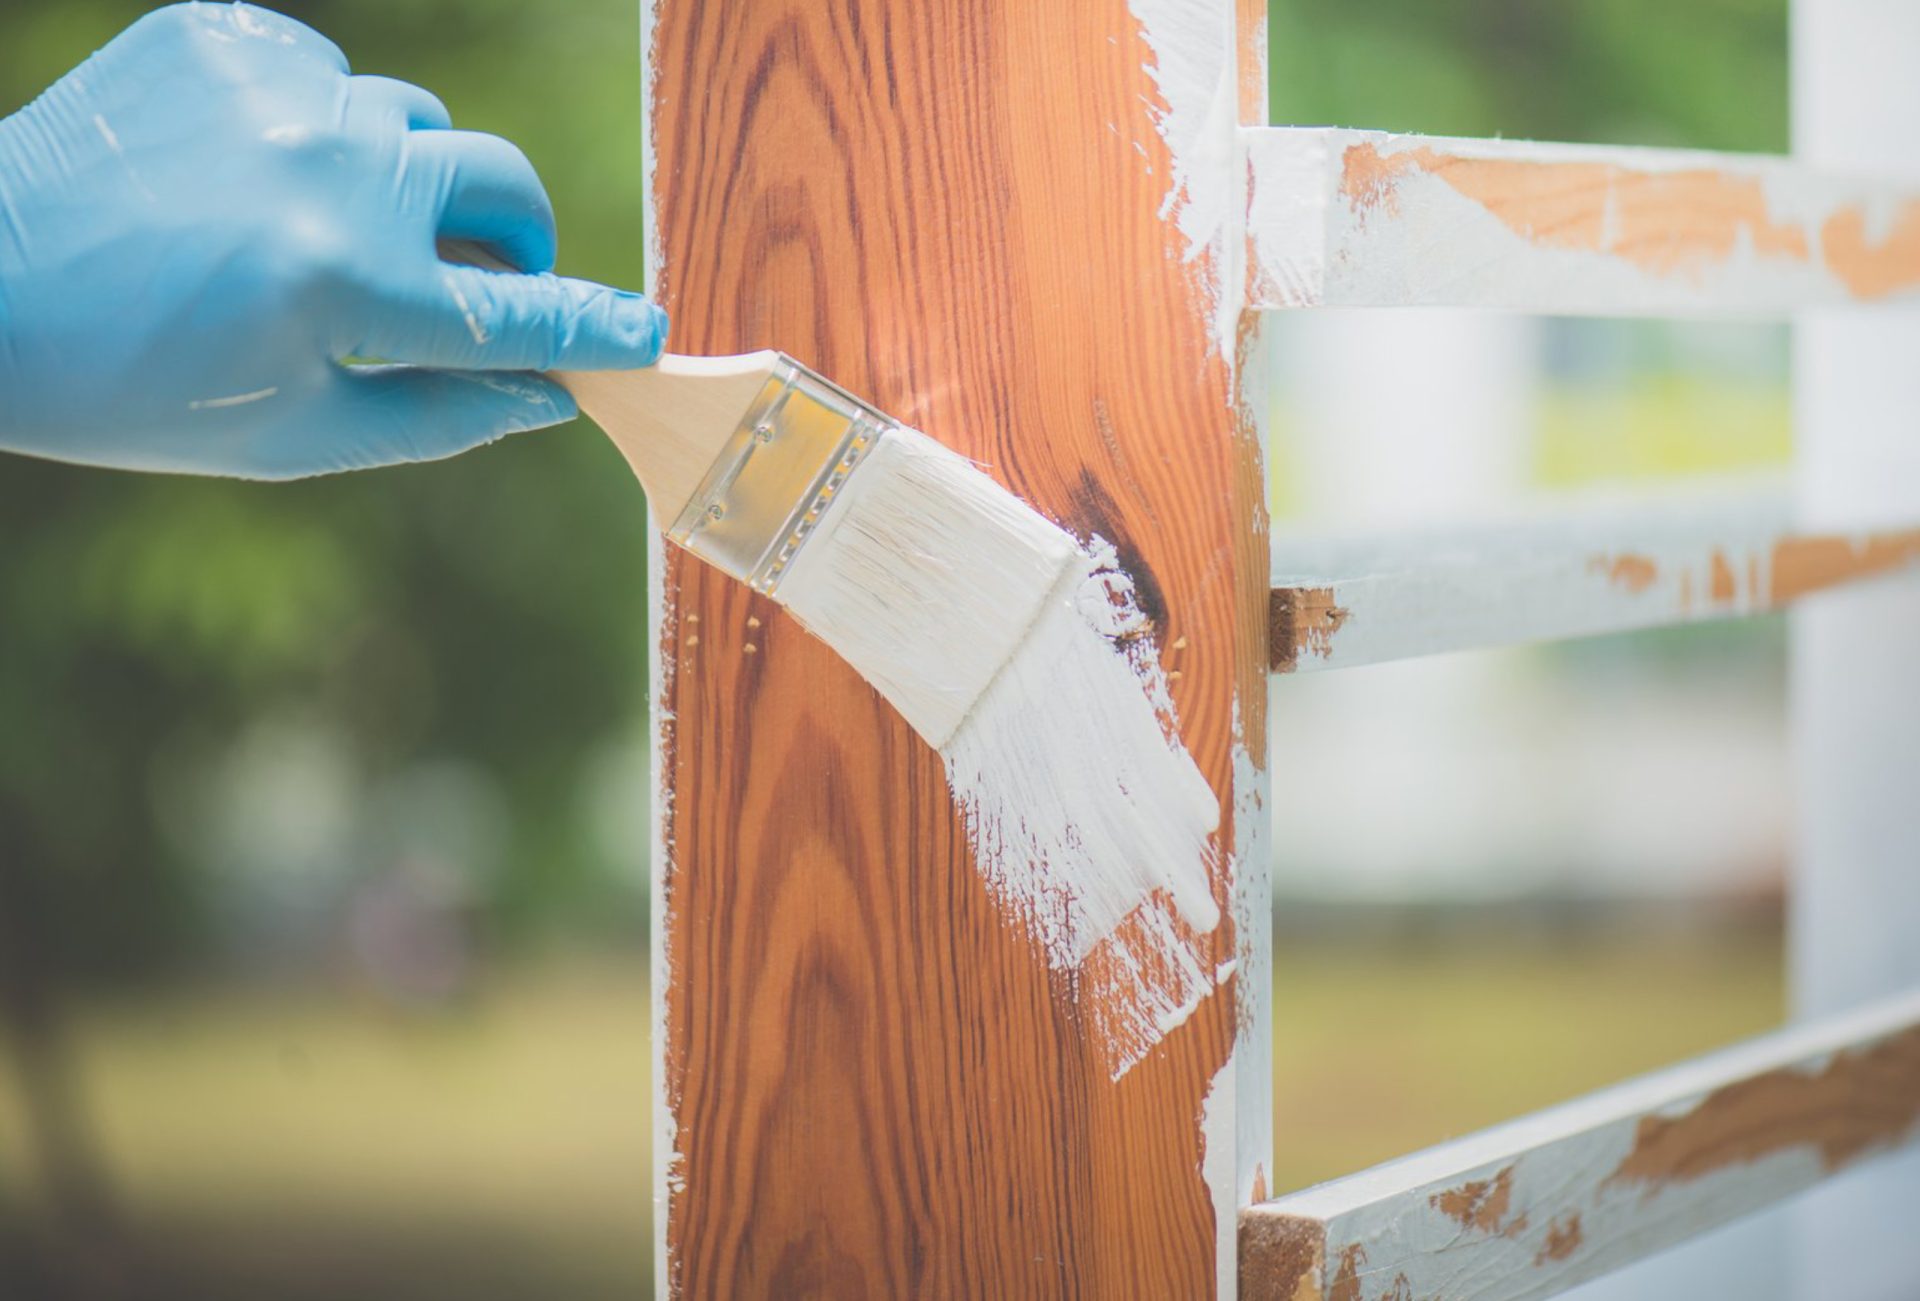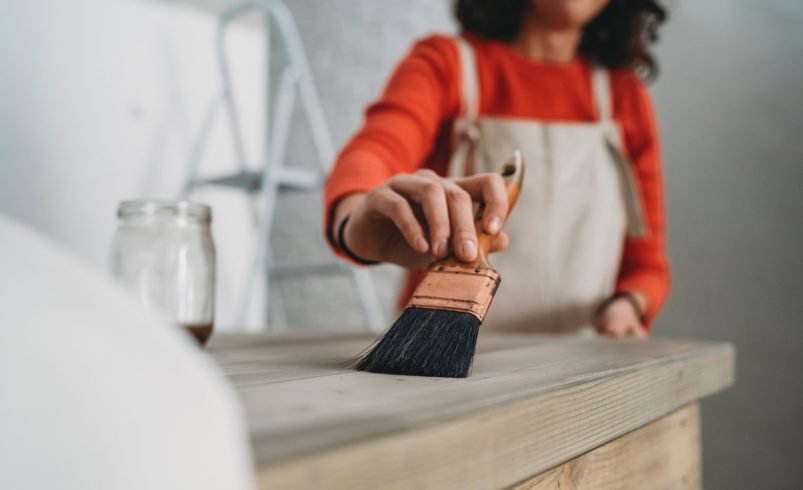

A beautifully painted room can elevate your home’s interior instantly, but achieving a flawless finish isn’t always easy—especially for DIYers. Even minor mistakes like streaks, bubbles, or uneven coverage can make your walls look unprofessional. With the right techniques, tools, and preparation, you can achieve a smooth, long-lasting paint job that looks like it was done by a pro. This guide will share the most effective DIY painting tips to ensure your project comes out perfect.
1. Choose the Right Paint
The first step toward a flawless finish is selecting the proper paint for your walls:
- Finish:
- Matte/Flat: Hides imperfections but can be harder to clean.
- Eggshell/Satin: Slight sheen, durable, and easy to wipe—great for living rooms and bedrooms.
- Semi-gloss/Gloss: Reflective, perfect for trim, kitchens, and bathrooms.
- Quality: Higher-quality paints cover better and reduce streaks. Don’t skimp—cheap paint often requires more coats and can leave uneven textures.
- Color: Light colors can highlight wall imperfections, while mid-tones and darker shades can hide minor flaws. Always test a small patch first.
2. Prep Your Walls Thoroughly
Preparation is the secret to a smooth, professional-looking finish:
- Clean surfaces: Remove dirt, grease, and dust with a mild soap solution.
- Repair damages: Fill holes and cracks with spackle, then sand smooth.
- Sand glossy surfaces: Lightly sand shiny walls to help paint adhere.
- Apply primer: Primer ensures even color, better adhesion, and reduces the number of coats needed.
3. Invest in the Right Tools
Using proper tools makes a huge difference:
- Brushes: Angled brushes help cut in along trim and corners.
- Rollers: Choose the correct nap thickness for your wall texture (smooth walls = short nap, textured walls = longer nap).
- Paint tray and liners: Make loading rollers easier and faster.
- Extension pole: Reduces fatigue for high walls and ceilings.
4. Use Proper Techniques
Even with good paint and prep, technique determines the final result:
- Cutting in: Always paint edges first using a steady hand and angled brush. A sharp, clean line creates a professional look.
- Rolling walls:
- Start in a “W” or “M” pattern to distribute paint evenly.
- Fill in gaps with horizontal or vertical strokes.
- Avoid overloading the roller—too much paint causes drips, too little causes streaks.
- Maintain a wet edge: Overlap sections while the paint is still wet to avoid lap marks.
5. Apply Multiple Thin Coats
Thin coats dry faster, reduce drips, and produce smoother coverage:
- Most walls need two coats for a uniform finish.
- Allow proper drying time between coats according to the manufacturer’s instructions.
- Avoid heavy first coats; thin layers build up evenly and prevent streaking.
6. Avoid Common DIY Mistakes
Even small errors can ruin a flawless finish. Watch for these:
- Painting too fast: Hurrying can cause streaks or uneven coverage.
- Skipping primer: Leads to blotchy color, especially on patched or new walls.
- Using the wrong roller nap: Results in uneven texture.
- Not prepping edges: Unpainted trim or ceiling lines are obvious.
- Ignoring lighting: Poor lighting can hide flaws during painting but reveal them later.
7. Optimize Drying and Curing
A flawless finish isn’t just about applying paint—it’s about letting it dry correctly:
- Ventilation: Open windows or use fans to speed up drying.
- Humidity: High humidity slows drying and can leave bubbles or streaks.
- Temperature: Avoid painting in extreme cold or heat—ideally 60–80°F (16–27°C).
8. Finishing Touches
- Remove painter’s tape carefully after paint dries to avoid peeling.
- Inspect walls for small imperfections and touch up with a small brush.
- Clean your tools properly so they’re ready for your next project.
9. Extra Tips for a Professional Look
- Work in natural light to spot missed areas.
- Use high-quality brushes for edges—they leave fewer streaks.
- Consider a paint conditioner (like Floetrol) for latex paints; it improves flow and leveling.
- For accent walls, use a roller for the bulk and a brush for edges to maintain clean lines.
Conclusion
A flawless DIY paint job is all about preparation, technique, and patience. By choosing the right materials, prepping your walls carefully, and applying paint thoughtfully, you can achieve a smooth, professional finish—even as a beginner. With each project, your skills improve, making interior painting not just a task, but an enjoyable and rewarding DIY experience.