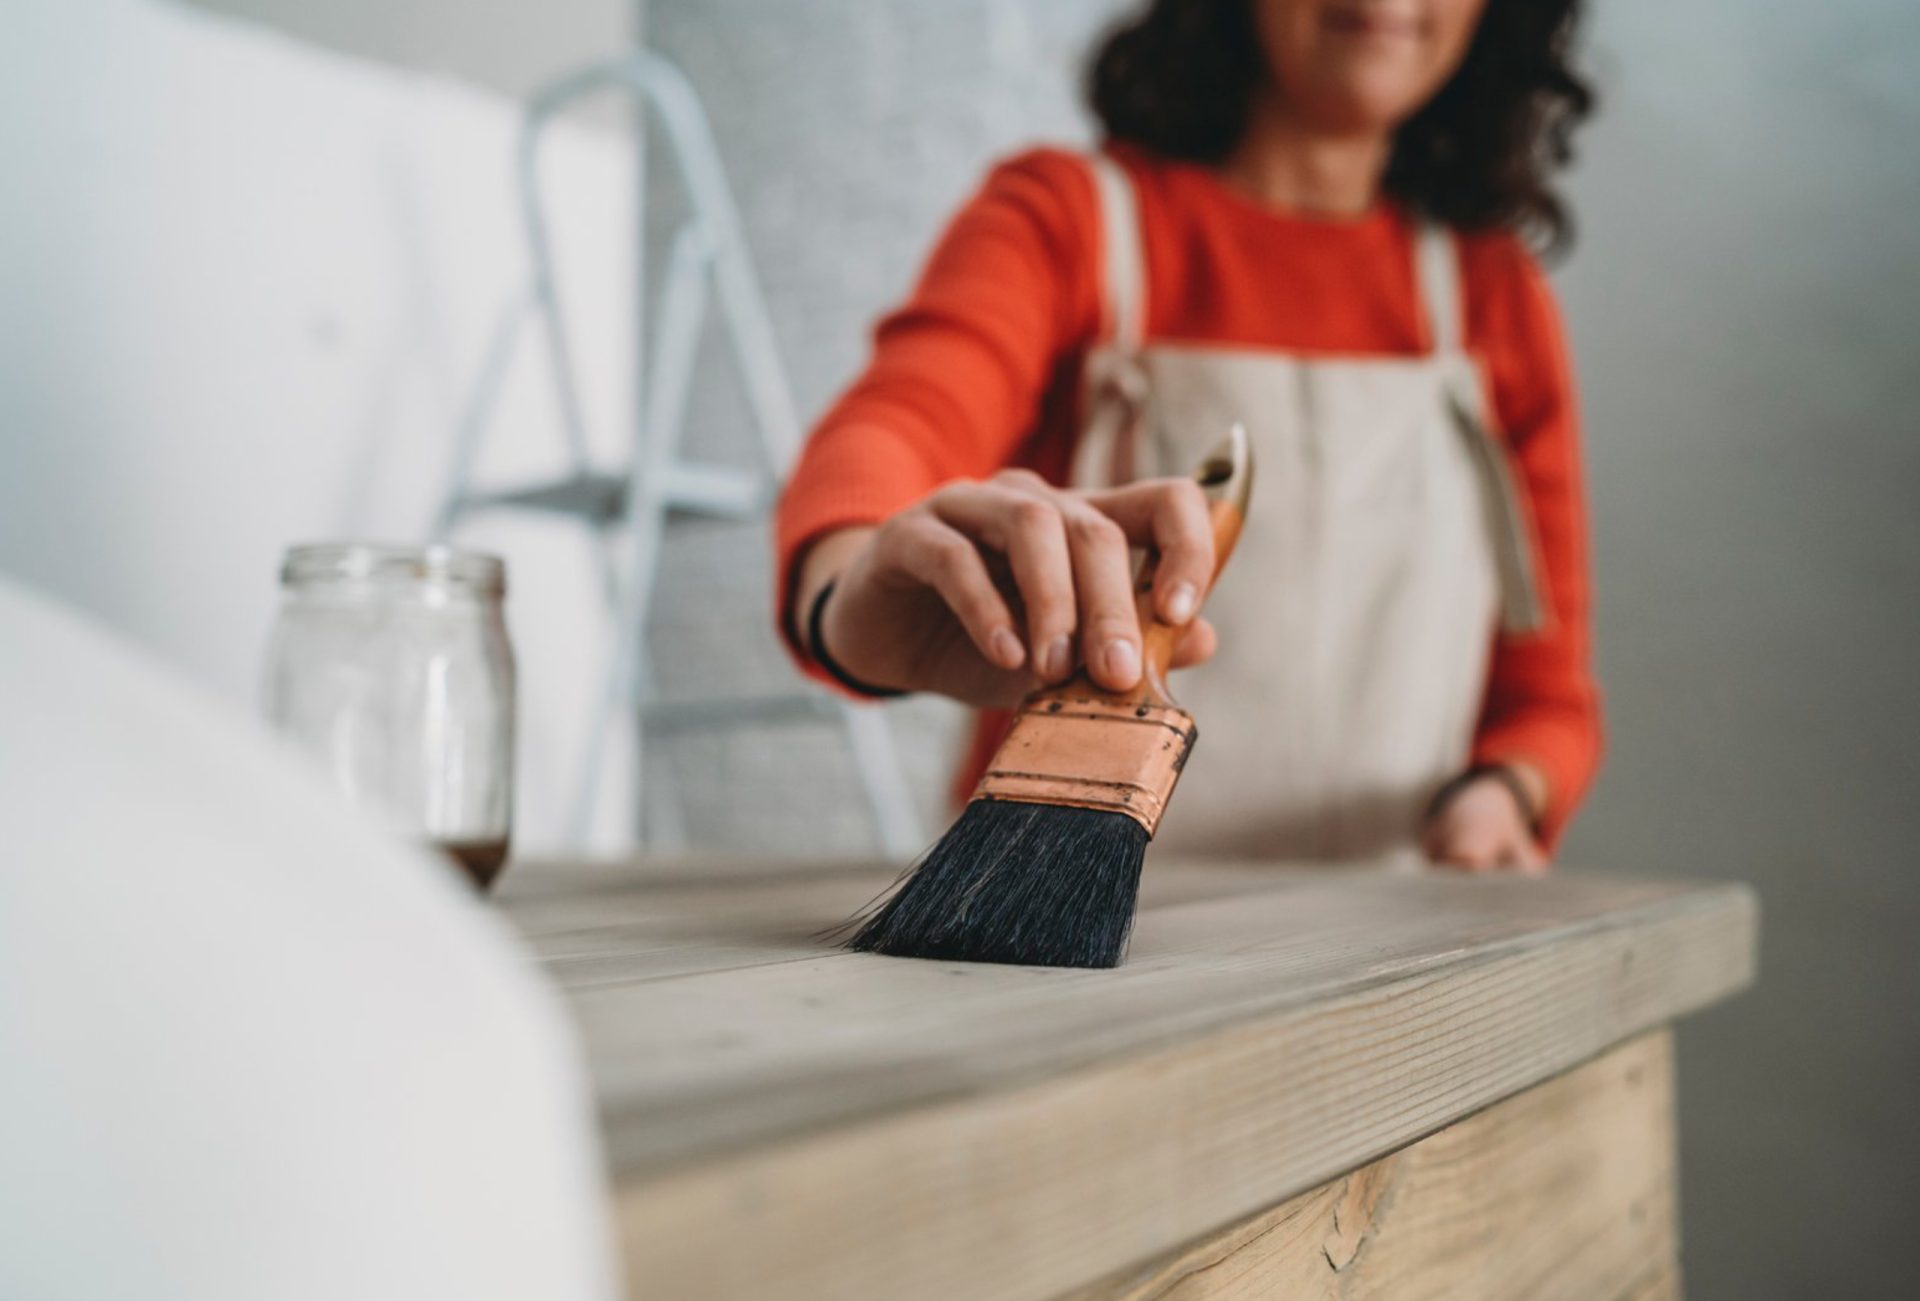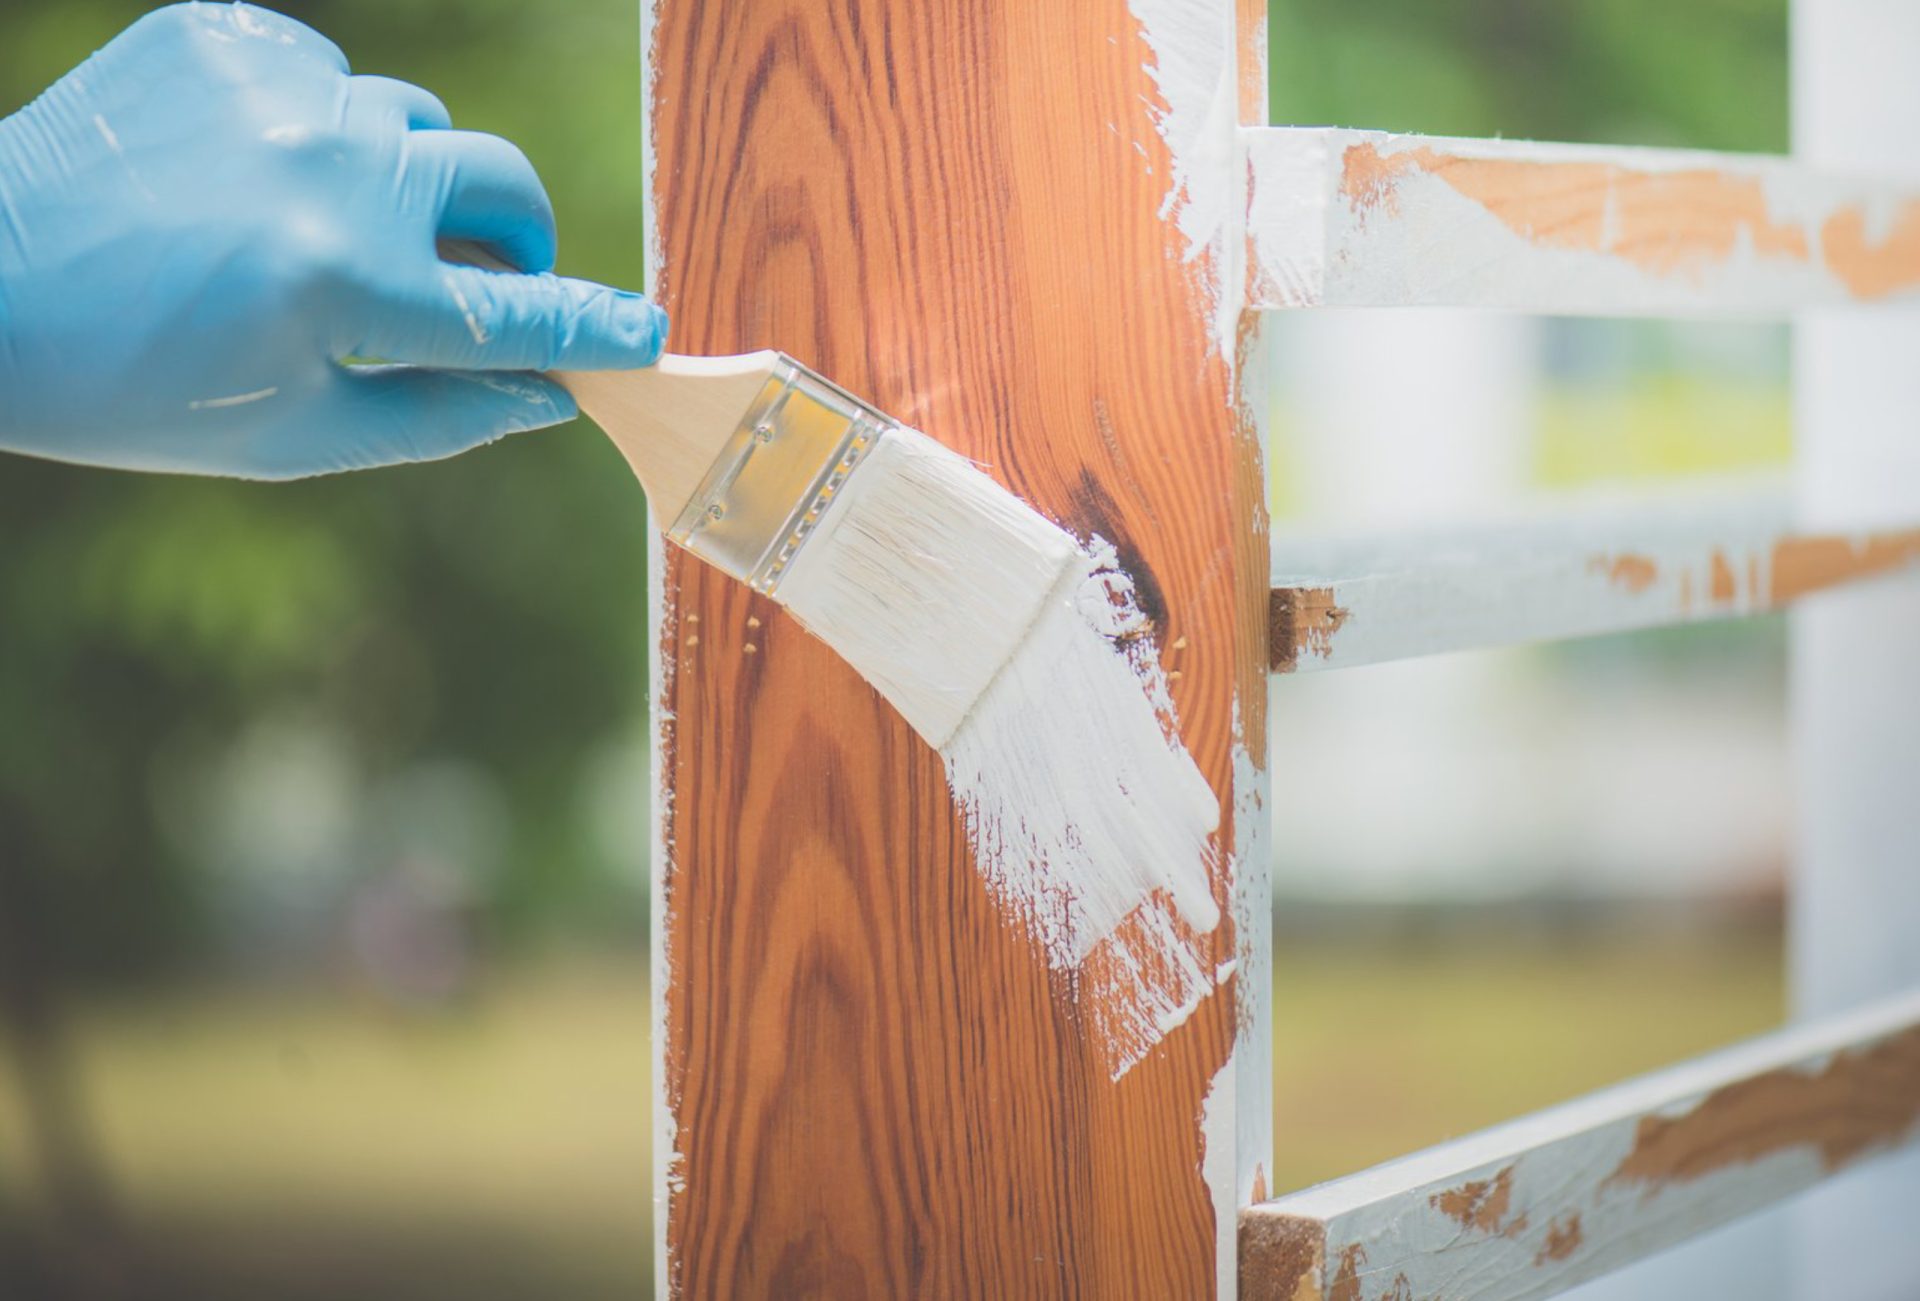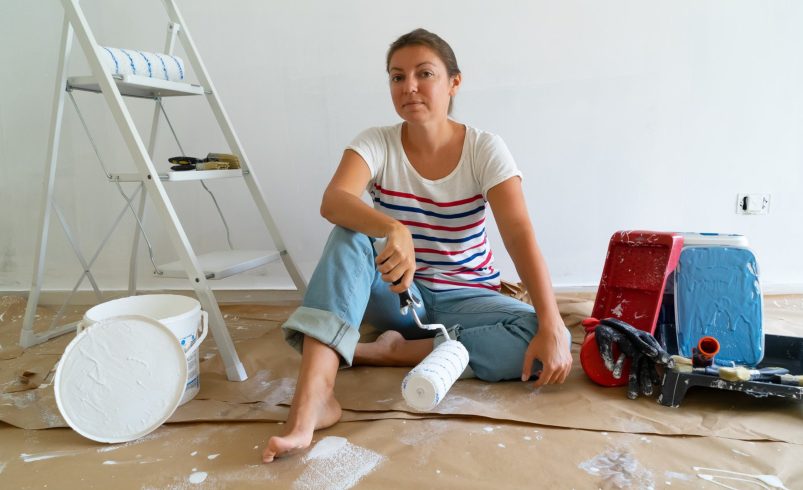

Painting your home’s interior can completely transform a space, giving it a fresh, clean, and vibrant look. For beginners, though, the process can feel intimidating. With the right preparation, tools, and techniques, you can tackle an interior painting project confidently and achieve professional-looking results. This guide will walk you step by step through everything you need to know to paint your walls successfully.
1. Gather Your Materials and Tools
Before starting, it’s essential to have all your supplies ready. This avoids unnecessary interruptions and ensures a smooth workflow. You’ll need:
- Paint – Choose a high-quality interior paint suited for your walls (matte, satin, or semi-gloss depending on the room).
- Primer – Helps the paint adhere better, especially for new drywall or darker colors.
- Paintbrushes – Angled brushes work well for cutting in around edges.
- Rollers and roller covers – For covering large wall areas quickly.
- Painter’s tape – To protect trim, ceiling edges, and baseboards.
- Drop cloths – To protect floors and furniture from spills.
- Paint tray and liners – For easy loading of your roller.
- Sandpaper and putty knife – For prepping surfaces and filling holes.
- Clean rags or sponges – For wiping dust and spills.
2. Prepare the Room
Proper preparation is key to a smooth paint finish.
- Move furniture – Take out as much as possible; cover remaining pieces with drop cloths.
- Clean the walls – Dust, dirt, and grease prevent paint from adhering properly. Wipe walls with mild soap and water, then allow to dry completely.
- Repair any damage – Fill holes or cracks with spackling compound. Sand smooth once dry.
- Tape edges – Apply painter’s tape along trim, baseboards, and window frames. Press down firmly to prevent paint bleed.
- Protect floors – Lay drop cloths and secure edges with tape if needed.
3. Prime the Walls
Priming is often overlooked, but it makes a huge difference in paint coverage and durability.
- Apply a coat of primer using a roller for large surfaces and a brush for edges.
- Allow it to dry completely, following the manufacturer’s instructions.
- Primer ensures that the paint color is true, hides stains, and reduces the number of topcoats needed.
4. Cutting In
Cutting in is the process of painting the edges of walls before using a roller.
- Use an angled brush to paint a 2–3 inch strip along baseboards, trim, ceilings, and corners.
- Work in small sections to maintain a wet edge and prevent noticeable lines.
- Take your time here; careful cutting in makes the overall finish look professional.
5. Rolling the Walls
Once the edges are done, you can roll the paint onto the larger surfaces.
- Load the roller evenly – Dip into the paint tray and roll back and forth to remove excess.
- Start from the top – Roll in a “W” or “M” pattern, then fill in the gaps with horizontal strokes.
- Maintain a wet edge – Overlap slightly with previous strokes while the paint is still wet to prevent streaks.
- Apply multiple coats if needed – Most walls require 2 coats for an even finish, allowing proper drying time between coats.
6. Inspect and Touch Up
Once the paint is dry:
- Check for missed spots, streaks, or uneven coverage.
- Use a small brush for touch-ups.
- Remove painter’s tape carefully once the paint is fully dry to avoid peeling.
7. Clean Up Properly
Proper cleanup ensures your tools last for future projects:
- Wash brushes and rollers thoroughly with warm soapy water if using latex paint.
- For oil-based paints, use the recommended solvent.
- Store leftover paint properly in a sealed container for future touch-ups.
8. Additional Tips for Beginners
- Test colors first – Paint a small patch on your wall and view it at different times of the day.
- Work in small sections – Prevents paint from drying before you can smooth it out.
- Ventilation – Open windows or use fans to help dry the paint and reduce fumes.
- Patience – Rushing through steps, especially prep and drying, can compromise results.
Conclusion
Painting your home’s interior doesn’t have to be overwhelming. By following this step-by-step guide, gathering the right tools, and taking the time to prep properly, even beginners can achieve a beautiful, lasting finish. Each project completed will build your confidence and skills, turning interior painting from a daunting task into an enjoyable, rewarding DIY experience.