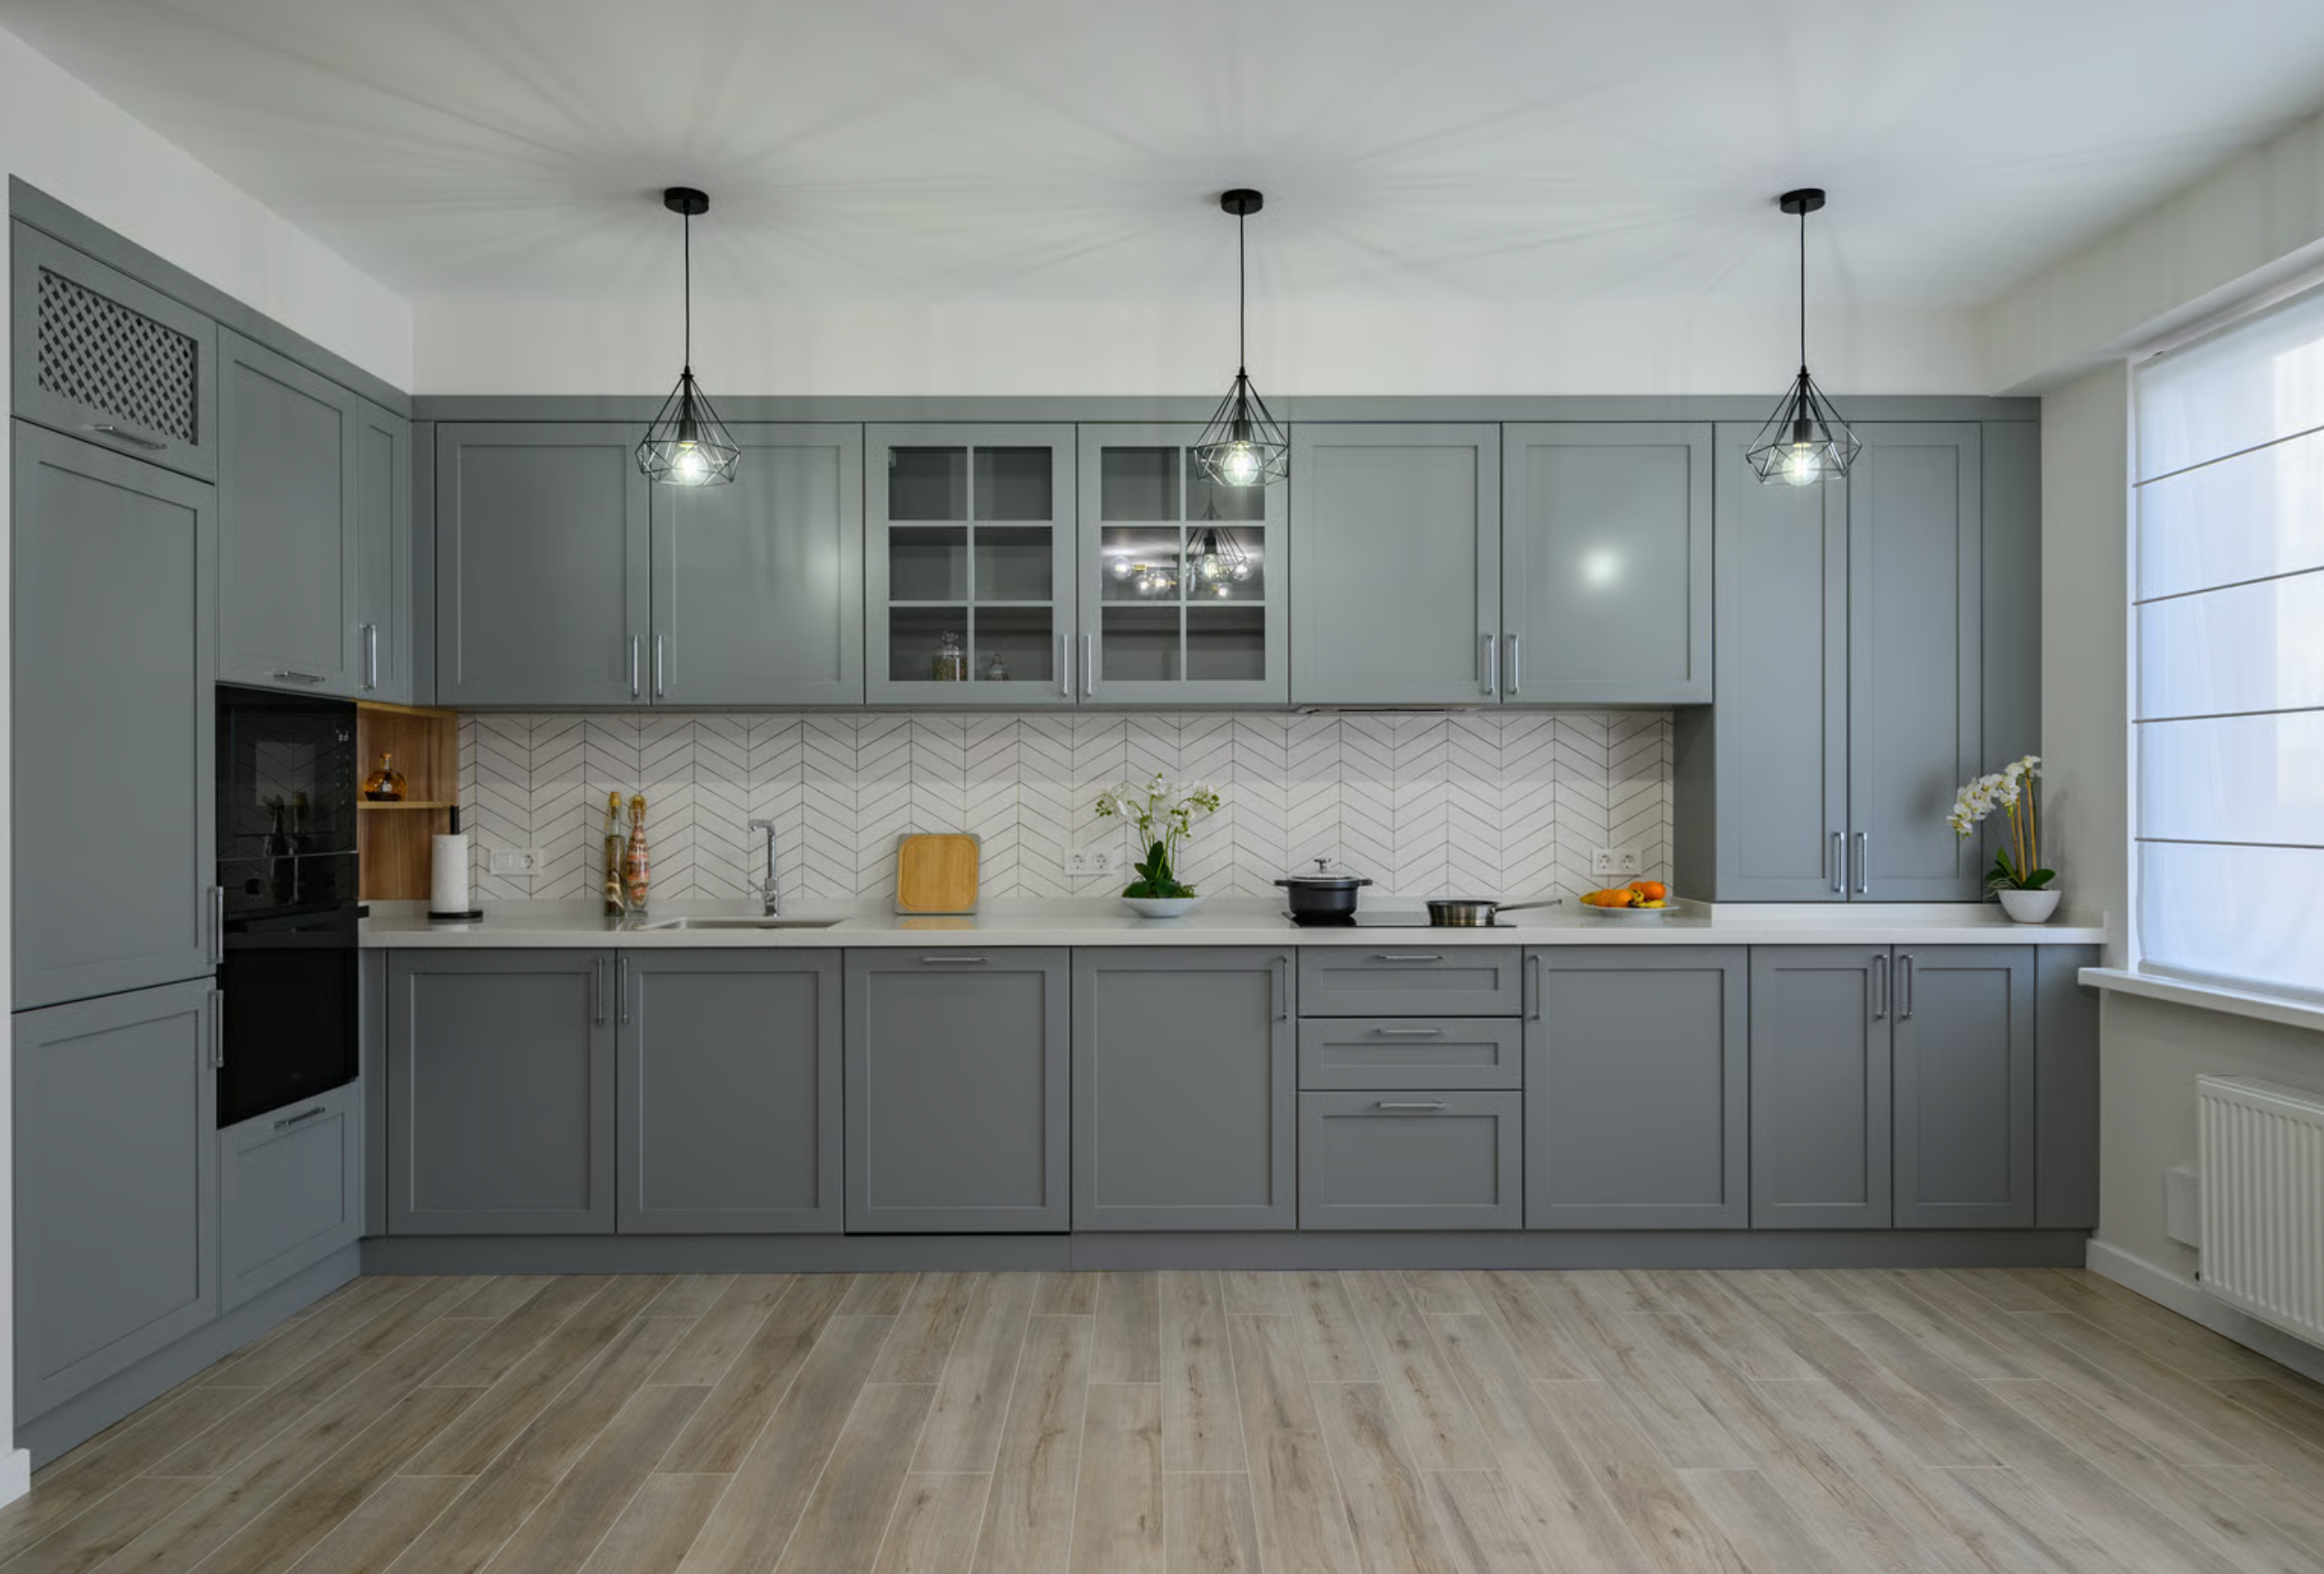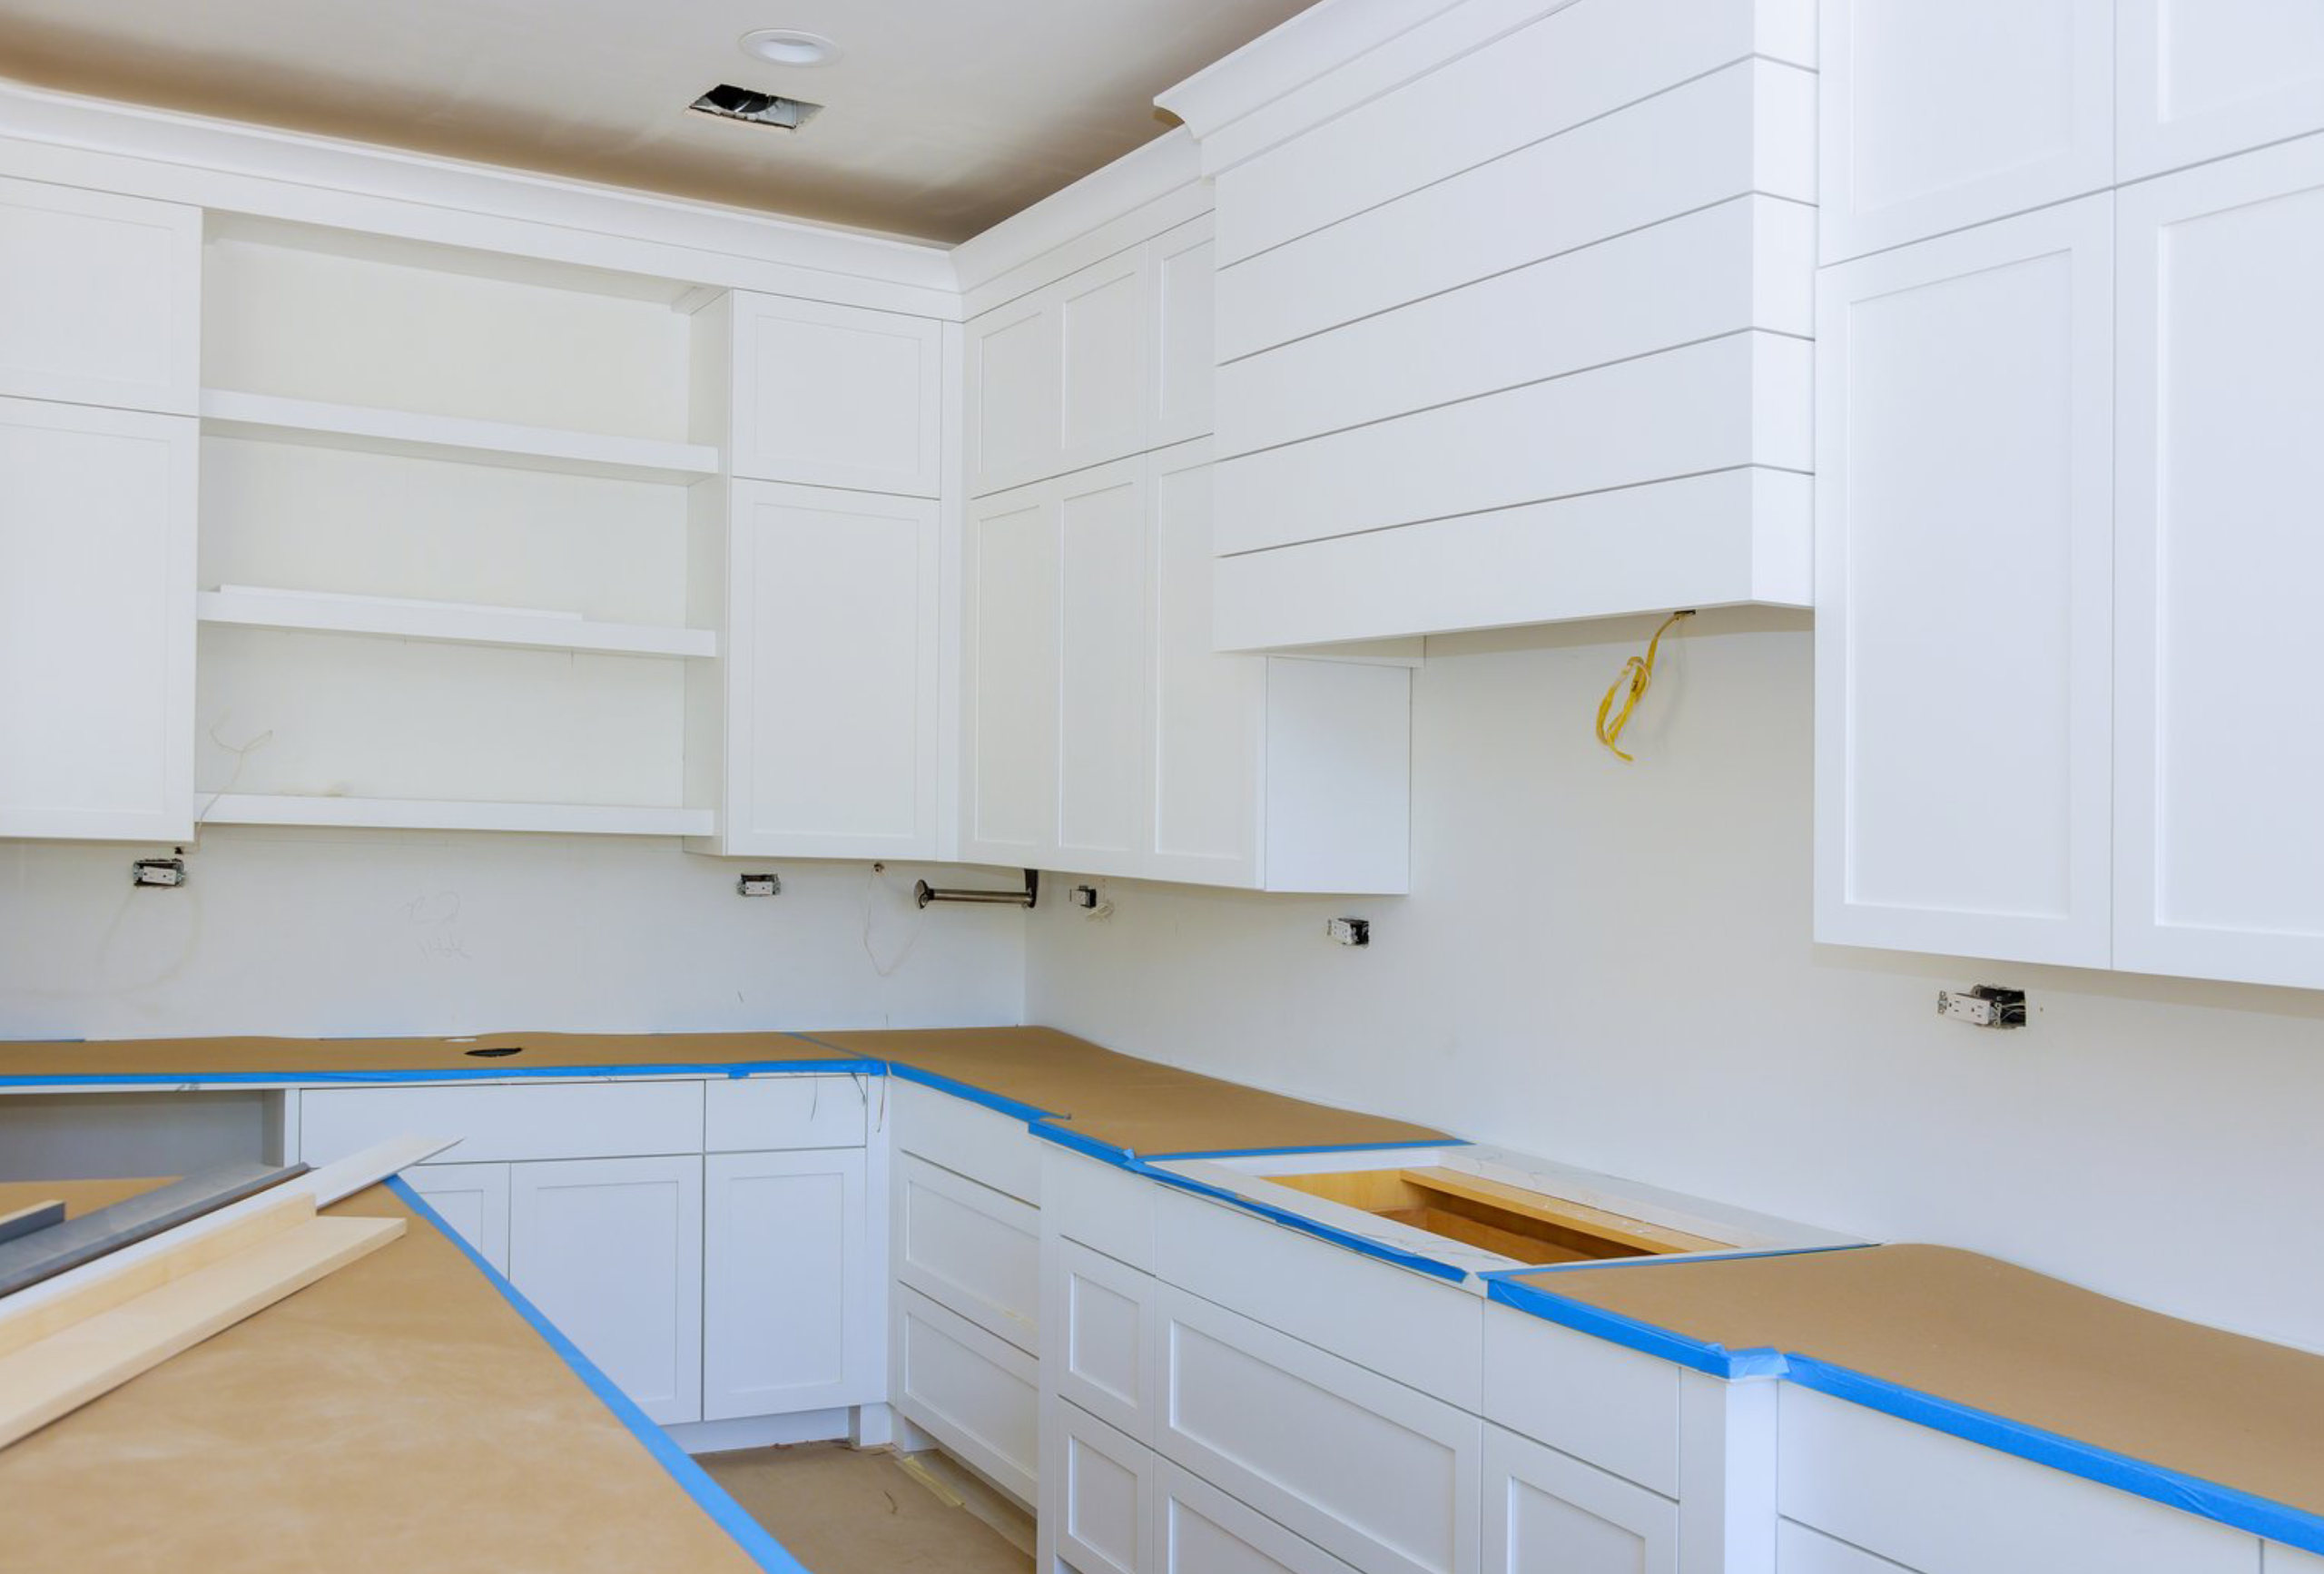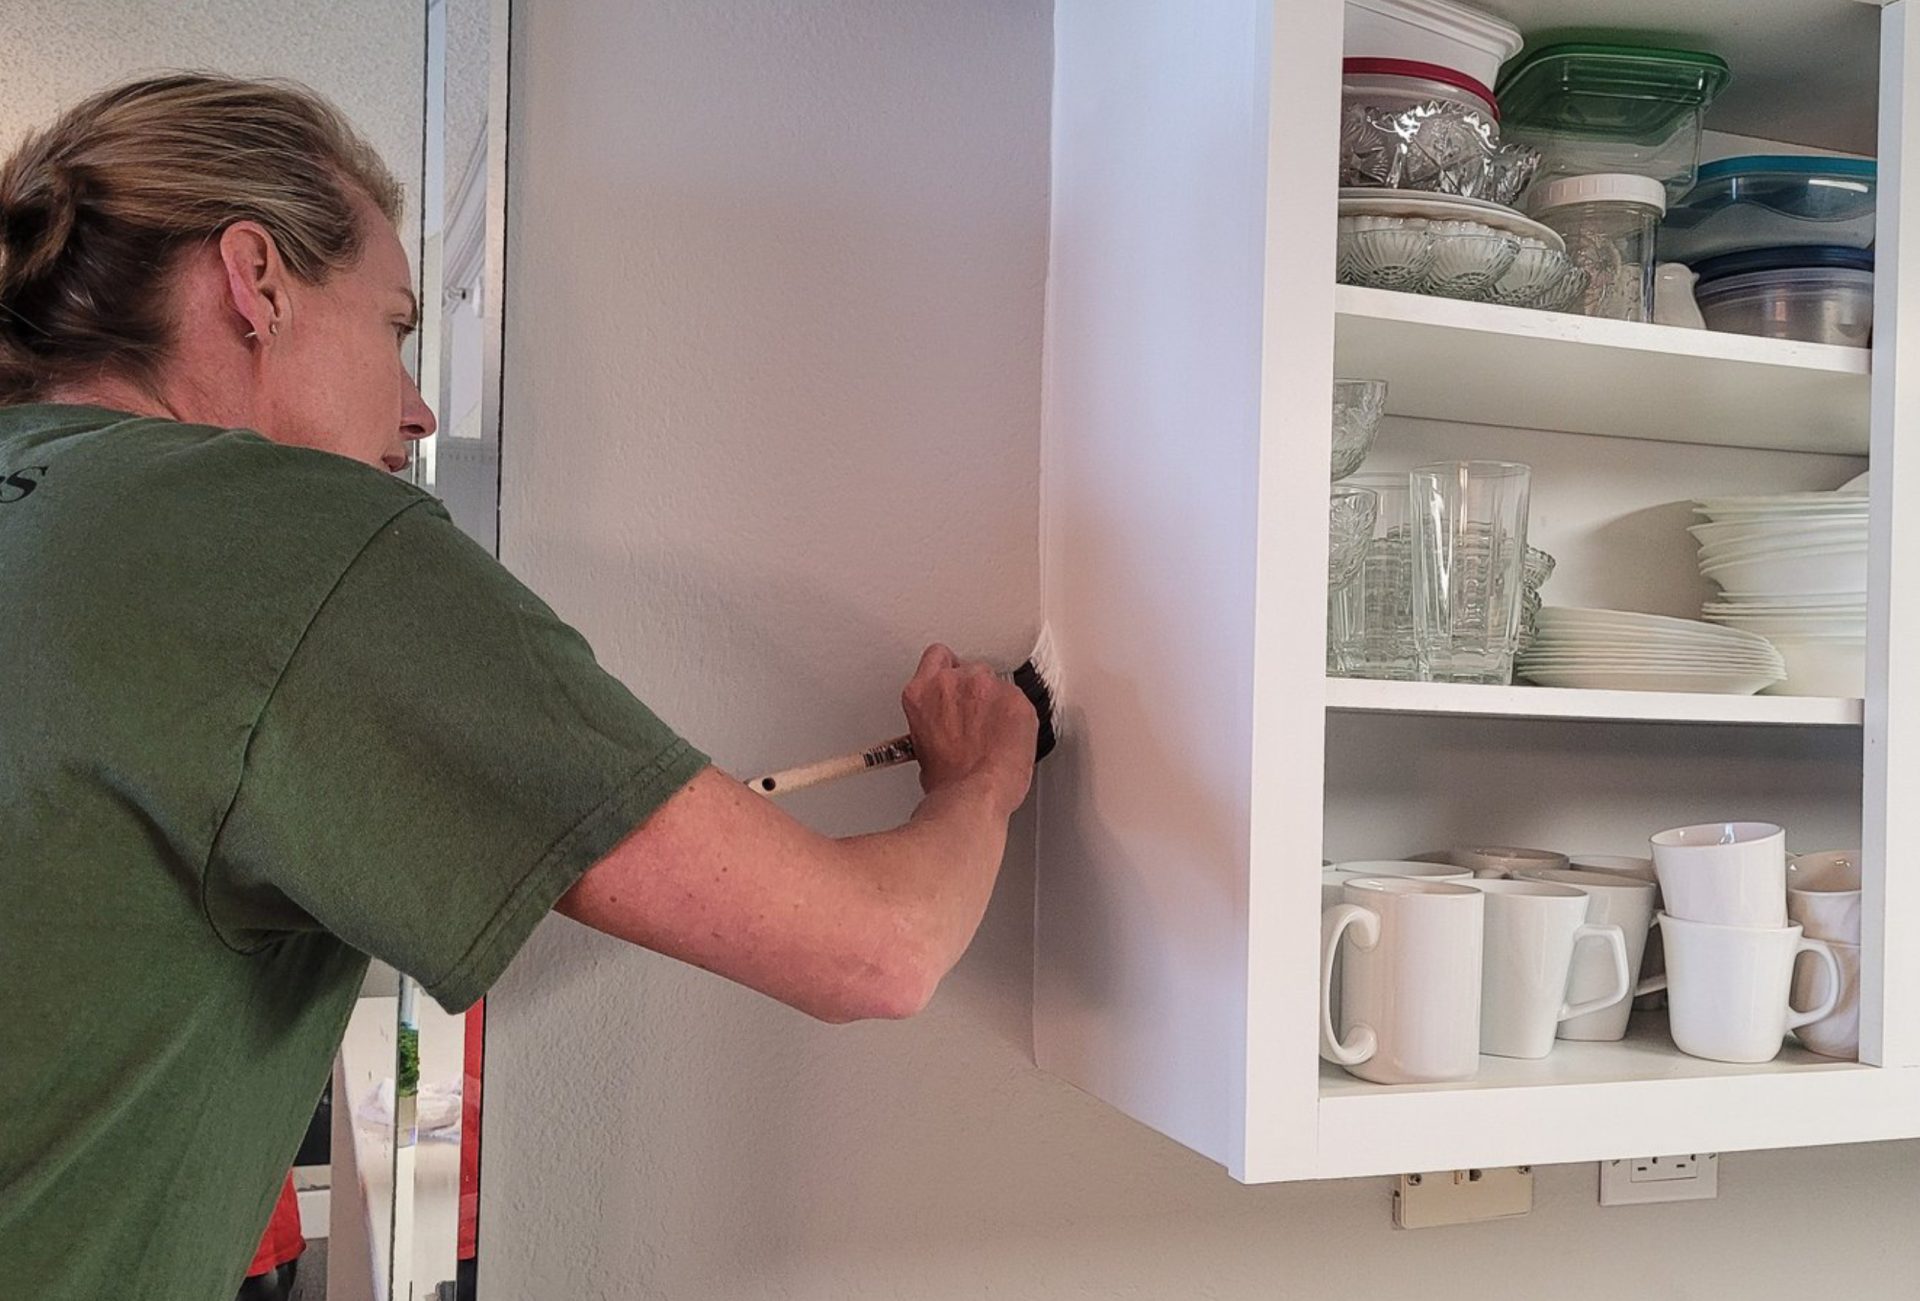

Cabinet resurfacing is an excellent way to update your kitchen without the expense of full replacement. With the right preparation, materials, and technique, you can transform your cabinets into sleek, modern, and durable features. This step-by-step guide walks you through the resurfacing process to achieve professional results.
1. Gather Your Tools and Materials
Before starting, assemble the necessary items:
- Resurfacing materials: laminate sheets, wood veneer, or thermofoil panels
- Measuring tape and level for precise cuts
- Utility knife or veneer trimmer
- Sandpaper or sanding sponge
- Adhesive or contact cement suitable for your material
- Clamps or weights to secure surfaces during bonding
- Cleaning supplies: mild soap, water, and lint-free cloths
Pro Tip: Having all tools ready prevents mistakes and speeds up the resurfacing process.
2. Remove Cabinet Doors and Hardware
- Take off doors, drawers, and hardware like knobs and hinges.
- Label each piece for easy reassembly.
- Work on a flat surface to prevent damage during preparation and application.
Pro Tip: Organized labeling ensures doors and drawers return to their original positions seamlessly.
3. Clean and Prep Cabinet Surfaces
- Remove grease, dust, and grime using mild soap or a degreaser.
- Sand lightly to smooth surfaces and enhance adhesive bonding.
- Inspect for damage like scratches, chips, or loose joints and repair if necessary.
Pro Tip: Proper prep is critical; skipping this step can lead to peeling or uneven surfaces.
4. Measure and Cut Resurfacing Material
- Measure cabinet doors, drawer fronts, and frames carefully.
- Cut resurfacing sheets to exact dimensions using a utility knife or saw.
- Trim edges precisely to fit without gaps for a professional appearance.
Pro Tip: Double-check measurements before cutting to prevent material waste.
5. Apply Adhesive or Contact Cement
- Follow the manufacturer’s instructions for adhesive or contact cement application.
- Apply evenly to both the cabinet surface and the back of the resurfacing panel if required.
- Allow adhesive to become tacky before placing the panel for optimal bonding.
Pro Tip: Even, thin adhesive layers prevent bubbling or uneven surfaces.
6. Attach and Secure Panels
- Carefully position the resurfacing panel on the cabinet surface.
- Press firmly and use clamps or weights to hold it in place while bonding occurs.
- Smooth out air bubbles using a roller or soft cloth.
Pro Tip: Work slowly and steadily to avoid misalignment or wrinkles in the veneer.
7. Trim and Finish Edges
- Remove excess material using a sharp utility knife or veneer trimmer.
- Sand edges lightly to ensure smooth, seamless transitions.
- Apply edge banding if needed for a polished, modern finish.
Pro Tip: Clean edges are essential for a professional and durable appearance.
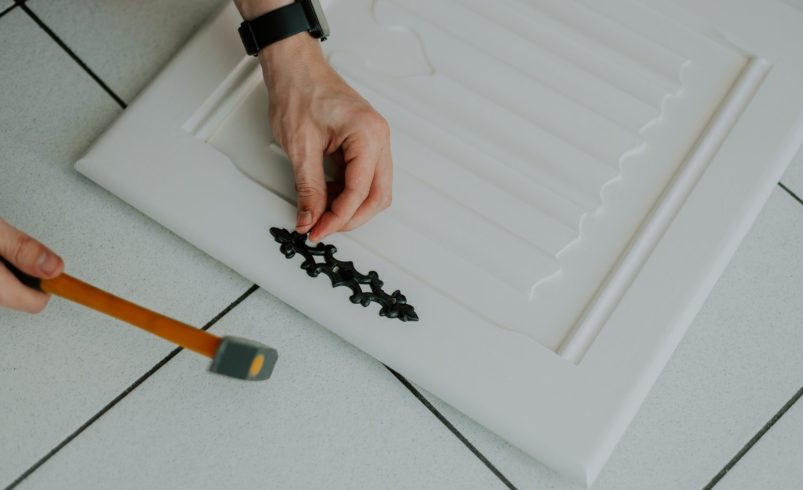
8. Reattach Hardware and Doors
- Reinstall doors, drawers, and hardware carefully.
- Adjust hinges to ensure doors align evenly and operate smoothly.
- Clean surfaces of dust and fingerprints before final inspection.
Pro Tip: Proper alignment enhances the modern, seamless look of resurfaced cabinets.
9. Optional: Add a Protective Finish
- Apply a clear coat or sealant to laminate or veneer for extra durability.
- Matte or satin finishes complement modern kitchens, while gloss enhances shine.
- Allow adequate drying time before using cabinets.
Pro Tip: Protective coatings increase longevity and maintain the sleek, modern finish.
10. Maintenance Tips for Resurfaced Cabinets
- Clean gently with mild soap and water; avoid harsh chemicals.
- Wipe spills immediately to prevent damage or staining.
- Inspect periodically for lifting edges or scratches and repair promptly.
Pro Tip: Regular maintenance keeps your resurfaced cabinets looking new for years.
Conclusion
Cabinet resurfacing is a cost-effective and stylish way to upgrade your kitchen. By following proper preparation, precise measurement, careful application, and finishing steps, you can achieve a modern, professional look that lasts. For expert guidance, flawless execution, and durable results, Chicagoland Paint Pro provides professional cabinet resurfacing services that transform your kitchen into a sleek, modern space.