
Refinishing your kitchen cabinets is a cost-effective way to refresh your kitchen without a full remodel. With the right tools, materials, and steps, even a DIY enthusiast can achieve a professional-looking finish. This step-by-step guide will walk you through the entire process, from preparation to the final coat, ensuring your cabinets look polished and last for years.
1. Gather Your Materials and Tools
Before starting, make sure you have everything you need:
- Screwdrivers and drill for removing hardware
- Sandpaper (120–220 grit) and sanding block
- Wood filler or putty for dents and scratches
- Degreasing cleaner and warm water
- Primer (stain-blocking if necessary)
- Paint or stain (satin or semi-gloss for durability)
- Brushes, foam rollers, or paint sprayer
- Painter’s tape and drop cloths
- Clean rags or tack cloths
Pro Tip: High-quality materials make a big difference in the finish and durability of your cabinets.
2. Remove Cabinet Doors, Drawers, and Hardware
- Take off all cabinet doors and drawers carefully.
- Remove handles, knobs, and hinges, and store them in labeled bags.
- Number or label doors and drawers with masking tape to ensure proper reassembly.
Pro Tip: Photograph your cabinets before removing doors to help with reinstallation.
3. Clean and Degrease Surfaces
- Kitchen cabinets are prone to grease, dirt, and grime.
- Use a degreasing cleaner or a mixture of warm water and dish soap.
- Wipe thoroughly and let dry completely before sanding.
Pro Tip: Ensure all surfaces are free of dust and residue to prevent paint from peeling or blotching.
4. Sand the Cabinets
- Sand all surfaces lightly with 120–220 grit sandpaper.
- Remove old finishes, rough edges, or gloss that may prevent paint adhesion.
- Use a tack cloth to wipe away dust after sanding.
Pro Tip: Sand in the direction of the wood grain to avoid scratches that show through the paint.
5. Fill Imperfections
- Check for dents, scratches, or holes in your cabinets.
- Apply wood filler or putty with a putty knife and let dry according to instructions.
- Sand the filled areas smooth to blend with the surrounding surfaces.
Pro Tip: Even small imperfections can show after painting, so don’t skip this step.
6. Apply Primer
- Apply a high-quality primer to all cabinet surfaces.
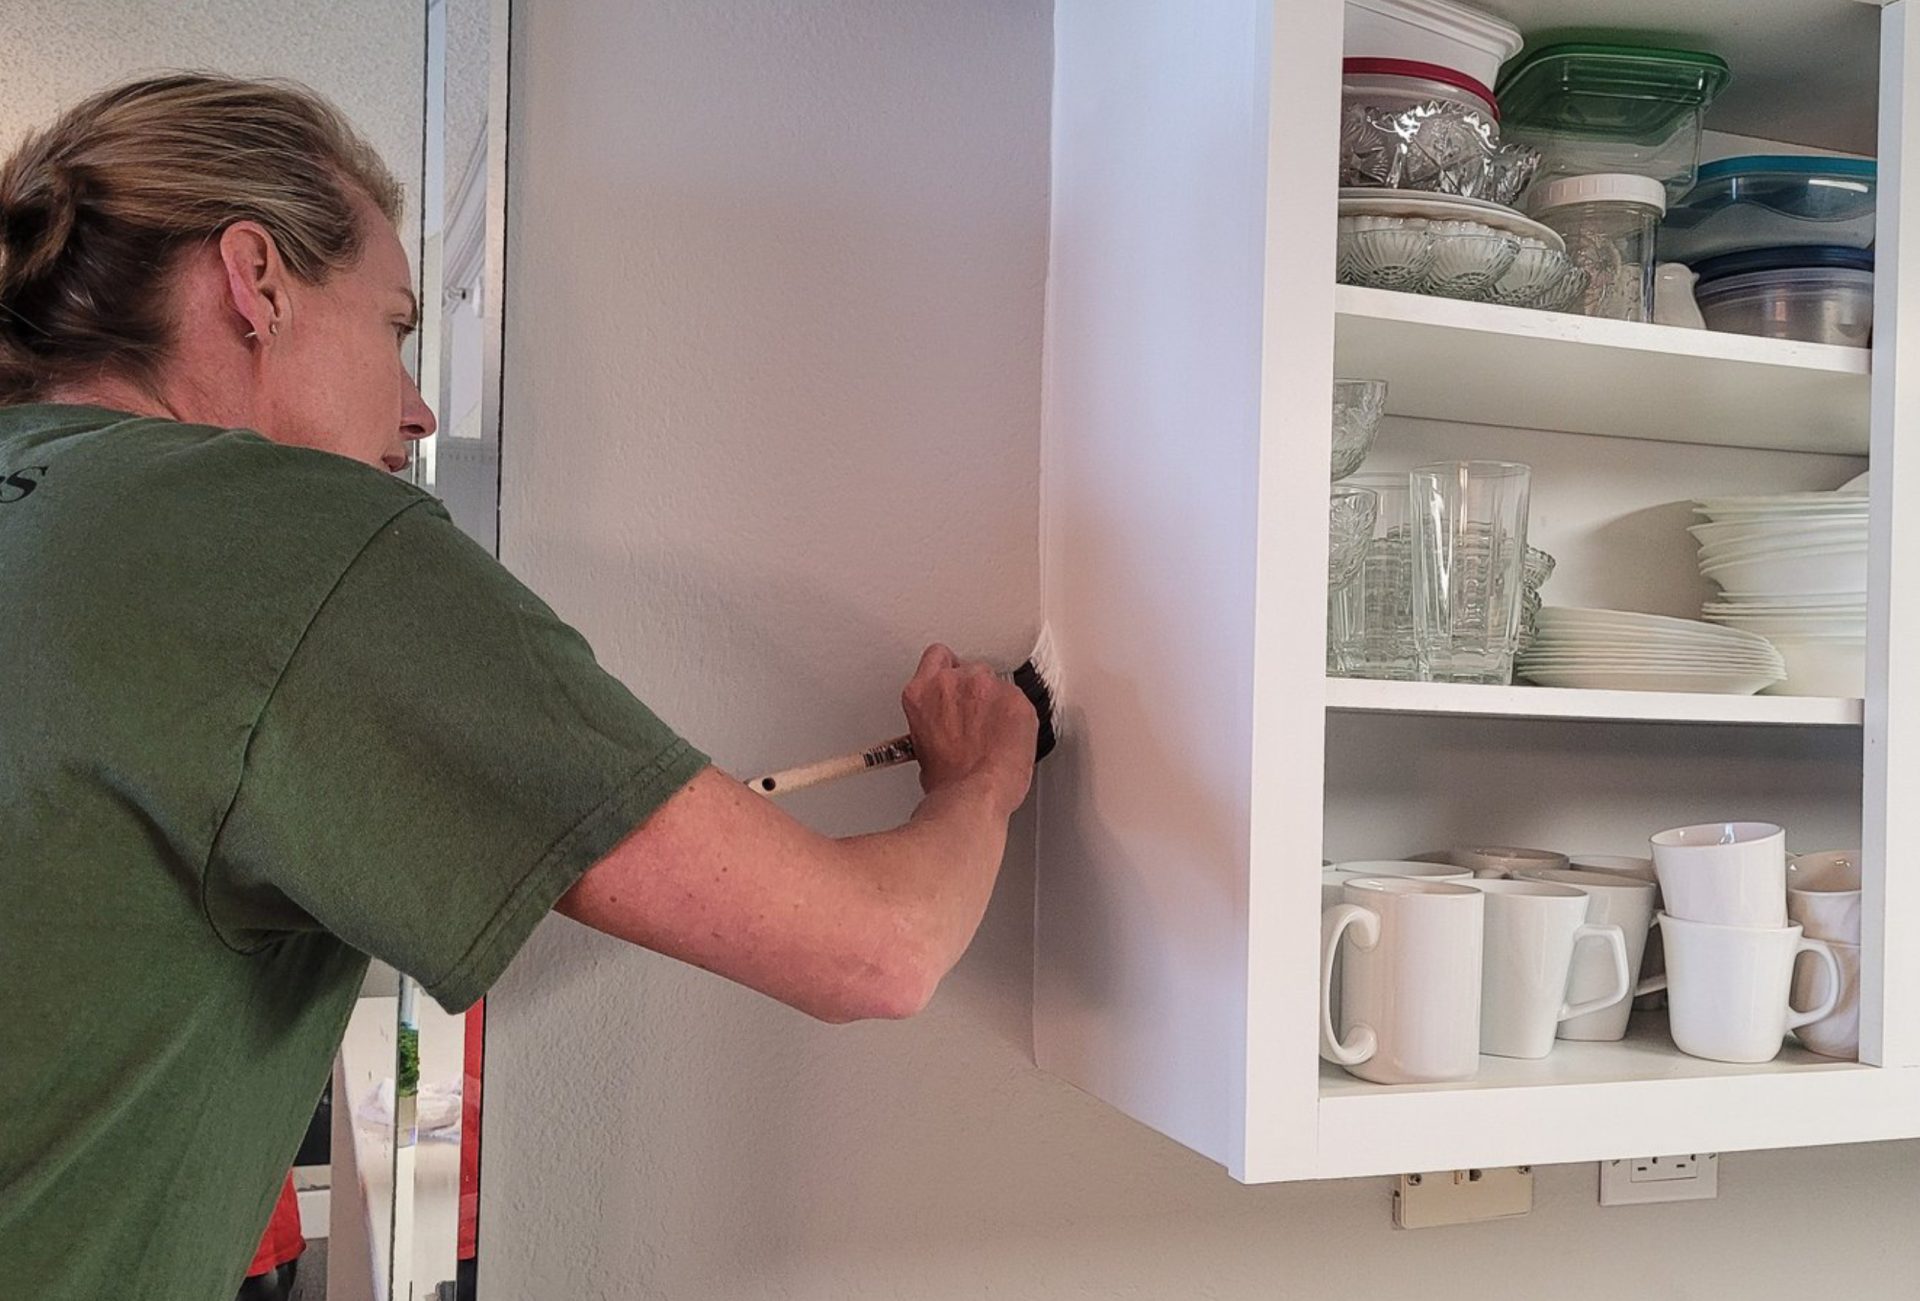
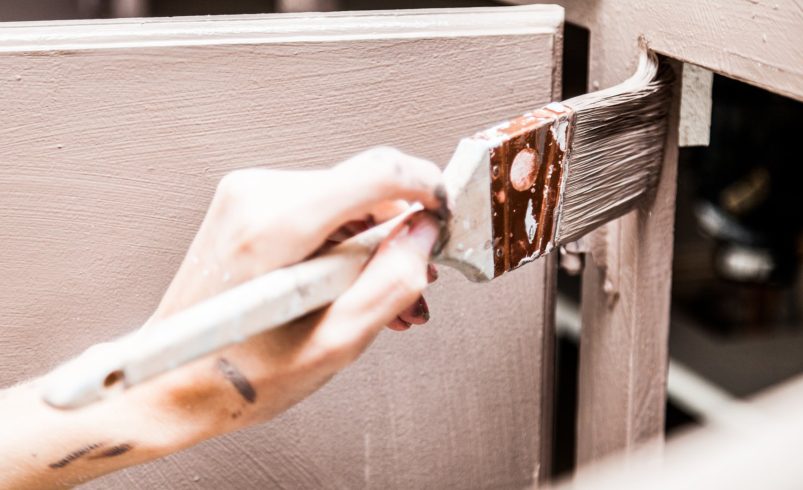
- Use a brush for corners, edges, and detailed areas, and a foam roller for flat panels.
- Let the primer dry fully before lightly sanding with fine-grit sandpaper.
Pro Tip: A stain-blocking primer is essential if your cabinets are dark, stained, or have water damage.
7. Paint or Stain Cabinets
- For painted cabinets: Apply thin, even coats with a brush or foam roller. Multiple thin coats prevent streaks and drips.
- For stained cabinets: Apply stain evenly using a cloth or brush, then wipe off excess for a uniform finish.
- Allow each coat to dry fully before adding another.
Pro Tip: Use a semi-gloss or satin finish for durability and easy cleaning.
8. Sand Between Coats
- Lightly sand between coats of paint or stain to achieve a smooth, professional finish.
- Wipe with a tack cloth before applying the next coat.
Pro Tip: This step is crucial for achieving a factory-like, polished finish.
9. Reassemble Cabinets
- Once the final coat is dry, carefully reattach hardware.
- Hang cabinet doors and insert drawers, following your numbered labels.
- Adjust hinges if necessary to ensure proper alignment.
Pro Tip: Avoid heavy use for at least 48 hours to allow the paint or stain to cure completely.
10. Maintenance Tips for Refinished Cabinets
- Clean gently with mild soap and water—avoid abrasive cleaners.
- Wipe spills immediately to prevent stains.
- Touch up scratches or chips promptly to maintain a flawless appearance.
Pro Tip: Regular maintenance prolongs the life of your refinished cabinets, keeping them looking fresh for years.
Conclusion
Refinishing cabinets is an achievable way to give your kitchen a fresh, modern look while saving money. By following these steps—preparation, sanding, priming, painting or staining, and careful reassembly—you can achieve a smooth, professional finish. Whether you’re tackling this as a DIY project or working with professionals, Chicagoland Paint Pro provides the expertise and guidance needed to transform your cabinets beautifully.