
Sanding and priming are the foundation of a professional-quality paint job. Skipping these steps or doing them incorrectly can result in peeling, uneven coverage, or a finish that doesn’t last. Whether you’re painting walls, trim, or cabinets, following best practices ensures your surfaces are smooth, durable, and ready for a flawless topcoat.
1. Start with Proper Surface Preparation
- Clean Walls: Remove dust, dirt, grease, and cobwebs with soap and water for interior surfaces or a pressure washer for exterior walls.
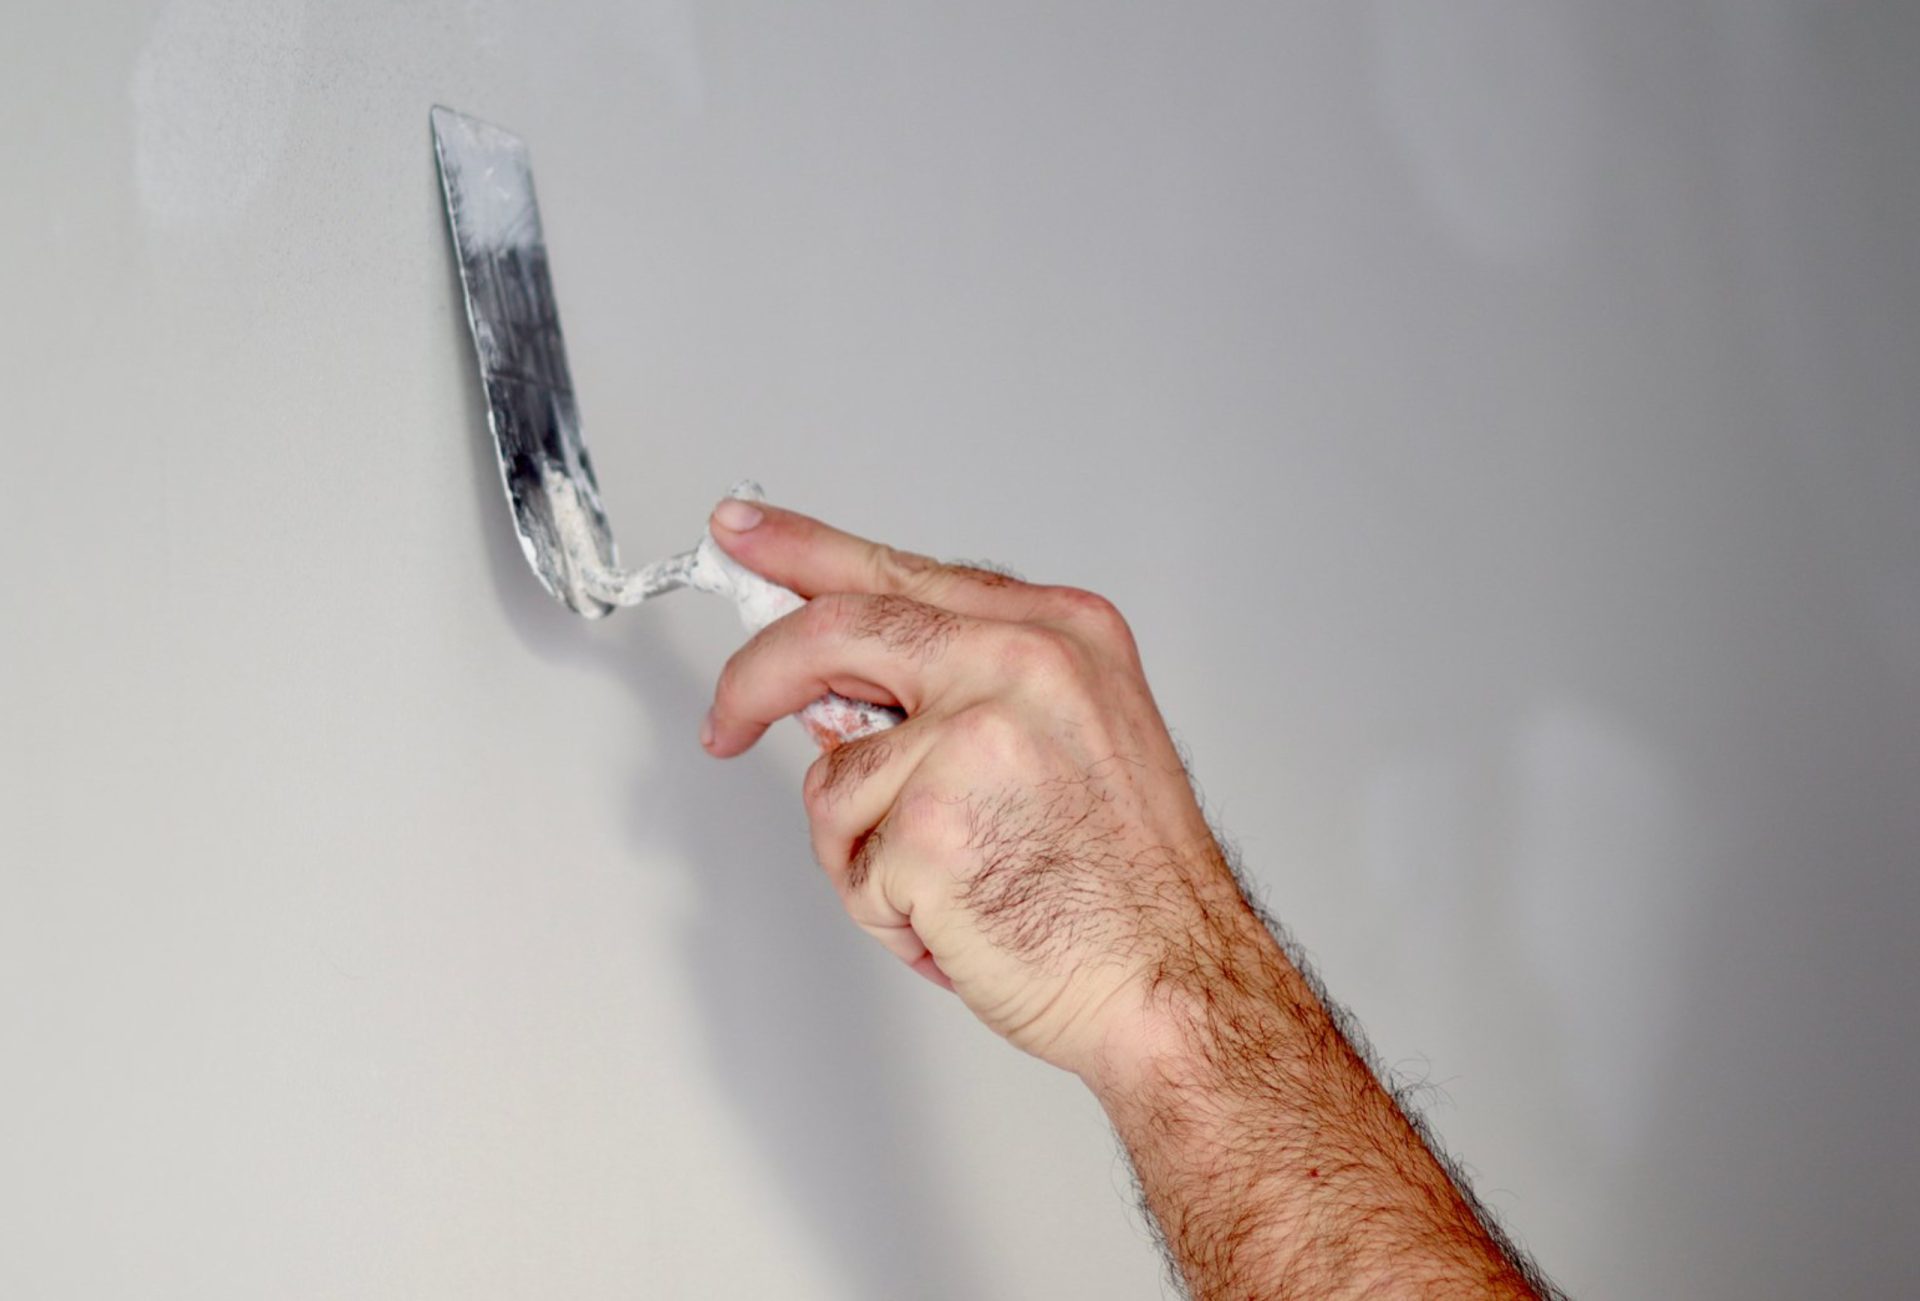
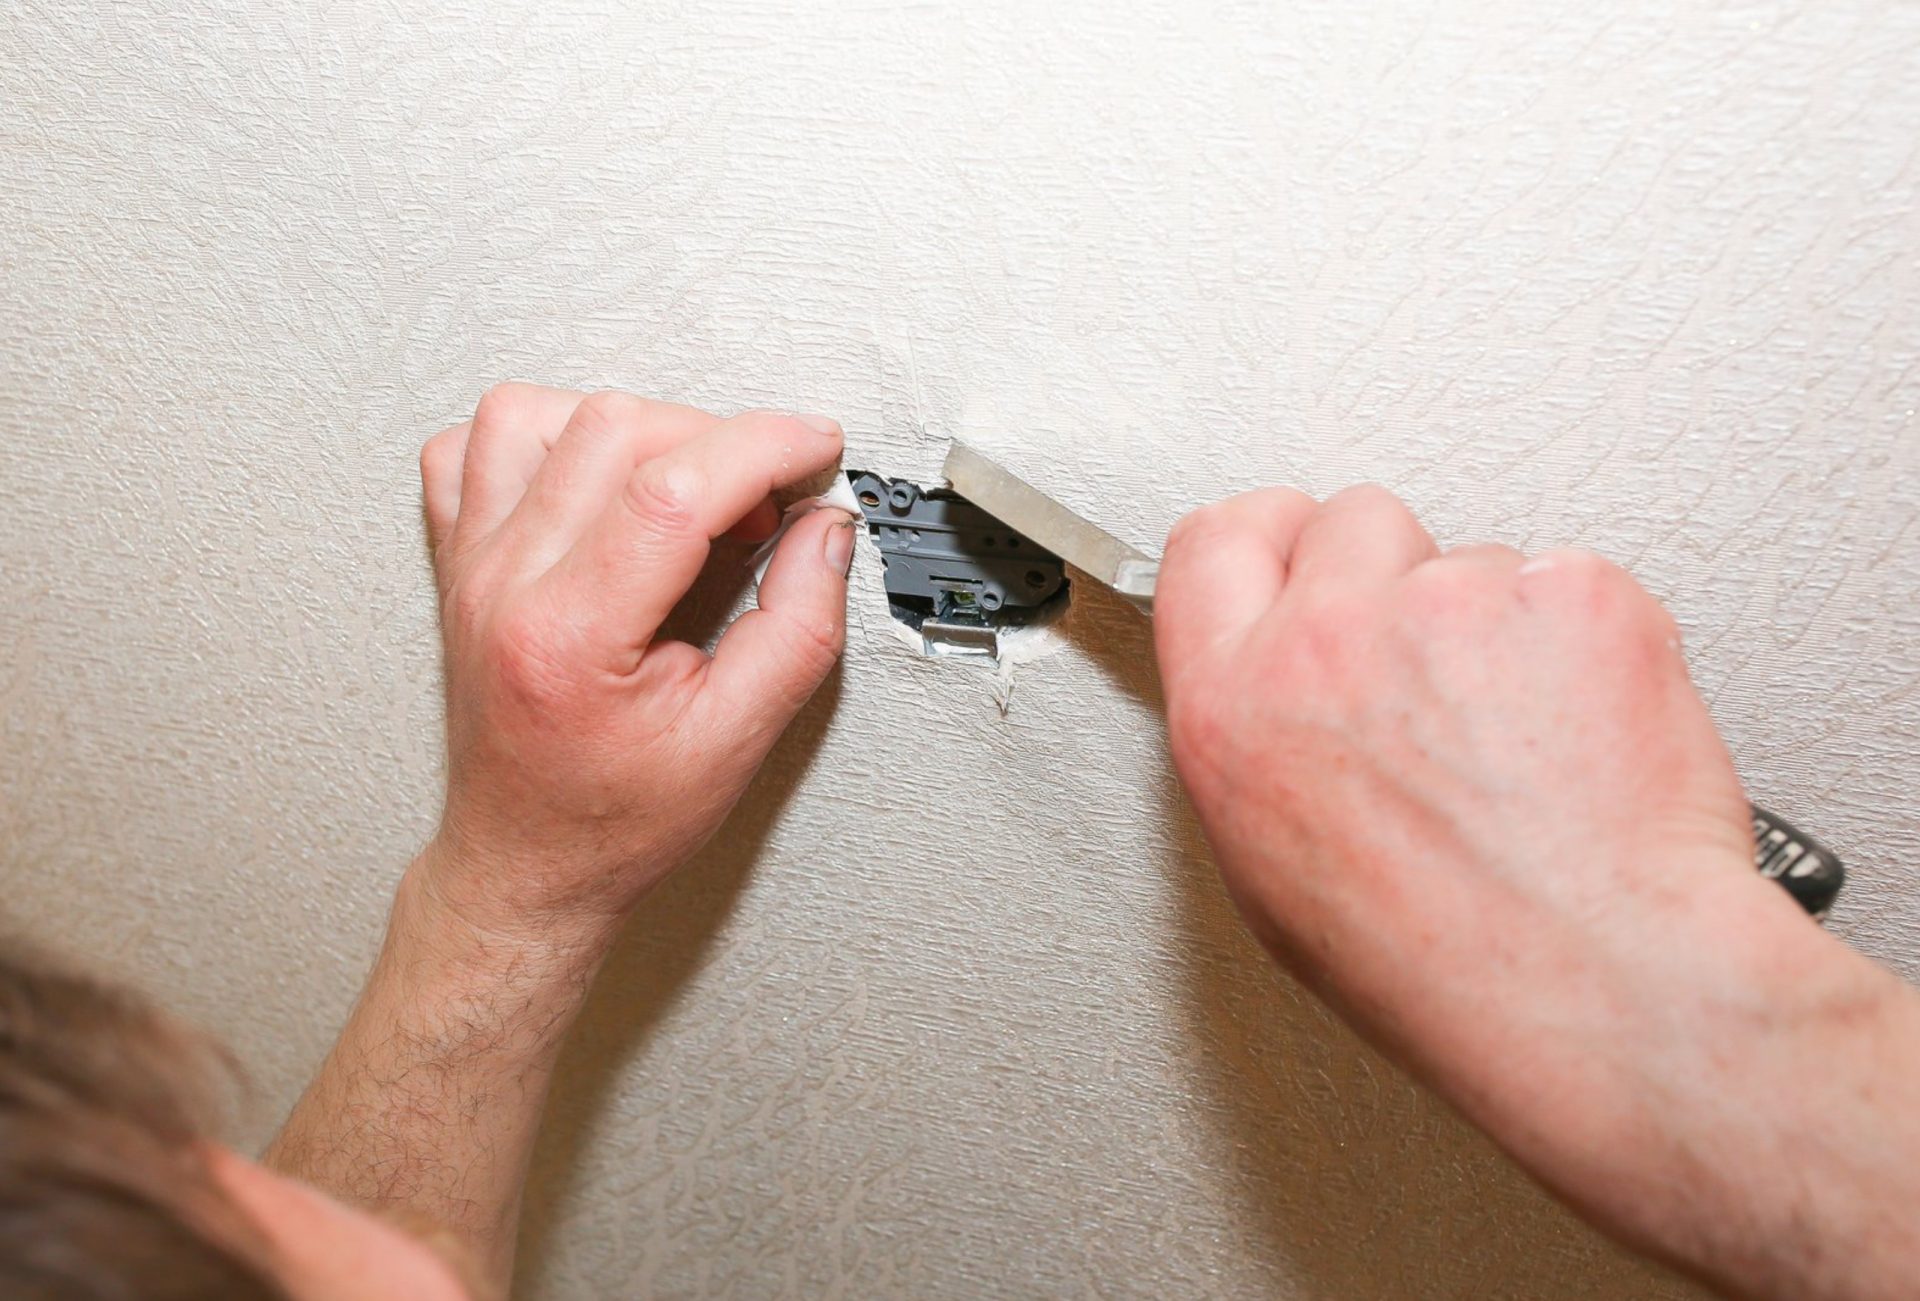
- Repair Damage: Patch holes, cracks, and dents using spackle, joint compound, or wood filler.
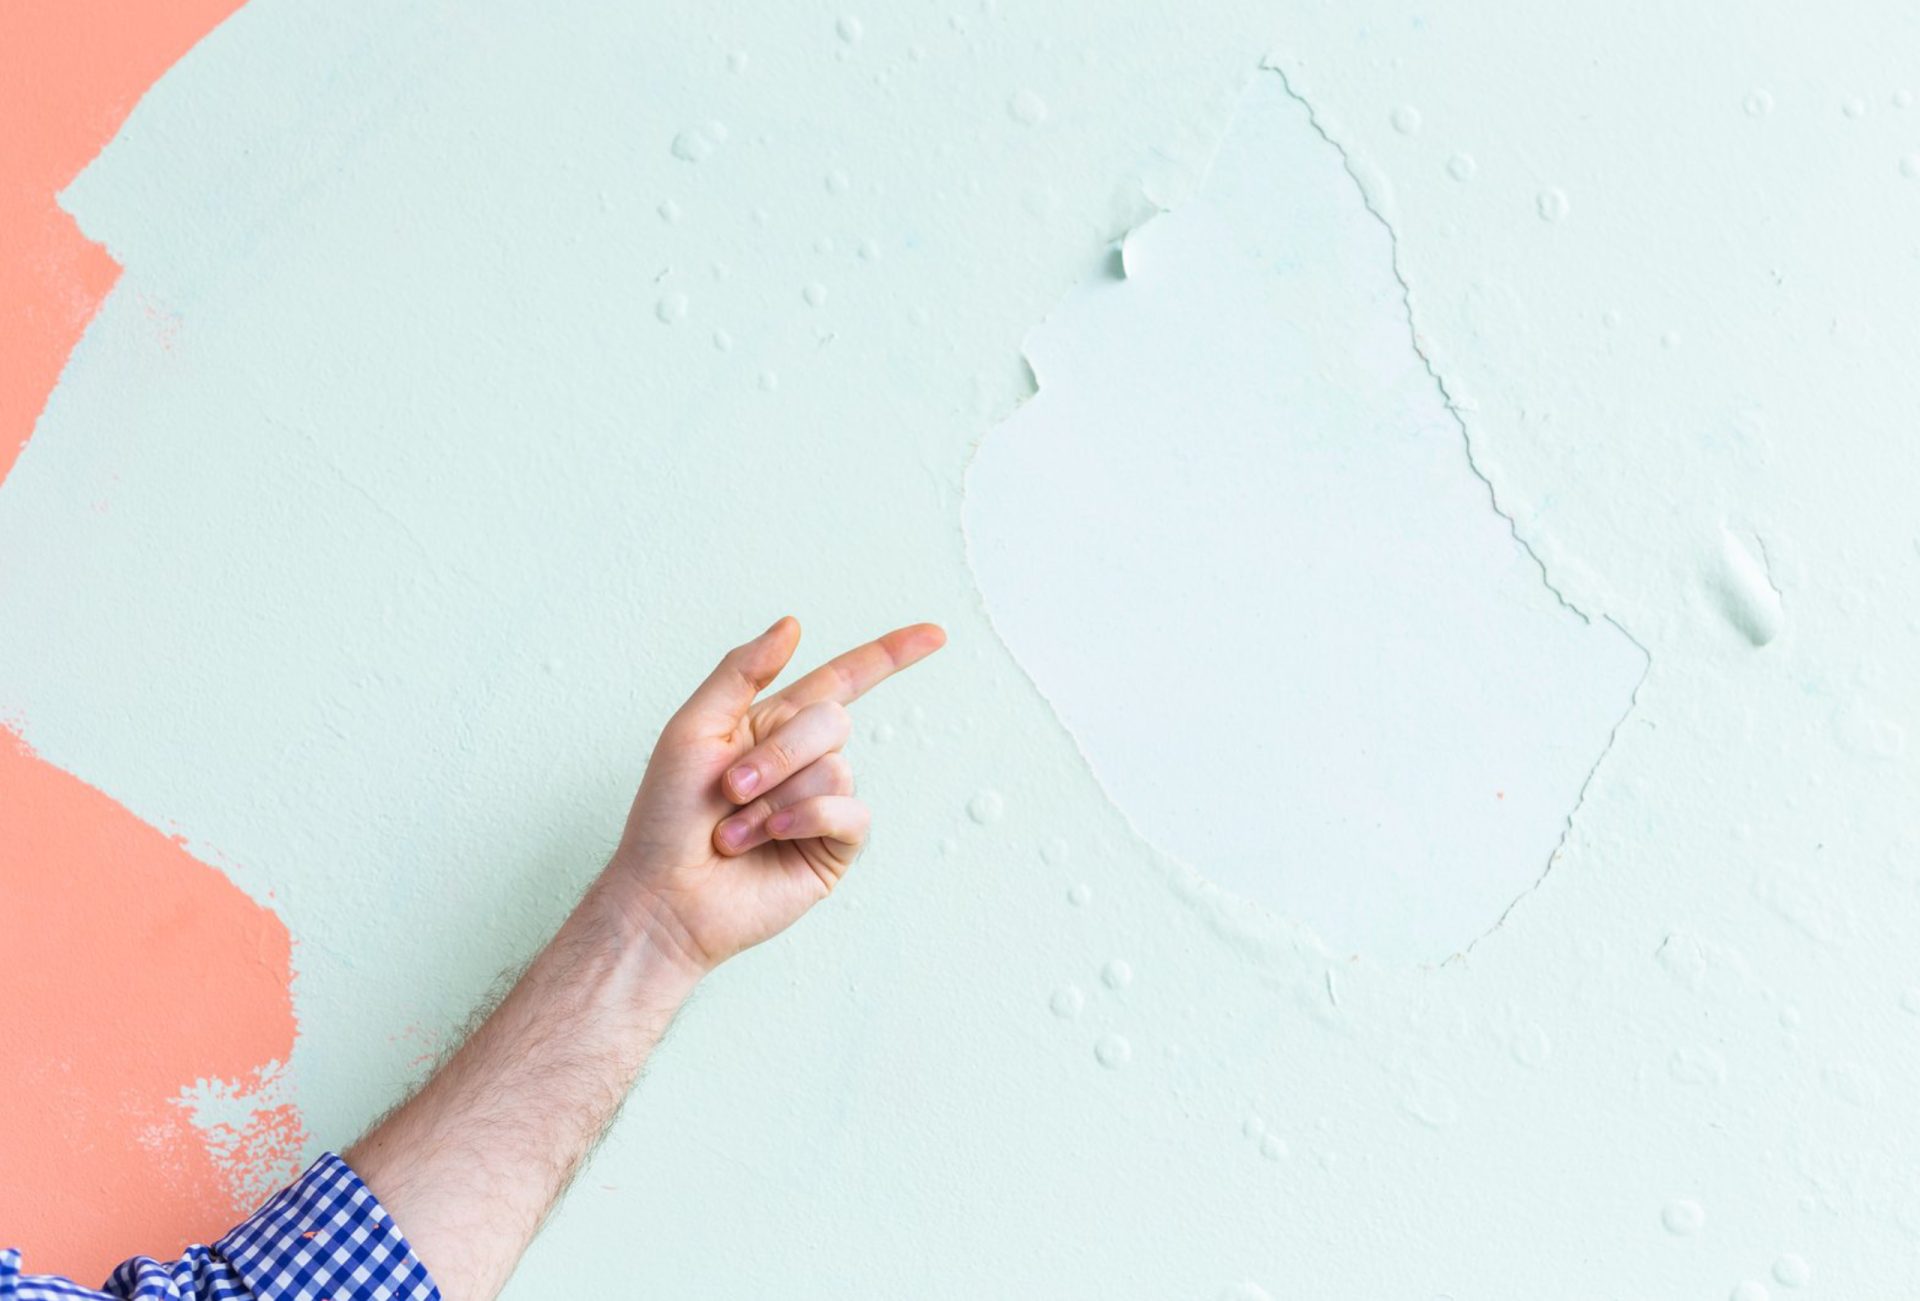
- Remove Loose Paint: Scrape off peeling or flaking paint and sand edges smooth.
Pro Tip: Thorough surface prep ensures sanding and priming are effective and long-lasting.
2. Choose the Right Sandpaper
- Use medium-grit sandpaper (120–150 grit) for smoothing rough patches or previously painted walls.
- Finish with fine-grit sandpaper (220 grit) for a polished, smooth surface.
- For textured surfaces, use a sanding block or pole sander to reach every angle.
Pro Tip: Proper sandpaper selection prevents scratches and ensures even paint absorption.
3. Sanding Techniques for Best Results
- Sand in circular or back-and-forth motions to blend patched areas with the surrounding wall.
- Lightly sand glossy surfaces to create a “tooth” for primer adhesion.
- Always remove sanding dust with a vacuum, damp cloth, or tack cloth.
Pro Tip: Clean surfaces allow primer to stick evenly, preventing patchiness or peeling.
4. Select the Appropriate Primer
- Interior Walls: Latex or water-based primers work well for general surfaces.
- Exterior Walls: Use weather-resistant, stain-blocking primers.
- Problem Areas: Choose stain-blocking primers for water marks, smoke stains, or discoloration.
- Wood Surfaces: Opt for oil-based or bonding primers to seal knots and improve paint adhesion.
Pro Tip: The right primer type ensures a uniform surface and enhances paint durability.
5. Primer Application Best Practices
- Stir primer thoroughly before use.
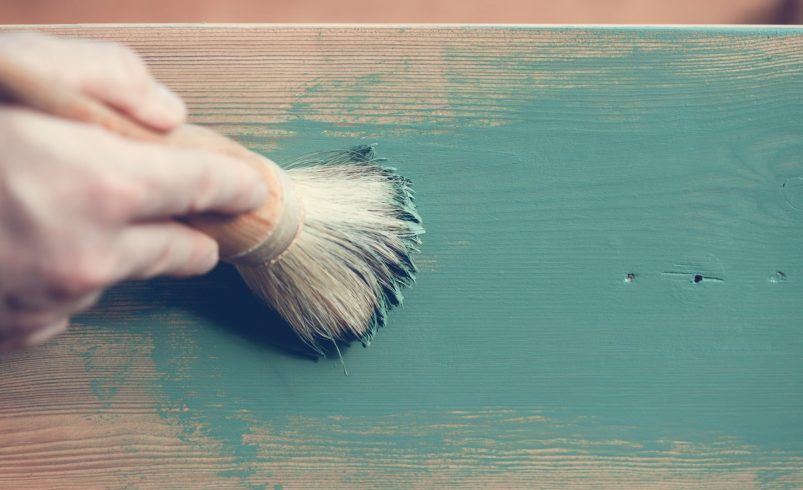
- Use high-quality brushes for corners, edges, and detailed trim.
- Apply primer with a roller in a “W” or “M” pattern for even coverage.
- Feather edges where primer meets previously painted surfaces.
- Allow proper drying time as recommended by the manufacturer.
Pro Tip: Consistent application prevents lap marks, streaks, and uneven coverage.
6. Avoid Common Mistakes
- Skipping Sanding: Paint may peel or show imperfections.
- Over-Sanding: Can damage surfaces or create uneven spots.
- Incorrect Primer Type: Using interior primer outdoors or on metal surfaces compromises adhesion.
- Painting Too Soon: Wet primer needs adequate drying time before painting.
- Ignoring Dust: Dust left after sanding reduces primer adhesion.
Pro Tip: Avoiding these mistakes guarantees a long-lasting, professional finish.
7. Tips for Special Surfaces
- New Drywall: Sand lightly and apply drywall primer to seal pores.
- Glossy Paint: Sand surface before priming to improve adhesion.
- Metal: Use a metal-specific primer to prevent rust and ensure durability.
- Stained or Knotty Wood: Use stain-blocking or oil-based primers to prevent bleed-through.
Pro Tip: Matching primer and sanding methods to the surface type ensures flawless results.
8. Inspect and Touch-Up
- Check primed surfaces under bright light to spot imperfections or missed areas.
- Sand minor bumps lightly and reapply primer if necessary.
- Clean dust before applying the topcoat.
Pro Tip: Inspection prevents flaws from showing through the final paint layer.
9. Environmental Considerations
- Avoid painting in high humidity or extreme temperatures.
- Ensure surfaces are completely dry before priming.
- Maintain proper ventilation for indoor painting.
Pro Tip: Environmental control ensures primer and paint cure properly for long-lasting results.
10. Professional Tips for Long-Lasting Paint
- Always use high-quality brushes, rollers, and primers.
- Keep a wet edge when rolling primer to prevent lap marks.
- Protect surrounding areas with painter’s tape and drop cloths.
- Take your time: careful sanding and priming save time and costs in the long run.
Pro Tip: Attention to detail during sanding and priming is what separates a DIY job from a professional-quality paint finish.
Conclusion
Following best practices for sanding and priming ensures your paint adheres properly, looks smooth, and lasts for years. Proper surface prep, careful sanding, and correct primer application set the foundation for a flawless, professional-quality finish. Chicagoland Paint Pro delivers expert sanding and priming services to guarantee walls, trim, and cabinets are perfectly prepared for painting every time.