
Cracks, holes, and dents in drywall are common issues in homes and offices. While professional drywall repair may seem intimidating, beginners can successfully fix minor damage with the right tools, materials, and step-by-step guidance. This article provides a complete beginner-friendly guide to drywall repair.
1. Gather Your Tools and Materials
Essential Tools:
- Putty knife (4–6 inches)
- Sanding sponge or sandpaper (medium and fine grit)
- Drywall saw or utility knife
- Screwdriver or drill (for larger holes)
Materials Needed:
- Drywall patch or mesh tape
- Joint compound or spackle
- Primer and paint
- Optional: Backer board for larger holes
Pro Tip: Having all tools ready before starting makes the repair process smooth and efficient.
2. Assess the Damage
- Inspect the wall to determine the size and type of damage.
- Small holes (<1 inch) usually only need spackling.
- Medium holes (1–6 inches) may require a patch or mesh tape.
- Large holes (>6 inches) often need a drywall piece and backer support.
Pro Tip: Properly assessing the damage ensures you choose the right repair method.
3. Prepare the Area
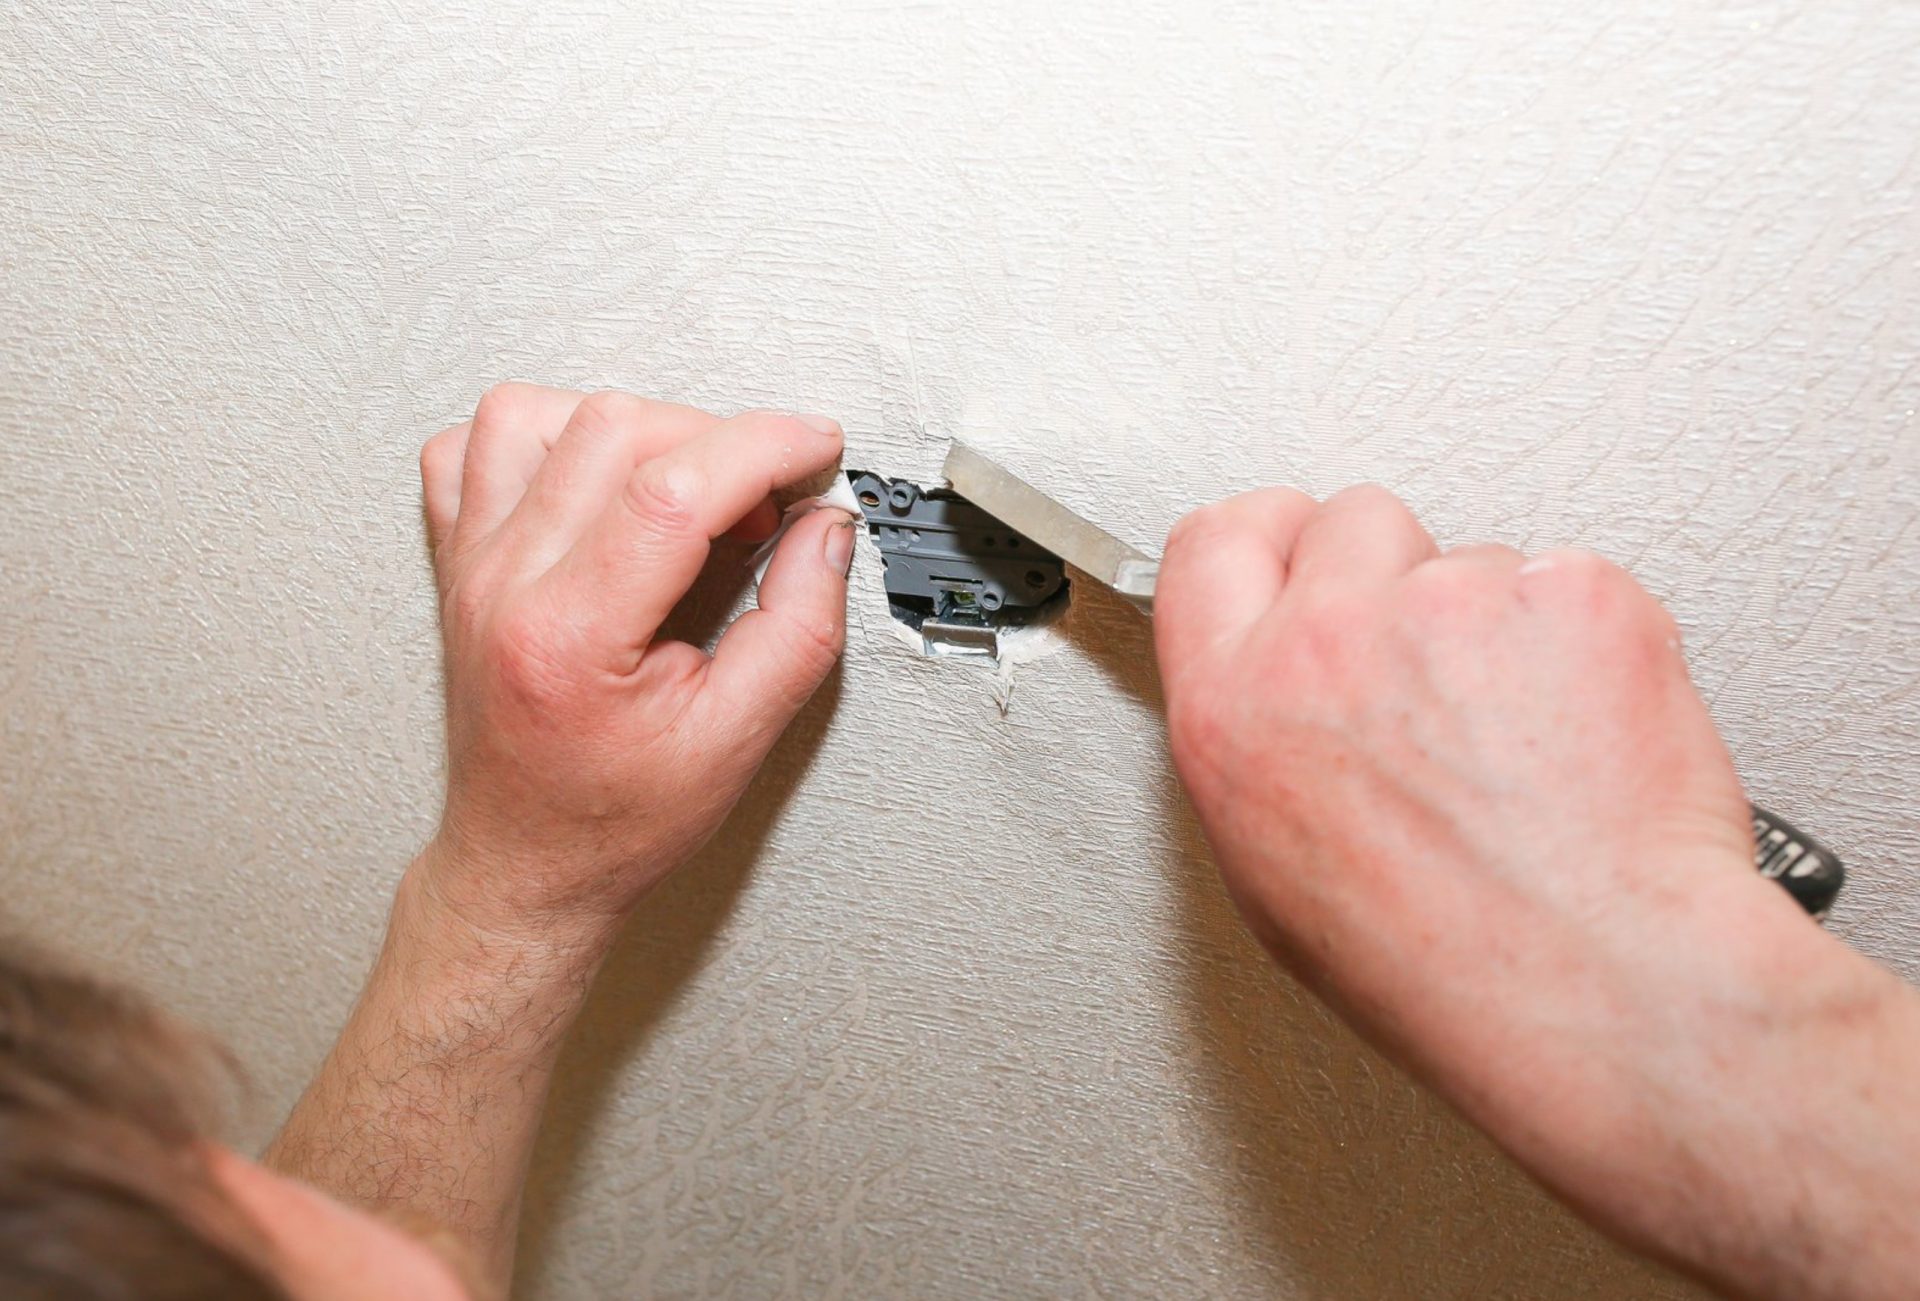
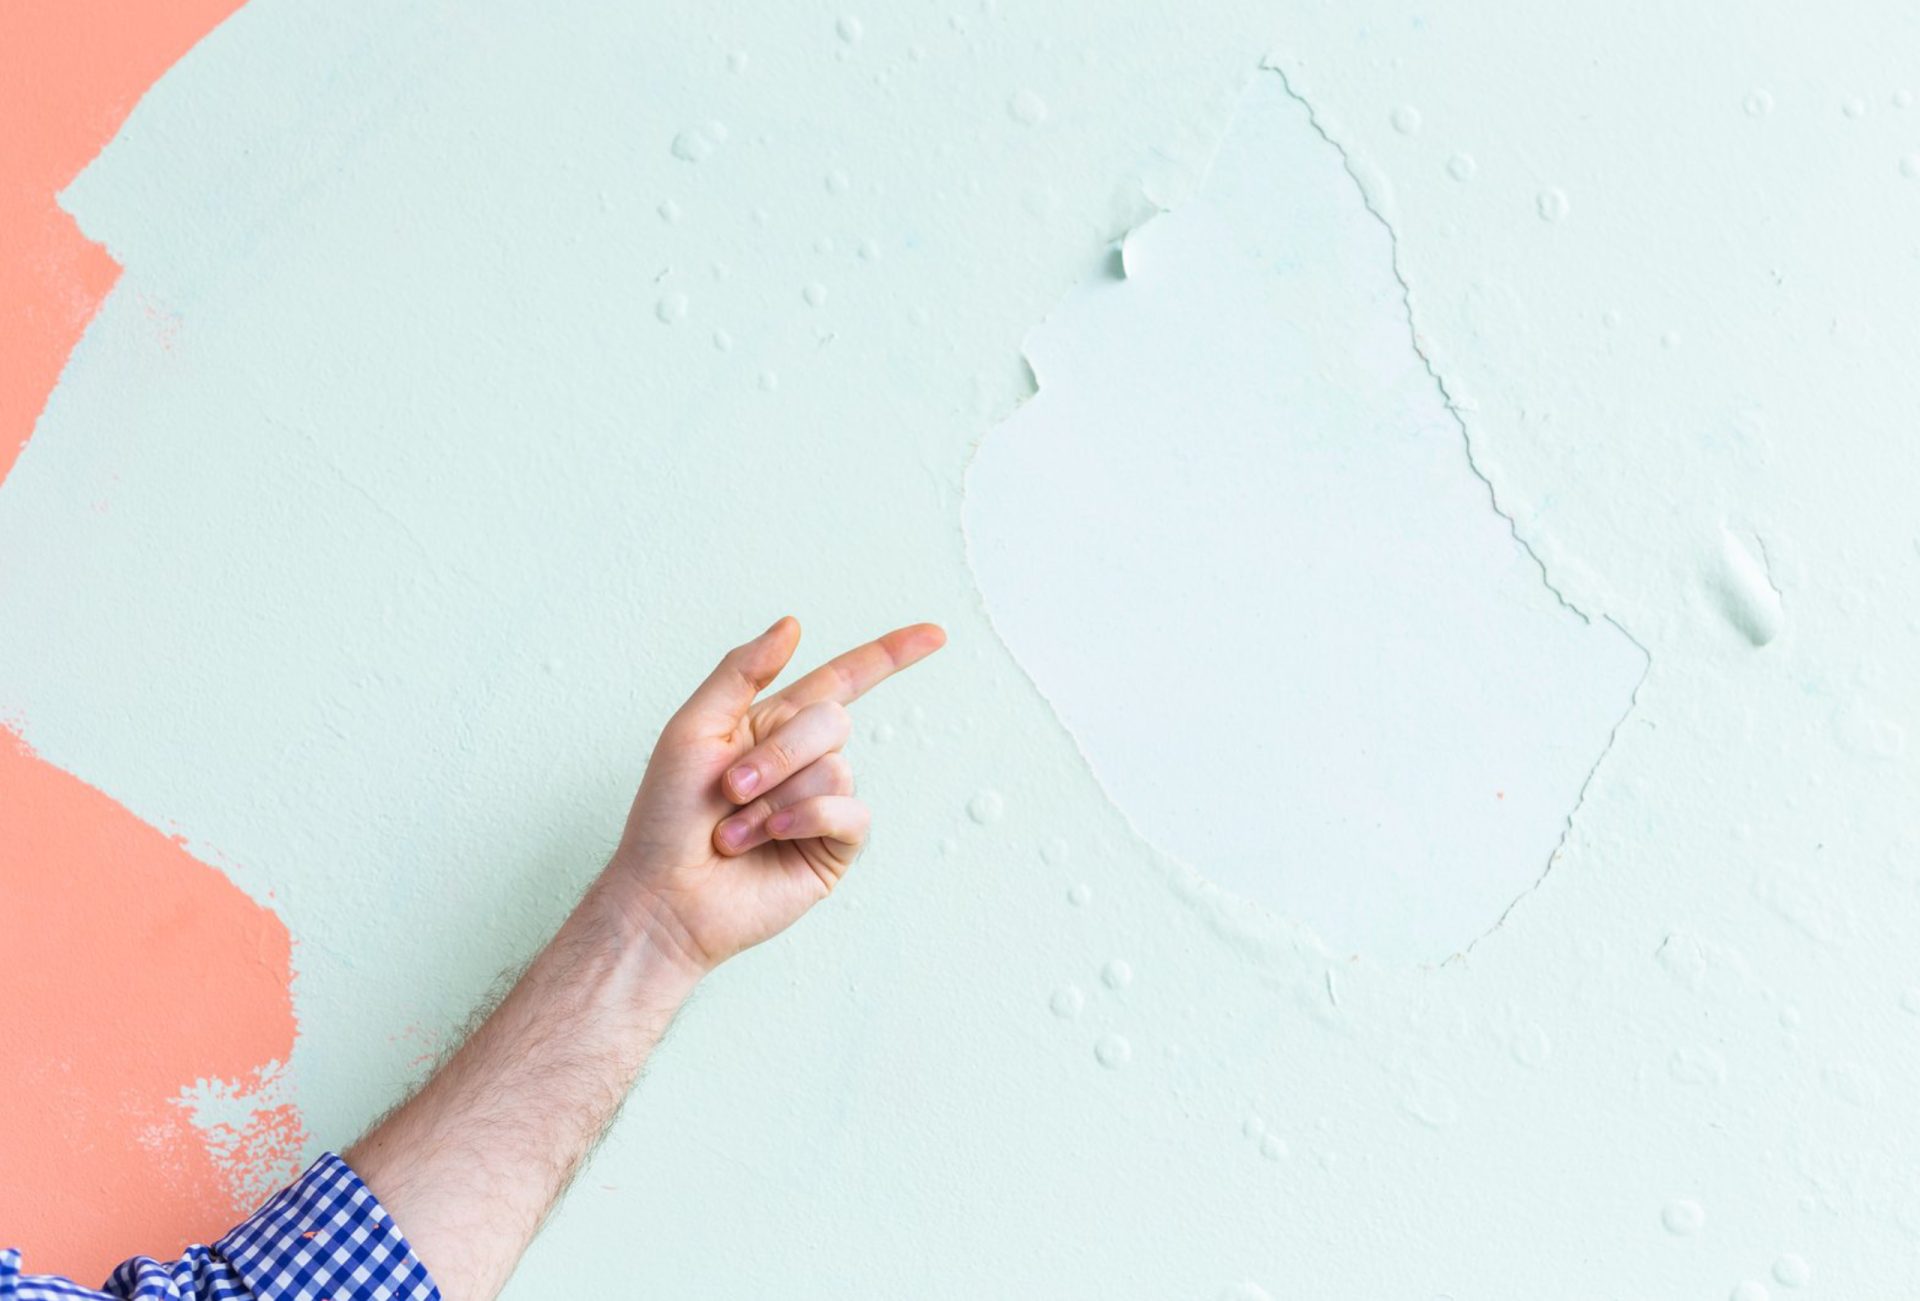
- Remove loose debris, peeling paint, or broken drywall.
- Clean the surface with a damp cloth to remove dust and dirt.
- Protect surrounding areas with drop cloths or painter’s tape.
Pro Tip: A clean, smooth surface ensures better adhesion of patching materials.
4. Repair Small Holes (<1 inch)
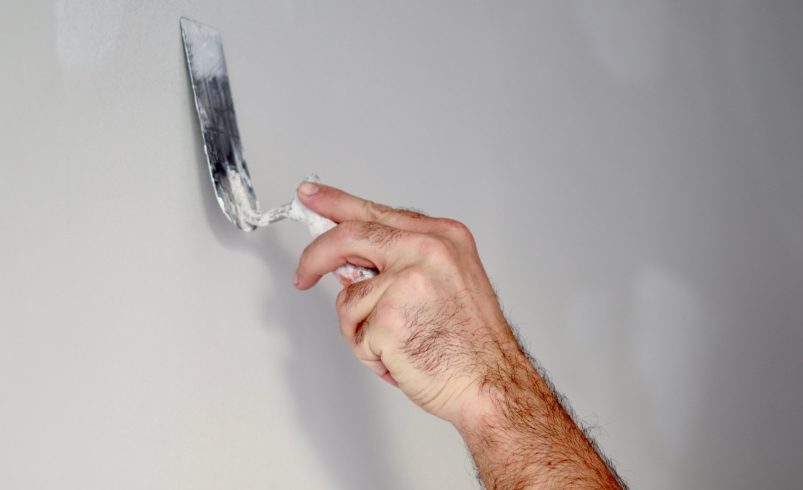
- Apply spackling compound directly into the hole using a putty knife.
- Smooth the surface and feather the edges to blend with the wall.
- Allow to dry completely (usually 2–4 hours).
- Sand lightly with fine-grit sandpaper for a smooth finish.
Pro Tip: Apply a second thin coat if necessary for a perfectly level surface.
5. Repair Medium Holes (1–6 inches)
- Cut a piece of drywall patch slightly larger than the hole.
- Secure the patch with mesh tape or adhesive.
- Apply joint compound over the patch, feathering the edges for a smooth transition.
- Allow to dry, then sand lightly.
- Repeat the compound application if needed for a seamless finish.
Pro Tip: Use a wider putty knife for feathering to blend the patch naturally into the wall.
6. Repair Large Holes (>6 inches)
- Cut out a square section around the damaged area.
- Attach a backer board inside the wall cavity for support.
- Cut a new drywall piece to fit the opening and secure with screws to the backer board.
- Apply mesh tape along seams, then cover with joint compound.
- Feather the edges and allow to dry completely.
- Sand smooth, apply a second coat if needed, then prime before painting.
Pro Tip: Ensure the replacement drywall is flush with the surrounding wall for a professional finish.
7. Sanding and Smoothing
- Use medium-grit sandpaper to remove excess compound.
- Finish with fine-grit sandpaper for a smooth, paint-ready surface.
- Wipe down dust with a damp cloth before priming.
Pro Tip: Proper sanding prevents bumps and uneven surfaces when painting.
8. Priming and Painting
- Apply a coat of primer to the repaired area to seal the compound.
- Allow primer to dry completely.
- Paint the wall with matching color, blending edges to hide the repair.
- Multiple thin coats may be needed for full coverage.
Pro Tip: Using a small roller or brush helps blend the patched area with surrounding walls.
9. Tips for Best Results
- Work in thin layers to avoid cracking or shrinking.
- Feather edges of compound for a smooth transition.
- Allow sufficient drying time between coats.
- Match paint finish (matte, satin, semi-gloss) to surrounding wall for uniform appearance.
Pro Tip: Patience and proper technique produce seamless, professional-looking repairs.
10. When to Call a Professional
- Extensive water damage or mold issues
- Structural cracks or large wall sections damaged
- Repairing textured walls that require specialized skills
Pro Tip: For complex repairs, professionals like Chicagoland Paint Pro provide expert drywall repair and finishing for flawless results.
Conclusion
Drywall repair doesn’t have to be intimidating for beginners. With the right tools, materials, and step-by-step guidance, small to medium wall damage can be repaired seamlessly. Proper preparation, layering, sanding, and finishing ensure walls are smooth and paint-ready. For larger or more complex repairs, Chicagoland Paint Pro offers professional services to restore your walls to perfection.