
Holes and cracks in drywall are common, whether from everyday wear, accidents, or settling of a building. While small imperfections can seem minor, leaving them unrepaired can lead to bigger issues over time. Fixing drywall like a professional requires proper tools, materials, and techniques to ensure smooth, paint-ready walls. This guide walks you through the process.
1. Gather the Right Tools and Materials
Tools Needed:
- Putty knife (4–6 inches)
- Sanding block or sponge (medium and fine grit)
- Utility knife or drywall saw
- Screwdriver or drill (for securing drywall patches)
- Paintbrush or roller
Materials Needed:
- Joint compound or spackle
- Drywall patch or mesh tape
- Drywall screws (for large holes)
- Primer and matching paint
- Optional: Backer board for structural support
Pro Tip: Having everything ready before starting makes the process efficient and reduces mistakes.
2. Assess the Damage
- Identify the size and type of damage: small holes, cracks, or larger gaps.
- Small cracks (<1/4 inch) usually need only spackling or crack filler.
- Medium cracks or holes (1–6 inches) require patching with mesh tape or drywall pieces.
- Large holes (>6 inches) need a replacement drywall section with backer support.
Pro Tip: Correctly assessing the damage ensures you use the proper repair method.
3. Prepare the Wall Surface
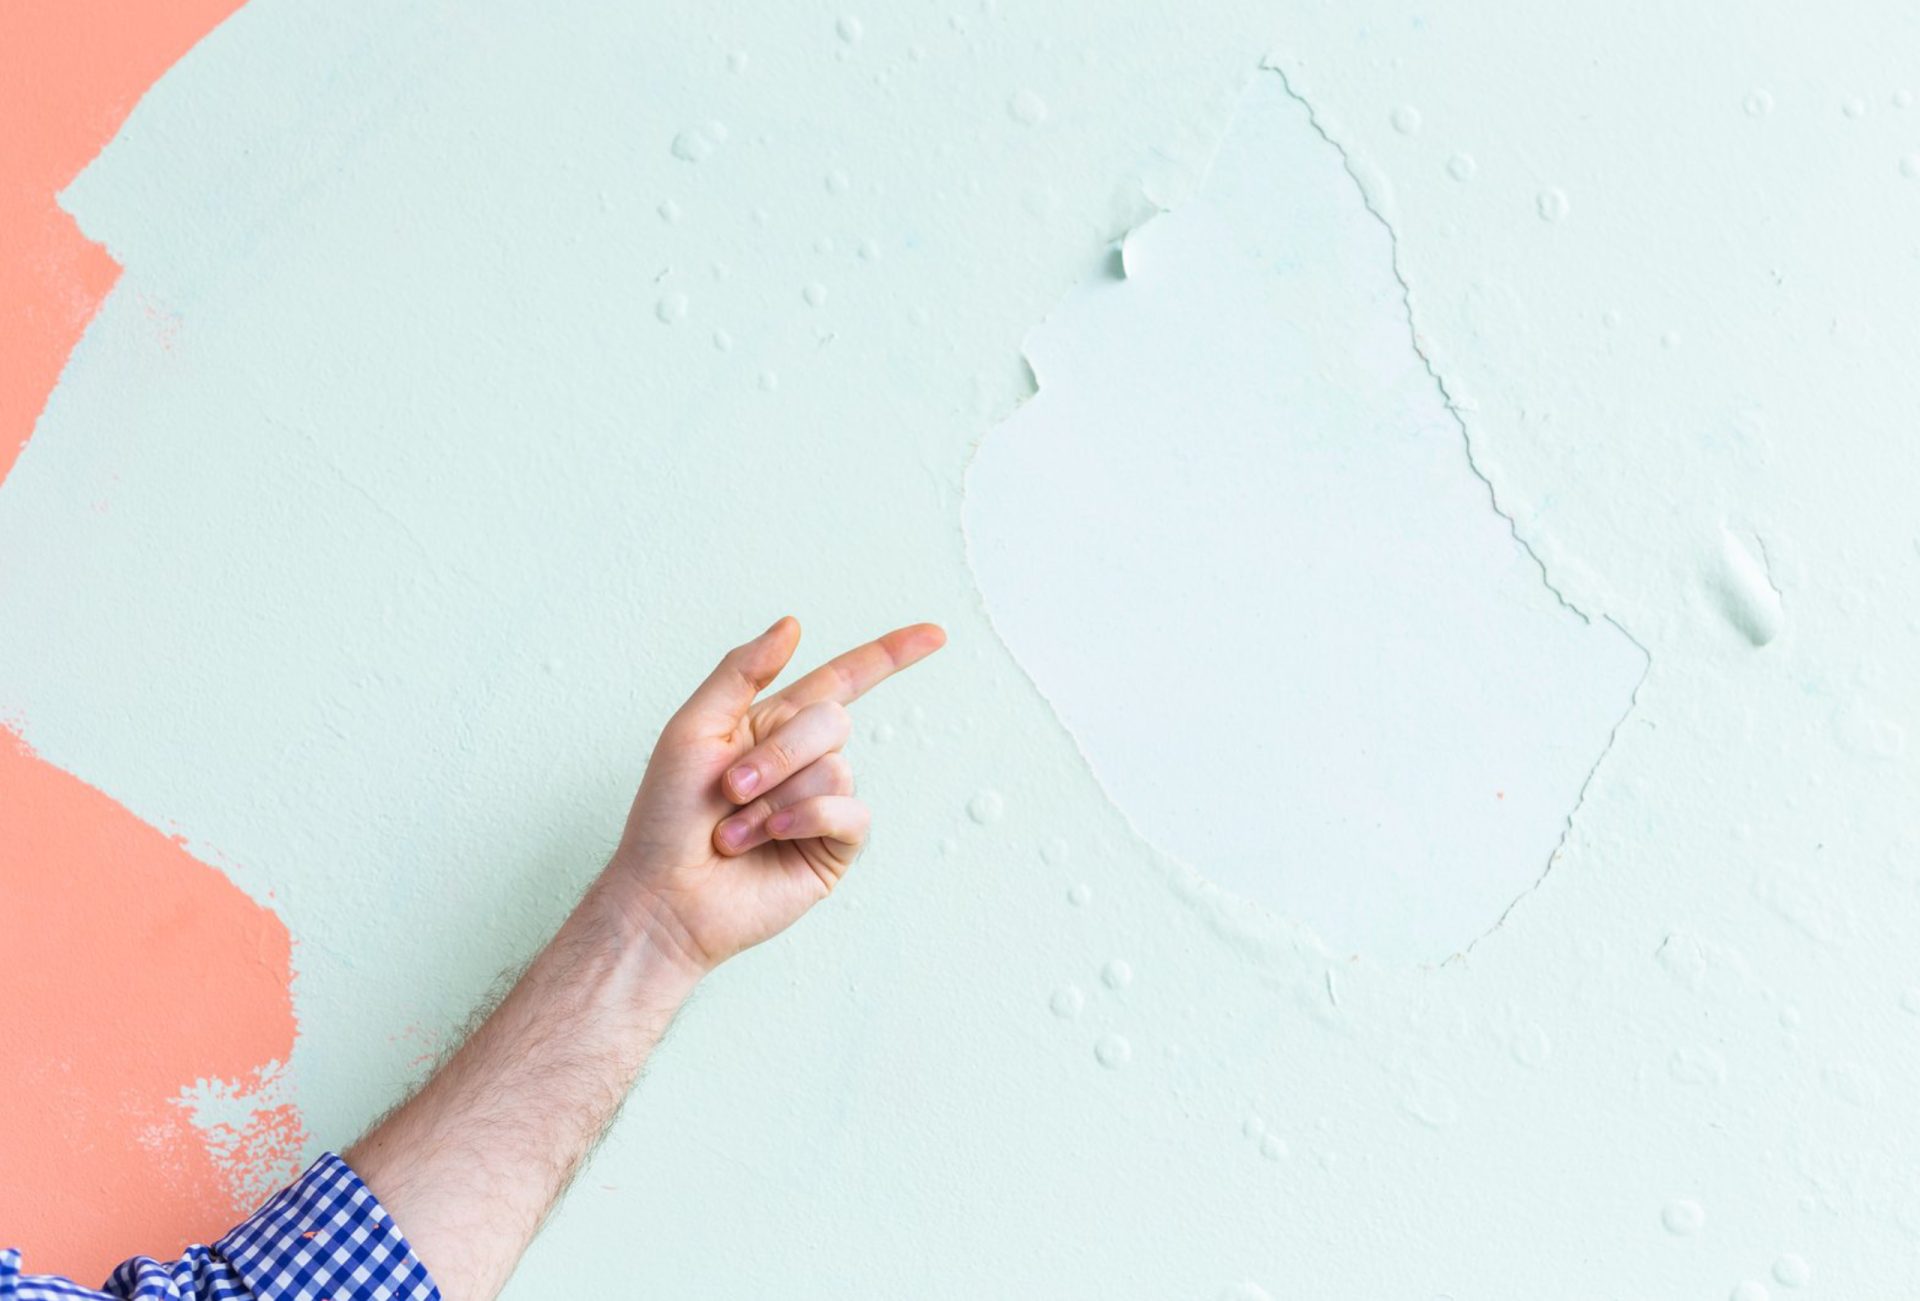
- Remove loose debris, peeling paint, or broken drywall edges.
- Clean the area with a damp cloth to remove dust and dirt.
- For cracks, widen slightly with a utility knife to create a V-shaped groove for better adhesion of filler.
- Protect floors and furniture with drop cloths.
Pro Tip: A clean and prepared surface is crucial for long-lasting repairs.
4. Repairing Small Holes and Cracks
- Fill small holes and cracks with spackling or joint compound.
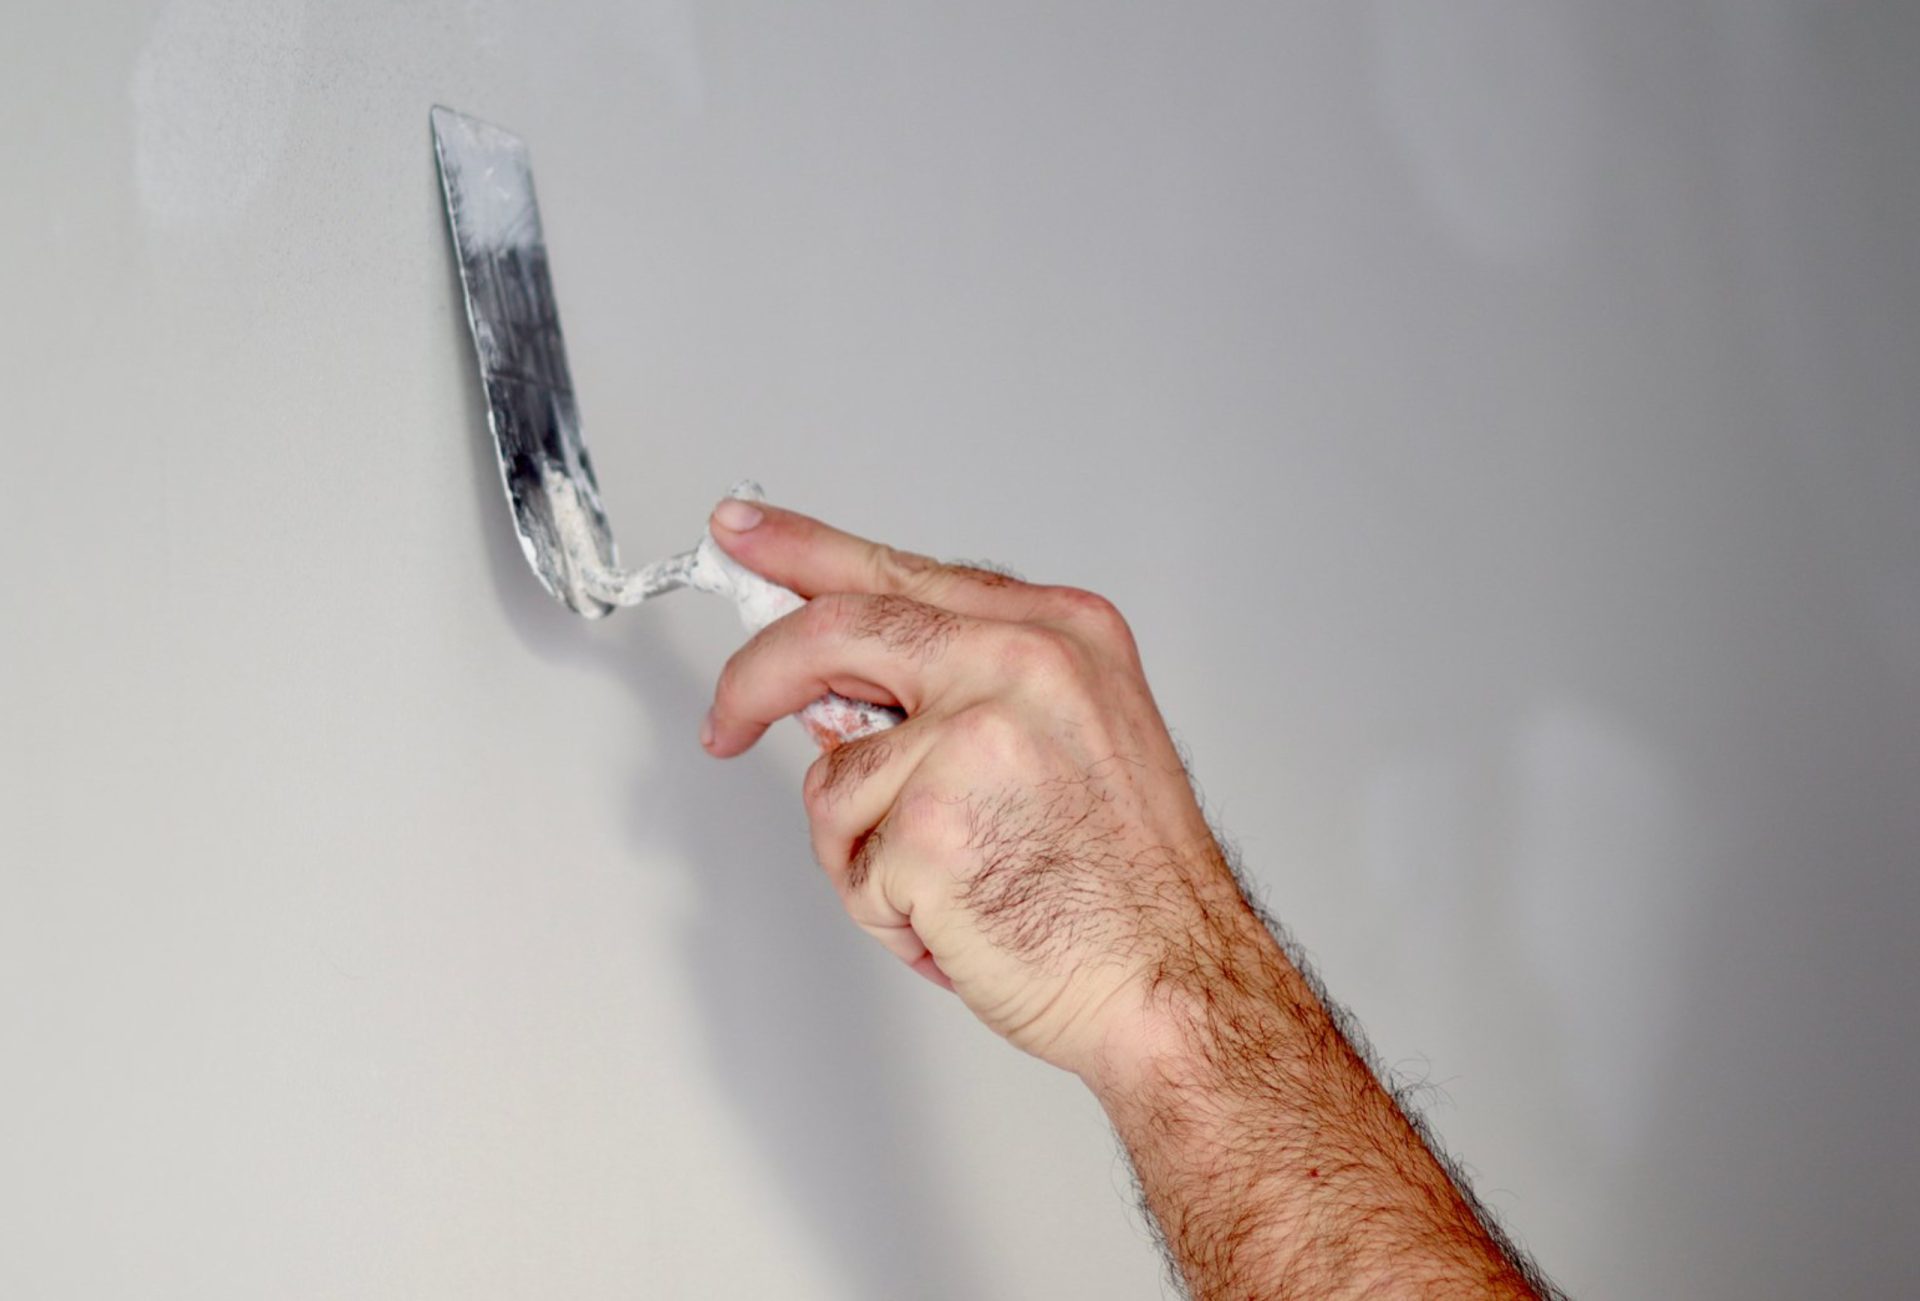
- Apply with a putty knife, pressing material firmly into the hole.
- Smooth the surface and feather the edges to blend with surrounding wall.
- Allow to dry completely (2–4 hours), then sand lightly with fine-grit sandpaper.
Pro Tip: Applying thin layers prevents cracking or shrinking during drying.
5. Repairing Medium Holes (1–6 inches)
- Use a mesh tape or drywall patch to cover the hole.
- Apply a thin layer of joint compound over the patch and feather edges.
- Allow to dry, then sand lightly for a smooth finish.
- Apply a second coat of compound if necessary to completely blend the patch with the wall.
Pro Tip: Feathering the edges ensures the repair is virtually invisible after painting.
6. Repairing Large Holes (>6 inches)
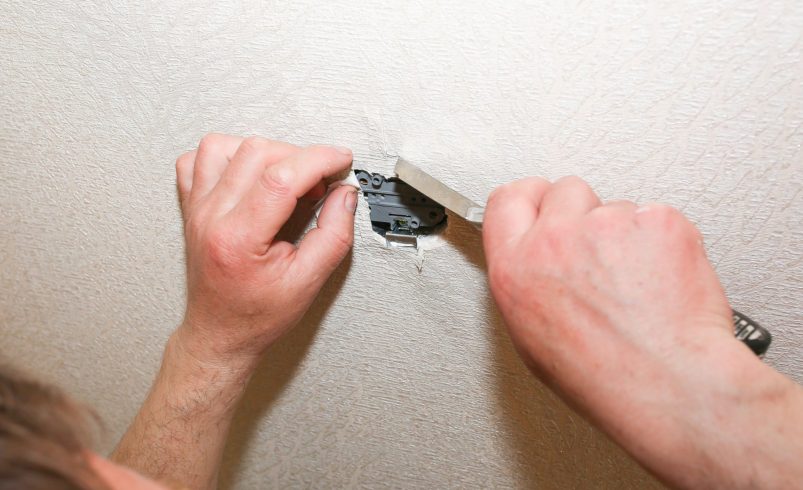
- Cut a square or rectangular section around the damaged area.
- Insert a backer board behind the wall cavity for support.
- Cut a new drywall piece to fit and secure with screws into the backer board.
- Cover seams with mesh tape and apply joint compound, feathering edges.
- After drying, sand smooth and apply a second coat if necessary.
- Prime and paint for a professional finish.
Pro Tip: Ensure the replacement drywall sits flush with the surrounding wall for seamless repair.
7. Sanding and Smoothing
- Use medium-grit sandpaper to level out compound.
- Finish with fine-grit sandpaper for a smooth, paint-ready surface.
- Remove dust with a damp cloth before priming.
Pro Tip: Proper sanding prevents bumps and uneven surfaces, making painting easier.
8. Priming and Painting
- Apply a coat of primer over repaired areas to seal the compound.
- Let the primer dry completely before painting.
- Paint with matching color, using thin coats for even coverage.
- Blend edges with the existing wall for a flawless look.
Pro Tip: Using a small roller or brush helps make repaired areas indistinguishable from surrounding walls.
9. Common Mistakes to Avoid
- Applying compound too thickly, leading to cracking.
- Skipping sanding, resulting in rough or uneven surfaces.
- Not priming repaired areas, causing paint to absorb unevenly.
- Ignoring structural issues behind cracks, leading to recurring damage.
Pro Tip: Patience and attention to detail are key to professional-looking drywall repairs.
10. When to Call a Professional
- Extensive damage from water, mold, or structural issues.
- Multiple large cracks or holes in different areas of the wall.
- Textured or specialty wall surfaces that require advanced finishing techniques.
Pro Tip: Professionals like Chicagoland Paint Pro can handle complex drywall repairs for flawless, paint-ready walls.
Conclusion
Fixing holes and cracks in drywall doesn’t have to be difficult. By assessing the damage, preparing the wall properly, using the right tools and materials, and following professional techniques, even beginners can achieve smooth, paint-ready surfaces. For large or complex repairs, Chicagoland Paint Pro provides expert drywall repair services that ensure walls look seamless and professionally finished.