
Holes in walls are a common issue in homes and offices, ranging from small nail holes to larger damage caused by accidents. Quick and effective patching not only restores the wall’s appearance but also prepares it for a flawless paint finish. This guide covers easy, professional techniques for patching holes in drywall.
1. Identify the Type and Size of the Hole
- Small holes (<1/2 inch): Typically caused by nails or screws.
- Medium holes (1/2–6 inches): Caused by accidents or minor impacts.
- Large holes (>6 inches): May result from severe damage and require drywall pieces and support.
Pro Tip: The size of the hole determines the patching method and materials needed.
2. Gather Your Tools and Materials
Tools Needed:
- Putty knife (4–6 inches)
- Sanding sponge or sandpaper
- Utility knife
- Paintbrush or roller
Materials Needed:
- Spackle or joint compound
- Drywall patch or mesh tape
- Primer and matching paint
- Optional: Backer board for large holes
Pro Tip: Having everything ready prevents interruptions and ensures a smoother repair process.
3. Prepare the Wall
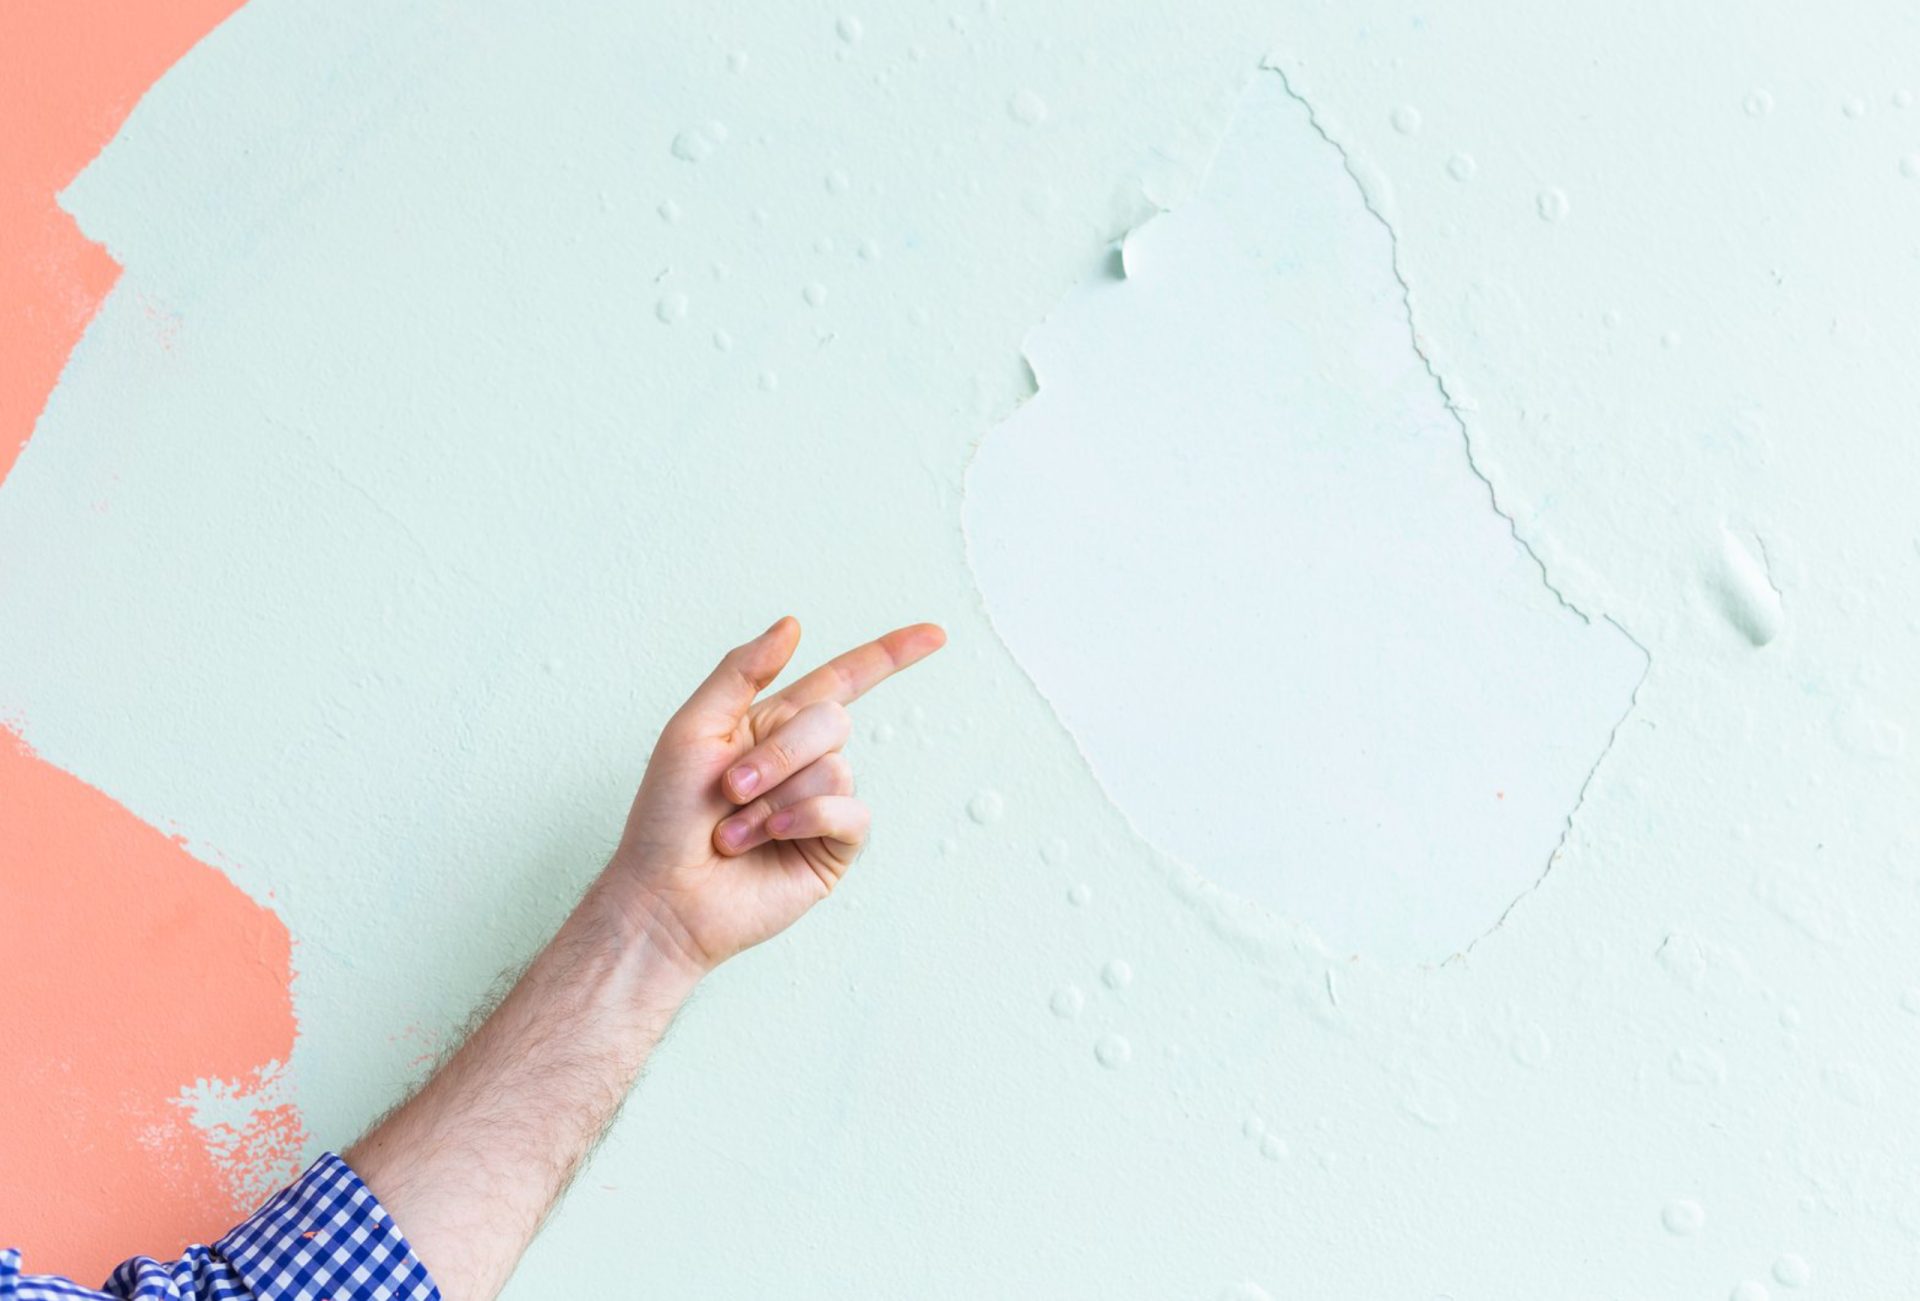
- Remove loose debris, peeling paint, or broken drywall.
- Clean the hole and surrounding area with a damp cloth.
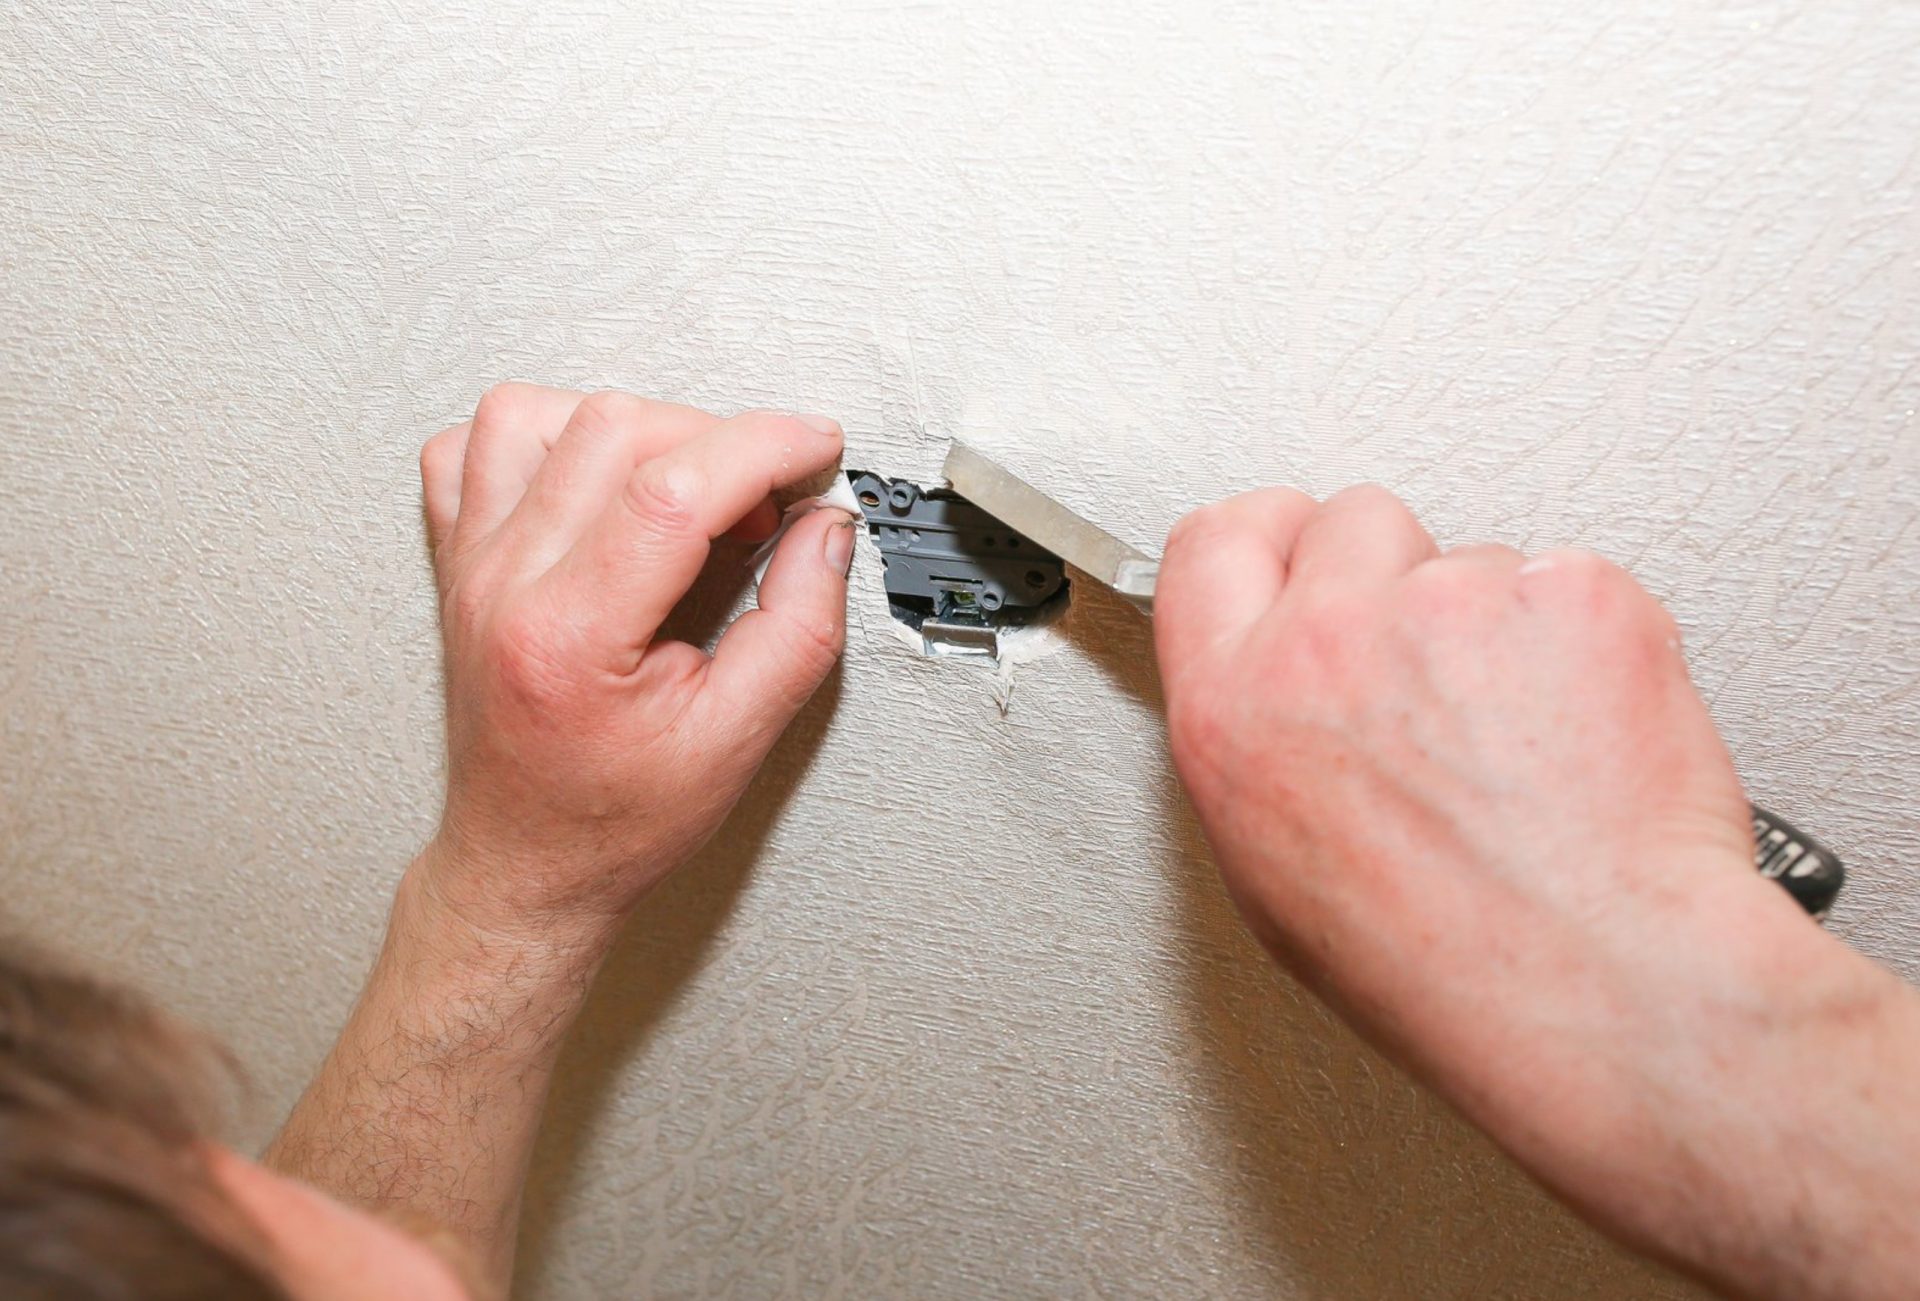
- For cracks or jagged edges, widen slightly with a utility knife to create a clean surface for adhesion.
- Protect floors and furniture with drop cloths.
Pro Tip: A clean, smooth surface ensures better adhesion and a professional finish.
4. Patching Small Holes (<1/2 inch)
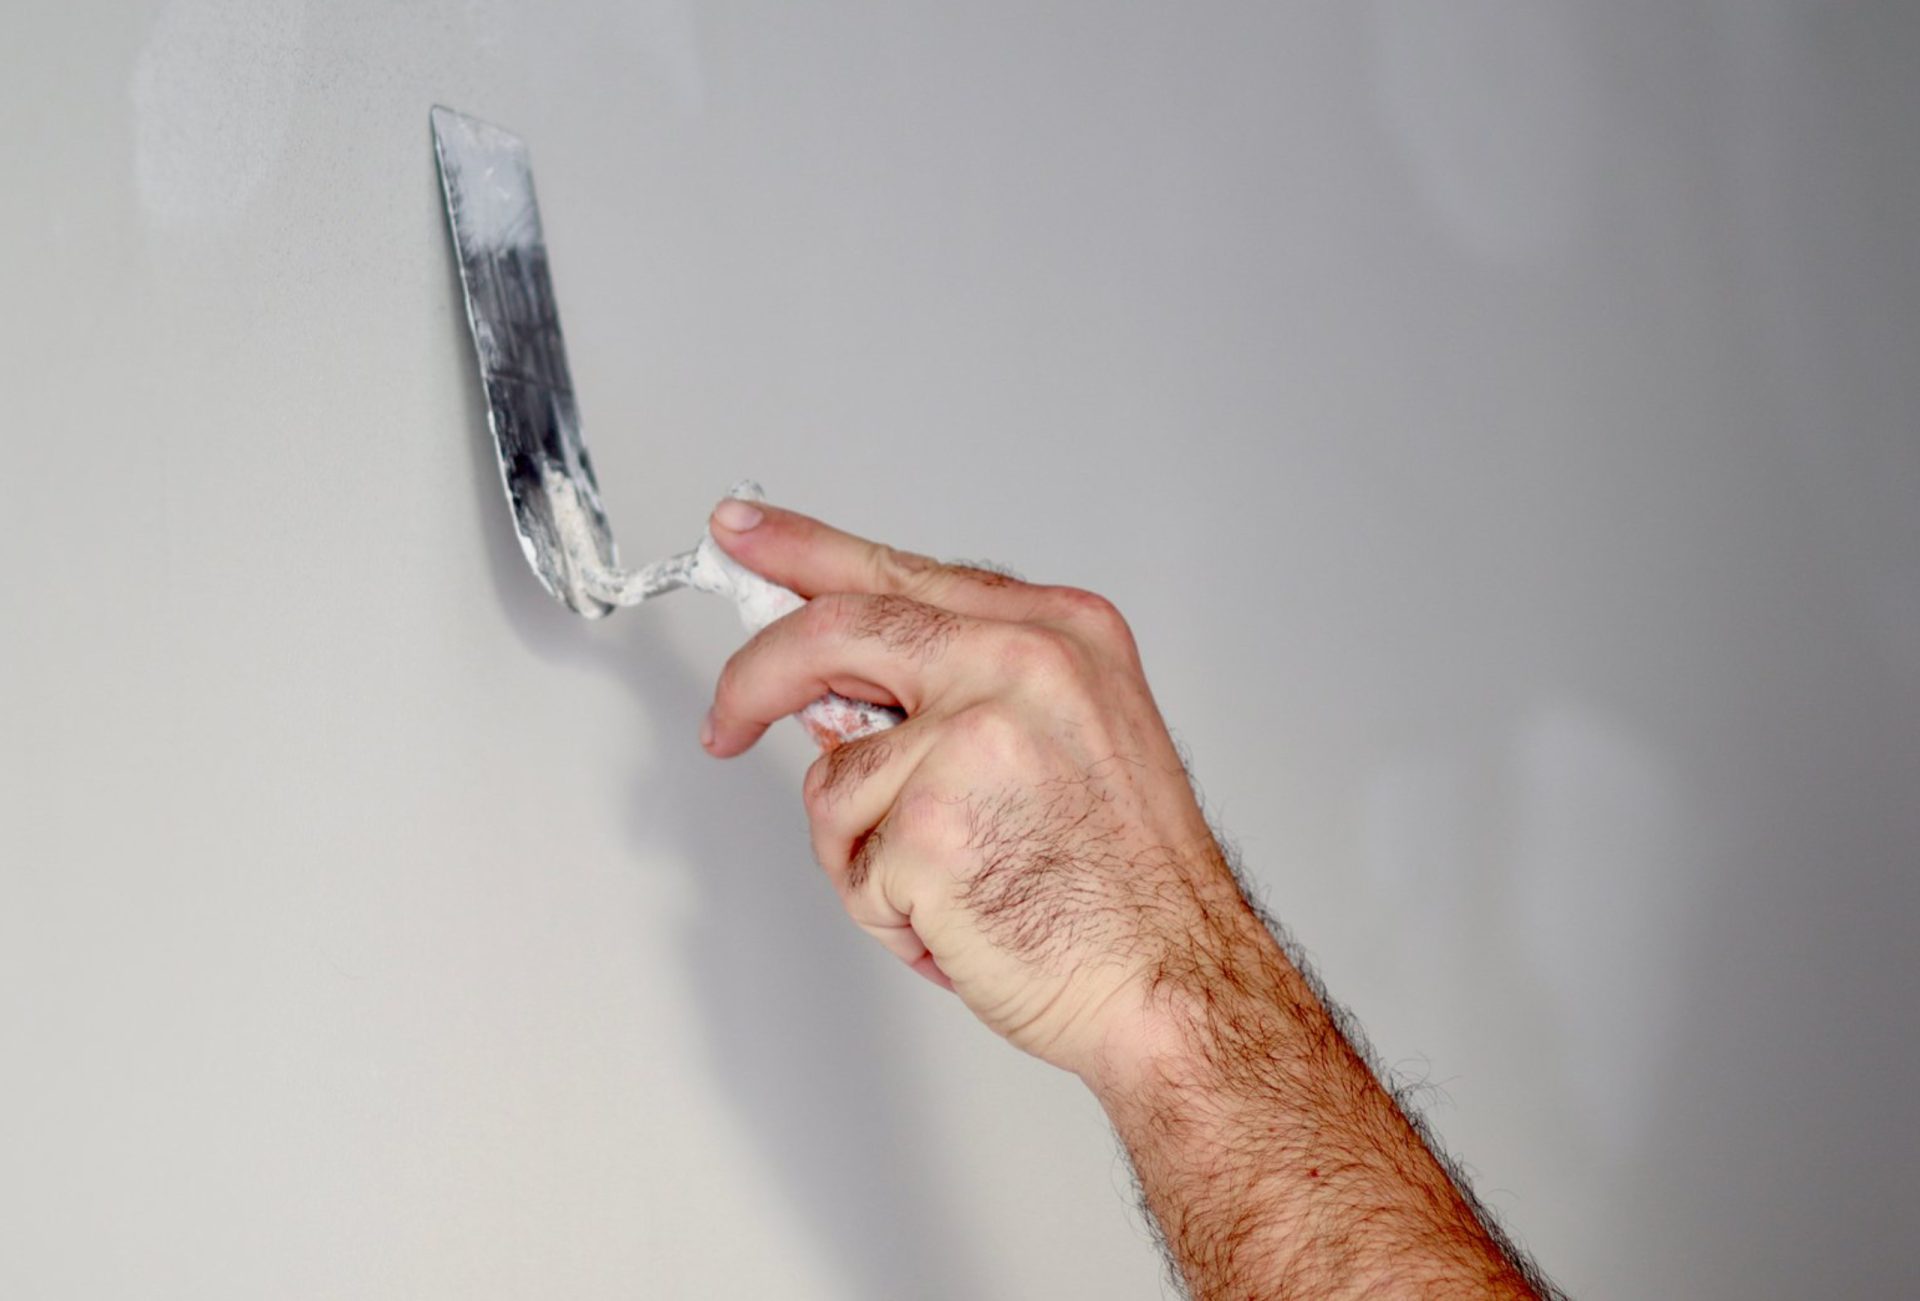
- Apply spackle or joint compound directly into the hole using a putty knife.
- Press firmly to fill the hole completely.
- Smooth the surface and feather edges to blend with the wall.
- Allow to dry, then sand lightly with fine-grit sandpaper.
Pro Tip: A second thin coat may be necessary for a perfectly level surface.
5. Patching Medium Holes (1/2–6 inches)
- Use a self-adhesive mesh patch or cut a drywall piece to cover the hole.
- Place the patch over the hole and apply a layer of joint compound, feathering edges.
- Allow the compound to dry, then sand lightly.
- Apply a second coat if necessary for a smooth, flush finish.
Pro Tip: Use a wide putty knife to feather edges seamlessly into the wall.
6. Patching Large Holes (>6 inches)
- Cut a clean square or rectangular section around the damaged area.
- Insert a backer board inside the wall for support.
- Cut a new drywall piece to fit the opening and secure with screws to the backer.
- Apply mesh tape over seams, then cover with joint compound.
- Feather the edges and allow drying completely.
- Sand smooth and prime before painting.
Pro Tip: Proper alignment ensures the repaired area is flush with the surrounding wall.
7. Sanding and Smoothing
- Sand patched areas with medium-grit sandpaper to level the surface.
- Finish with fine-grit sandpaper for a smooth, paint-ready finish.
- Remove all dust with a damp cloth before priming.
Pro Tip: Thorough sanding prevents bumps and uneven paint coverage.
8. Priming and Painting
- Apply a coat of primer over patched areas to seal joint compound.
- Let primer dry fully before painting.
- Paint with matching wall color, blending edges to hide the repair.
- Multiple thin coats may be needed for complete coverage.
Pro Tip: Use the same finish (matte, satin, semi-gloss) as surrounding walls for seamless blending.
9. Tips for Quick and Efficient Patching
- Work in thin layers to reduce drying time and prevent cracks.
- Feather edges for smooth transitions.
- Allow sufficient drying time between coats.
- Keep the work area clean to avoid dust contamination.
Pro Tip: Following these tips ensures a professional-looking repair in minimal time.
10. When to Call a Professional
- Extensive damage from water, mold, or structural issues.
- Multiple large holes or wall damage in different areas.
- Repairs on textured or specialty wall finishes.
Pro Tip: Professionals like Chicagoland Paint Pro provide expert hole patching and finishing for flawless, paint-ready walls.
Conclusion
Patching holes in drywall doesn’t have to be complicated. With proper assessment, preparation, and step-by-step techniques, even beginners can achieve smooth, paint-ready walls. For complex repairs or large-scale projects, Chicagoland Paint Pro offers professional hole patching services that restore walls to perfection.