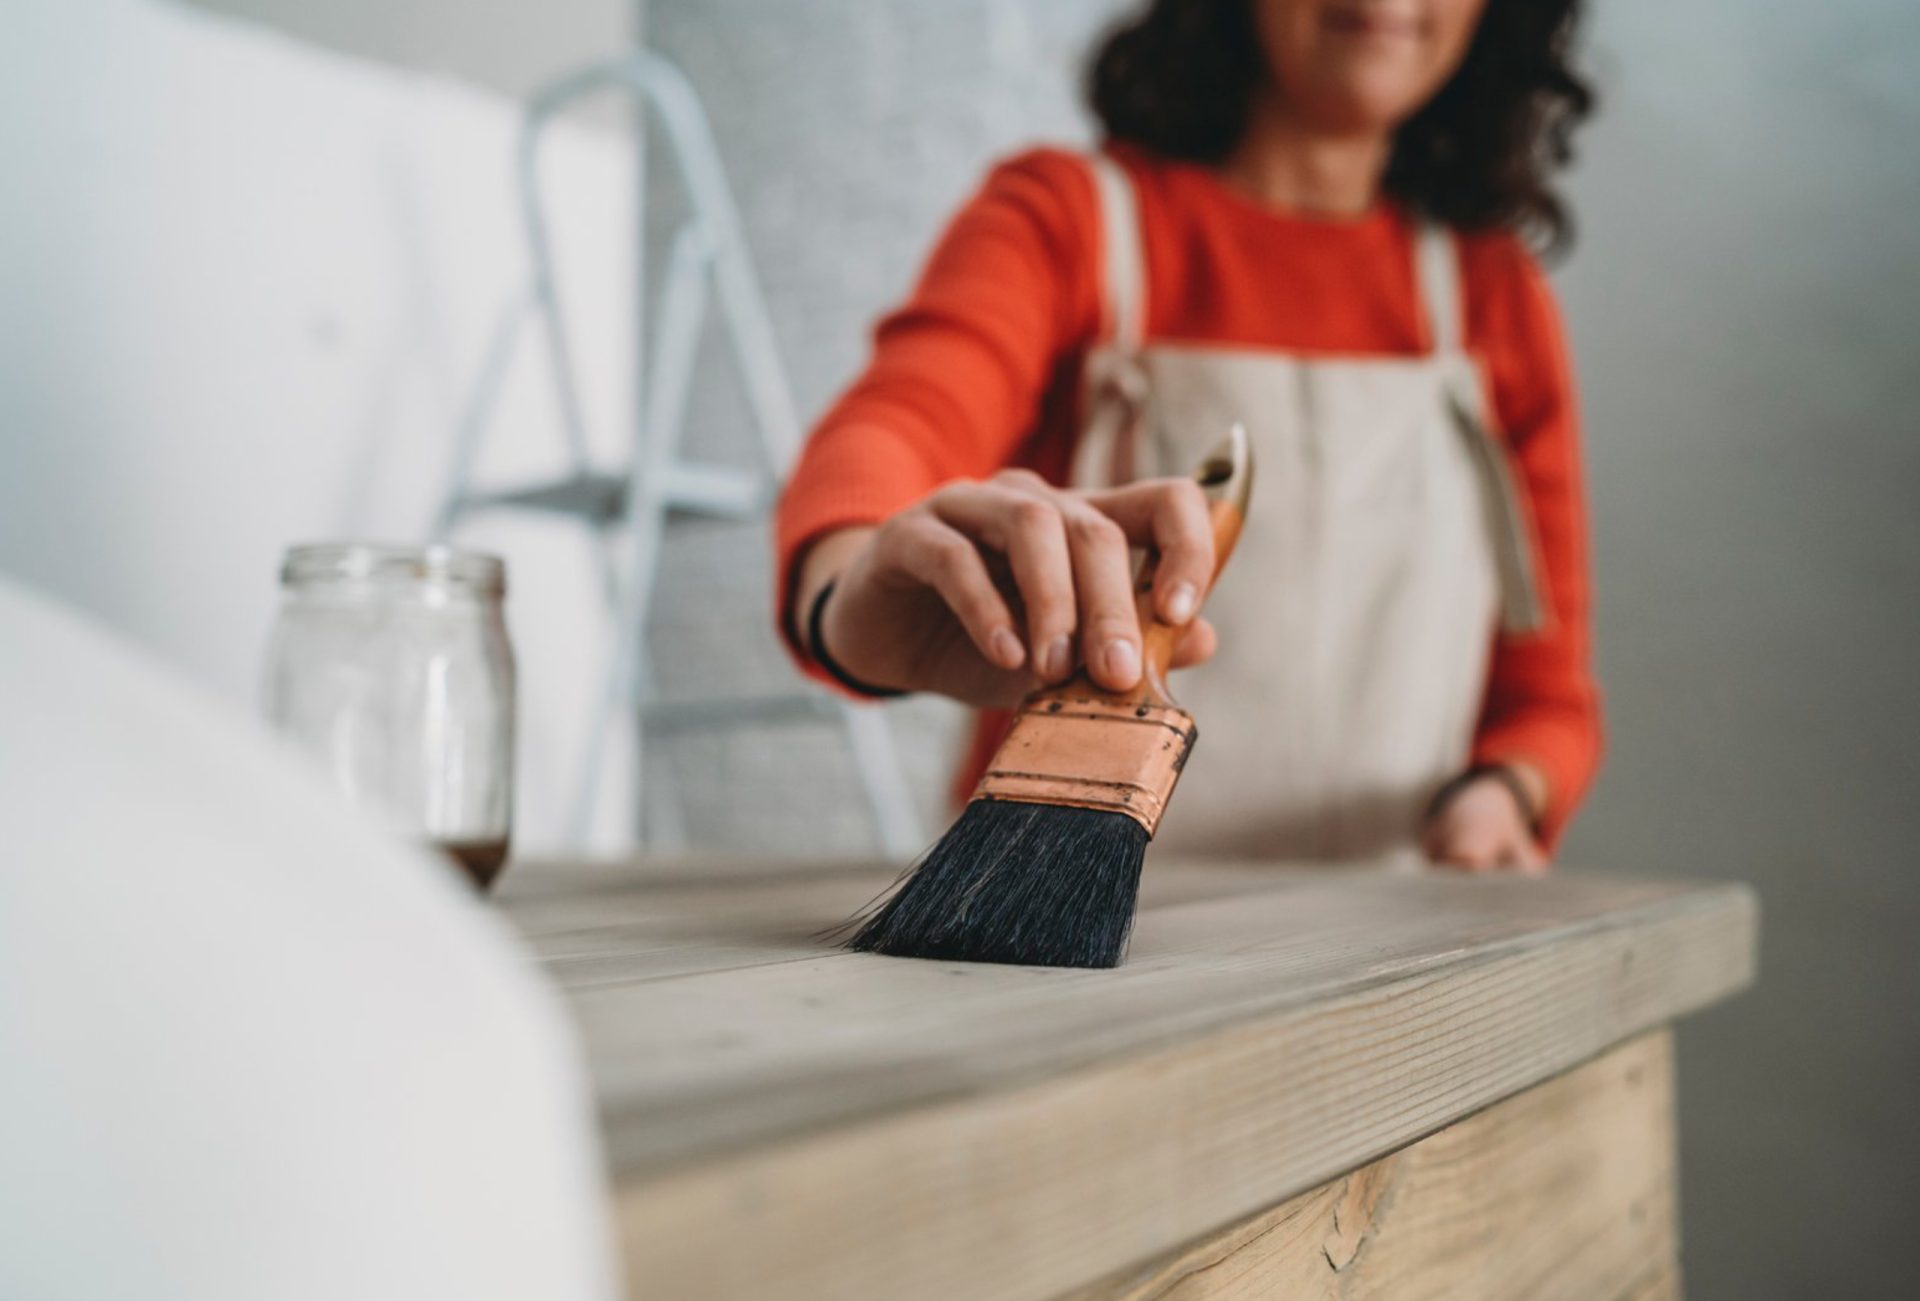

Preparation is the most important step in any exterior painting project. Skipping prep can lead to peeling, cracking, uneven coverage, and a paint job that doesn’t last. Whether you’re a first-time DIYer or a seasoned homeowner, understanding proper exterior painting preparation is essential to achieving a professional and long-lasting finish. This guide walks you through everything you need to know before you open a can of paint.
1. Inspect Your Exterior Surfaces
Before doing anything, carefully examine your home’s exterior:
- Check for Damage: Look for cracks, holes, rotting wood, peeling paint, or mold.
- Assess Siding Material: Wood, vinyl, stucco, brick, and metal all have different prep requirements.
- Plan Repairs: Note areas needing filler, sanding, or replacement. Identifying problems early saves time later.
2. Clean Surfaces Thoroughly
A clean surface ensures paint adheres properly:
- Pressure Washing: Removes dirt, mildew, and loose paint efficiently. Be careful not to damage siding.
- Scrubbing: For smaller areas, use a brush with a mild detergent solution. Rinse thoroughly.
- Drying: Allow the exterior to dry completely—painting over damp surfaces can cause bubbling or peeling.
3. Remove Loose or Flaking Paint
Peeling paint compromises the integrity of the new coat:
- Scraping: Use a paint scraper or wire brush to remove loose paint.
- Sanding: Smooth rough edges for better adhesion.
- Vacuum or Wipe: Remove dust from sanding before painting.
4. Repair Damaged Areas
Proper repairs make a huge difference in durability and appearance:
- Fill Cracks and Holes: Use exterior-grade filler or caulk for small cracks and nail holes.
- Replace Rotten Wood: Replace boards or trim with rot-resistant wood.
- Seal Gaps: Apply caulking around windows, doors, and trim to prevent water intrusion.
5. Sanding for Smooth Surfaces
Sanding is crucial for both old and new surfaces:
- Old Paint: Smooth out rough patches or areas where paint has chipped.
- New Wood or Siding: Lightly sand to open pores for better paint adhesion.
- Safety Tip: Wear a dust mask and eye protection when sanding.
6. Priming Makes a Difference
Primer is essential for lasting results:
- Benefits of Primer: Seals porous surfaces, blocks stains, improves paint adhesion, and enhances coverage.
- When to Prime:
- Bare wood or metal
- Areas repaired with filler
- Strong color changes (e.g., painting light walls over dark paint)
- New siding that has never been painted
7. Protect Non-Painted Areas
Cover areas that should not be painted to save cleanup time:
- Painter’s Tape: Apply along windows, doors, trim, and fixtures.
- Drop Cloths or Plastic Sheeting: Protect landscaping, decks, patios, and sidewalks.
- Temporary Removal: Remove hardware, shutters, or light fixtures if possible.
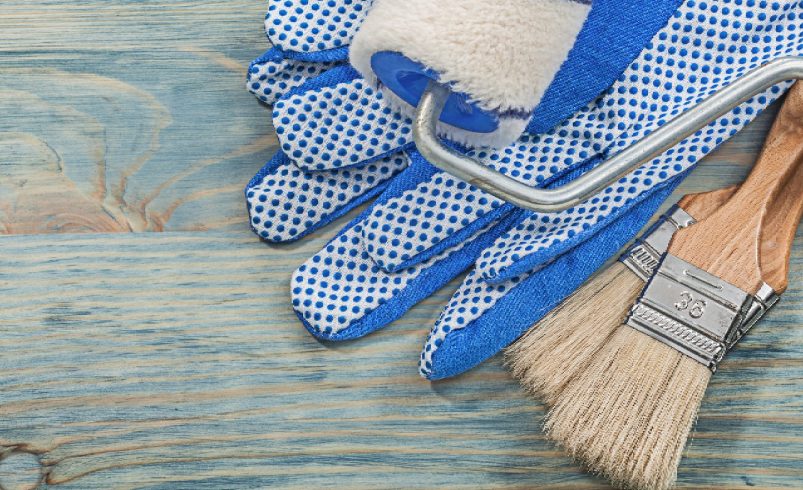
8. Gather the Right Tools
Having proper tools simplifies prep and ensures quality:
- Scrapers, sandpaper, wire brushes
- Exterior filler or caulk
- Painter’s tape and drop cloths
- Pressure washer or scrub brush
- Paint brushes and rollers for final touch-ups
9. Timing Your Prep Work
Environmental conditions are critical:
- Avoid rainy, humid, or freezing weather during prep and painting.
- Work in mild temperatures (50–85°F / 10–29°C) for best results.
- Allow repairs, sanding, and primer to dry fully before applying topcoat.
10. Safety Precautions
Safety is key during prep work:
- Wear gloves, eye protection, and masks when handling chemicals, sanding, or scraping paint.
- Use stable ladders and scaffolding when working on higher areas.
- Keep children and pets away from prep areas, chemicals, and wet surfaces.
Conclusion
Exterior painting prep is the foundation of a professional-quality, long-lasting finish. By inspecting surfaces, cleaning thoroughly, repairing damage, sanding, priming, and protecting non-painted areas, DIYers can ensure their exterior paint job looks flawless and withstands the elements. Proper preparation may take time, but it saves money and frustration while giving your home a durable, beautiful appearance that lasts for years.