
Water damage can leave walls discolored, warped, or weakened, making it essential to repair the surface before painting. Addressing water-damaged walls properly not only restores their appearance but also prevents mold growth and ensures a long-lasting paint finish. This guide provides step-by-step instructions for fixing water-damaged walls like a pro.
1. Assess the Extent of Water Damage
- Minor damage: Slight discoloration or small damp patches, no warping.
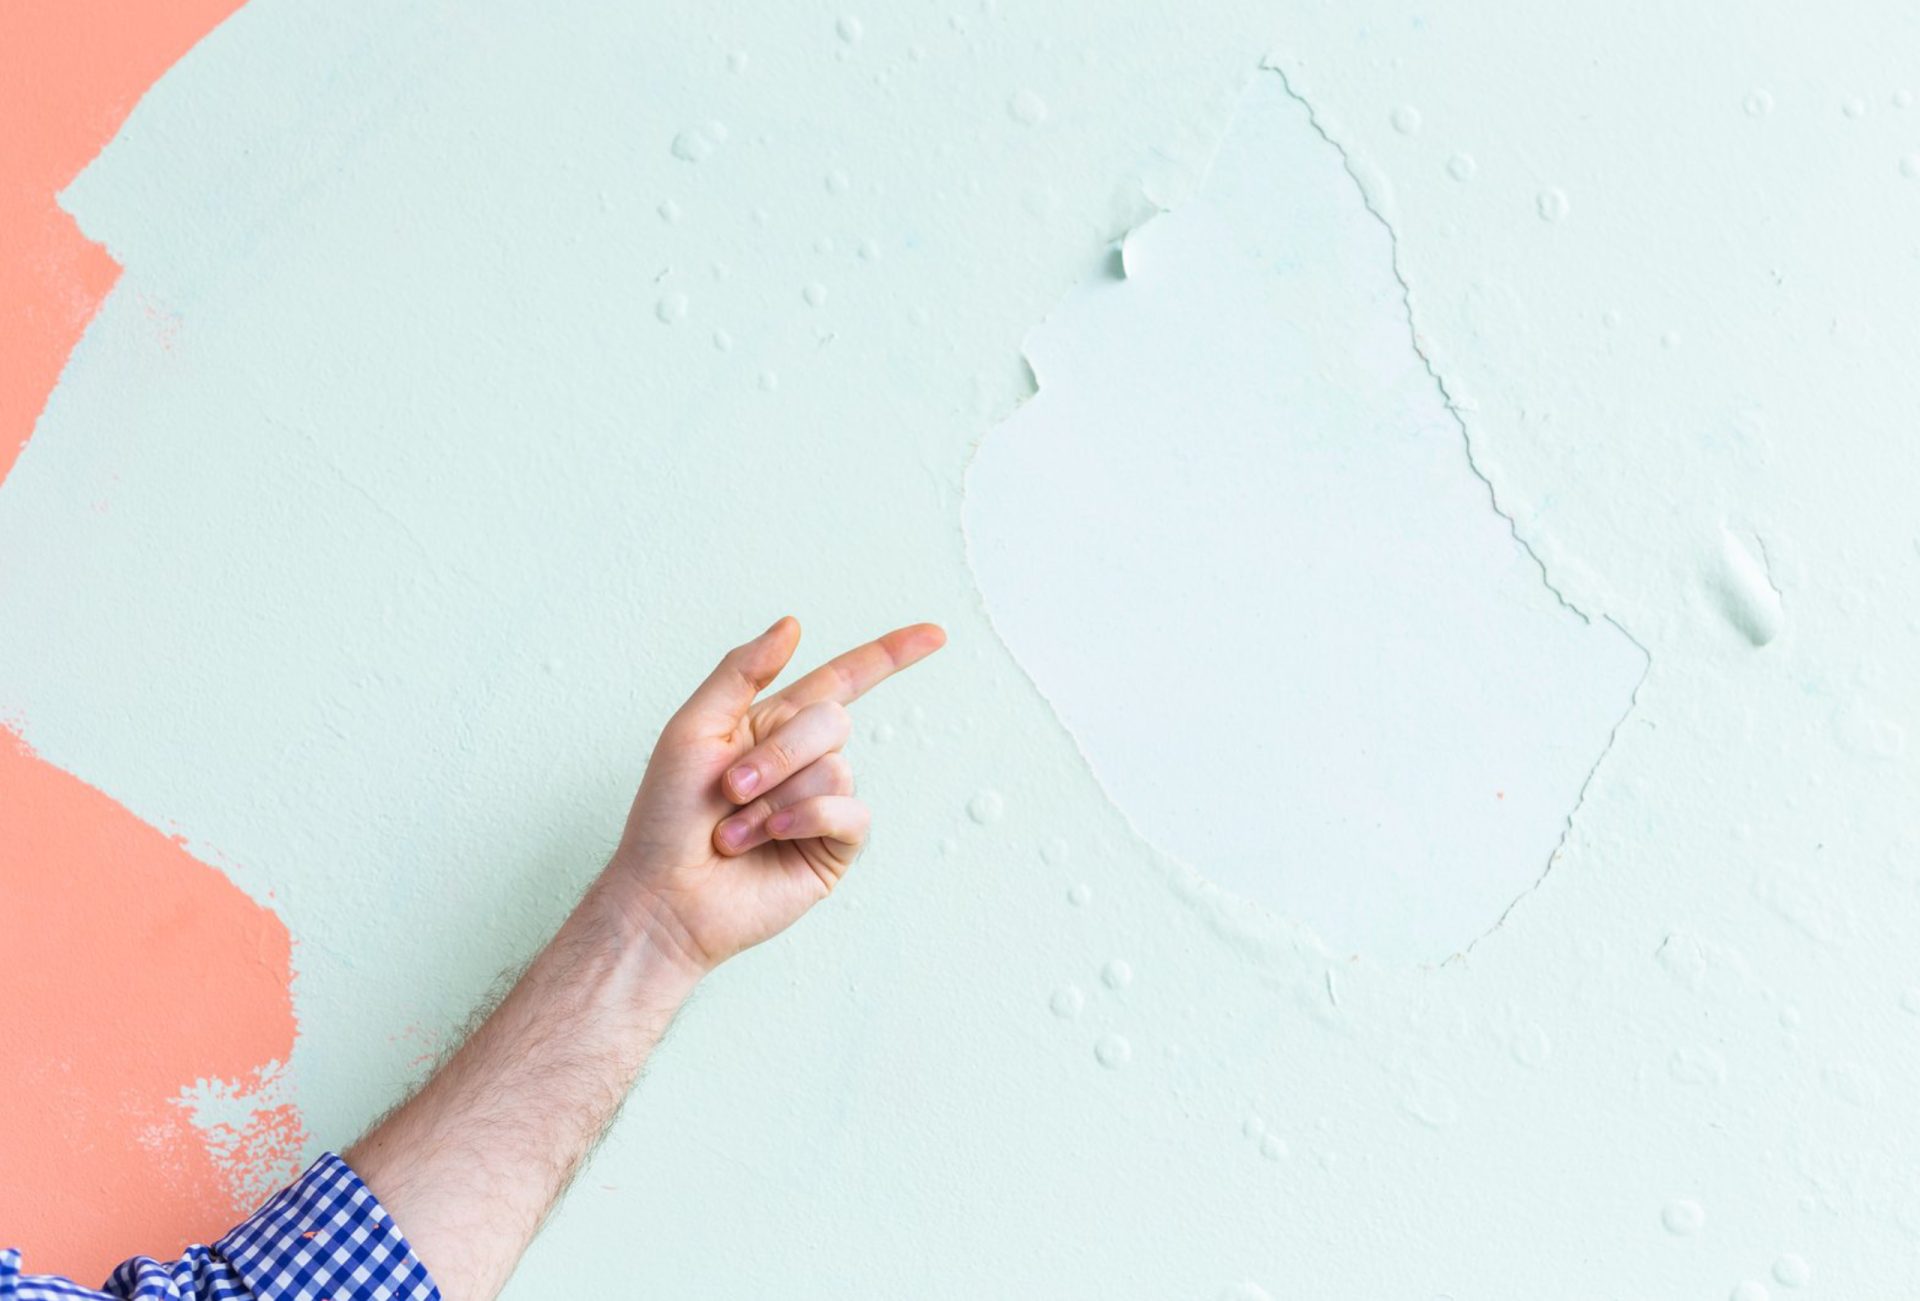
- Moderate damage: Peeling paint, small cracks, or soft spots in drywall.
- Severe damage: Large areas of mold, sagging drywall, or significant warping.
Pro Tip: Understanding the severity helps determine whether to repair, replace, or call a professional.
2. Gather Tools and Materials
Tools Needed:
- Utility knife or drywall saw
- Putty knife and scraper
- Sanding block or sponge
- Paintbrush or roller
Materials Needed:
- Spackle or joint compound
- Drywall patch or replacement sheets
- Primer (stain-blocking recommended)
- Mold-resistant paint
- Optional: Mold cleaning solution
Pro Tip: Having all materials ready ensures the repair process is smooth and efficient.
3. Dry the Affected Area
- Identify and fix the source of water (leaks, roof damage, plumbing issues).
- Use fans, dehumidifiers, or natural ventilation to thoroughly dry the wall.
- Avoid painting until the wall is completely dry to prevent future damage.
Pro Tip: Moisture left in the wall can lead to recurring damage and peeling paint.
4. Remove Damaged Materials
- Scrape away peeling paint or damaged drywall.
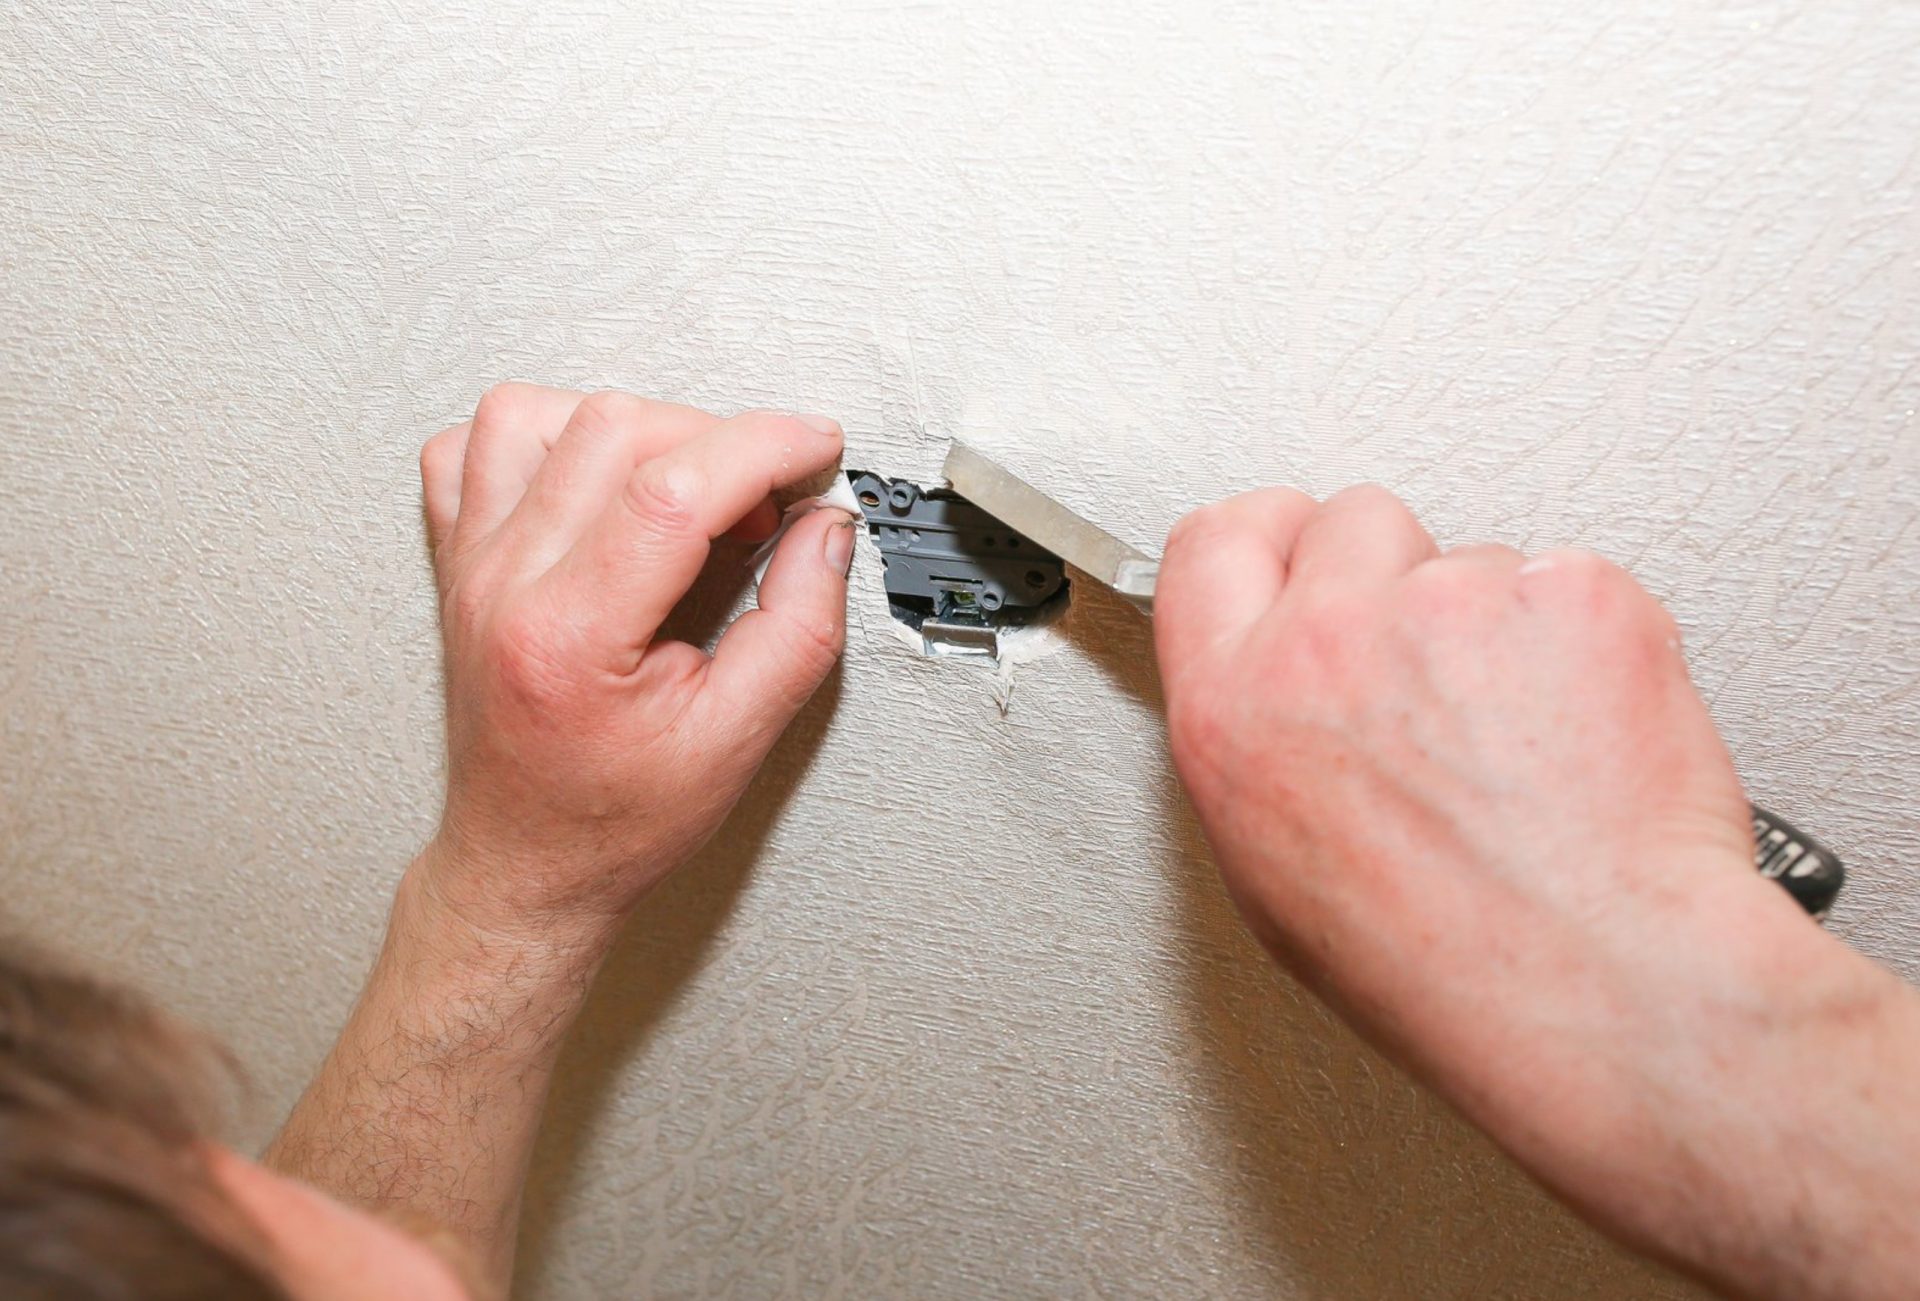
- Cut out soft or sagging drywall for replacement.
- Treat any mold spots with a mold cleaner or bleach solution, wearing protective gear.
Pro Tip: Removing compromised material ensures a stable surface for repair and paint.
5. Repair Minor Damage
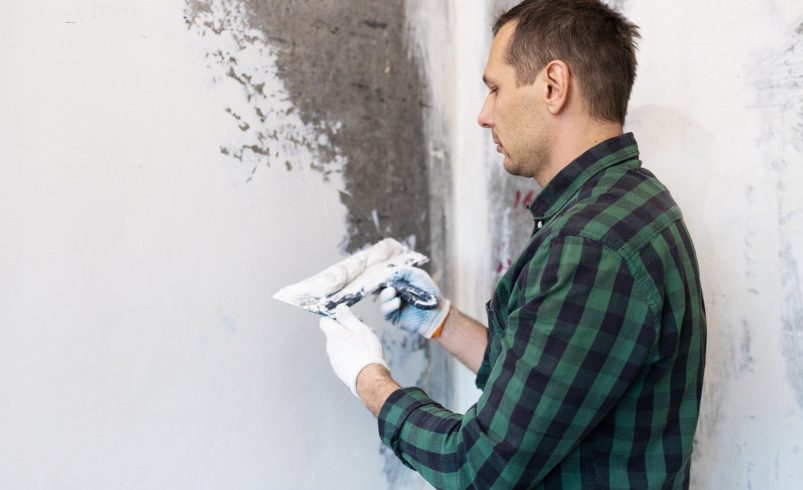
- Fill small holes, cracks, or dents with spackle or joint compound.
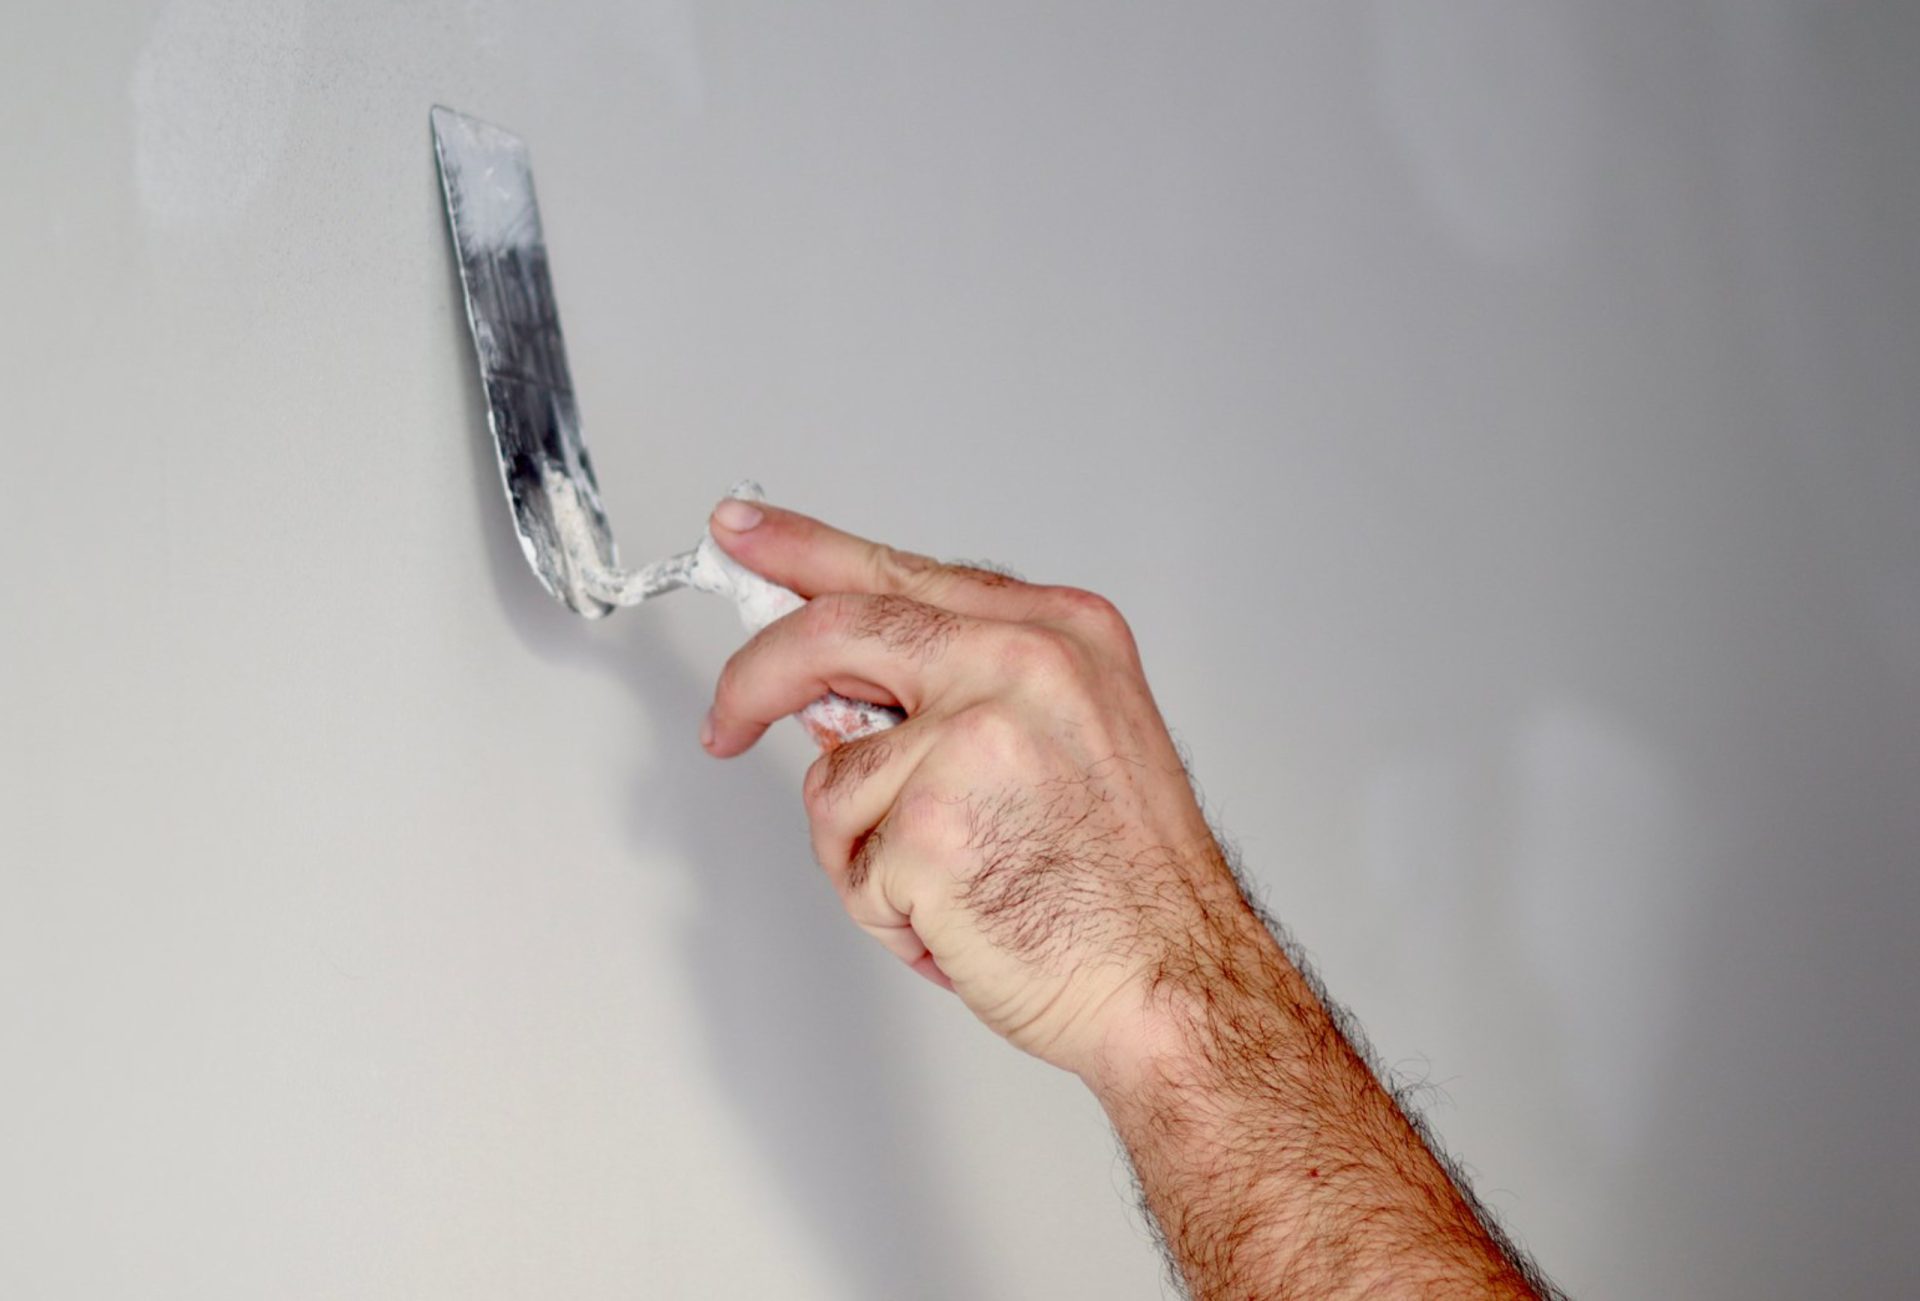
- Smooth with a putty knife and feather edges to blend with the wall.
- Sand lightly after drying to achieve a smooth surface.
Pro Tip: Thin, even layers of compound prevent cracking and uneven surfaces.
6. Repair Moderate to Severe Damage
- Patch holes or replace sections of drywall if necessary.
- Reinforce seams with fiberglass mesh tape before applying joint compound.
- Apply multiple thin coats, allowing each to dry, then sand smooth.
Pro Tip: Large repairs may require replacement drywall for structural integrity.
7. Prime the Repaired Area
- Use a stain-blocking primer to seal water stains and repaired areas.
- Apply an even coat and allow it to dry completely.
Pro Tip: Primer prevents water stains from bleeding through new paint.
8. Paint for a Flawless Finish
- Select mold-resistant or moisture-resistant paint for water-prone areas.
- Apply thin, even coats, blending edges into the surrounding wall.
- Multiple coats may be needed for full coverage.
Pro Tip: Using the right paint ensures durability and protects against future water damage.
9. Prevent Future Water Damage
- Regularly inspect plumbing, roofs, and exterior walls for leaks.
- Use waterproofing solutions in basements or moisture-prone areas.
- Maintain gutters and downspouts to redirect water away from walls.
Pro Tip: Preventing water exposure is easier than repeated repairs.
10. When to Call a Professional
- Extensive mold growth or structural damage.
- Large areas of sagging or warped drywall.
- Recurring water issues that compromise wall stability.
Pro Tip: Professionals like Chicagoland Paint Pro ensure water-damaged walls are repaired correctly, providing a stable, smooth surface ready for painting.
Conclusion
Properly fixing water-damaged walls is essential for a long-lasting and professional paint finish. By drying, removing damaged material, patching, priming, and painting with the right products, walls can be restored to pristine condition. For complex or extensive repairs, Chicagoland Paint Pro delivers expert water damage repair services that protect your walls and restore their beauty.