
Even small holes in drywall can impact the look of a freshly painted wall. While patching holes may seem straightforward, common mistakes can leave walls uneven, cracked, or noticeable under paint. Avoiding these pitfalls ensures a smooth, professional finish every time. This guide highlights the most common hole patching mistakes and how to prevent them.
1. Skipping Proper Wall Preparation
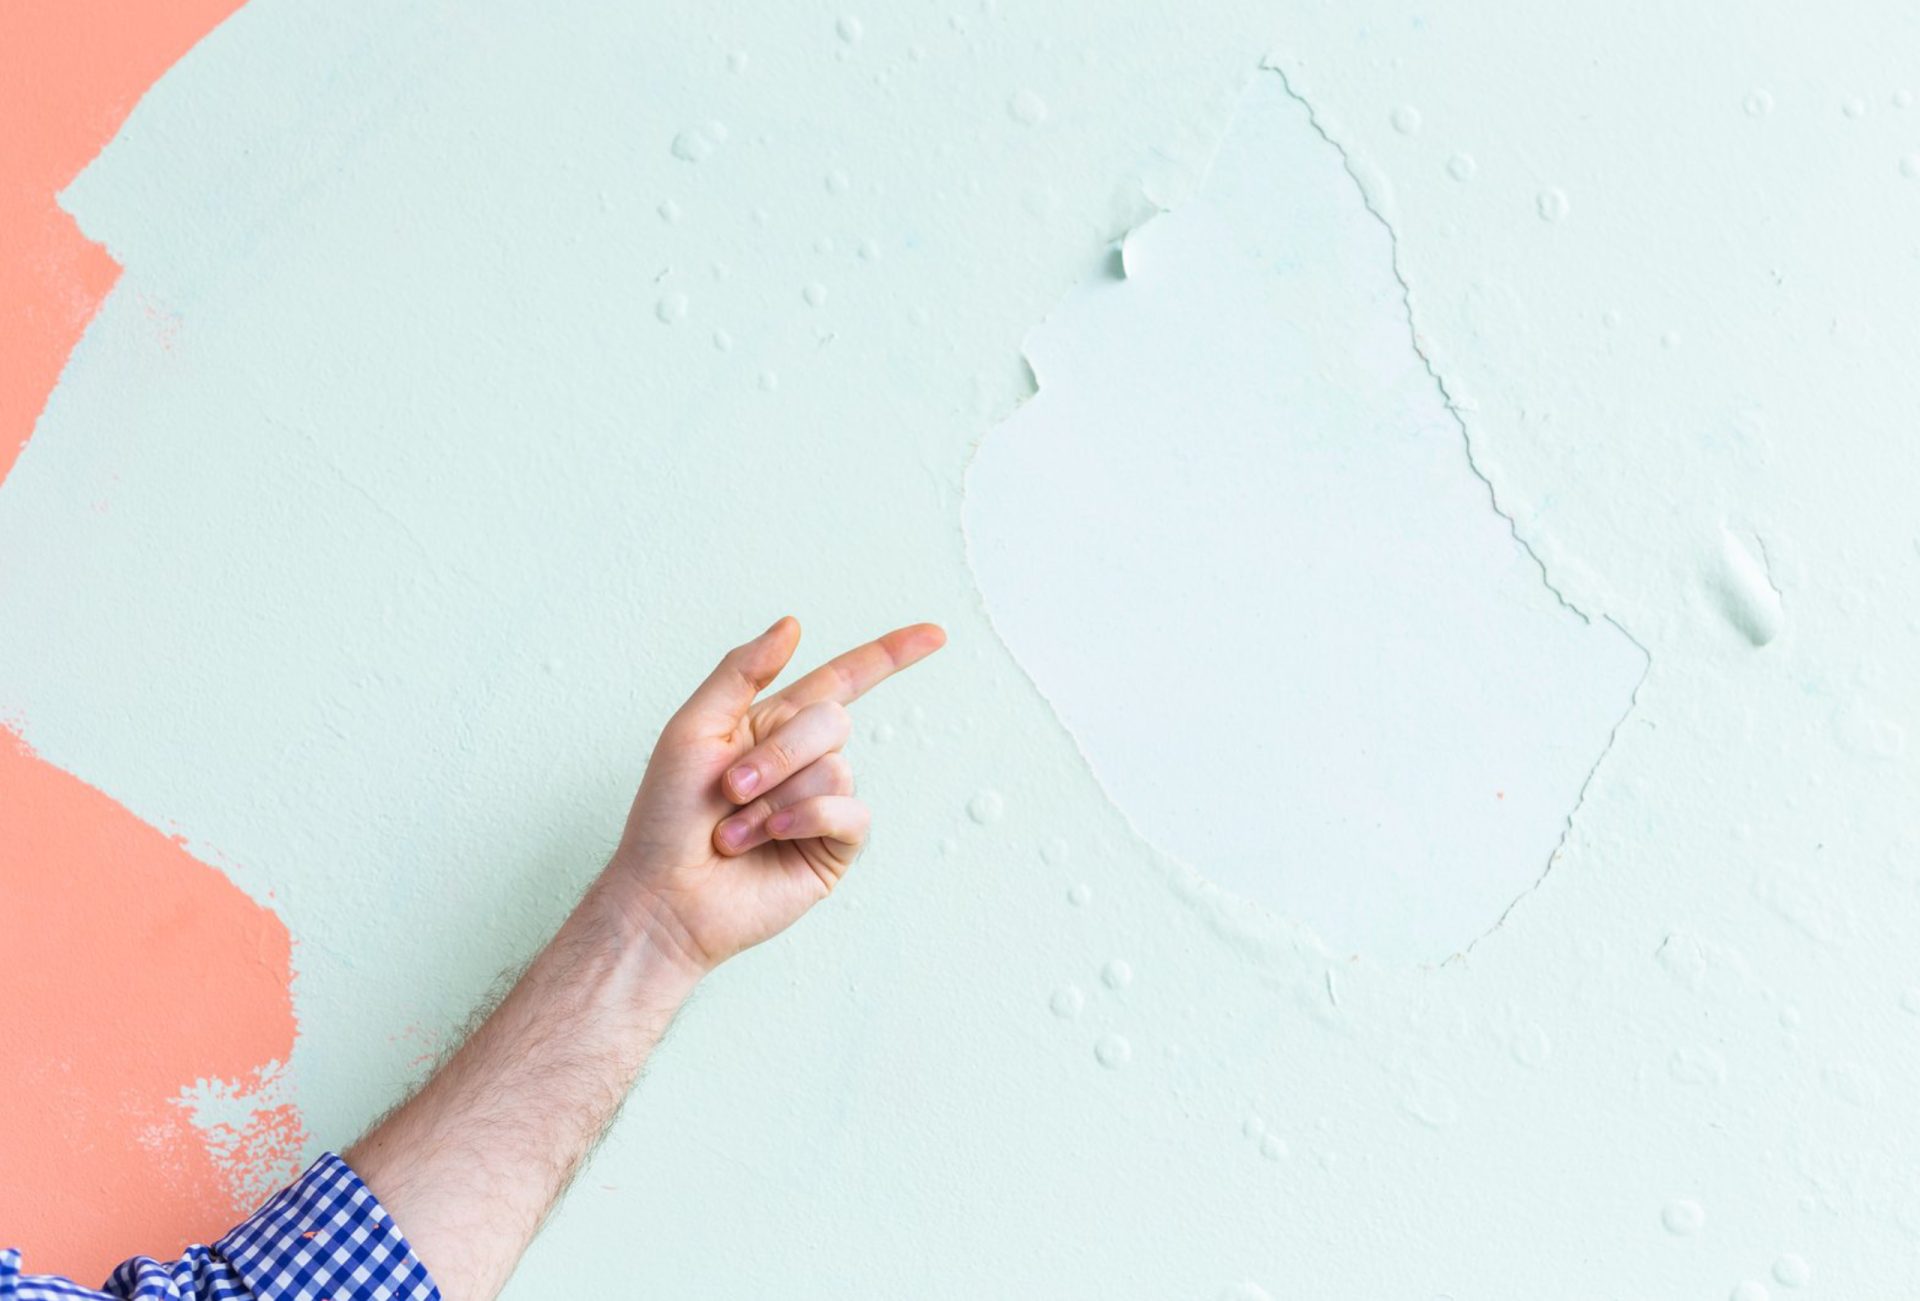
Many DIYers jump straight to patching without cleaning or preparing the wall surface. Dust, debris, or peeling paint can prevent joint compound or spackle from adhering properly.
How to Avoid:
- Remove loose debris and peeling paint.
- Wipe the area with a damp cloth to remove dust and dirt.
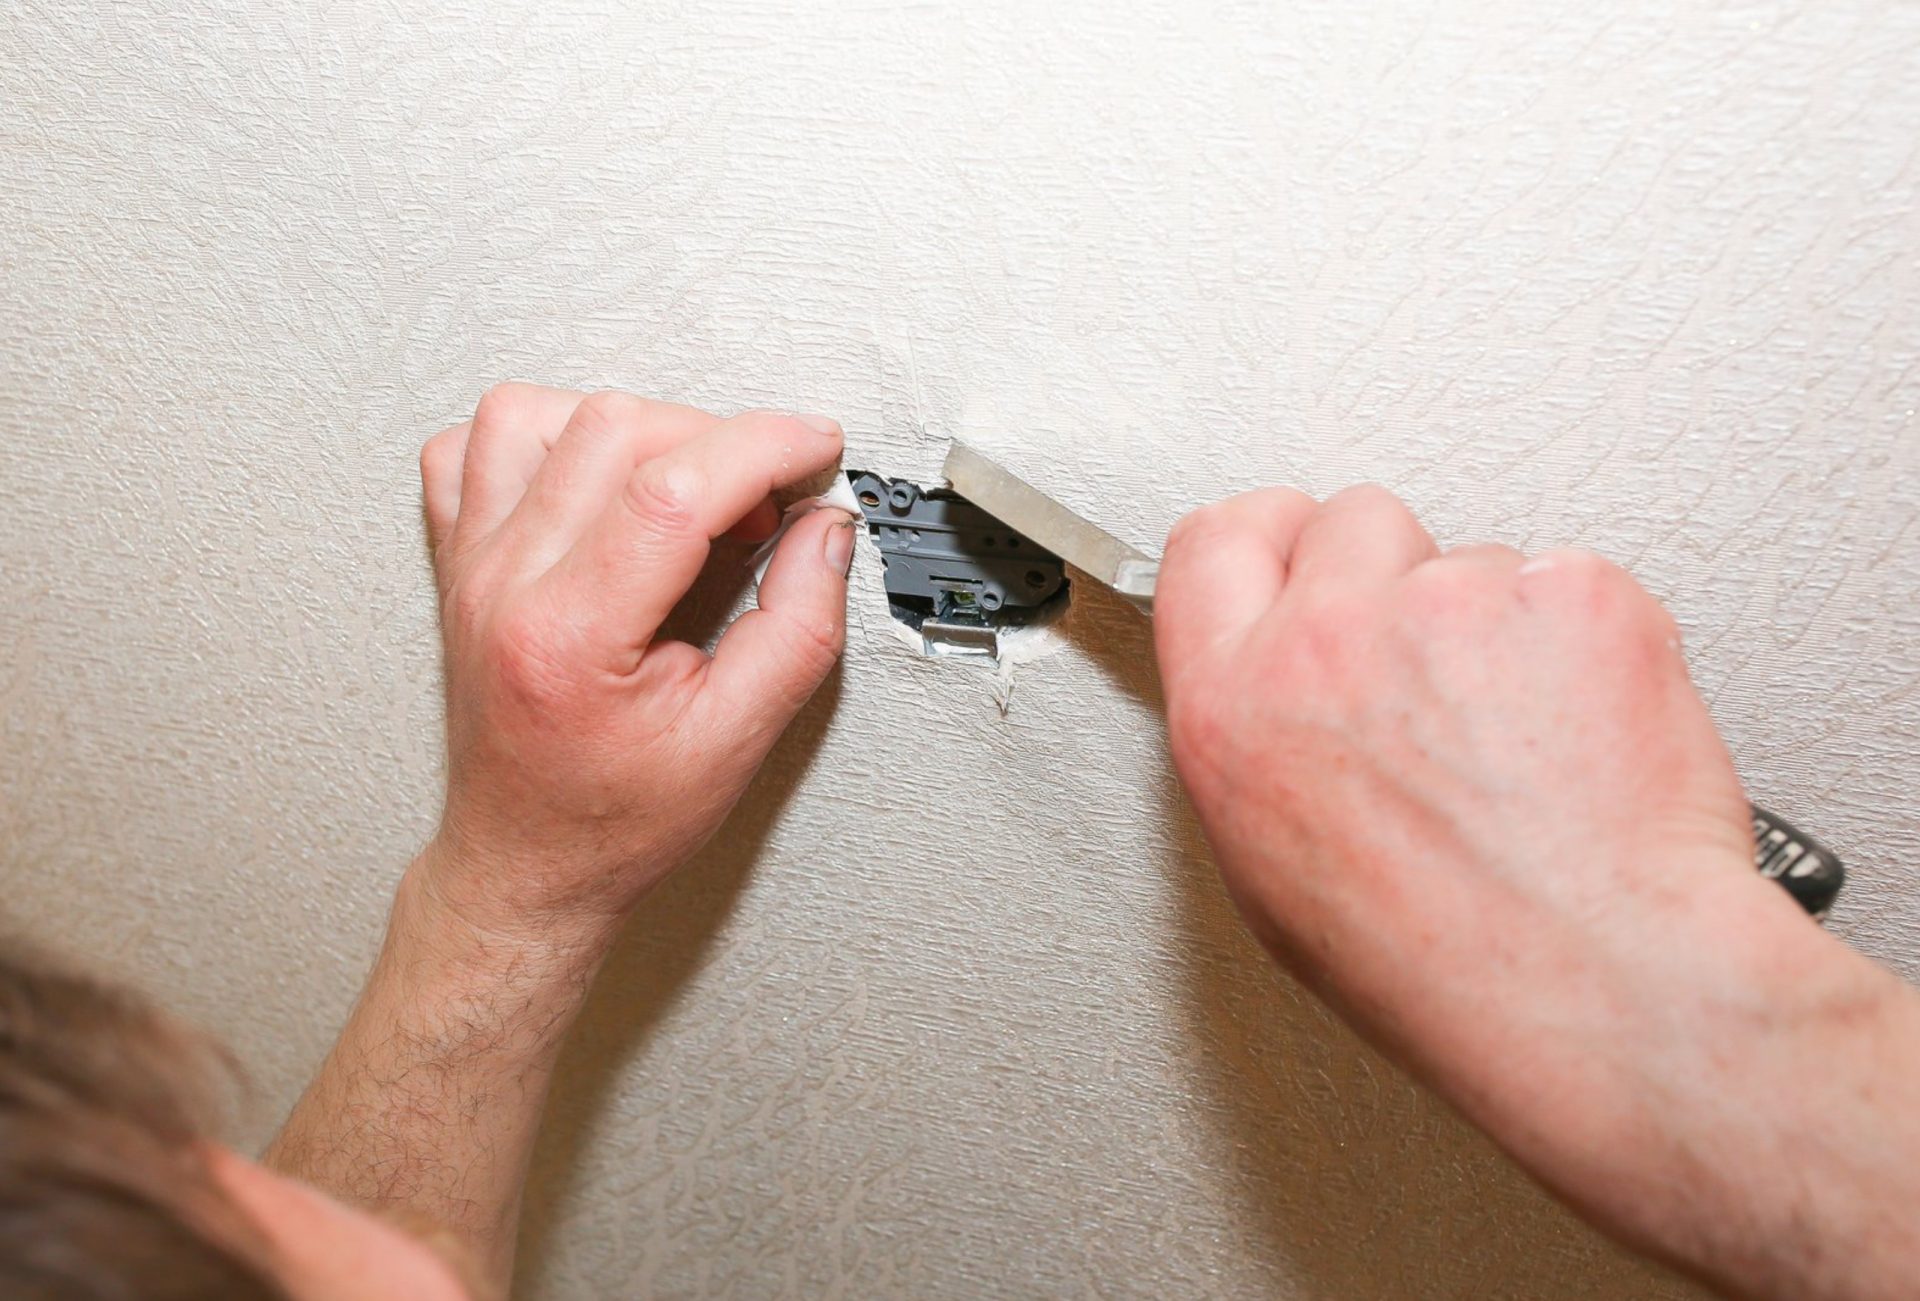
- Slightly widen cracks or jagged edges with a utility knife for better adhesion.
Pro Tip: Preparation is the key to a long-lasting, smooth repair.
2. Using Too Much Compound at Once
Applying thick layers of spackle or joint compound in one go may seem faster, but it often leads to cracking or uneven surfaces.
How to Avoid:
- Apply thin, even layers.
- Allow each layer to dry completely before applying the next.
- Feather the edges of each layer to blend into the wall.
Pro Tip: Patience produces a smoother, professional-looking surface.
3. Not Feathering the Edges
Edges that are not feathered properly can create visible ridges or bumps once painted, drawing attention to the repaired area.
How to Avoid:
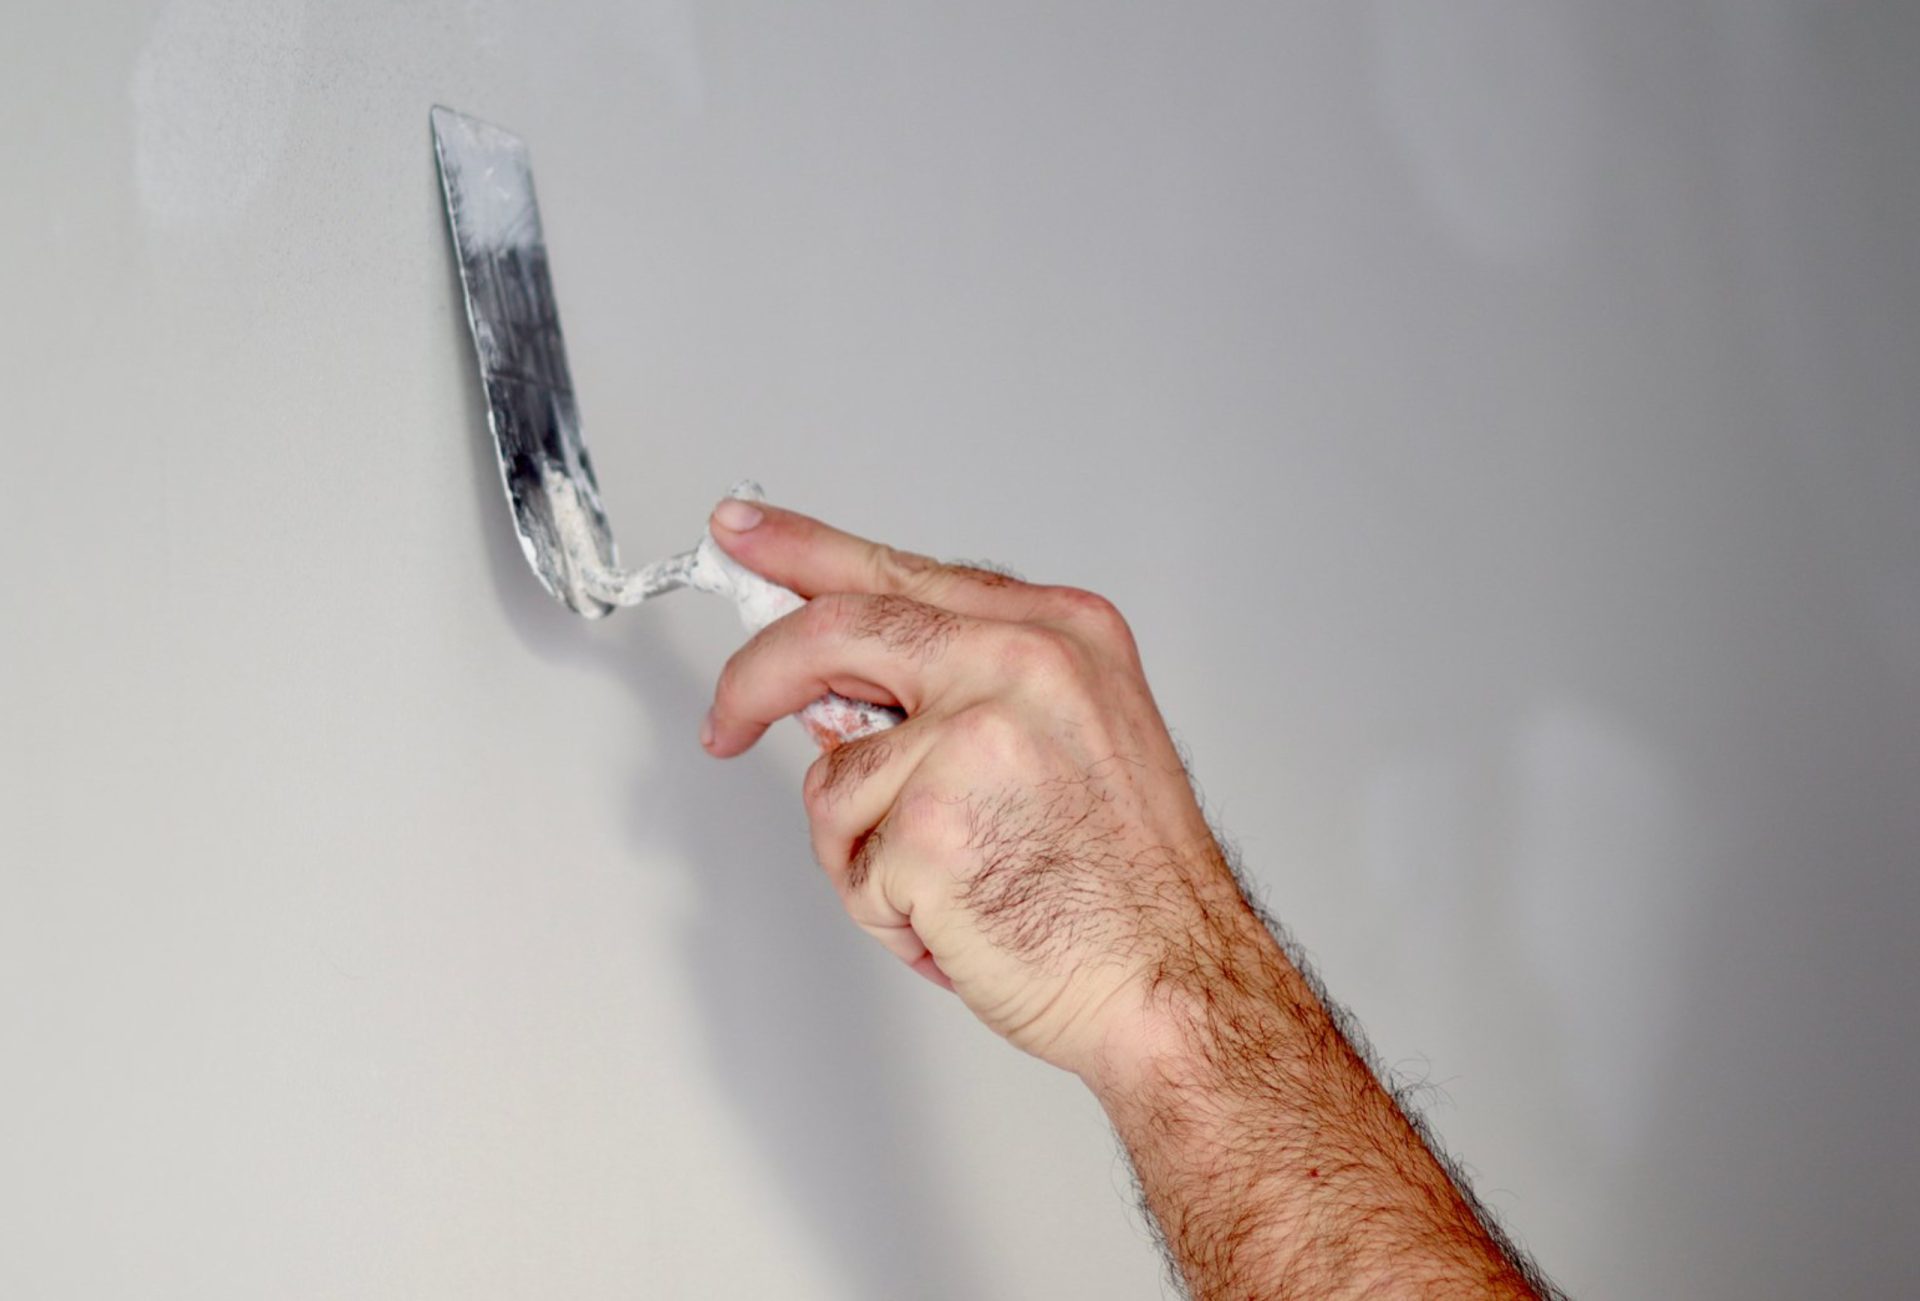
- Use a wide putty knife to spread the compound beyond the hole edges.
- Blend edges gradually into the surrounding wall surface.
Pro Tip: Feathering ensures the patch transitions seamlessly with the wall.
4. Skipping Sanding
Even minor imperfections on the patched area will show under paint if not sanded properly. Skipping or insufficient sanding can result in a rough, uneven finish.
How to Avoid:
- Sand patched areas with medium-grit sandpaper first.
- Finish with fine-grit sandpaper for a smooth, paint-ready surface.
- Wipe away dust before priming or painting.
Pro Tip: Proper sanding is essential for a flawless wall.
5. Failing to Prime Patched Areas
Paint applied directly to spackle or joint compound may absorb unevenly, leaving the patch visible.
How to Avoid:
- Apply a coat of primer to all repaired areas before painting.
- Let the primer dry completely before applying paint.
Pro Tip: Priming ensures even color and finish across the wall.
6. Ignoring Underlying Damage
Some holes or cracks are caused by water damage, mold, or structural issues. Simply patching the hole without addressing the root cause can lead to recurring damage.
How to Avoid:
- Inspect for moisture, mold, or structural problems before patching.
- Repair any underlying issues before applying compound or spackle.
Pro Tip: Addressing the source of damage ensures long-lasting repairs.
7. Using the Wrong Materials
Using low-quality spackle, joint compound, or paint can lead to shrinkage, cracking, or poor adhesion.
How to Avoid:
- Use high-quality joint compound or spackle for repairs.
- Match primer and paint with the wall finish to ensure durability.
Pro Tip: Quality materials improve results and reduce the likelihood of rework.
8. Not Matching Texture
For textured walls, simply filling the hole without replicating the original texture can make the repair obvious.
How to Avoid:
- Observe the surrounding wall texture and replicate it using a sponge, brush, or trowel technique.
- Practice on a scrap piece of drywall if needed before finishing the wall.
Pro Tip: Matching texture makes repairs virtually invisible.
9. Rushing the Drying Process
Applying paint or a second layer of compound before the first layer is fully dry can cause cracking, peeling, or uneven surfaces.
How to Avoid:
- Follow manufacturer’s drying time for spackle or joint compound.
- Ensure adequate ventilation to help drying.
- Be patient before sanding or painting.
Pro Tip: Proper drying is essential for a smooth and lasting finish.
10. When to Call a Professional
Some repairs are best left to experts:
- Extensive damage from water, mold, or structural issues.
- Multiple large holes or wall cracks in various areas.
- Specialty textures or finishes requiring advanced techniques.
Pro Tip: Chicagoland Paint Pro provides professional hole patching and drywall repair services that ensure walls are flawless and paint-ready.
Conclusion
Avoiding common hole patching mistakes is crucial for achieving smooth, paint-ready walls. Proper preparation, thin layering, feathering, sanding, priming, and attention to detail all contribute to professional results. For complex repairs or large-scale wall damage, Chicagoland Paint Pro delivers expert services to restore your walls to perfect condition.