
Matching existing wall textures is one of the most challenging tasks in home repair. Whether you’re patching a small hole or repairing a large section, an inconsistent texture can be very noticeable after painting. Achieving a seamless look requires the right tools, materials, and techniques. This guide will walk you through expert methods to match your existing wall texture like a professional.
1. Identify the Type of Wall Texture
Common wall textures include:
- Orange peel: Slightly bumpy, resembling the surface of an orange.
- Knockdown: Flattened peaks for a subtle, patterned finish.
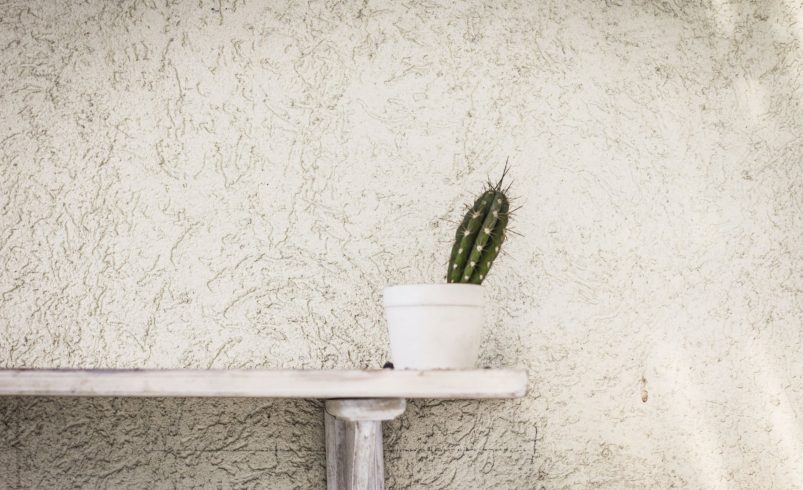
- Popcorn (cottage cheese): Rough and heavily textured, often used on ceilings.
- Skip trowel: Random swirls and ridges for a decorative effect.
- Smooth: Minimal texture, requires precision to maintain uniformity.
Pro Tip: Understanding your wall’s texture type is crucial to choose the right repair method and tools.
2. Gather Tools and Materials
Tools Needed:
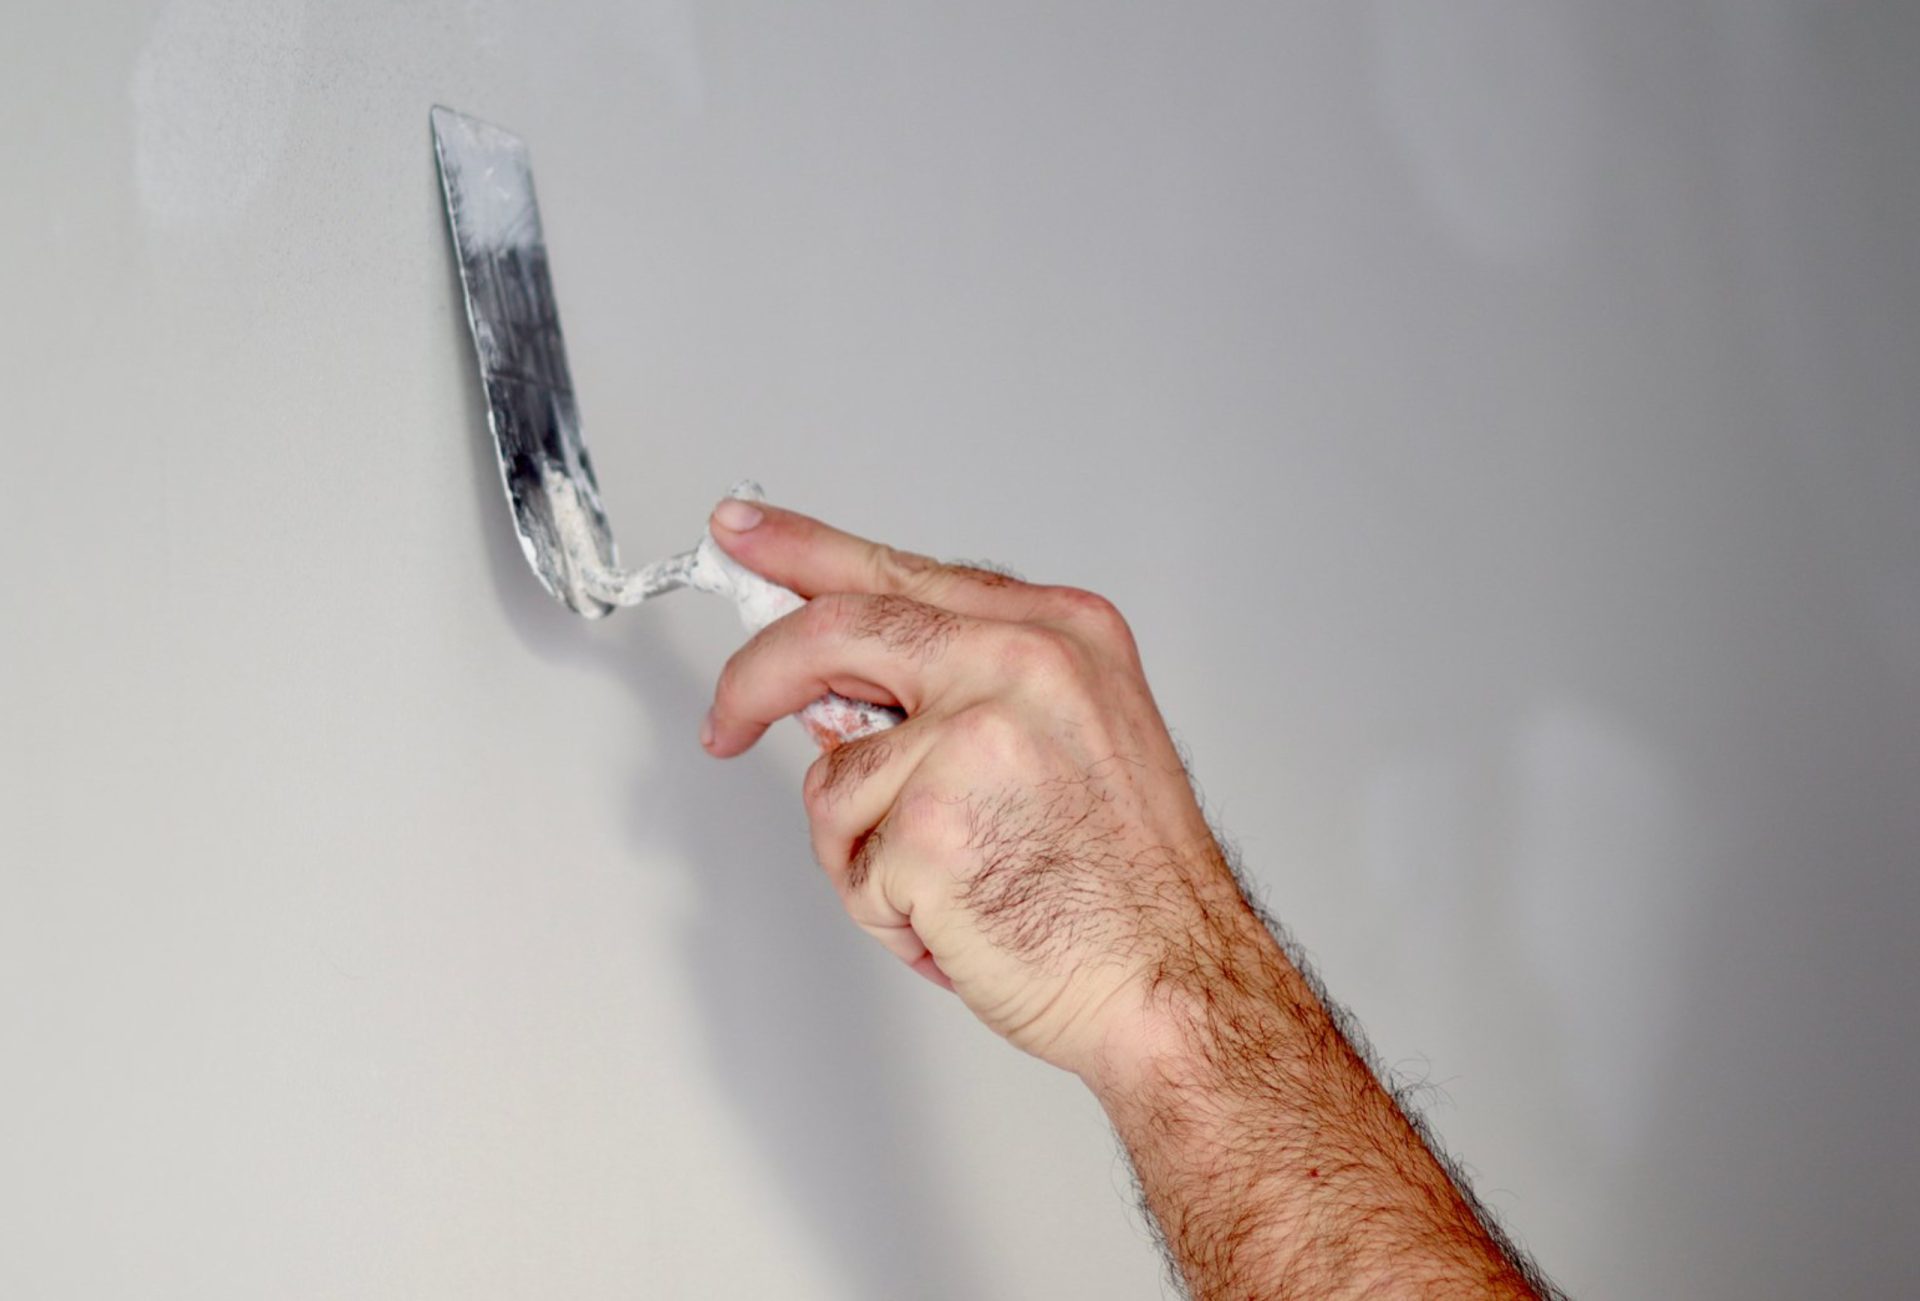
- Putty knife or drywall knife
- Sanding sponge or block
- Spray texture gun (for orange peel or popcorn)
- Trowel or sponge (for knockdown or skip trowel)
Materials Needed:
- Joint compound or premixed texture compound
- Water (for thinning compound if needed)
- Primer and paint
Pro Tip: Using professional-grade tools makes it easier to replicate the exact texture pattern.
3. Prepare the Damaged Area
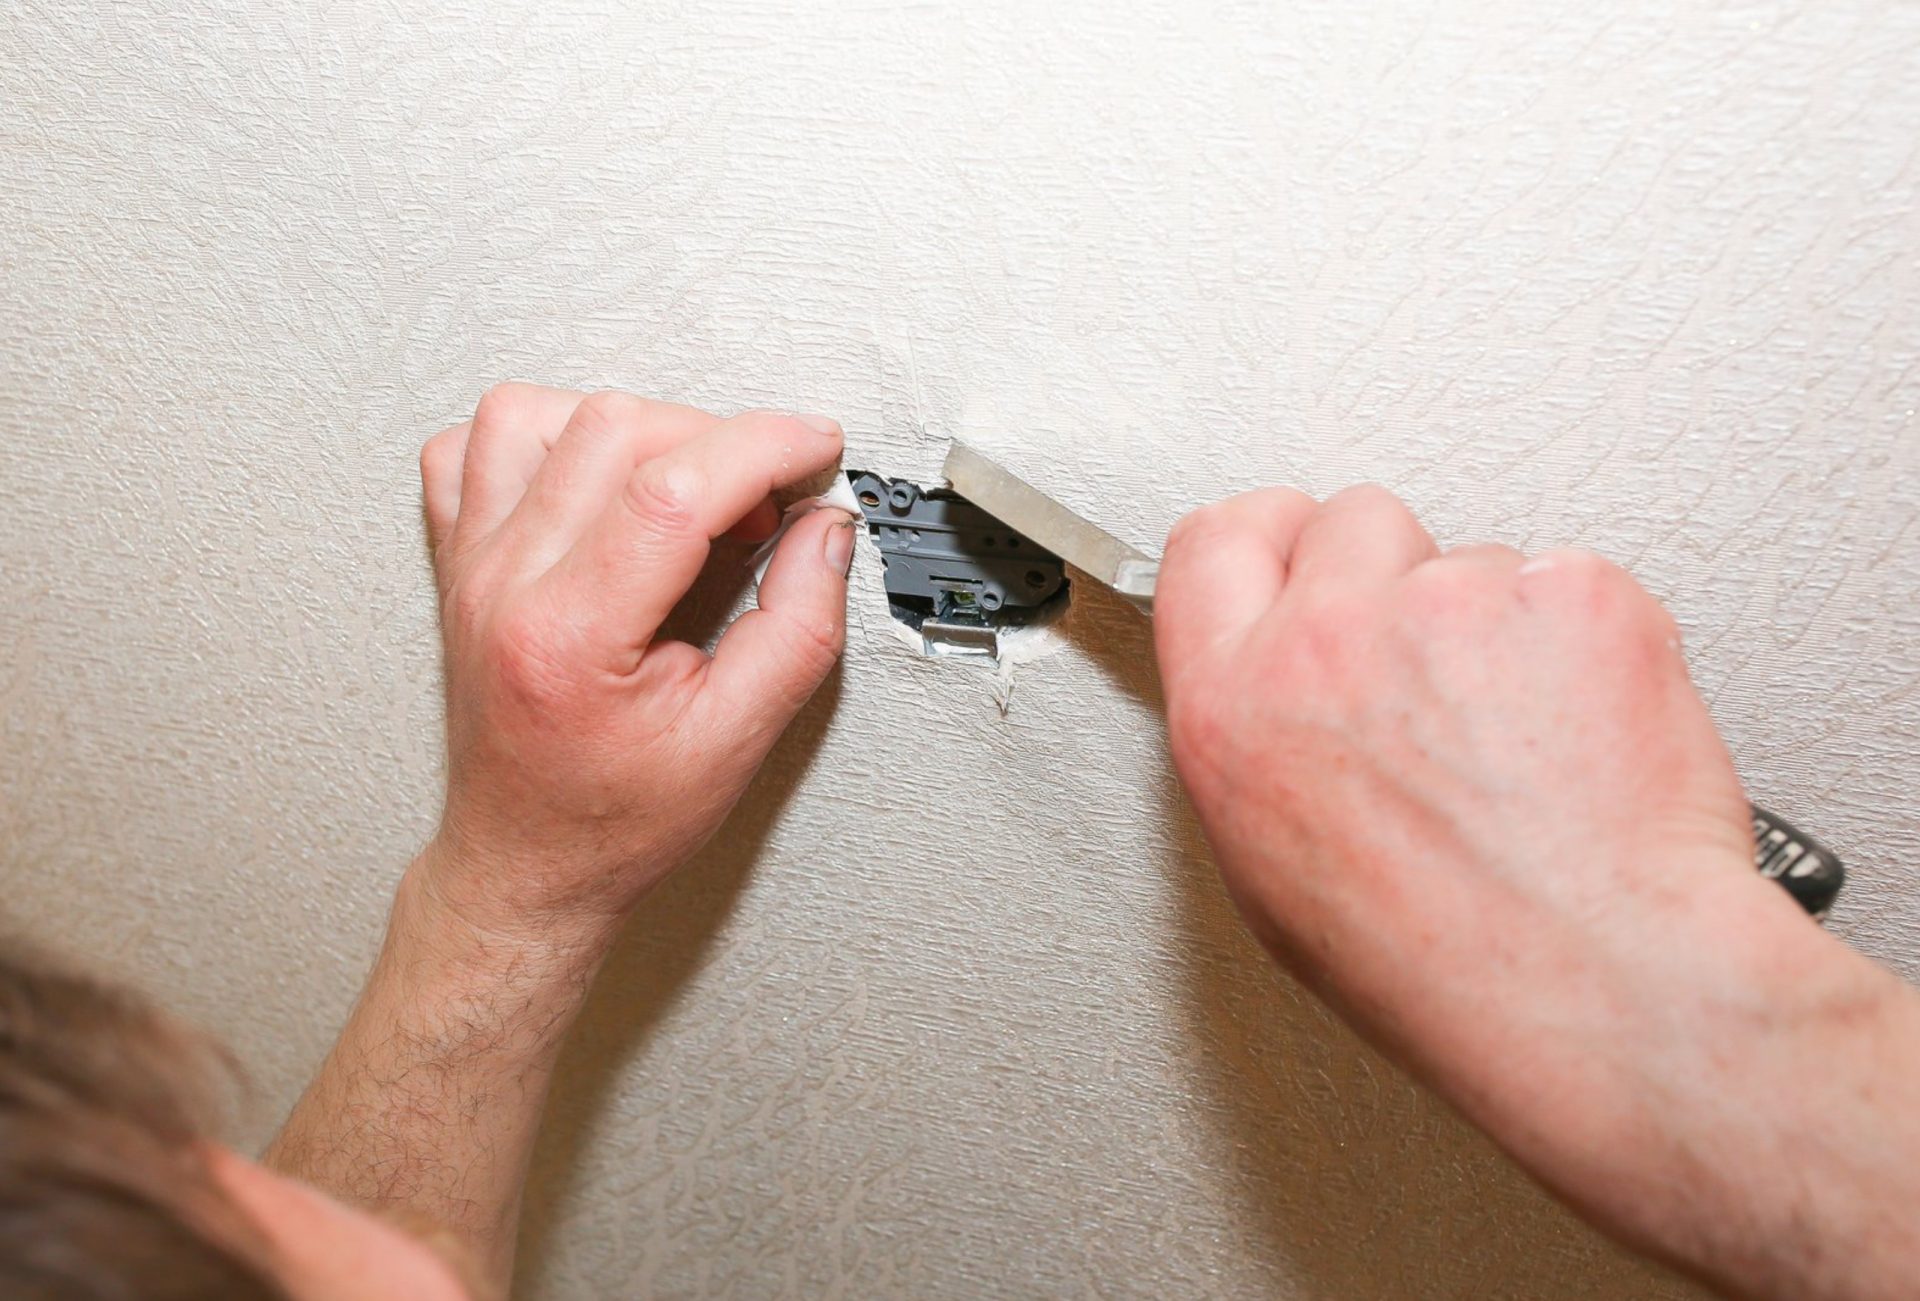
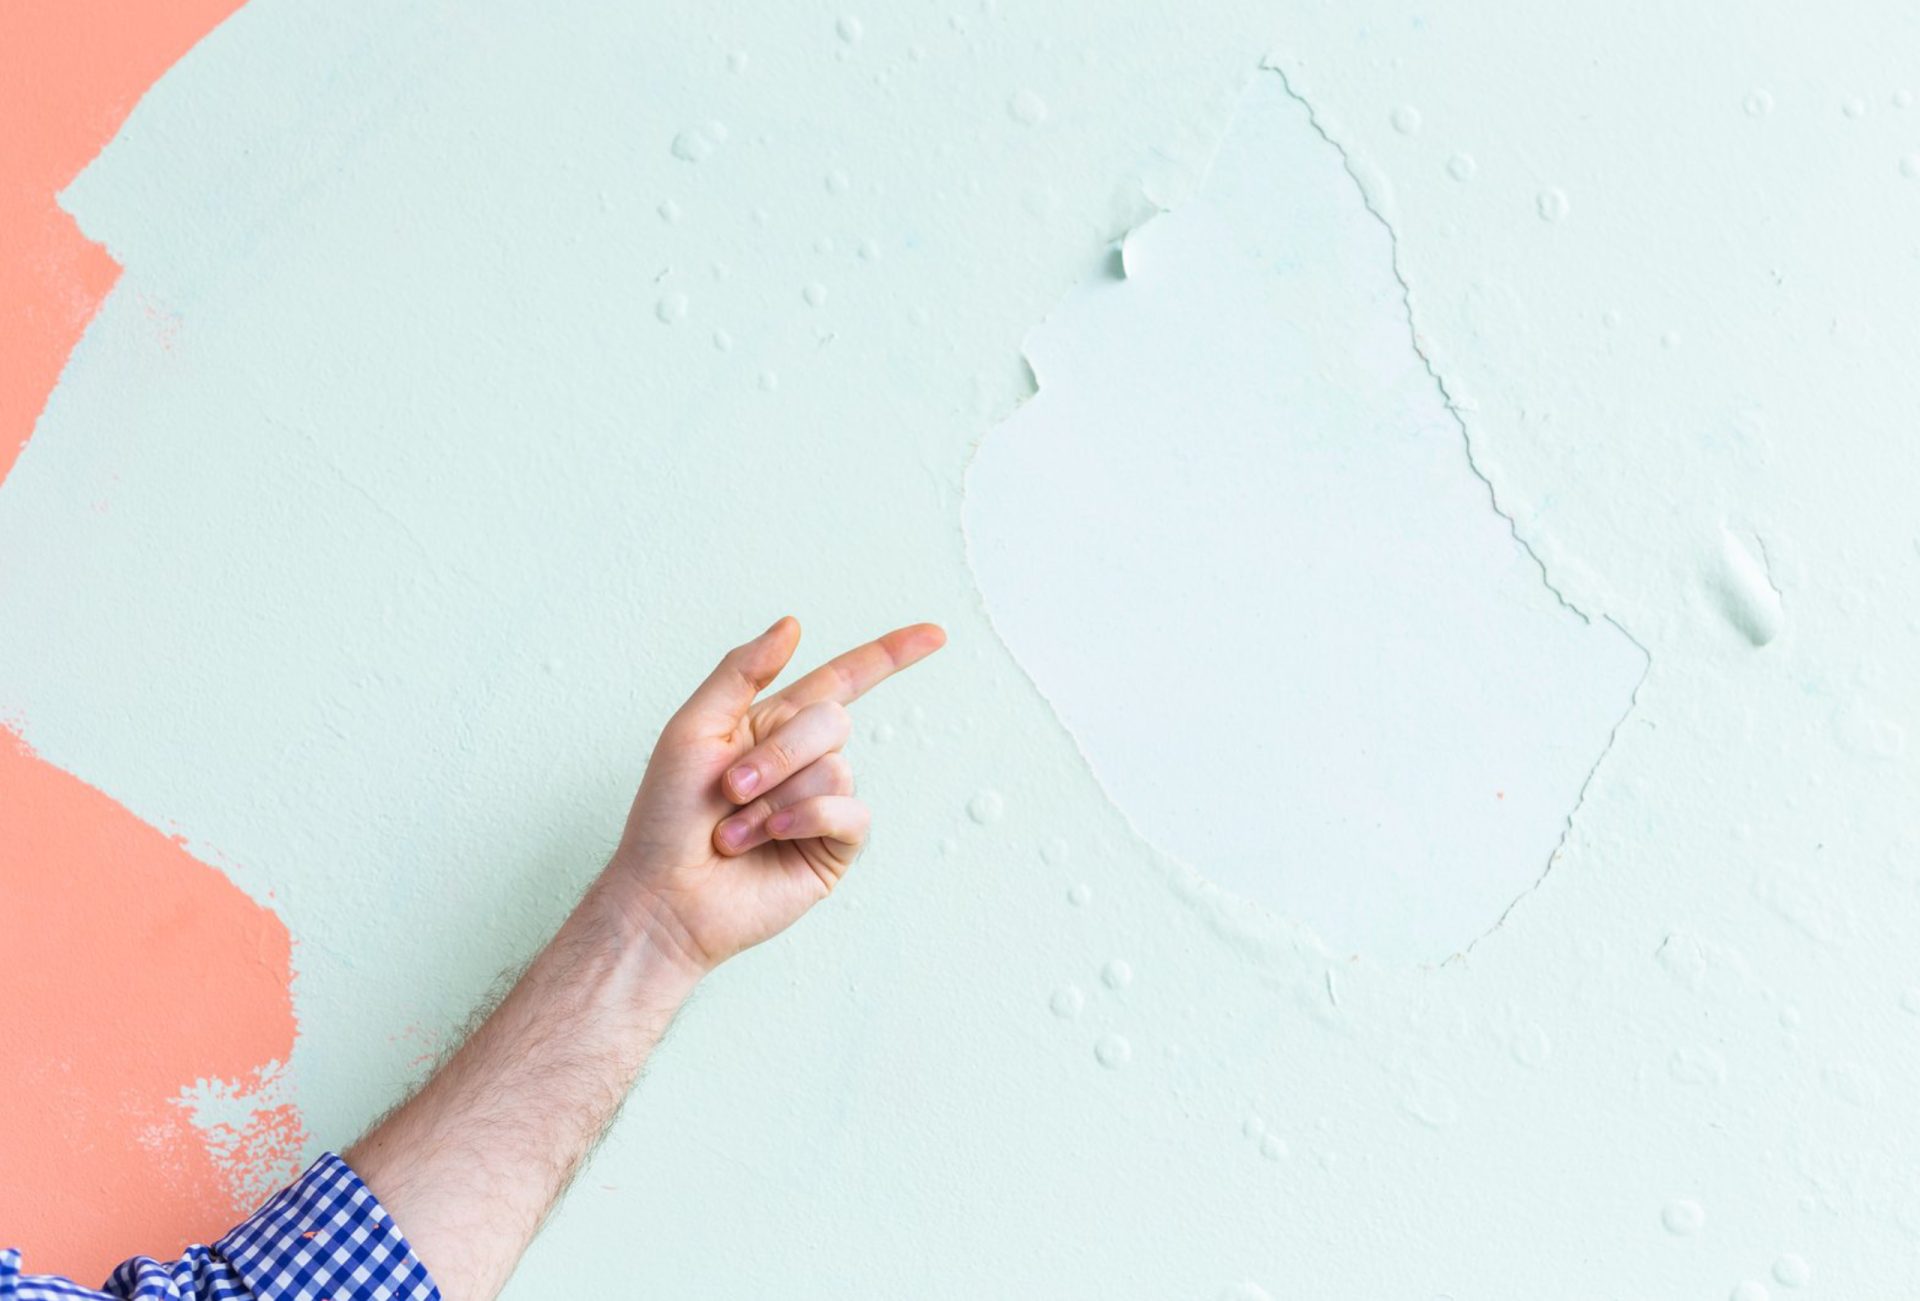
- Remove loose or damaged texture with a scraper.
- Sand edges lightly to feather the patch into the surrounding area.
- Clean dust and debris from the surface to improve adhesion.
Pro Tip: Proper preparation ensures that new texture bonds well and blends seamlessly.
4. Test the Texture First
- Always practice matching the texture on a scrap board or cardboard.
- Adjust compound thickness, spraying distance, or trowel technique until it matches the existing wall.
- Observe the wall under normal lighting to see how shadows and highlights affect the texture’s appearance.
Pro Tip: Testing prevents mistakes that could ruin the patch and make the repair obvious.
5. Apply Texture to the Wall
- For Orange Peel: Use a spray texture gun with premixed compound, adjusting air pressure and distance to match the pattern.
- For Knockdown: Apply a thin layer of compound, let it set slightly, then lightly drag a trowel across the peaks.
- For Popcorn: Use a specialized hopper gun with premixed popcorn texture.
- For Skip Trowel: Apply compound randomly with a trowel, using sweeping motions to mimic the existing pattern.
Pro Tip: Apply in small sections, blending edges carefully with the surrounding surface.
6. Feather and Blend Edges
- Smooth edges of the patched area to transition seamlessly into the existing texture.
- Use a damp sponge or trowel to soften harsh lines.
- Step back frequently to inspect from a distance and ensure uniformity.
Pro Tip: Feathering is key to a natural, undetectable repair.
7. Allow Texture to Dry Completely
- Drying time depends on compound thickness, temperature, and humidity.
- Avoid touching or painting over the patch until fully dry to prevent smudging.
Pro Tip: Patience is essential for a clean, professional finish.
8. Sand Lightly if Needed
- Sand only high spots that stand out from the surrounding texture.
- Avoid over-sanding, which can flatten the texture and make the repair noticeable.
Pro Tip: Minimal sanding preserves the natural pattern while correcting imperfections.
9. Prime and Paint
- Apply a primer over repaired areas to ensure even paint coverage.
- Use matching paint finish and sheen for a uniform appearance.
- Blend paint edges with a roller or brush to prevent visible lines.
Pro Tip: Primer seals the patch and ensures paint adheres evenly for a seamless finish.
10. Common Mistakes to Avoid
- Applying texture without testing or practice.
- Skipping preparation and cleaning of the surface.
- Over-applying compound, causing lumps or uneven patterns.
- Using the wrong tool for the specific texture type.
- Painting before texture is fully dry.
Pro Tip: Avoiding these mistakes guarantees a professional repair that blends flawlessly with existing walls.
Conclusion
Matching existing wall textures is a skill that requires careful observation, preparation, and technique. Whether you’re repairing small holes or larger damaged areas, using the right tools and products ensures your repair is virtually invisible. For flawless results, Chicagoland Paint Pro provides professional texture repair services, restoring walls to their original appearance and preparing them perfectly for painting.