
Proper wall preparation is essential for a smooth, long-lasting paint finish. Whether you’re painting interior walls, ceilings, or exterior surfaces, prepping the wall ensures that the paint adheres properly, looks uniform, and resists peeling or cracking over time. This guide covers professional techniques for prepping both interior and exterior walls.
1. Inspect the Wall Thoroughly
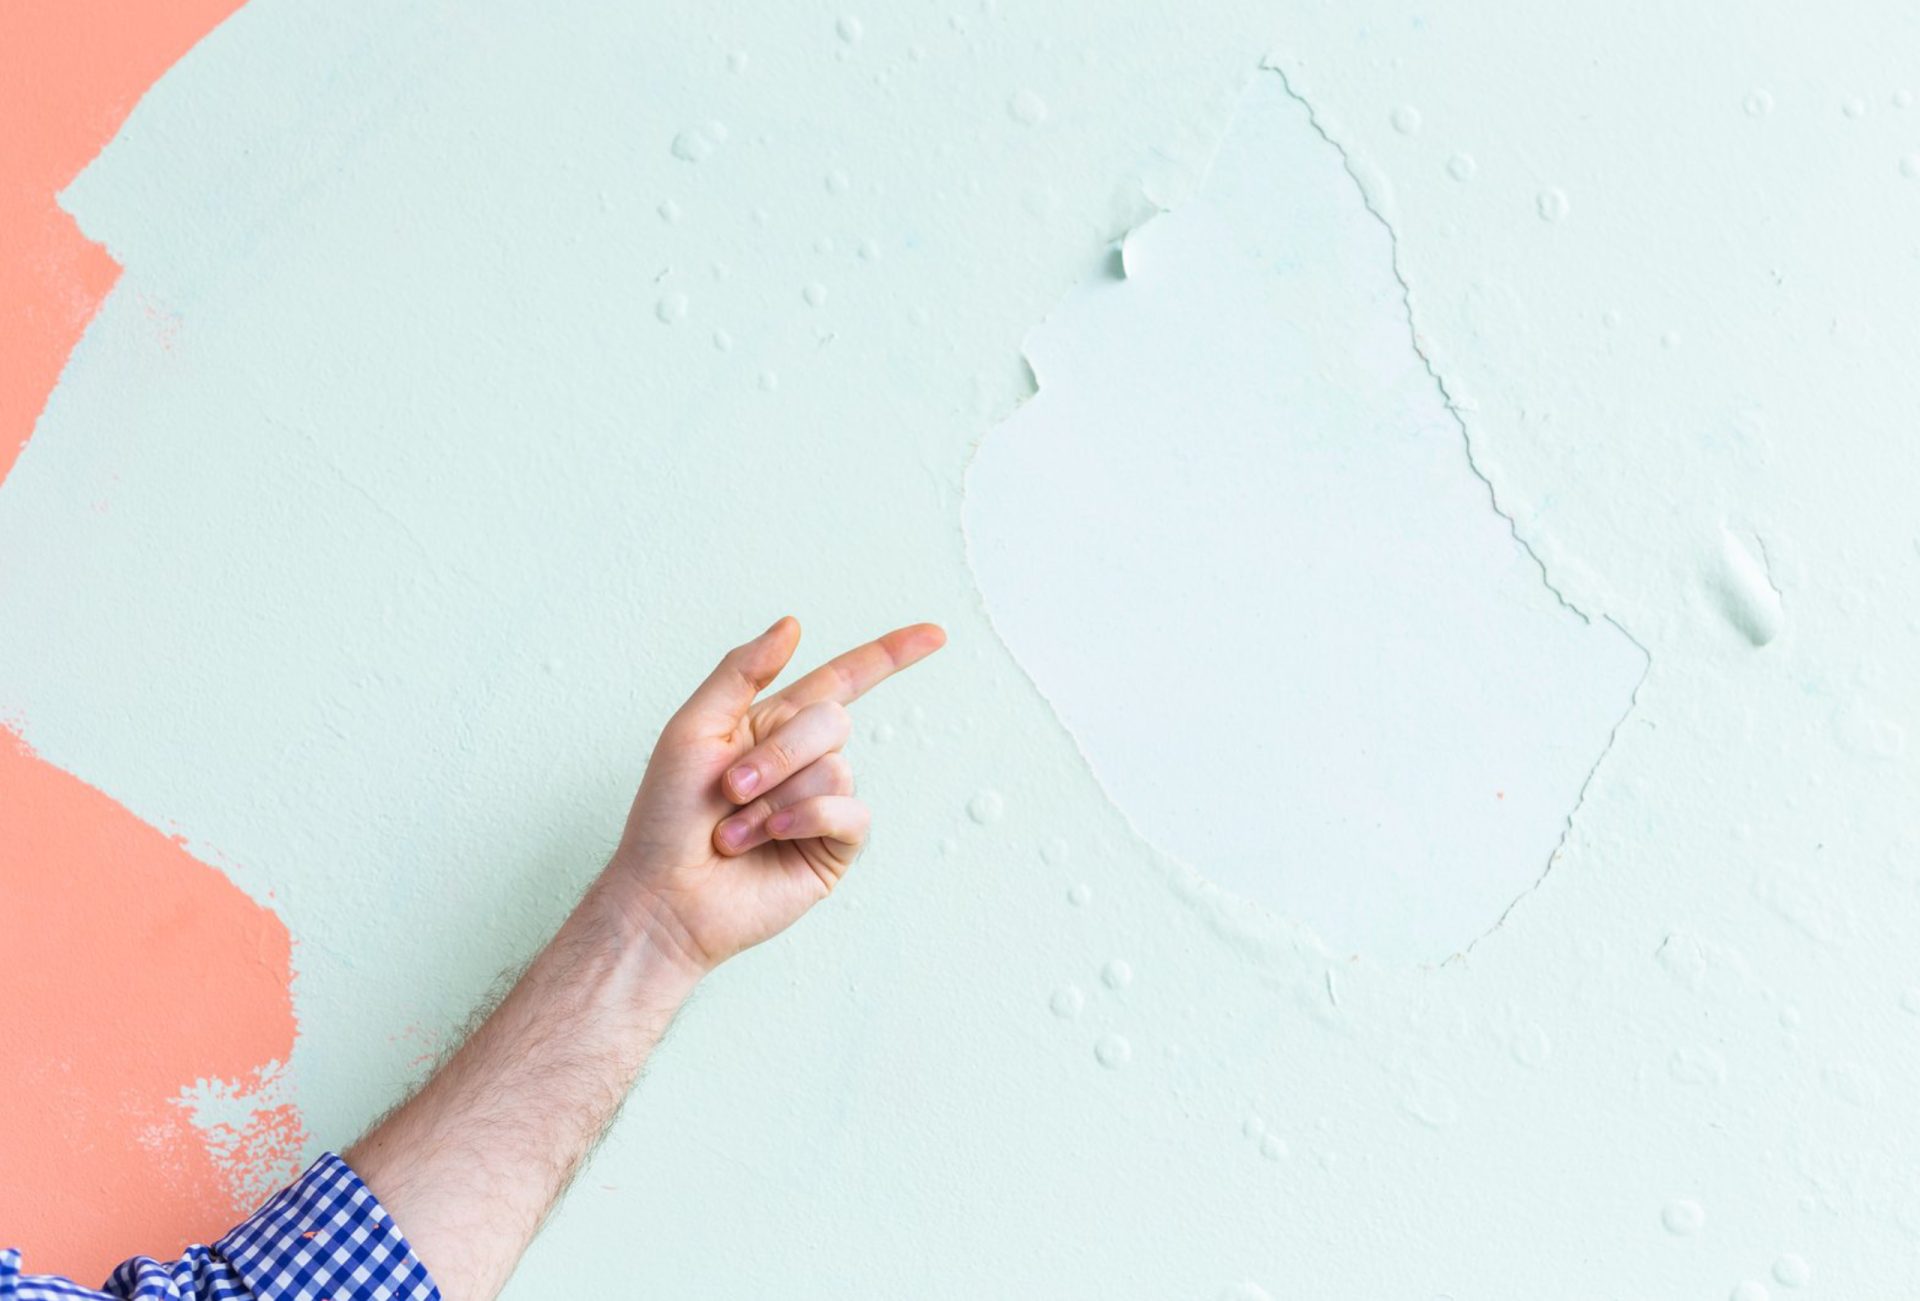
- Identify cracks, holes, peeling paint, water damage, and rough spots.
- Note textured surfaces that may need sanding or skim coating.
- For exterior walls, check for mold, mildew, and weather-related damage.
Pro Tip: A detailed inspection helps you plan the repairs and prep work efficiently.
2. Clean Interior Walls
- Remove dust, dirt, cobwebs, and grease with mild soap and water.
- For stubborn stains, use a degreasing cleaner.
- Allow walls to dry completely before painting.
Pro Tip: Clean walls improve paint adhesion and prevent imperfections in the finish.
3. Clean Exterior Walls
- Use a pressure washer to remove dirt, mildew, and loose paint.
- For delicate surfaces, use low-pressure settings to avoid damage.
- Scrub areas with mold or mildew with a mixture of bleach and water.
- Rinse thoroughly and let walls dry completely.
Pro Tip: Thorough exterior cleaning prevents peeling and ensures long-lasting paint.
4. Repair Damaged Surfaces
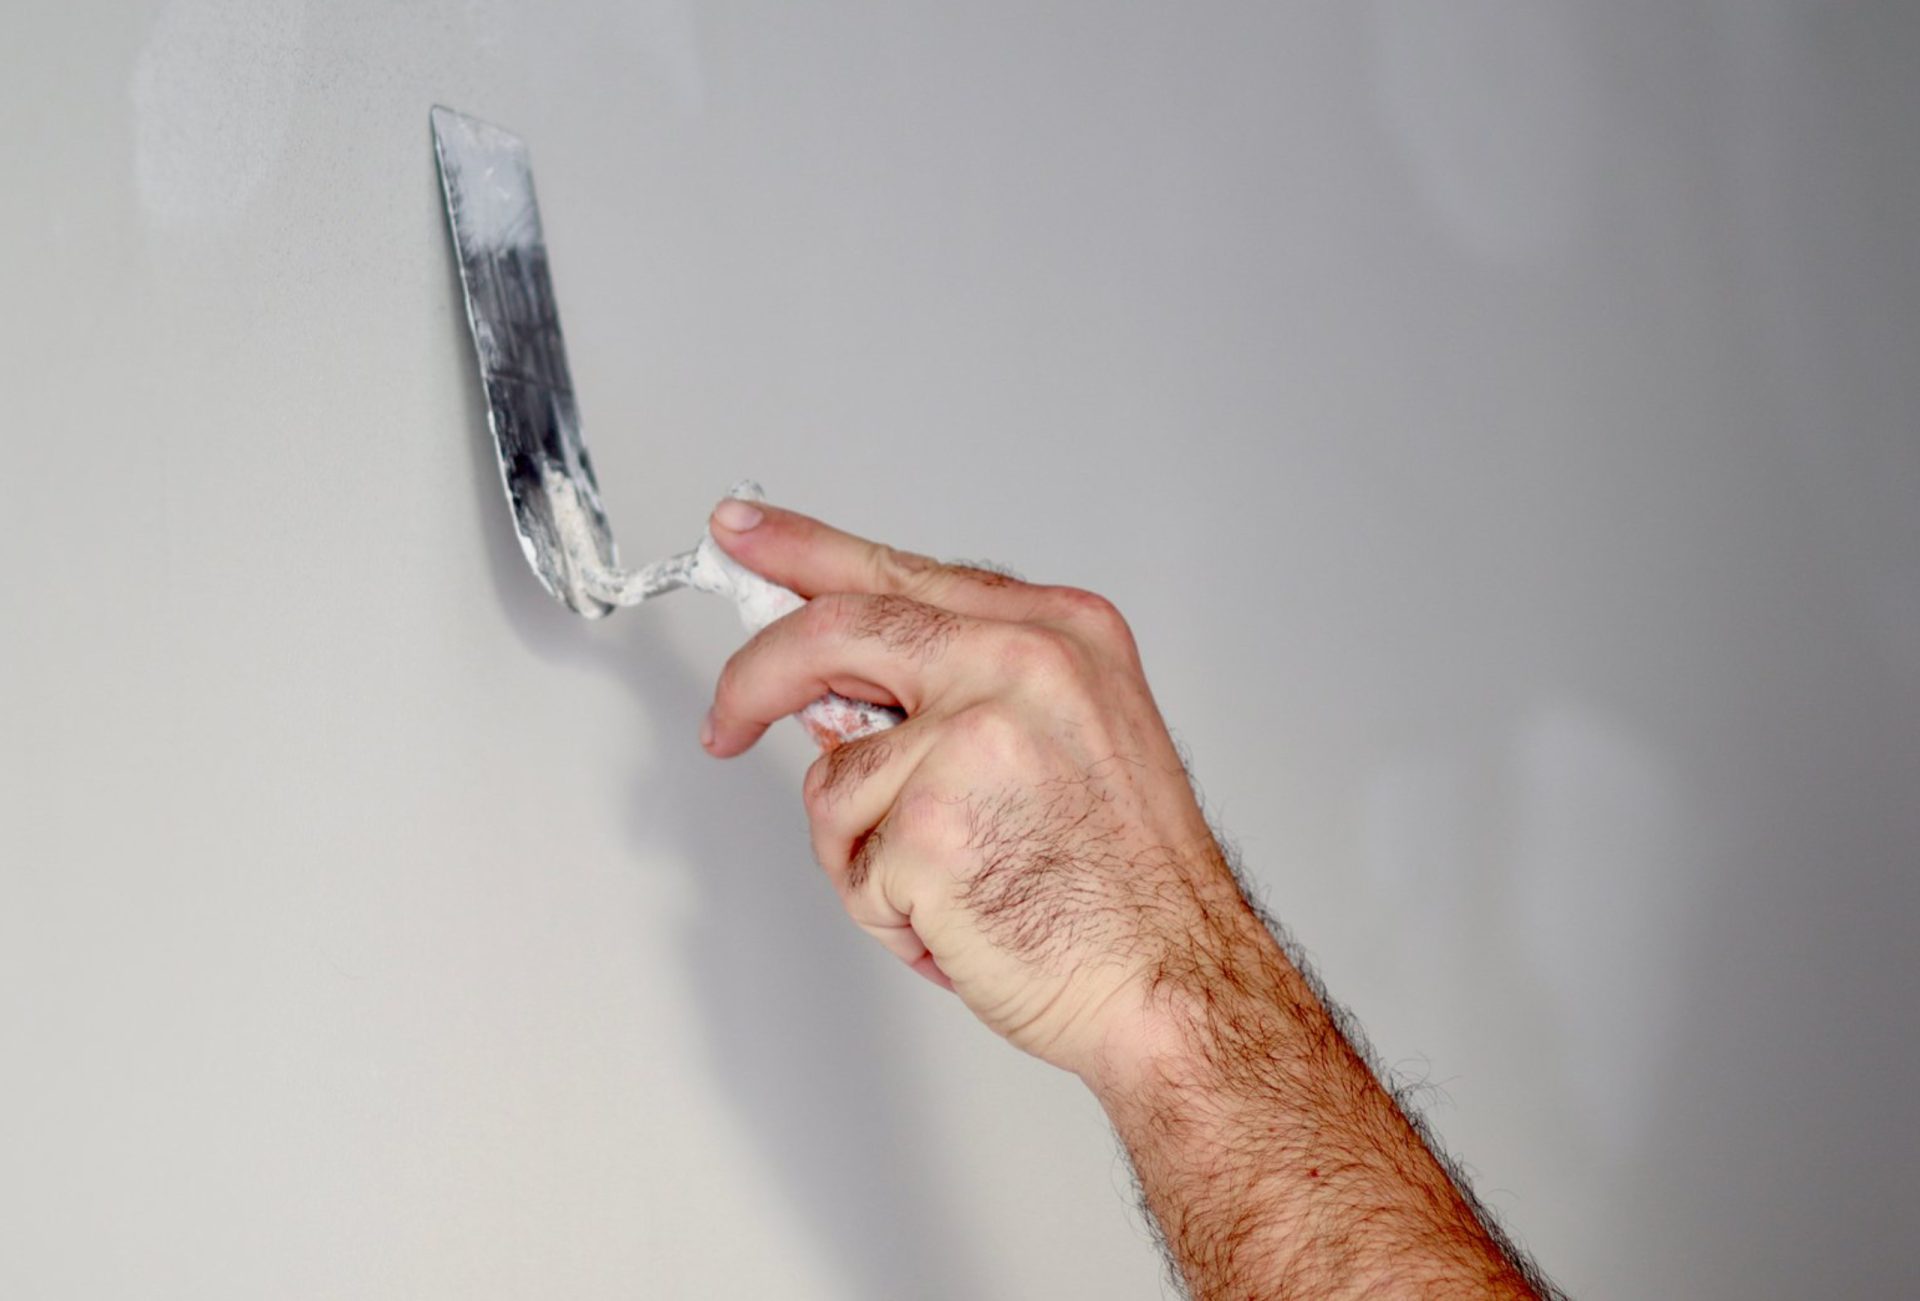
- Fill cracks, dents, and holes with spackle or exterior-grade filler.
- Sand repaired areas to create a smooth transition with surrounding surfaces.
- Replace damaged drywall, plaster, or siding if necessary.
Pro Tip: Repairs create a uniform surface that helps paint look professional and last longer.
5. Sand Walls for Smoothness
- Lightly sand rough spots, glossy paint, or patched areas.
- Use fine-grit sandpaper or sanding blocks for interior walls.
- For exterior surfaces, use sanding or wire brushes to remove flaking paint.
Pro Tip: Sanding ensures the paint adheres well and prevents uneven textures.
6. Remove Old Paint or Wallpaper
- Scrape off peeling or loose paint.
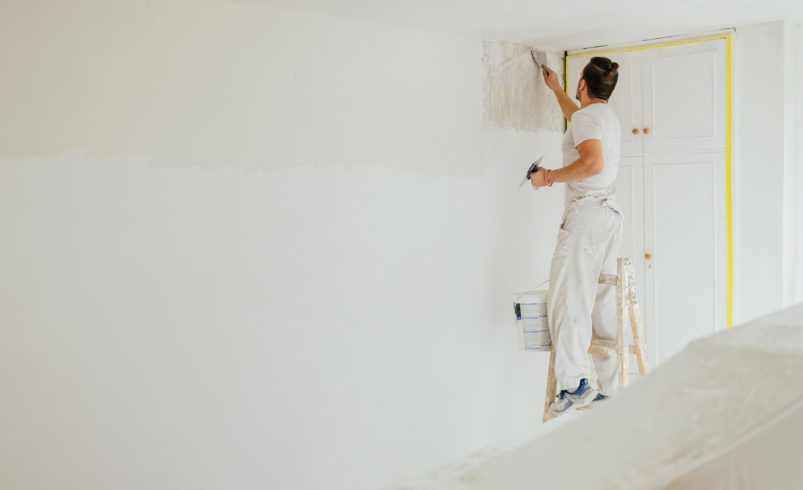
- Strip wallpaper using remover solutions, then clean and sand the wall.
- Smooth rough spots for a uniform base.
Pro Tip: Painting over old or damaged finishes can lead to an uneven and short-lived result.
7. Apply Primer
- Use a primer suited for interior or exterior surfaces.
- For exterior walls, choose a weather-resistant primer.
- Apply a stain-blocking primer for areas with water stains, smoke, or discoloration.
Pro Tip: Primer seals the wall, ensures even paint absorption, and improves durability.
8. Protect Surrounding Surfaces
- Cover floors, furniture, trim, and windows with drop cloths and painter’s tape.
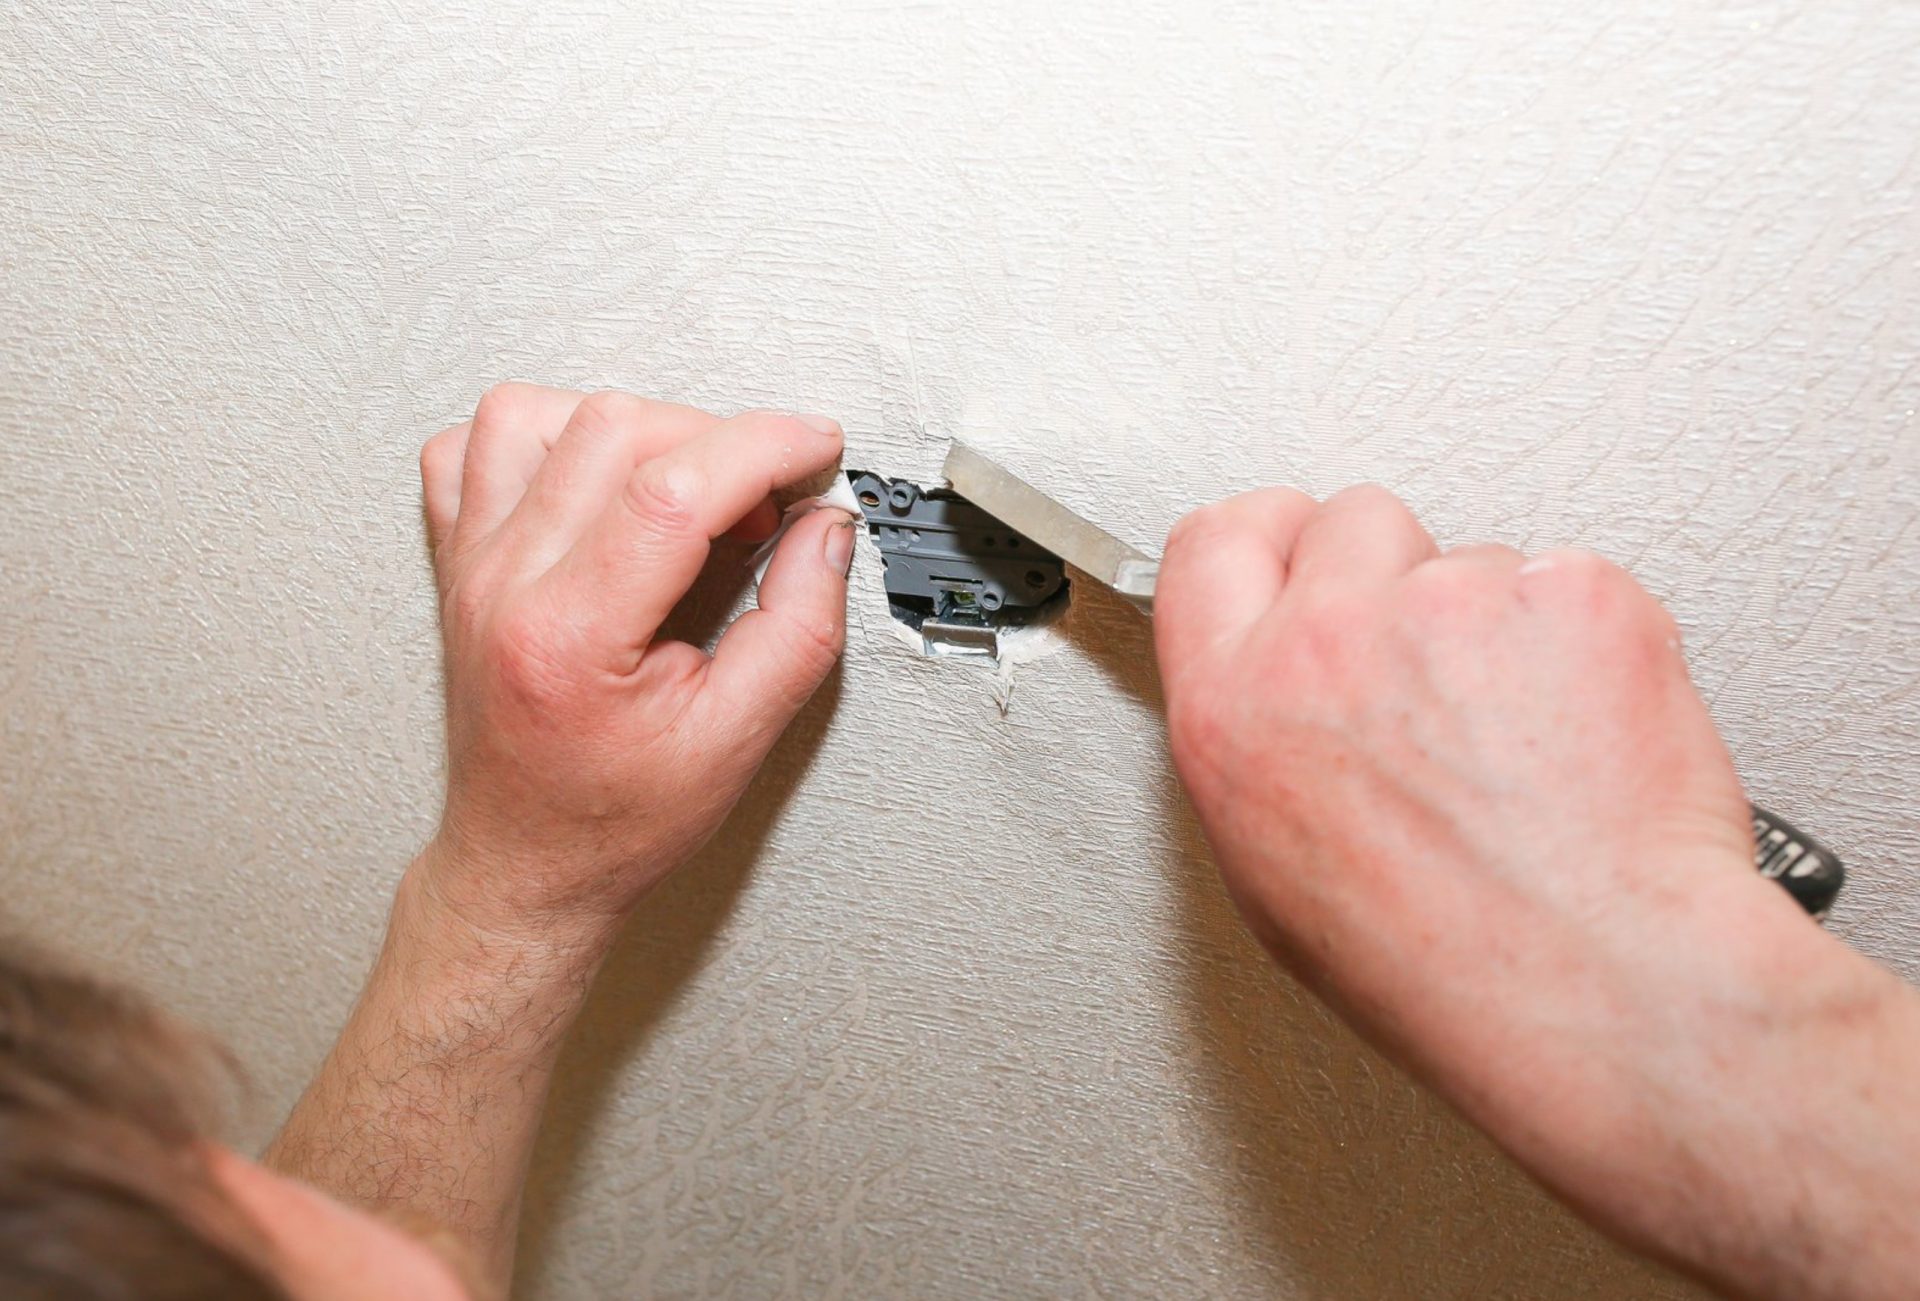
- Remove or cover hardware like outlet covers, lights, and door handles.
Pro Tip: Proper protection keeps the workspace clean and prevents accidental damage.
9. Use Quality Tools for Prep Work
- Wide putty knives for patching and smoothing.
- High-quality sanders, brushes, and rollers.
- For exterior walls, use appropriate sprayers or rollers depending on surface texture.
Pro Tip: Using professional tools ensures precise prep work and reduces the risk of uneven finishes.
10. Final Inspection Before Painting
- Check walls under bright light to spot any remaining imperfections.
- Touch up repairs, sand high spots, and remove dust before priming.
- Ensure walls are completely dry and ready for paint application.
Pro Tip: A careful final inspection ensures a smooth, professional finish once painted.
Conclusion
Wall preparation is the most important step to achieving flawless, long-lasting paint results. Whether interior or exterior, thorough cleaning, repair, sanding, priming, and protection ensure the paint adheres properly and looks uniform. For professional-grade wall preparation and painting, Chicagoland Paint Pro provides expert services that guarantee perfect, durable results every time.