
Priming is one of the most important steps in achieving a flawless, professional paint finish. Whether you’re painting fresh drywall, previously painted surfaces, or repaired walls, primer ensures even color, proper adhesion, and long-lasting durability. This guide will walk you through everything you need to know to prime walls like a professional.
1. Why Priming Matters
- Seals Porous Surfaces: Drywall, plaster, and bare wood absorb paint differently; primer creates a uniform surface.
- Blocks Stains: Water marks, smoke stains, or discoloration are sealed, preventing them from showing through the topcoat.
- Improves Adhesion: Paint sticks better to primed walls, reducing peeling or flaking.
- Enhances Color: Primer ensures true paint color without patchiness or uneven coverage.
Pro Tip: Skipping primer often results in blotchy, uneven finishes, even with high-quality paint.
2. Choose the Right Primer
- Interior Walls: Use latex or water-based primers for general walls.
- Exterior Walls: Select weather-resistant primers that withstand sun, rain, and temperature changes.
- Problem Areas: For stains, smoke damage, or water marks, choose a stain-blocking or bonding primer.
- High-Traffic Areas: Consider a primer that improves durability and resists wear and tear.
Pro Tip: Matching the primer to wall type and condition ensures the best results.
3. Prepare the Surface Before Priming
- Clean walls thoroughly to remove dust, grease, or cobwebs.
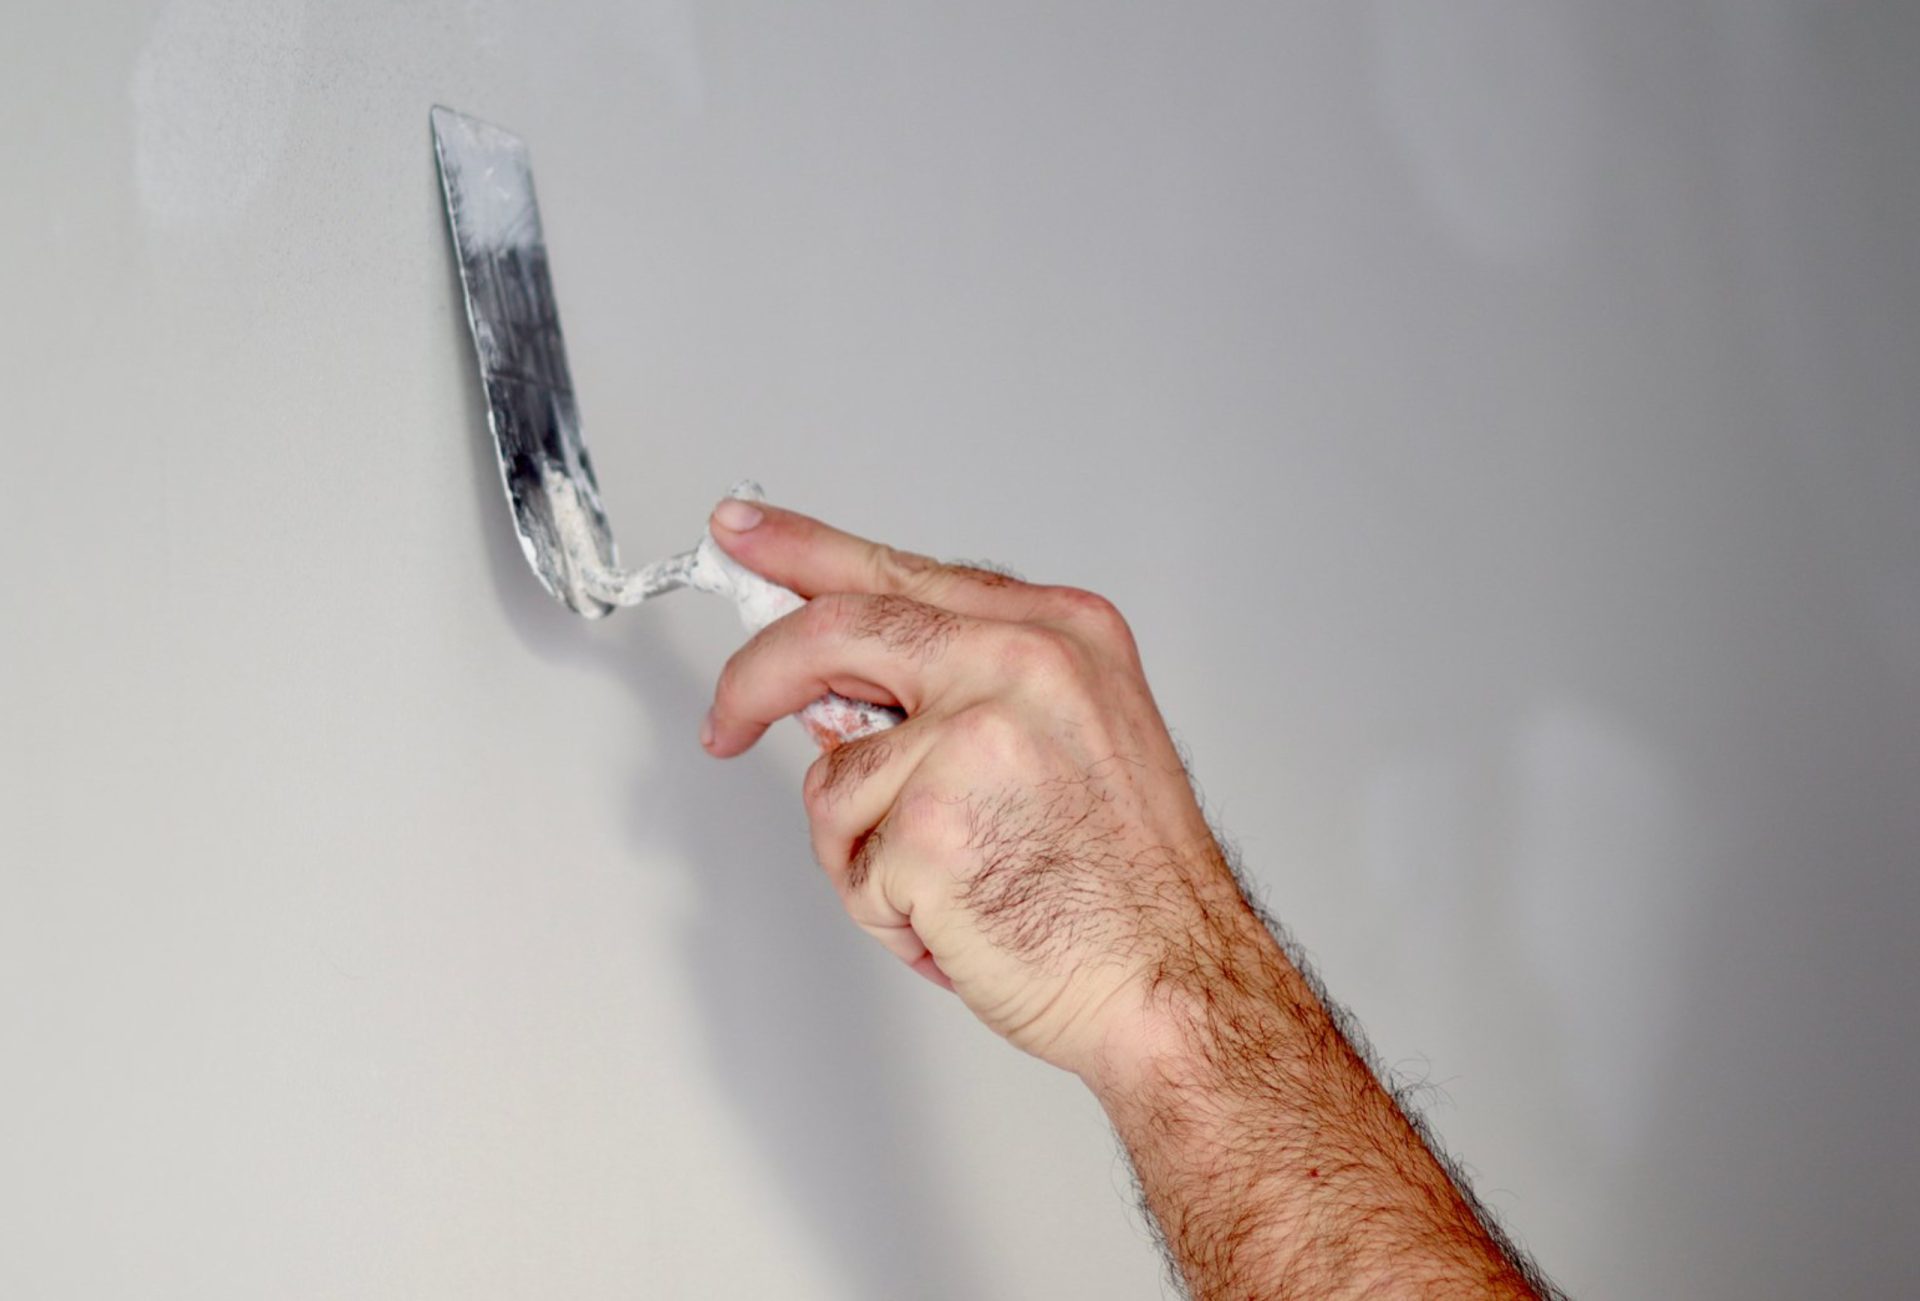
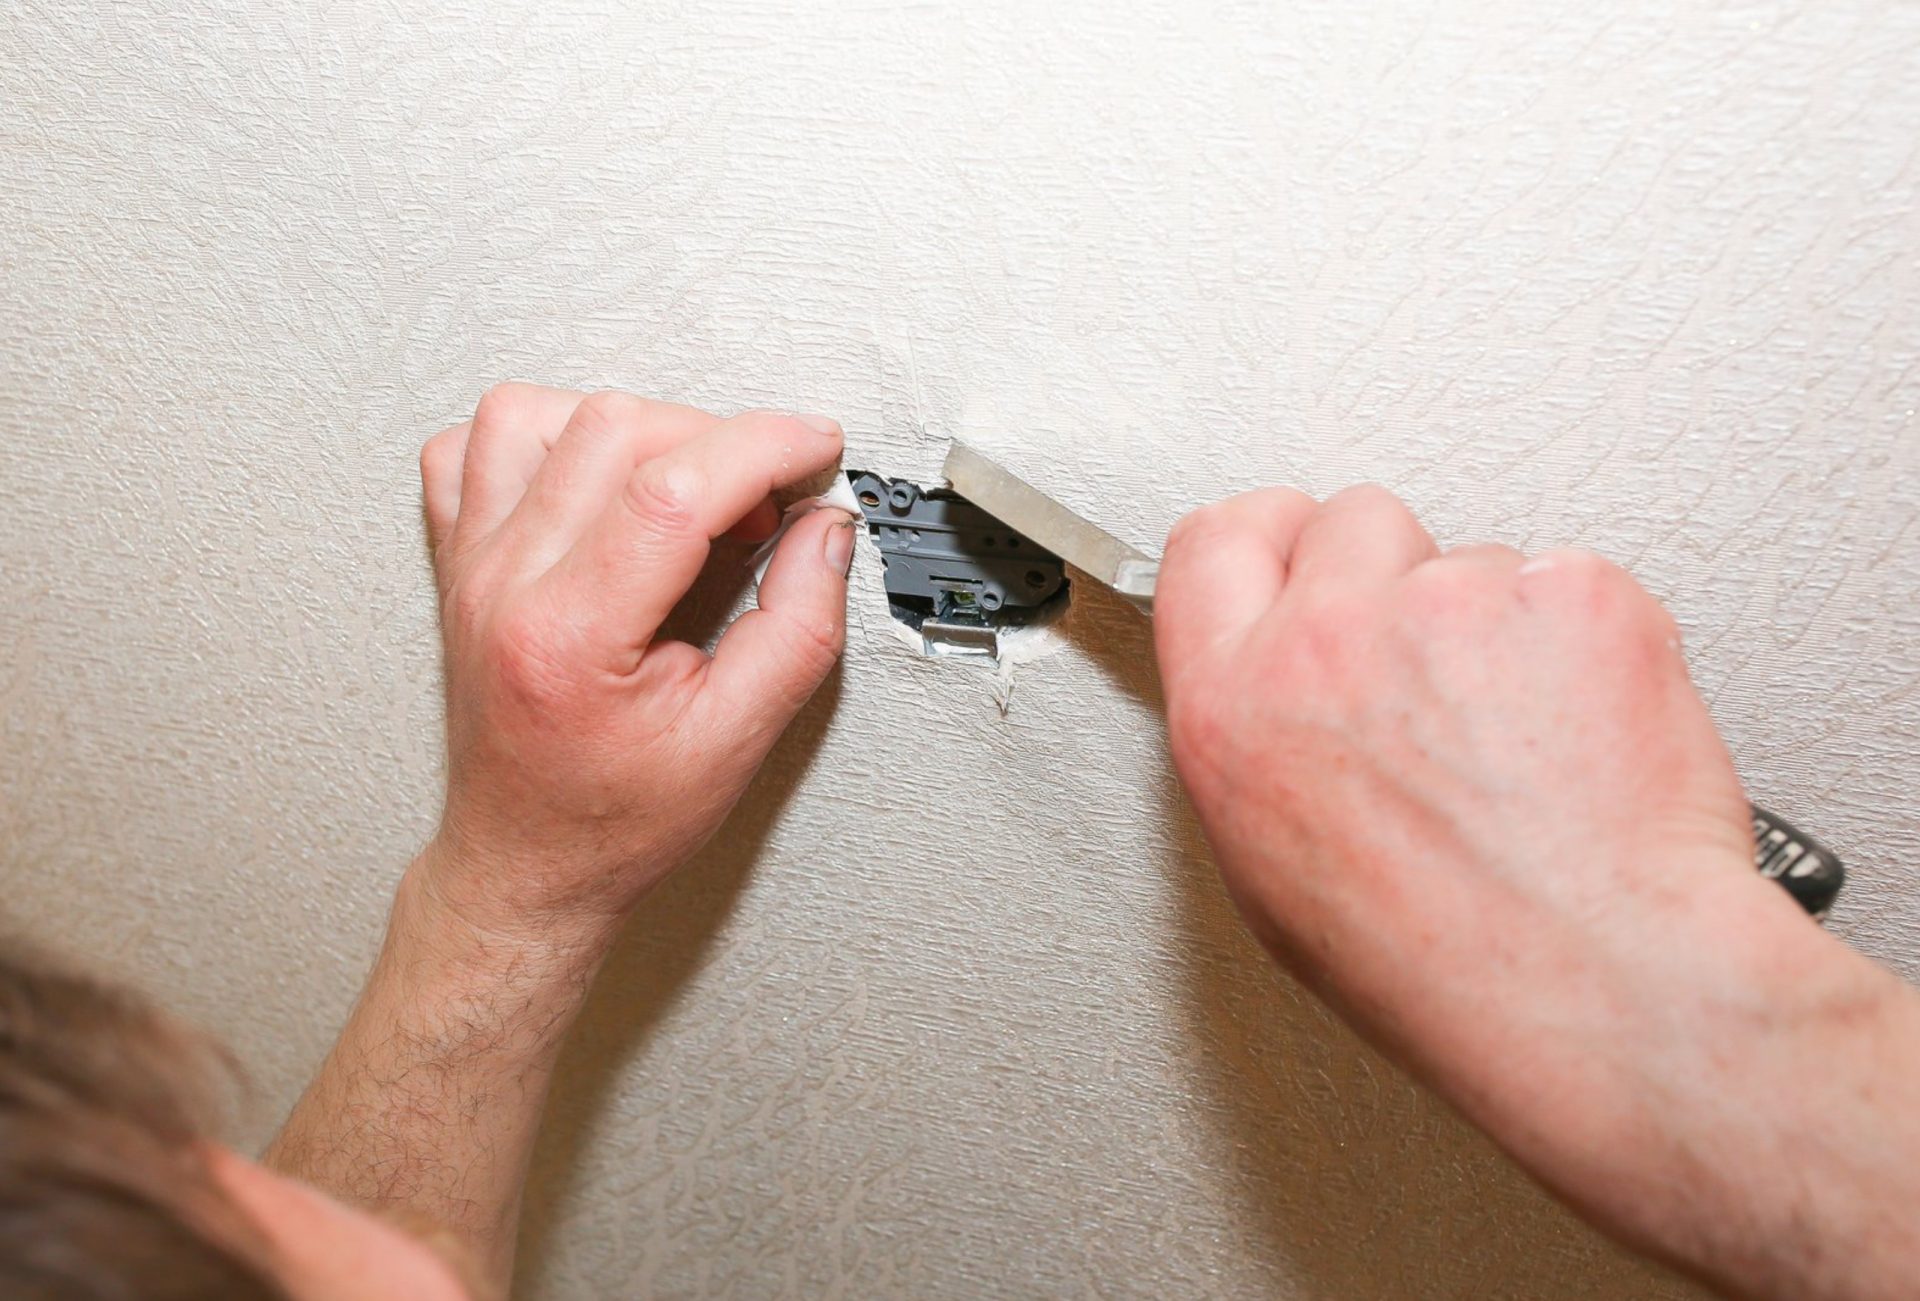
- Repair cracks, dents, or holes with spackle or joint compound.
- Sand repaired and glossy areas for smoothness.
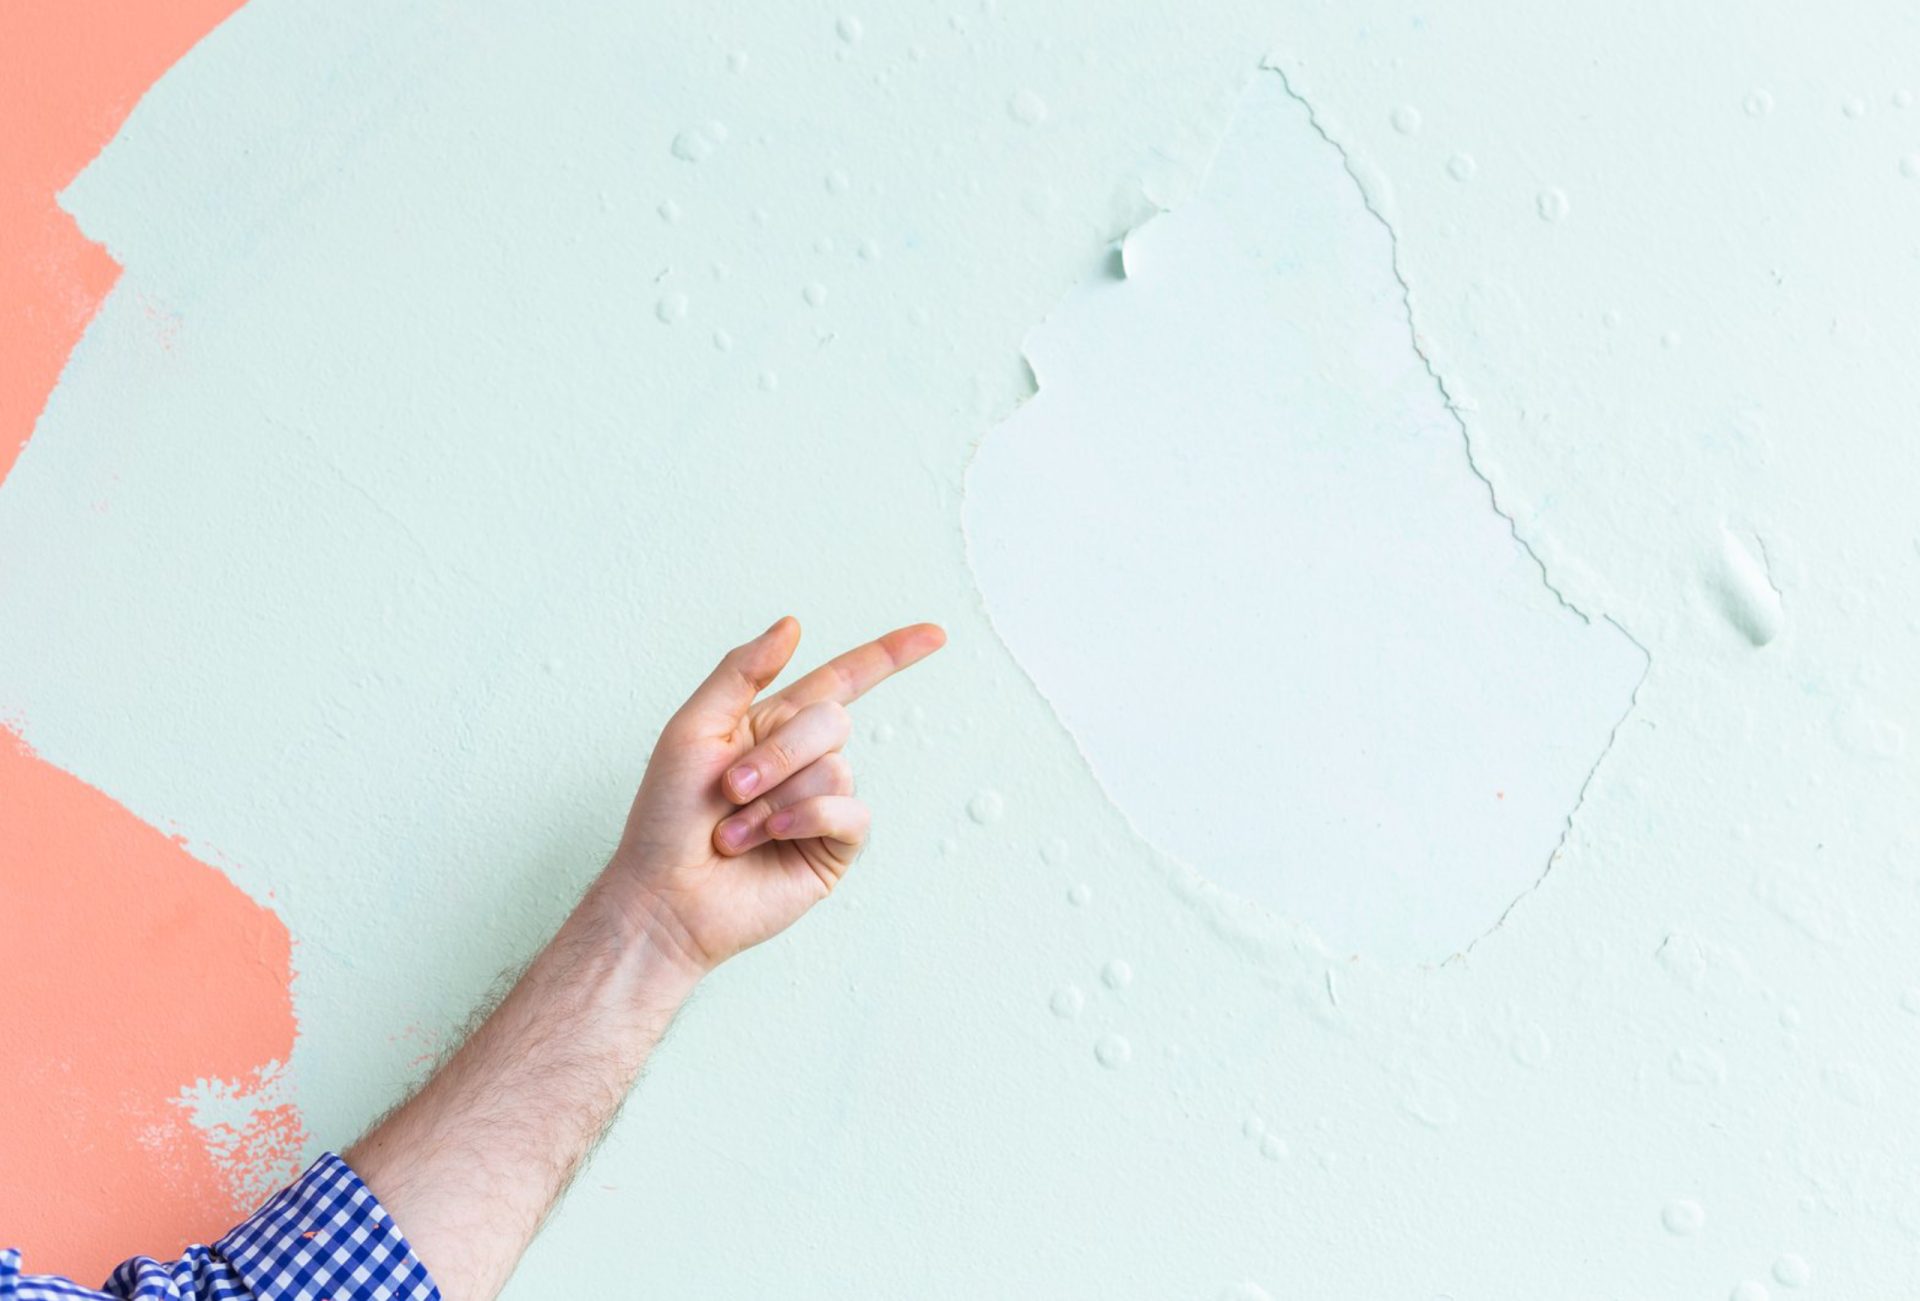
- Remove loose paint or wallpaper residues for a uniform surface.
Pro Tip: Proper preparation ensures primer adheres evenly and enhances paint longevity.
4. Tools for a Professional Primer Application
- Brush: For corners, trim, and edges.
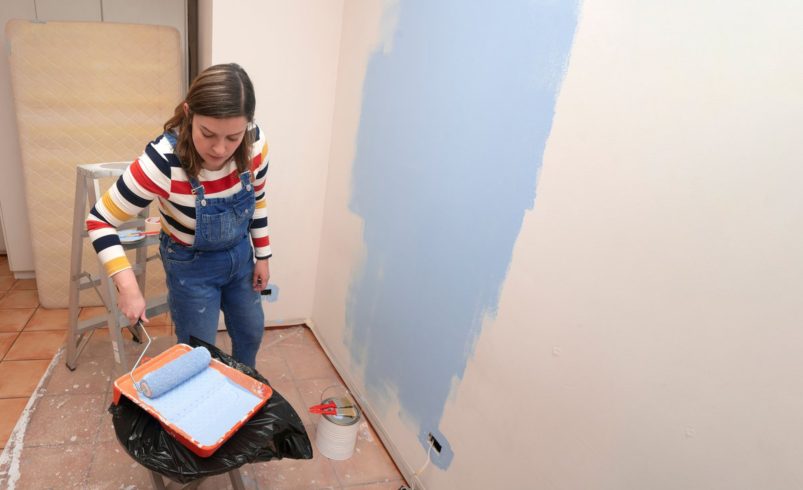
- Roller: For large, flat wall surfaces; choose nap length based on texture.
- Sprayer: Optional for smooth, fast coverage on large or textured walls.
- Tray or Pan: For consistent roller coverage.
Pro Tip: High-quality tools ensure smooth application and prevent streaks or bubbles.
5. How to Apply Primer Correctly
- Stir primer thoroughly before use.
- Apply primer in even strokes with a brush or roller.
- Use a roller in a “W” or “M” pattern to avoid streaks and ensure uniform coverage.
- Feather edges where primer meets previously painted surfaces.
- Allow sufficient drying time according to manufacturer instructions before painting.
Pro Tip: Proper technique ensures a smooth, professional finish and avoids visible lines or patches.
6. Common Priming Mistakes to Avoid
- Skipping Primer on New Drywall: Paint may soak unevenly and appear patchy.
- Applying Too Thick a Coat: Thick primer can take too long to dry and crack.
- Not Sanding Between Primer Layers (if multiple coats needed): Results in bumps or uneven surfaces.
- Painting Too Soon: Wet primer can cause peeling or uneven coverage.
- Using Wrong Type of Primer: Interior primers on exterior walls or vice versa can compromise durability.
Pro Tip: Avoiding these mistakes guarantees a smooth, long-lasting finish.
7. Primer for Special Surfaces
- Glossy Surfaces: Sand lightly before priming for better adhesion.
- Wood: Use oil-based or bonding primer for knots and raw wood areas.
- Metal: Choose a metal-specific primer to prevent rust and ensure adhesion.
- Stained Walls: Use a stain-blocking primer to prevent bleed-through.
Pro Tip: Selecting the correct primer type is essential for professional results.
8. Drying and Curing
- Allow the primer to dry completely before painting.
- Drying time depends on temperature, humidity, and primer type.
- Avoid touching, sanding, or painting over wet primer.
Pro Tip: Patience ensures the paint adheres perfectly and extends the life of your finish.
9. Finishing Touches Before Painting
- Inspect primed walls under bright light to detect imperfections.
- Sand minor bumps or ridges with fine-grit sandpaper.
- Clean off dust thoroughly to ensure a smooth topcoat application.
Pro Tip: Attention to these final steps gives walls a perfectly professional finish.
10. Expert Tips for Long-Lasting Results
- Use consistent roller pressure for even coverage.
- Always stir primer before use to prevent separation.
- Keep a wet edge to avoid lap marks.
- Cover and protect floors, trim, and fixtures from primer splashes.
Pro Tip: Following these expert tips ensures your paint job looks professional and lasts for years.
Conclusion
Priming is the key step that prepares walls for a flawless paint finish. Proper surface prep, correct primer selection, and precise application techniques ensure your paint adheres well, looks smooth, and lasts longer. For top-quality sanding and priming, Chicagoland Paint Pro provides expert services that guarantee professional results every time.