
Wall cracks, whether small hairline fractures or larger fissures, are a common issue in homes and commercial spaces. Ignoring cracks can lead to further damage, uneven paint, and an unprofessional look. Properly repairing cracks before painting ensures a smooth, flawless wall surface that lasts. This guide provides step-by-step instructions for repairing wall cracks like a pro.
1. Identify the Type and Severity of Cracks
- Hairline cracks: Very thin, usually cosmetic, often caused by normal settling.
- Medium cracks (1/16 to 1/4 inch): May indicate minor structural shifts or drywall shrinkage.
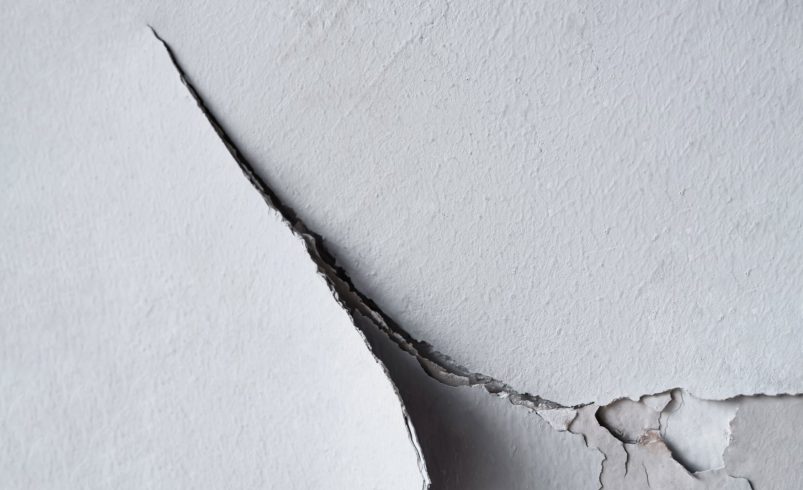
- Large cracks (>1/4 inch): Could be due to foundation issues or significant structural stress.
Pro Tip: Correctly assessing the crack ensures the right repair technique is used.
2. Gather the Right Tools and Materials
Tools Needed:
- Utility knife or putty knife
- Sanding block or sponge
- Paintbrush or roller
- Caulking gun (for exterior cracks)
Materials Needed:
- Spackle, joint compound, or patching plaster
- Fiberglass mesh tape (for larger cracks)
- Primer and matching paint
- Optional: Crack repair caulk or epoxy for exterior walls
Pro Tip: Having all tools ready before starting helps prevent interruptions and ensures a smoother process.
3. Prepare the Cracked Area
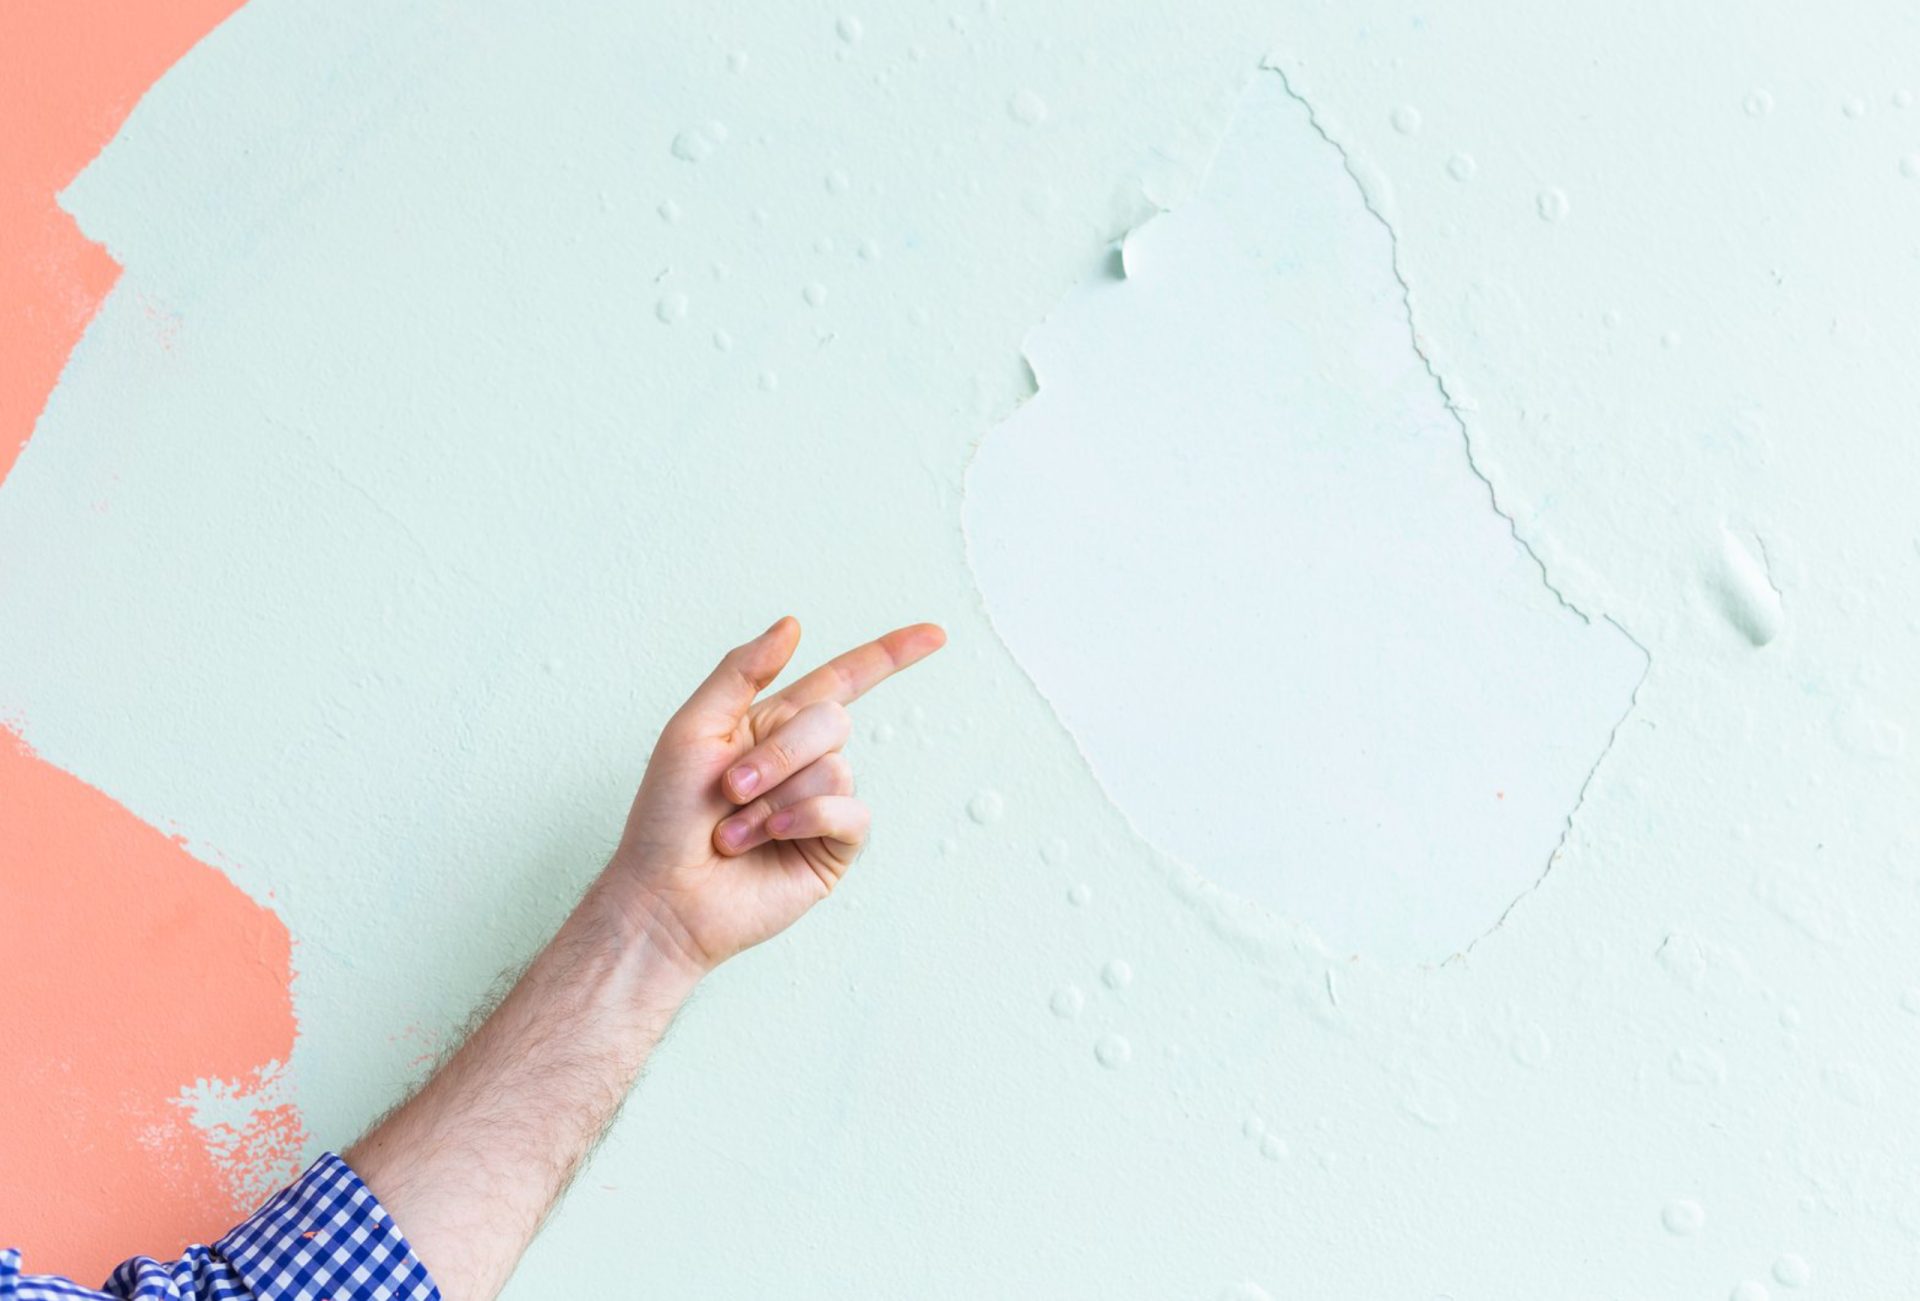
- Remove loose debris, peeling paint, and dust around the crack.
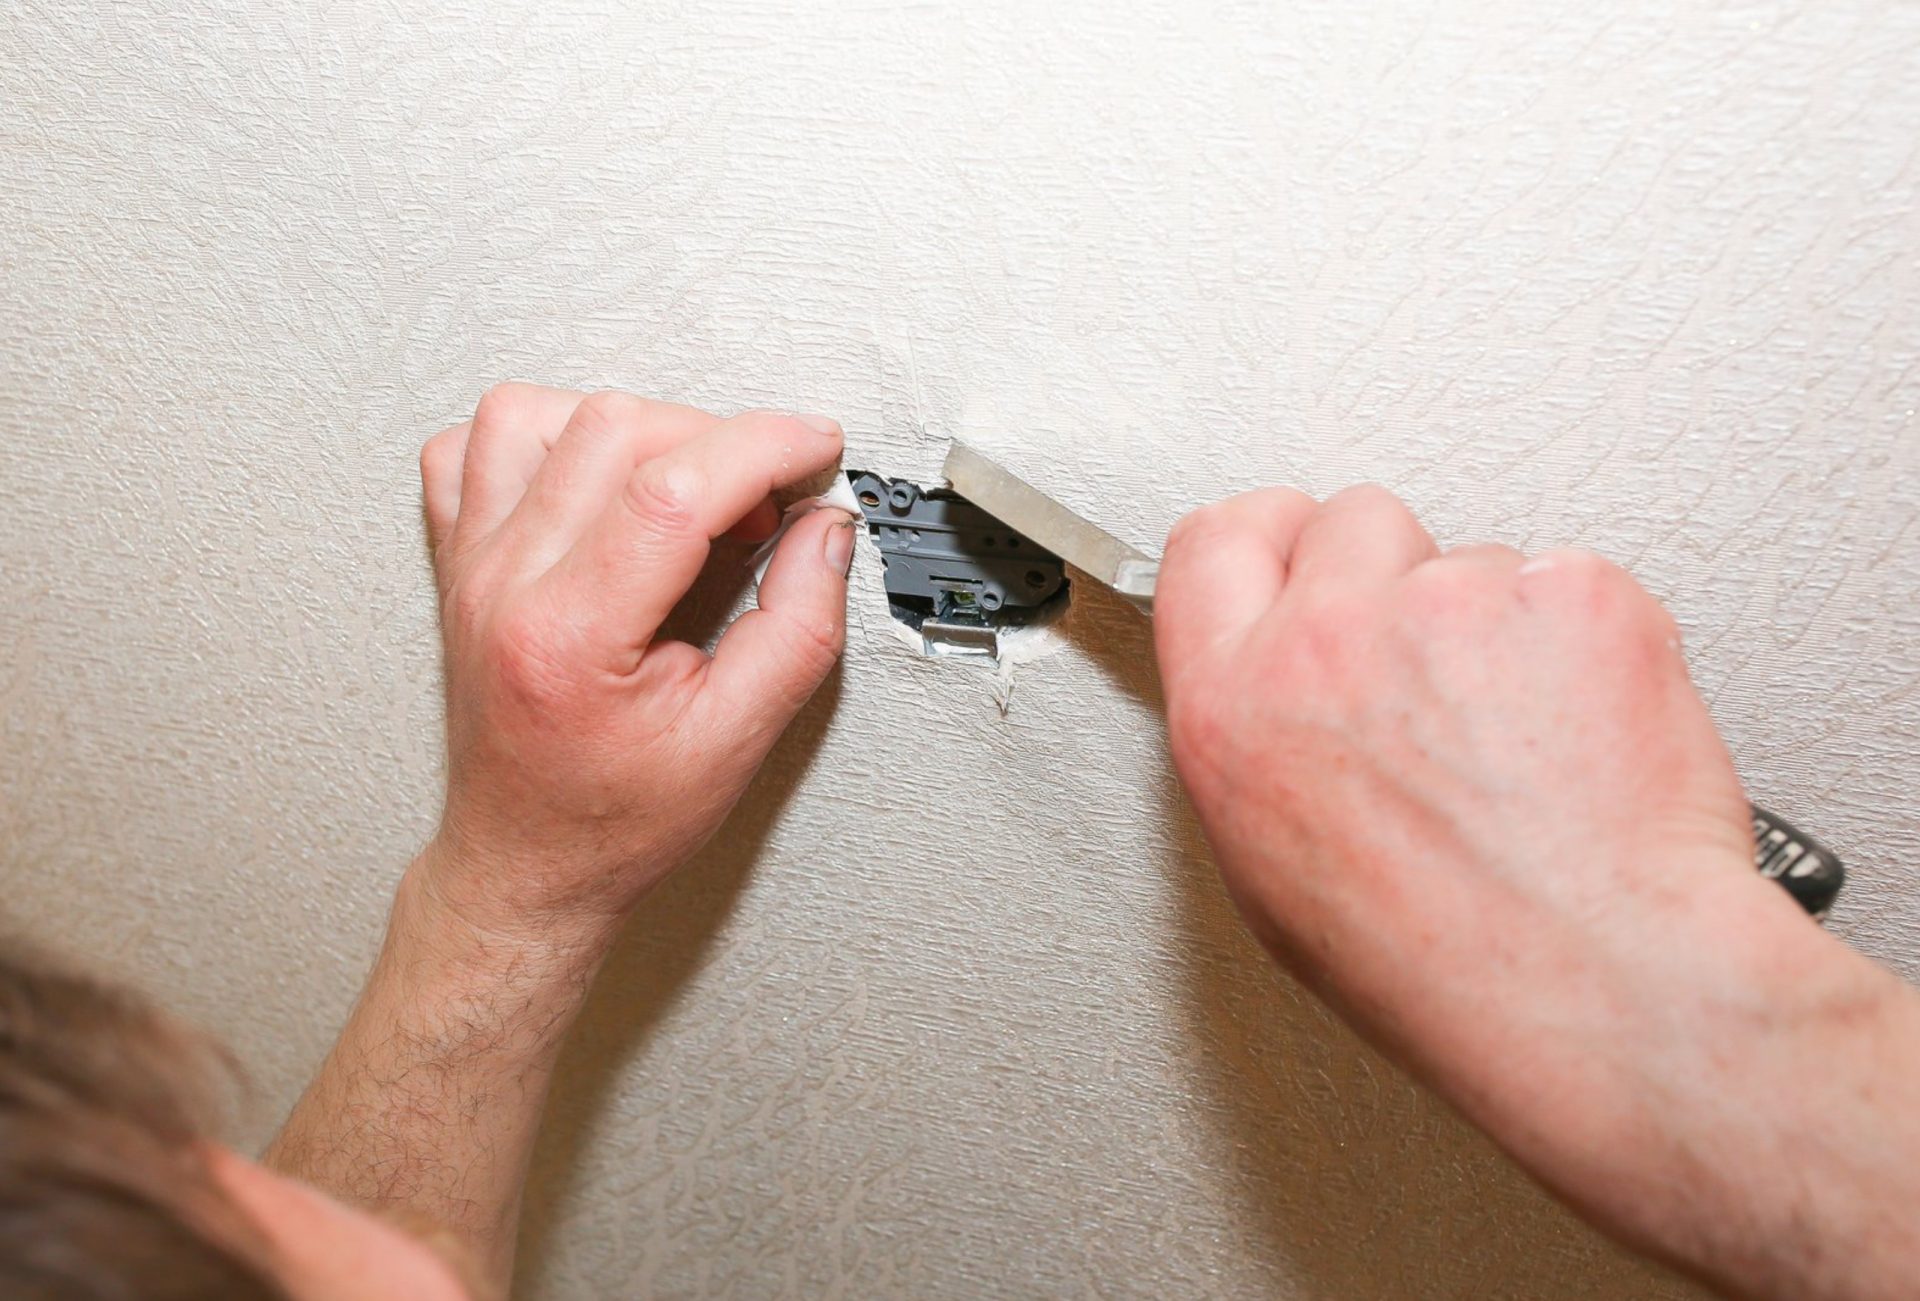
- Widen hairline cracks slightly with a utility knife to create a clean groove for compound adhesion.
- Clean the groove with a damp cloth to remove dust.
Pro Tip: A clean, well-prepared surface ensures that repair materials bond properly.
4. Repair Small Cracks (Hairline Cracks)
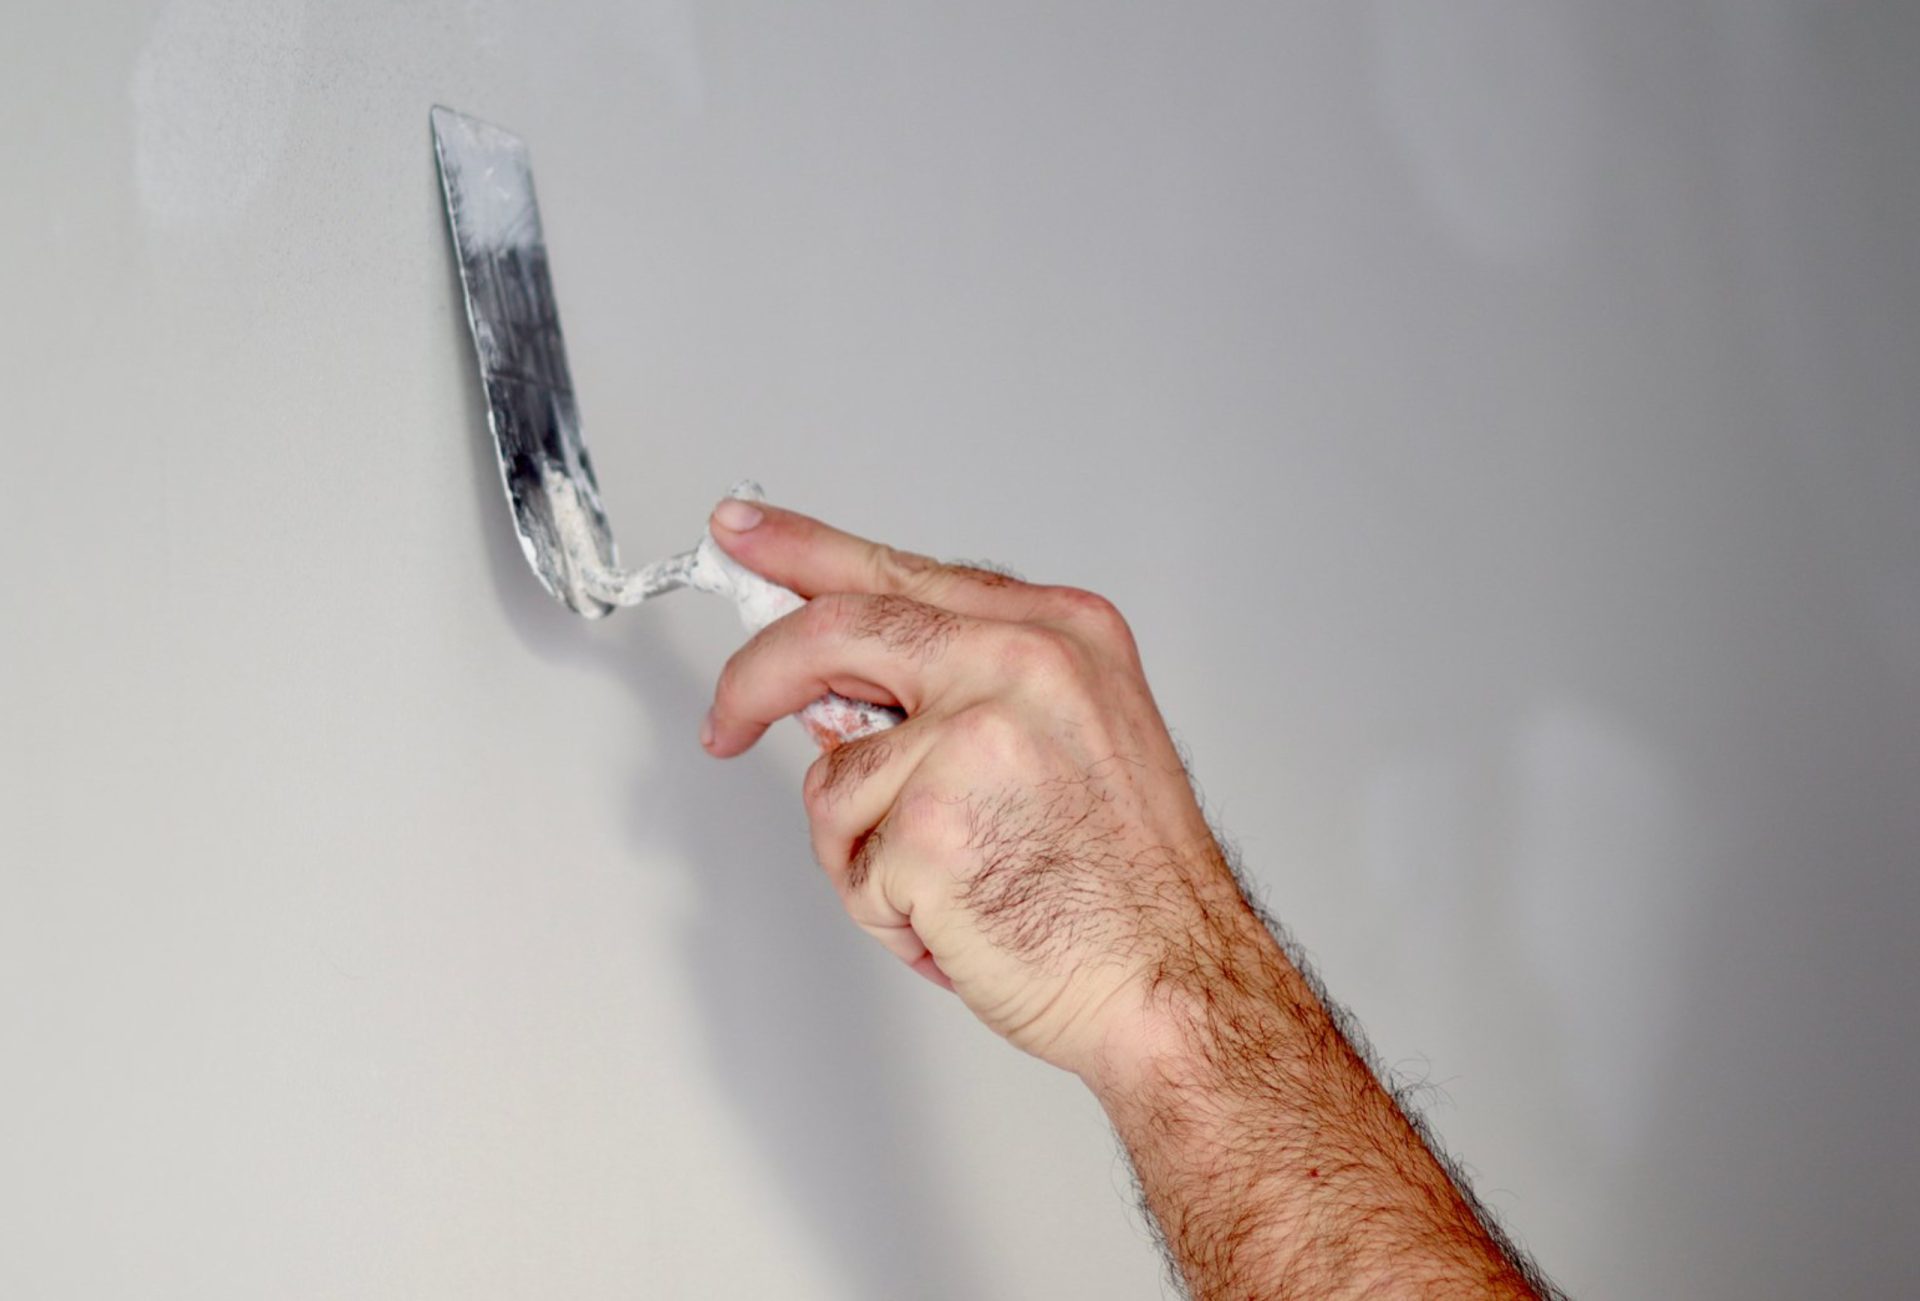
- Fill the crack with spackle or joint compound using a putty knife.
- Press material into the groove to ensure it fills completely.
- Smooth the surface and feather edges to blend with the surrounding wall.
- Allow to dry fully (2–4 hours), then sand lightly with fine-grit sandpaper.
Pro Tip: Apply a second thin coat if necessary to achieve a flush surface.
5. Repair Medium Cracks
- For cracks wider than 1/16 inch, embed fiberglass mesh tape over the crack to reinforce it.
- Apply a layer of joint compound over the tape and feather edges.
- Allow drying, then sand lightly and apply a second coat if needed.
Pro Tip: Mesh tape prevents the crack from reopening and strengthens the repair.
6. Repair Large Cracks or Structural Damage
- For deep or wide cracks, inspect for structural issues. Large cracks in walls may indicate foundation or framing problems.
- For cosmetic repair, remove damaged material and fill with patching plaster or joint compound.
- Reinforce with mesh tape and apply multiple coats as needed, sanding between coats.
- For exterior walls, consider using crack repair caulk or epoxy for durability against weather.
Pro Tip: Safety first: if cracks are due to structural movement, consult a professional before cosmetic repair.
7. Sanding and Smoothing
- Sand the repaired area with medium-grit sandpaper to level it.
- Finish with fine-grit sandpaper for a smooth, paint-ready surface.
- Remove all dust with a damp cloth before priming.
Pro Tip: Smooth sanding prevents the crack from showing through the paint finish.
8. Priming and Painting
- Apply primer over the repaired crack to seal the joint compound.
- Allow primer to dry completely.
- Paint with matching wall color, using thin, even coats.
- Blend edges carefully with surrounding wall to hide the repair.
Pro Tip: Multiple thin coats provide the most even and professional-looking finish.
9. Common Mistakes to Avoid
- Filling cracks without cleaning or prepping the surface.
- Applying too much compound at once, causing cracking.
- Skipping sanding or primer, resulting in visible repairs.
- Ignoring underlying structural issues that may worsen over time.
Pro Tip: Attention to detail ensures a long-lasting, flawless wall finish.
10. When to Call a Professional
- Large cracks suggesting foundation or structural issues.
- Repeated cracking after multiple repairs.
- Cracks on textured walls or exterior surfaces requiring specialized materials.
Pro Tip: Chicagoland Paint Pro offers expert crack repair services for both interior and exterior walls, ensuring durable, smooth, and paint-ready results.
Conclusion
Repairing wall cracks properly is essential for a flawless paint finish. From hairline fractures to larger fissures, following the right steps—cleaning, filling, sanding, priming, and painting—ensures walls look smooth and professional. For complex or recurring cracks, Chicagoland Paint Pro provides professional crack repair services to restore your walls to perfect condition.