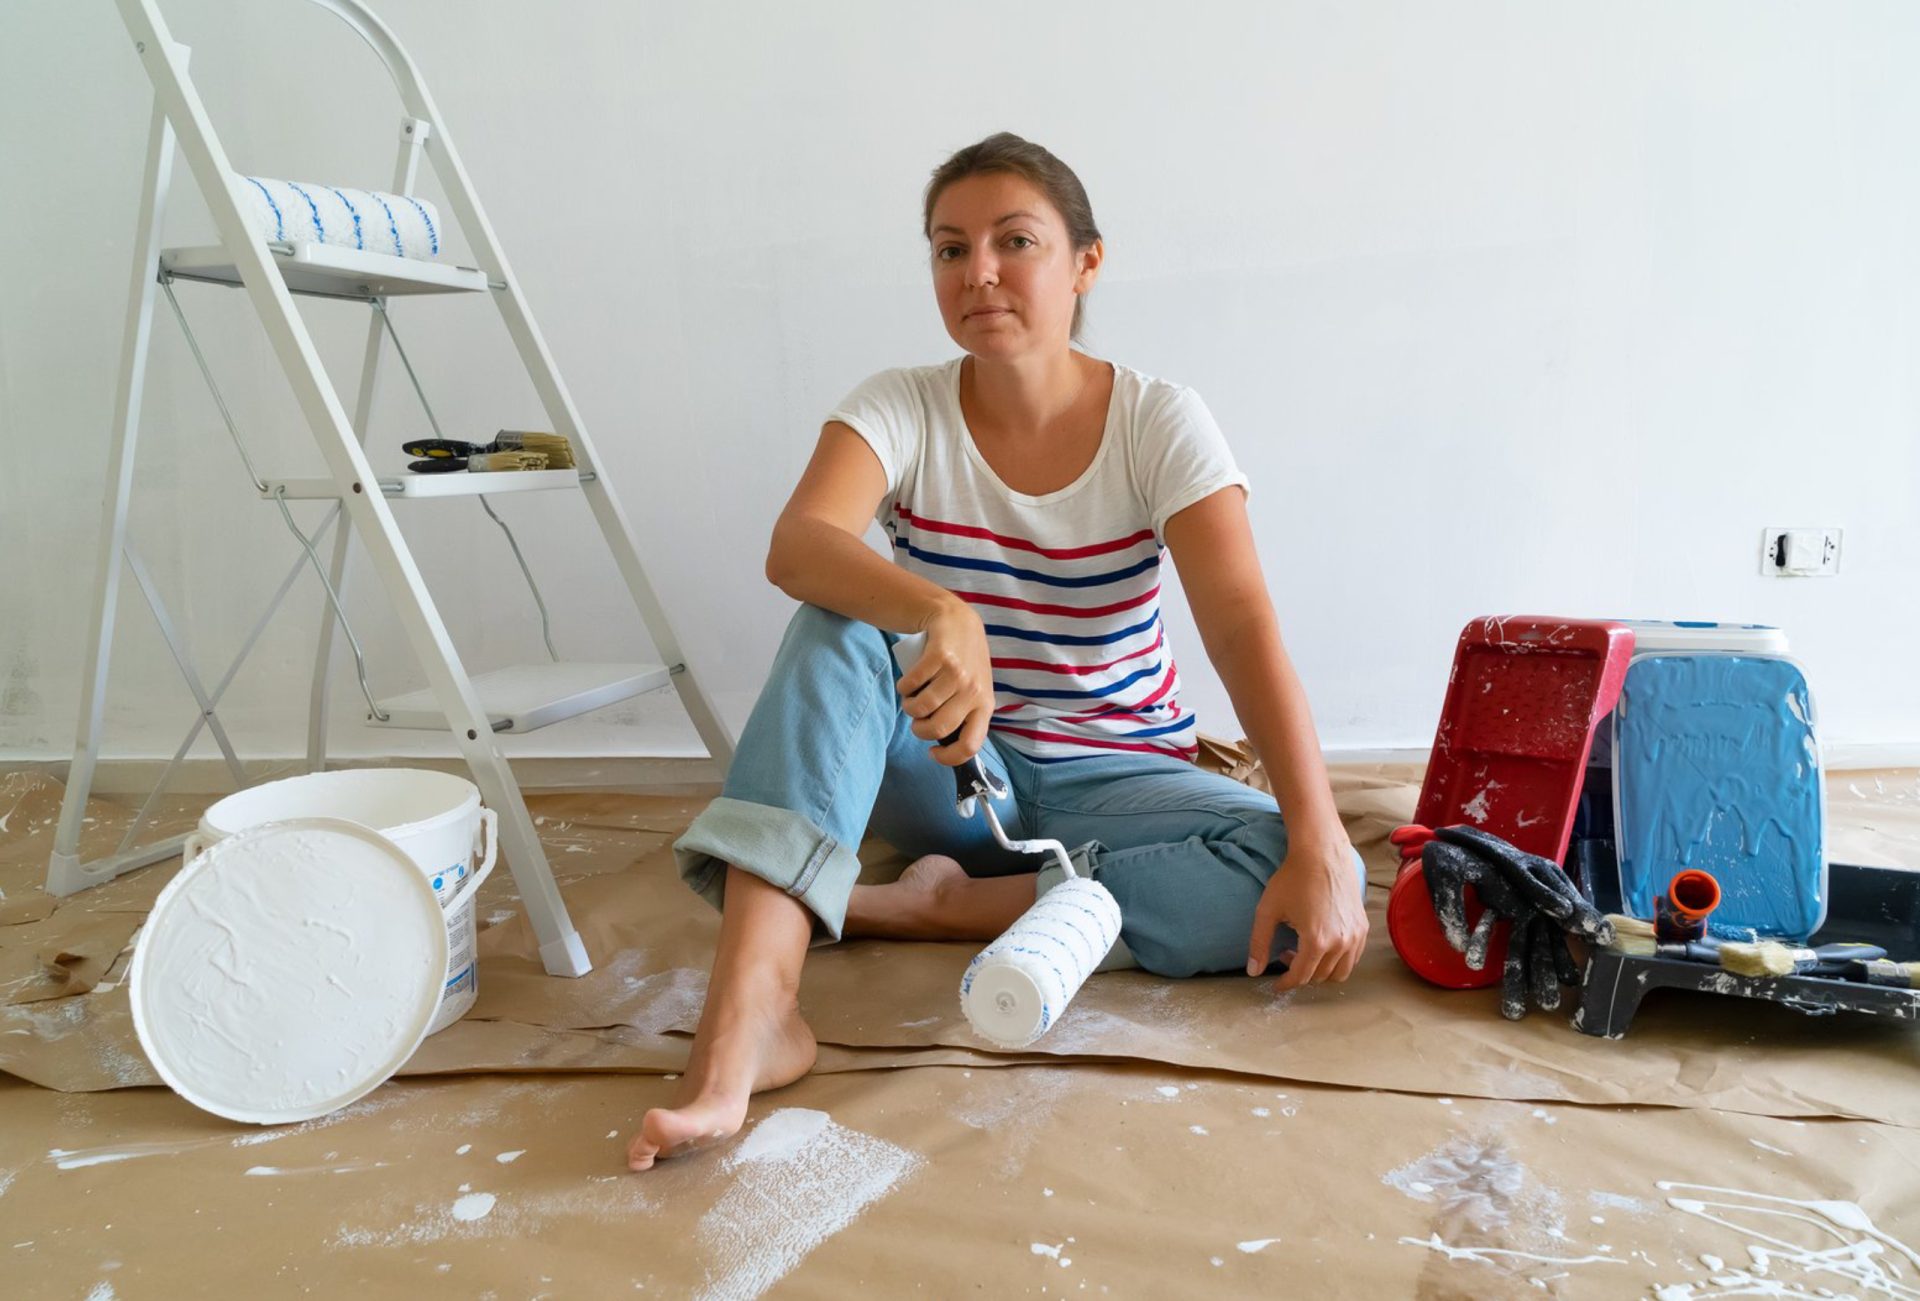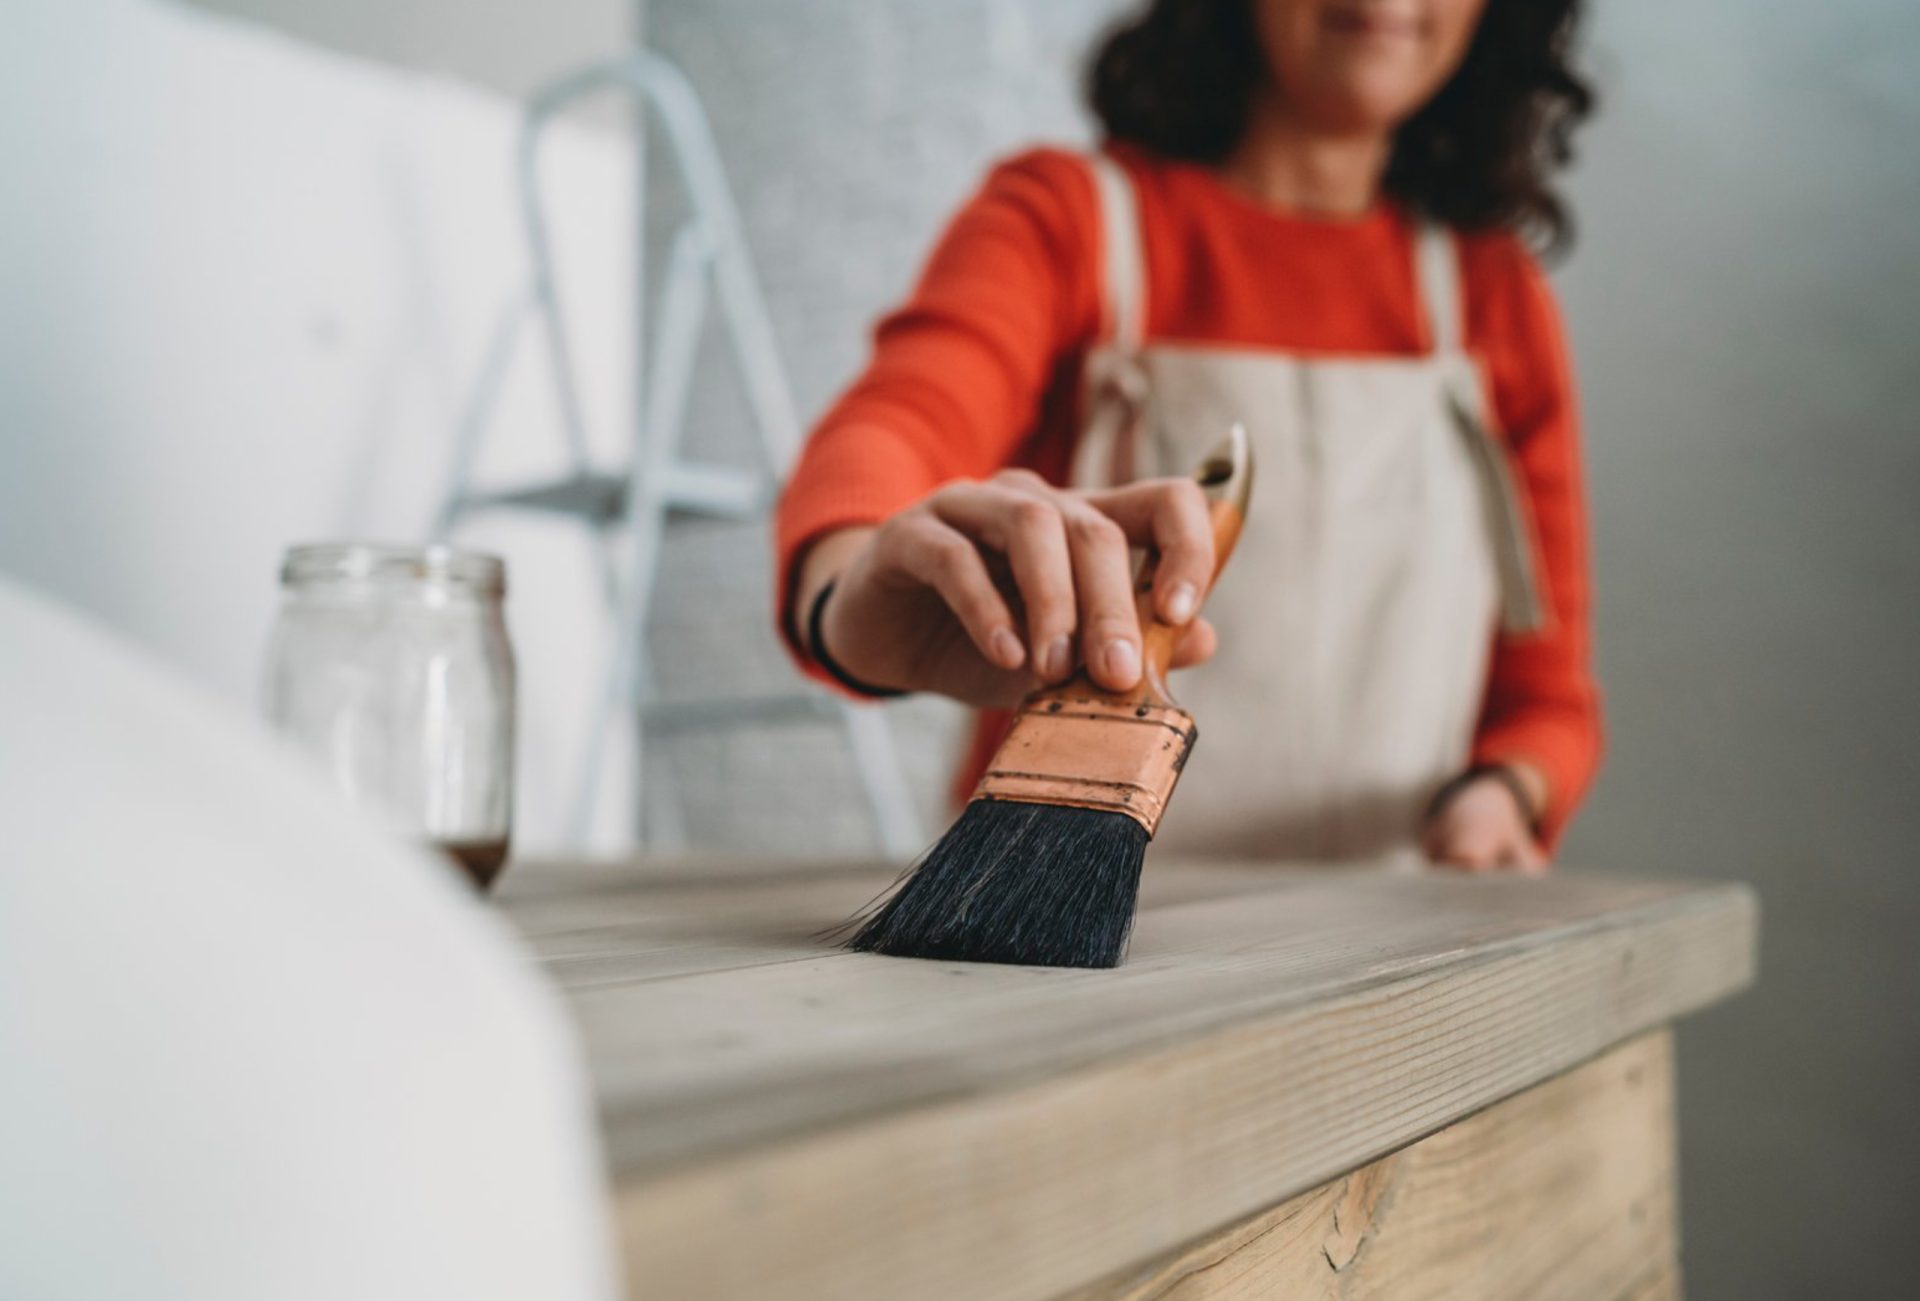

A professional-looking paint job doesn’t start with the brush—it begins with proper surface preparation. Whether you’re painting interior walls, ceilings, or exterior siding, careful prep ensures the paint adheres well, looks smooth, and lasts for years. Skipping these steps can lead to peeling, bubbling, uneven coverage, and wasted time and money.
1. Clean the Surface Thoroughly
Dust, dirt, grease, and mildew prevent paint from adhering properly.
Interior Surfaces:
- Wipe walls with a damp cloth or sponge to remove dust.
- Use mild soap and water for greasy areas, such as kitchens.
Exterior Surfaces:
- Pressure wash siding to remove dirt, mold, and mildew.
- Scrub stubborn stains with a soft brush and mild detergent.
Tip: Always let surfaces dry completely before applying paint or primer.
2. Repair Any Damage
Cracks, holes, and dents are highly visible once painted and can compromise paint adhesion.
Steps:
- Fill small cracks or holes with spackle or filler.
- Use putty knives to smooth the surface.
- For larger repairs, consider patching drywall or replacing damaged wood.
Tip: Sand repairs smooth after drying for a seamless finish.
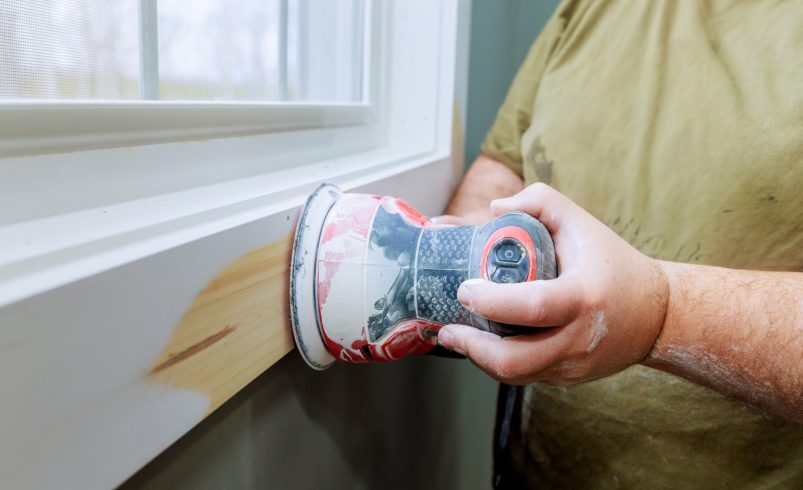
3. Sand Surfaces for Smoothness
Sanding is essential for both old and new surfaces. It helps paint stick and creates an even, professional look.
How to Sand Properly:
- Use fine-grit sandpaper for finished surfaces.
- For rough or peeling paint, start with medium-grit sandpaper and finish with fine-grit.
- Sand in circular motions to avoid visible scratches.
Tip: Wipe down dust with a tack cloth or damp rag after sanding.
4. Remove Loose or Peeling Paint
Old, flaking paint can ruin a new coat.
Steps:
- Scrape loose paint with a putty knife or scraper.
- Sand edges to smooth transitions between old and bare areas.
- Prime bare patches before painting.
Tip: Exterior surfaces may require a wire brush or power sander for stubborn peeling paint.
5. Prime the Surface
Primer is essential for adhesion, coverage, and a uniform finish. It’s especially important when:
- Painting over bare wood or metal.
- Covering stains or dark colors.
- Painting surfaces that were previously glossy.
Tips for Priming:
- Choose a primer compatible with your topcoat paint.
- Apply a thin, even coat and allow it to dry completely.
- Sand lightly after priming if the surface feels rough.
6. Protect Surrounding Areas
Preparation isn’t just about the painted surface—it also involves protecting floors, furniture, and trim.
How to Protect:
- Use painter’s tape along edges for clean lines.
- Cover furniture and floors with drop cloths or plastic sheeting.
- Remove or mask hardware, fixtures, and vents before painting.
Tip: Take your time during masking to prevent accidental spills and smudges.
7. Test and Plan Your Paint Job
Even with a perfectly prepped surface, poor planning can lead to mistakes.
Steps:
- Apply a test patch to check adhesion and color.
- Plan the painting sequence to minimize interruptions and ensure a wet edge.
- Gather all tools and paint materials before starting.
Tip: Mark any areas that may need extra attention, such as textured walls or patched spots.
8. Specialty Prep for Exterior Surfaces
Exterior surfaces often need extra attention due to weather exposure:
- Caulk gaps around windows, doors, and trim to prevent water damage.
- Remove mildew with a bleach-water solution (1:3 ratio) before painting.
- Ensure siding or wood is dry after cleaning, especially after rain.
Tip: Avoid painting on wet surfaces; moisture can cause bubbling and peeling.
Conclusion
Proper surface preparation is the key to achieving a smooth, long-lasting paint finish. Cleaning, sanding, repairing, priming, and protecting surfaces ensures paint adheres well and maintains a professional look. Taking the time to prep correctly reduces frustration, saves money on touch-ups, and extends the life of your paint job. Whether you’re painting a single room or your entire home exterior, the results will be far more satisfying when the prep work is done right.