
Achieving a professional-looking paint job isn’t just about picking the right color—it’s about how you apply it. Proper paint application techniques ensure smooth coverage, minimize mistakes, and increase the longevity of your paint. Whether you’re tackling interior walls, trim, or exterior siding, these expert tips will help you paint like a pro.
1. Use the Right Tools for the Job
Choosing the correct tools is crucial for smooth and even application:
- Brushes: Ideal for trim, edges, and small details. Choose high-quality synthetic brushes for latex paint and natural bristle brushes for oil-based paint.
- Rollers: Perfect for large, flat surfaces such as walls and ceilings. Use the correct nap thickness based on wall texture—short nap for smooth surfaces, longer nap for textured walls.
- Paint Sprayers: Excellent for large exterior surfaces or projects with intricate details. Sprayers provide fast coverage but require masking and careful technique.
Pro Tip: Invest in quality tools—they reduce streaks, brush marks, and uneven coverage.
2. Master the “Cutting In” Technique
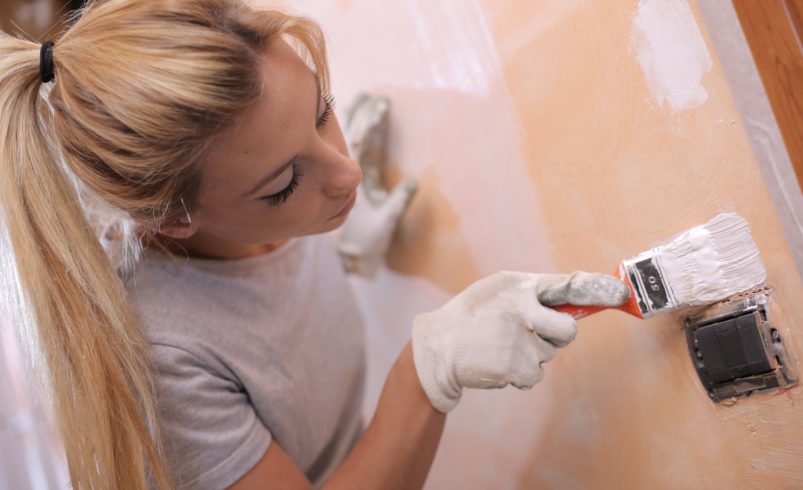
Cutting in is painting the edges of walls, ceilings, and trim before rolling large areas.
Steps:
- Load a brush lightly and remove excess paint.
- Paint a 2–3 inch line along edges with steady, even strokes.
- Blend the cut-in edges into areas you will roll to avoid lap marks.
Pro Tip: Steady your hand by resting your wrist on the wall or trim for more control.
3. Apply Thin, Even Coats
Thick coats may seem faster but lead to drips, streaks, and longer drying times.
Technique:
- Apply two to three thin coats instead of one thick coat.
- Maintain a wet edge by working in small sections to prevent lap marks.
- Allow each coat to dry completely before applying the next.
Pro Tip: Use a paint conditioner or extender for latex paint to improve flow and reduce brush marks.
4. Roll Like a Pro
Rollers are efficient for large surfaces but require proper technique for smooth coverage:
- Use a “W” or “M” pattern when rolling large walls, then fill in the gaps with vertical strokes.
- Avoid pressing too hard—let the roller do the work.
- Reload the roller evenly to prevent thick or thin patches.
Pro Tip: Roll in one direction consistently to achieve uniform texture.
5. Work from Top to Bottom
Painting from ceiling to floor prevents drips from ruining your freshly painted areas.
Steps:
- Start with ceilings, then move to walls, and finish with trim and baseboards.
- Keep edges and cut-ins wet while rolling adjacent areas for seamless blending.
Pro Tip: For exterior projects, start at the highest point and work down, especially for siding or textured surfaces.
6. Blend Coats Properly
To avoid noticeable transitions, blend each coat carefully:
- Feather the edges of paint by lightly brushing or rolling over them before it dries.
- Overlap slightly with the previous coat to create a seamless finish.
- Watch for streaks or roller marks and smooth them while paint is still wet.
Pro Tip: Avoid overworking wet paint—it can cause lap marks and uneven sheen.
7. Maintain Clean Tools
Clean brushes, rollers, and sprayers regularly to prevent dried paint from affecting the finish.
Steps:
- Rinse brushes and rollers with water for latex or mineral spirits for oil-based paints.
- Remove excess paint before storing tools.
- For sprayers, follow manufacturer instructions for cleaning to maintain consistent spray patterns.
Pro Tip: Store brushes in water for short breaks during painting to keep bristles soft.
8. Mind the Temperature and Humidity
Environmental conditions can affect paint application and drying:
- Avoid painting in extreme heat or humidity; paint may dry too quickly or not adhere properly.
- Work in well-ventilated spaces indoors to allow proper drying.
Pro Tip: Use a fan indoors or wait for optimal weather outdoors for smooth, even coats.
Conclusion
Professional paint application is more about technique than talent. Using the right tools, mastering cutting-in, applying thin coats, rolling effectively, blending properly, and maintaining clean tools all contribute to a flawless finish. By following these pro tips, even DIY painters can achieve results that look polished, last longer, and enhance the beauty of both interior and exterior spaces.