
Choosing the right painting tool can make the difference between a professional-looking finish and a frustrating DIY project. Each method—roller, brush, or sprayer—has its advantages, ideal applications, and specific techniques. Understanding when to use each ensures smooth coverage, reduces mistakes, and saves time.
1. Paint Brushes
Best For:
- Trim, moldings, and edges
- Small, detailed areas
- Interior walls near corners and ceilings
Advantages:
- Precision for edges and intricate details
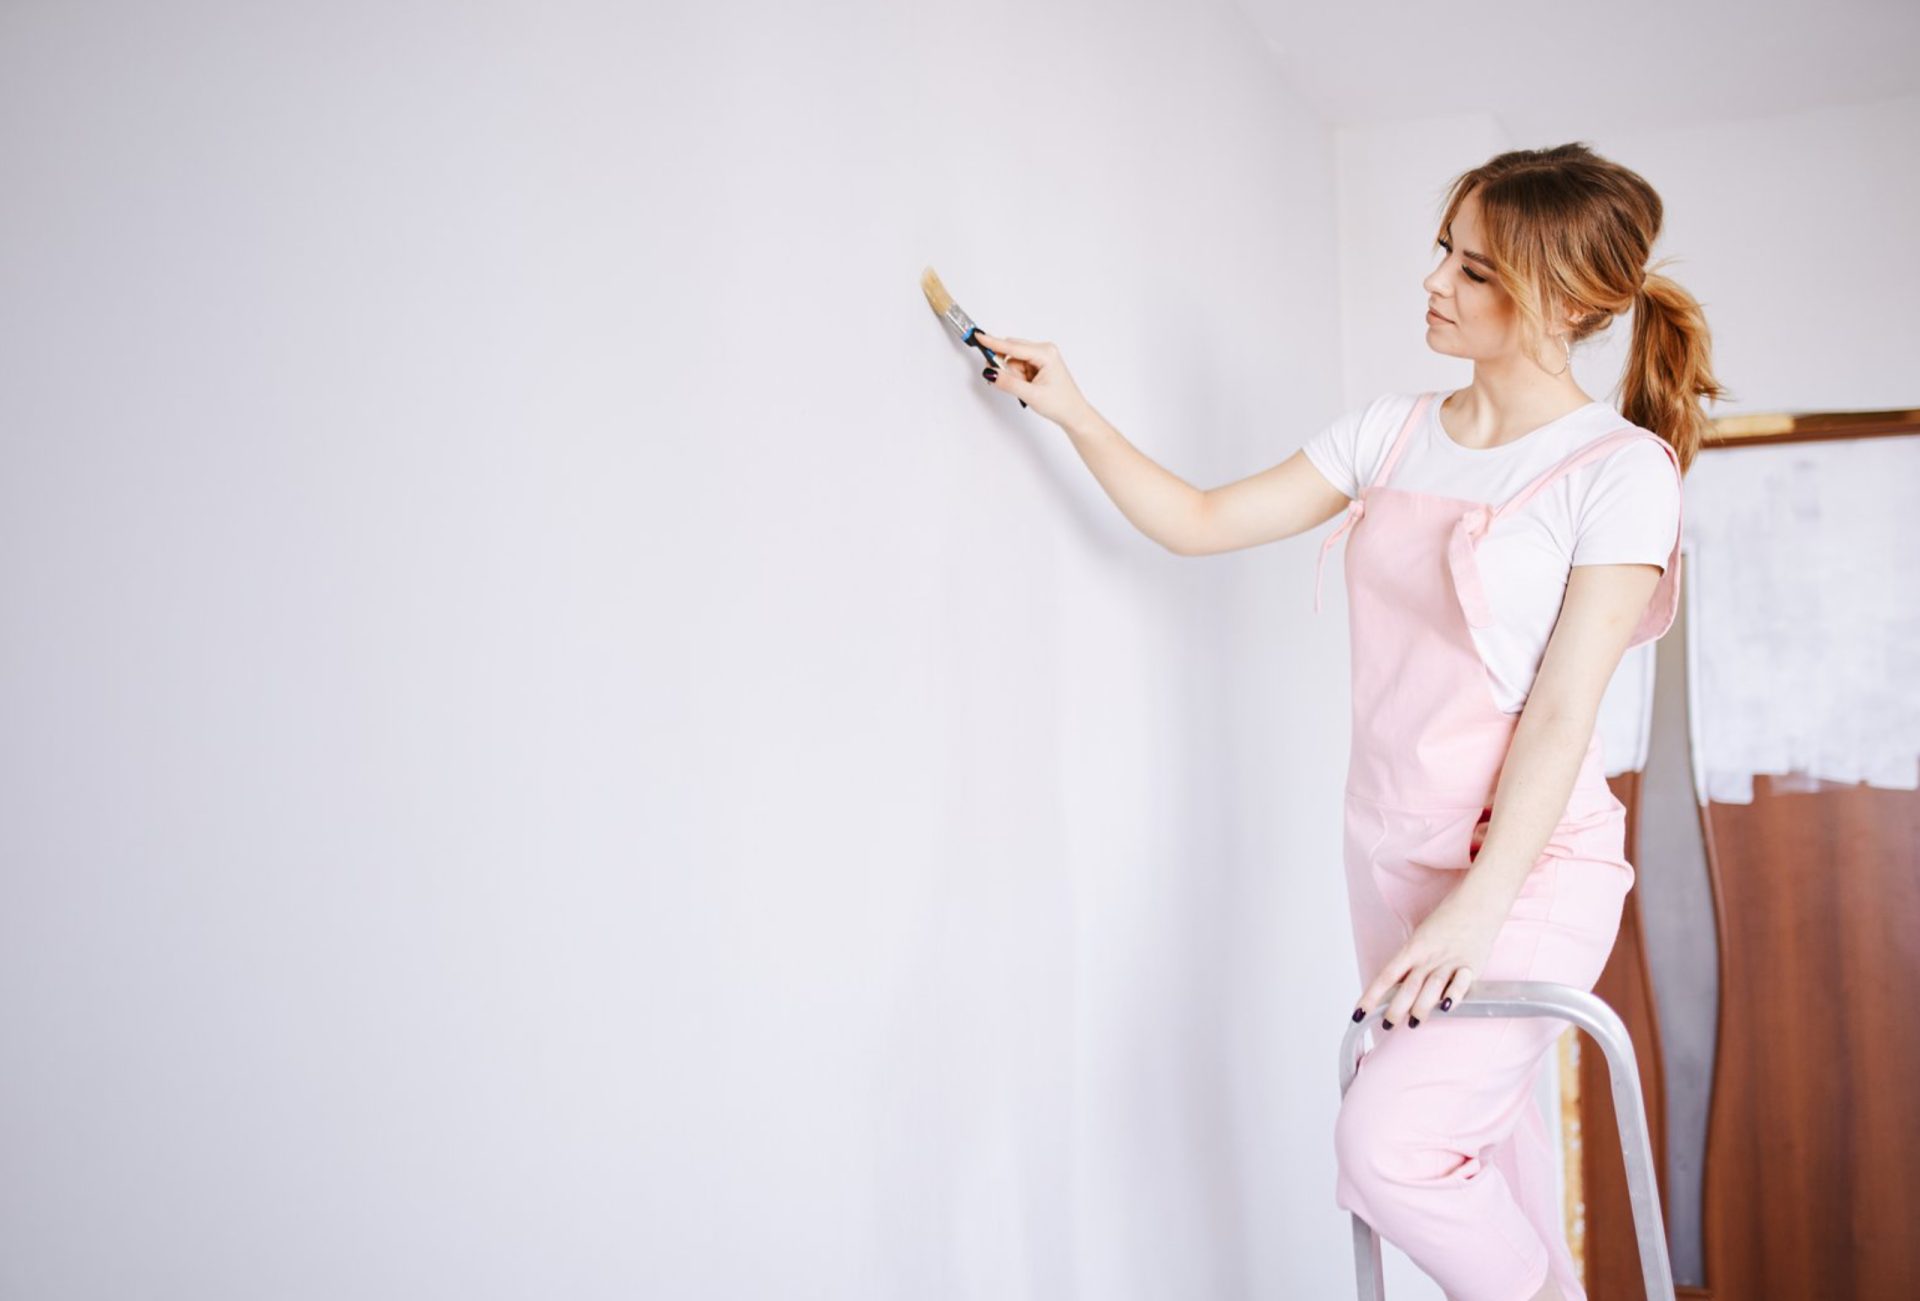
- Ideal for cutting-in where walls meet ceilings, doors, and windows
- Works well on textured surfaces
Tips for Brush Painting:
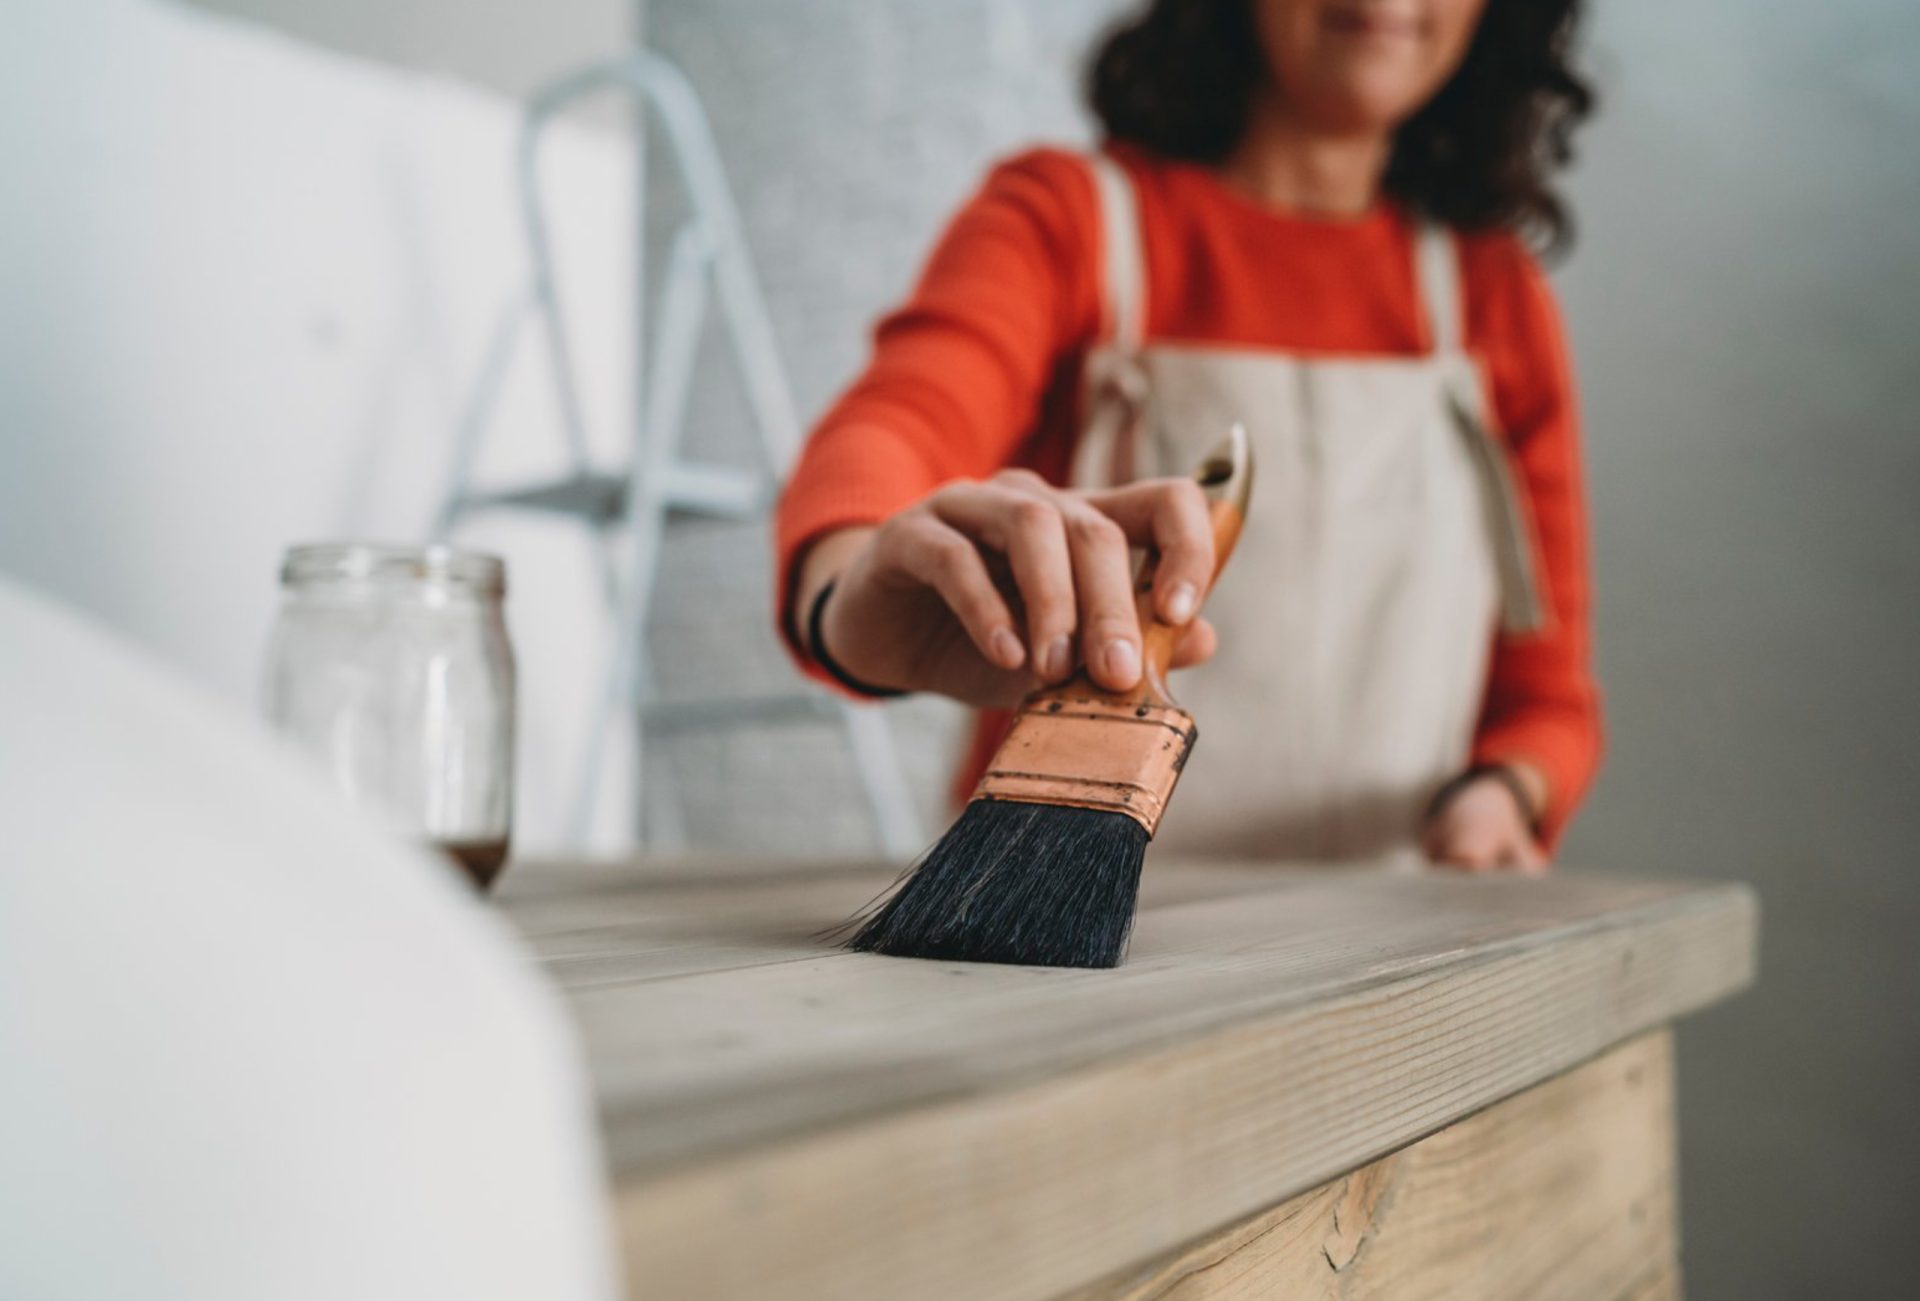
- Use high-quality brushes appropriate for the paint type: synthetic bristles for latex, natural bristles for oil-based paint.
- Load the brush lightly to avoid drips.
- Apply paint in long, even strokes and feather edges for smooth blending.
Pro Tip: Keep the brush angled slightly and use the tip for fine detail work.
2. Paint Rollers
Best For:
- Large, flat surfaces like walls and ceilings
- Exterior siding and fences
- Smooth to semi-textured surfaces
Advantages:
- Covers large areas quickly
- Produces uniform texture with consistent coverage
- Reduces brush marks
Tips for Roller Painting:
- Select the right nap thickness: short nap for smooth surfaces, medium or long nap for textured surfaces.
- Roll in a “W” or “M” pattern, then fill in the gaps for even coverage.
- Avoid pressing too hard—let the roller apply the paint evenly.
Pro Tip: Keep a wet edge to prevent lap marks, blending each section into the next while paint is still wet.
3. Paint Sprayers
Best For:
- Large exterior surfaces, decks, or fences
- Furniture or cabinetry
- Projects with intricate details or hard-to-reach areas
Advantages:
- Fast coverage over large areas
- Smooth, even finish without brush or roller marks
- Ideal for textured surfaces that rollers may not reach
Tips for Sprayer Painting:
- Mask and cover surrounding areas to prevent overspray.
- Maintain a consistent distance from the surface for uniform coverage.
- Move the sprayer in smooth, overlapping strokes.
- Thin paint if necessary according to manufacturer instructions for proper flow.
Pro Tip: Practice on a scrap board to get a feel for the sprayer and avoid drips or uneven coverage.
4. Combining Tools for Best Results
Many professional painters use a combination of tools to achieve a flawless finish:
- Brush for detail work: Trim, corners, and cutting-in edges
- Roller for walls and ceilings: Large, flat surfaces
- Sprayer for large or textured areas: Decks, fences, or furniture
Pro Tip: Start with the brush or sprayer for edges and detailed areas, then roll large sections to save time and achieve uniform coverage.
5. Maintenance and Cleaning
Proper care of brushes, rollers, and sprayers extends their life and ensures consistent results:
- Clean brushes and rollers immediately after use—water for latex, mineral spirits for oil-based paints.
- Disassemble and clean sprayers according to the manufacturer’s instructions to prevent clogs.
- Store brushes upright or wrapped in plastic for short breaks to keep bristles soft.
Conclusion
Knowing when to use a brush, roller, or sprayer is essential for a professional-looking paint job. Brushes excel at precision, rollers cover large areas efficiently, and sprayers deliver fast, smooth results over tricky surfaces. Using the right tool for the right application reduces errors, saves time, and ensures your interior or exterior painting project looks polished and lasts longer. For best results, combine tools strategically and maintain them properly to achieve flawless finishes every time.