
A durable, professional-looking paint finish starts with proper sanding and priming. Whether you’re painting interior walls, trim, or exterior surfaces, these steps are essential for creating a smooth base, improving adhesion, and ensuring your paint lasts longer. This guide provides expert tips to help you sand and prime like a pro.
1. Why Sanding Matters
- Removes Imperfections: Sanding smooths out bumps, ridges, and old paint flakes.
- Improves Adhesion: Paint sticks better to a lightly sanded surface than a glossy, unprepared one.
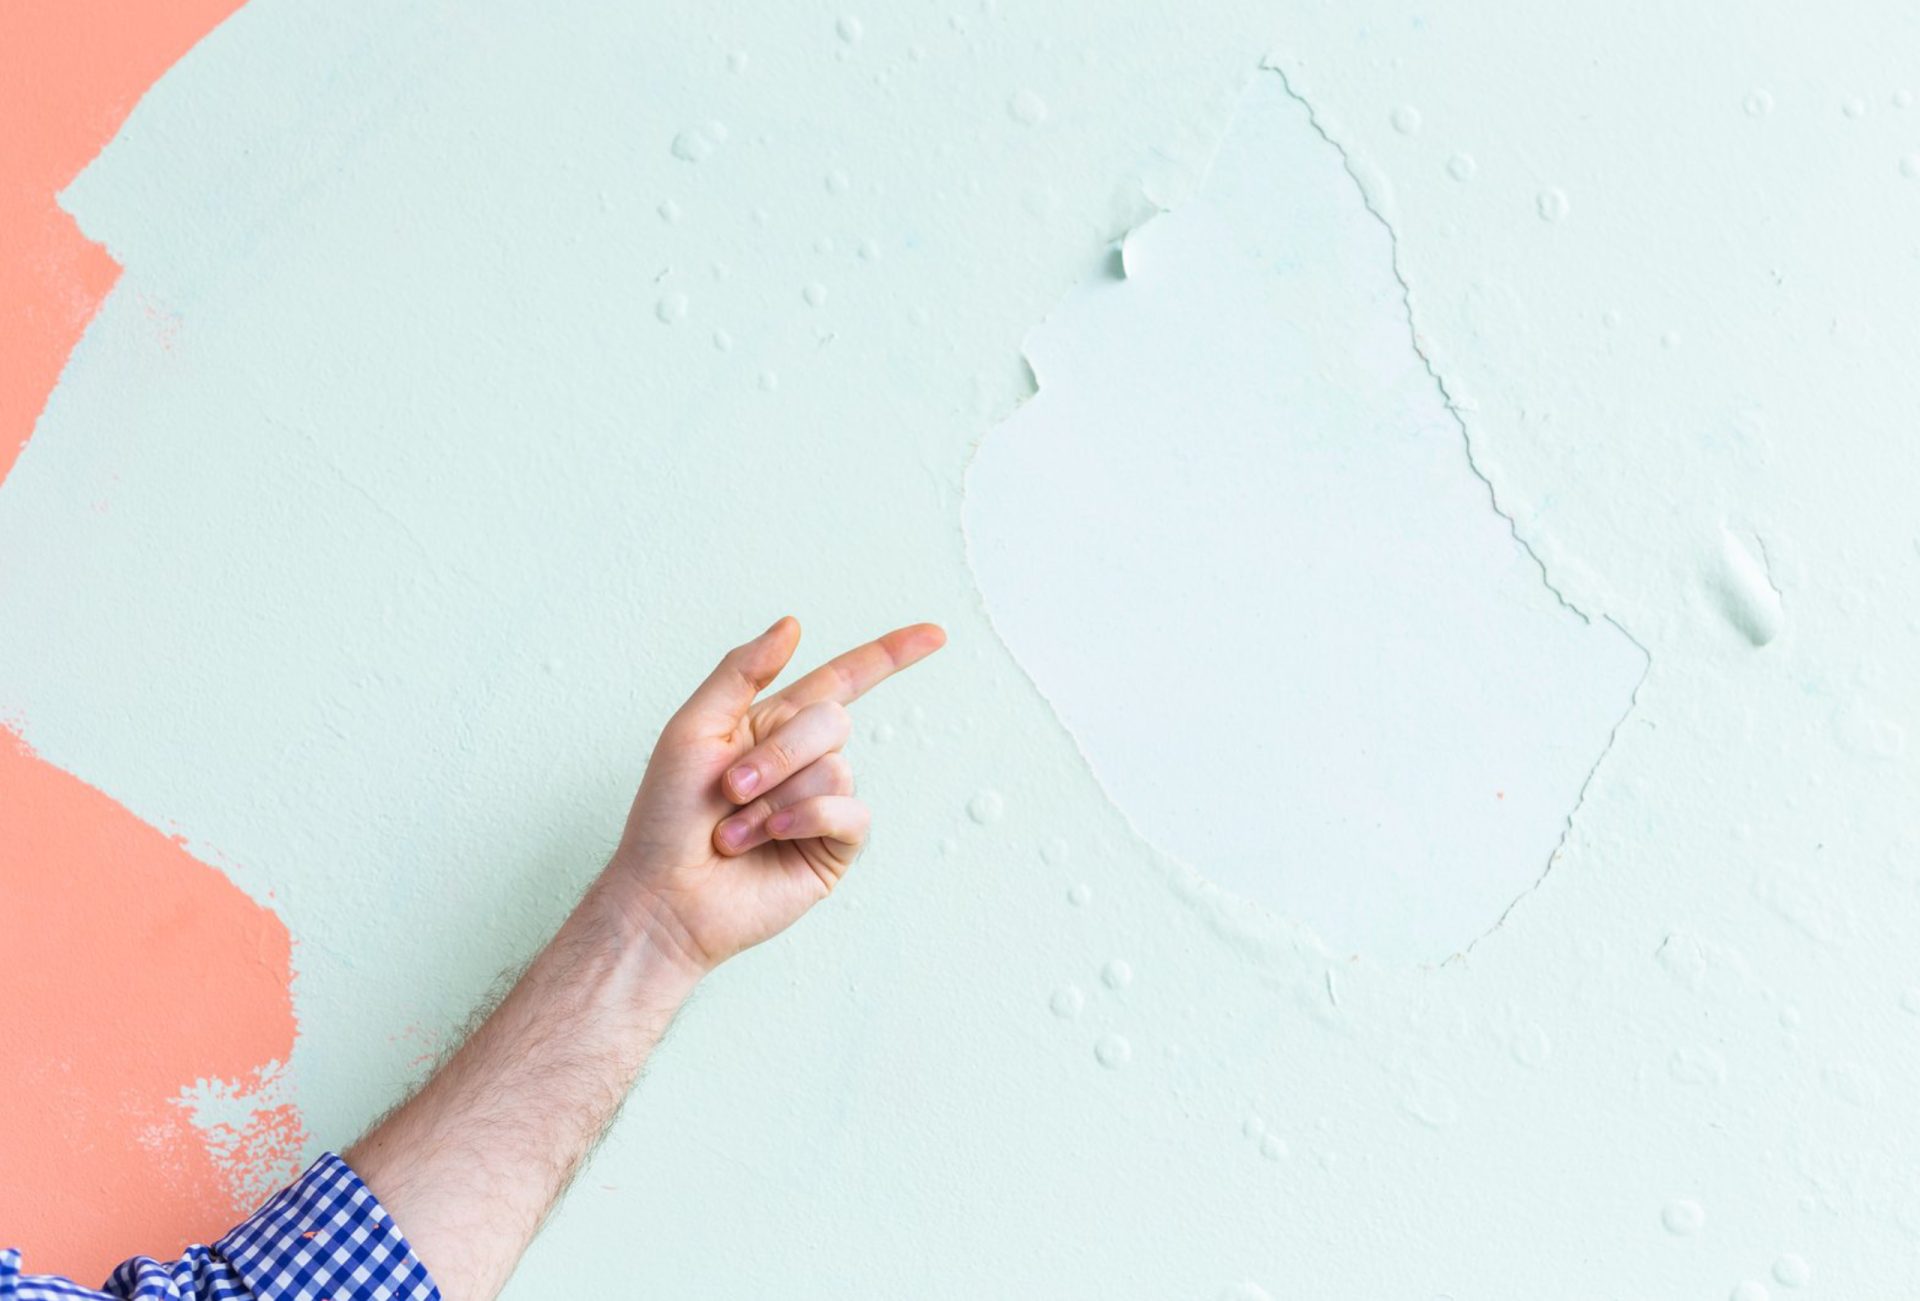
- Prevents Peeling: Proper sanding reduces the risk of peeling or flaking over time.
Pro Tip: Even newly installed drywall benefits from light sanding to remove seams or slight imperfections.
2. Tools and Materials You’ll Need
Tools:
- Sanding block or pole sander
- Fine- and medium-grit sandpaper (120–220 grit)
- Dust mask and safety goggles
Materials:
- High-quality primer (interior or exterior)
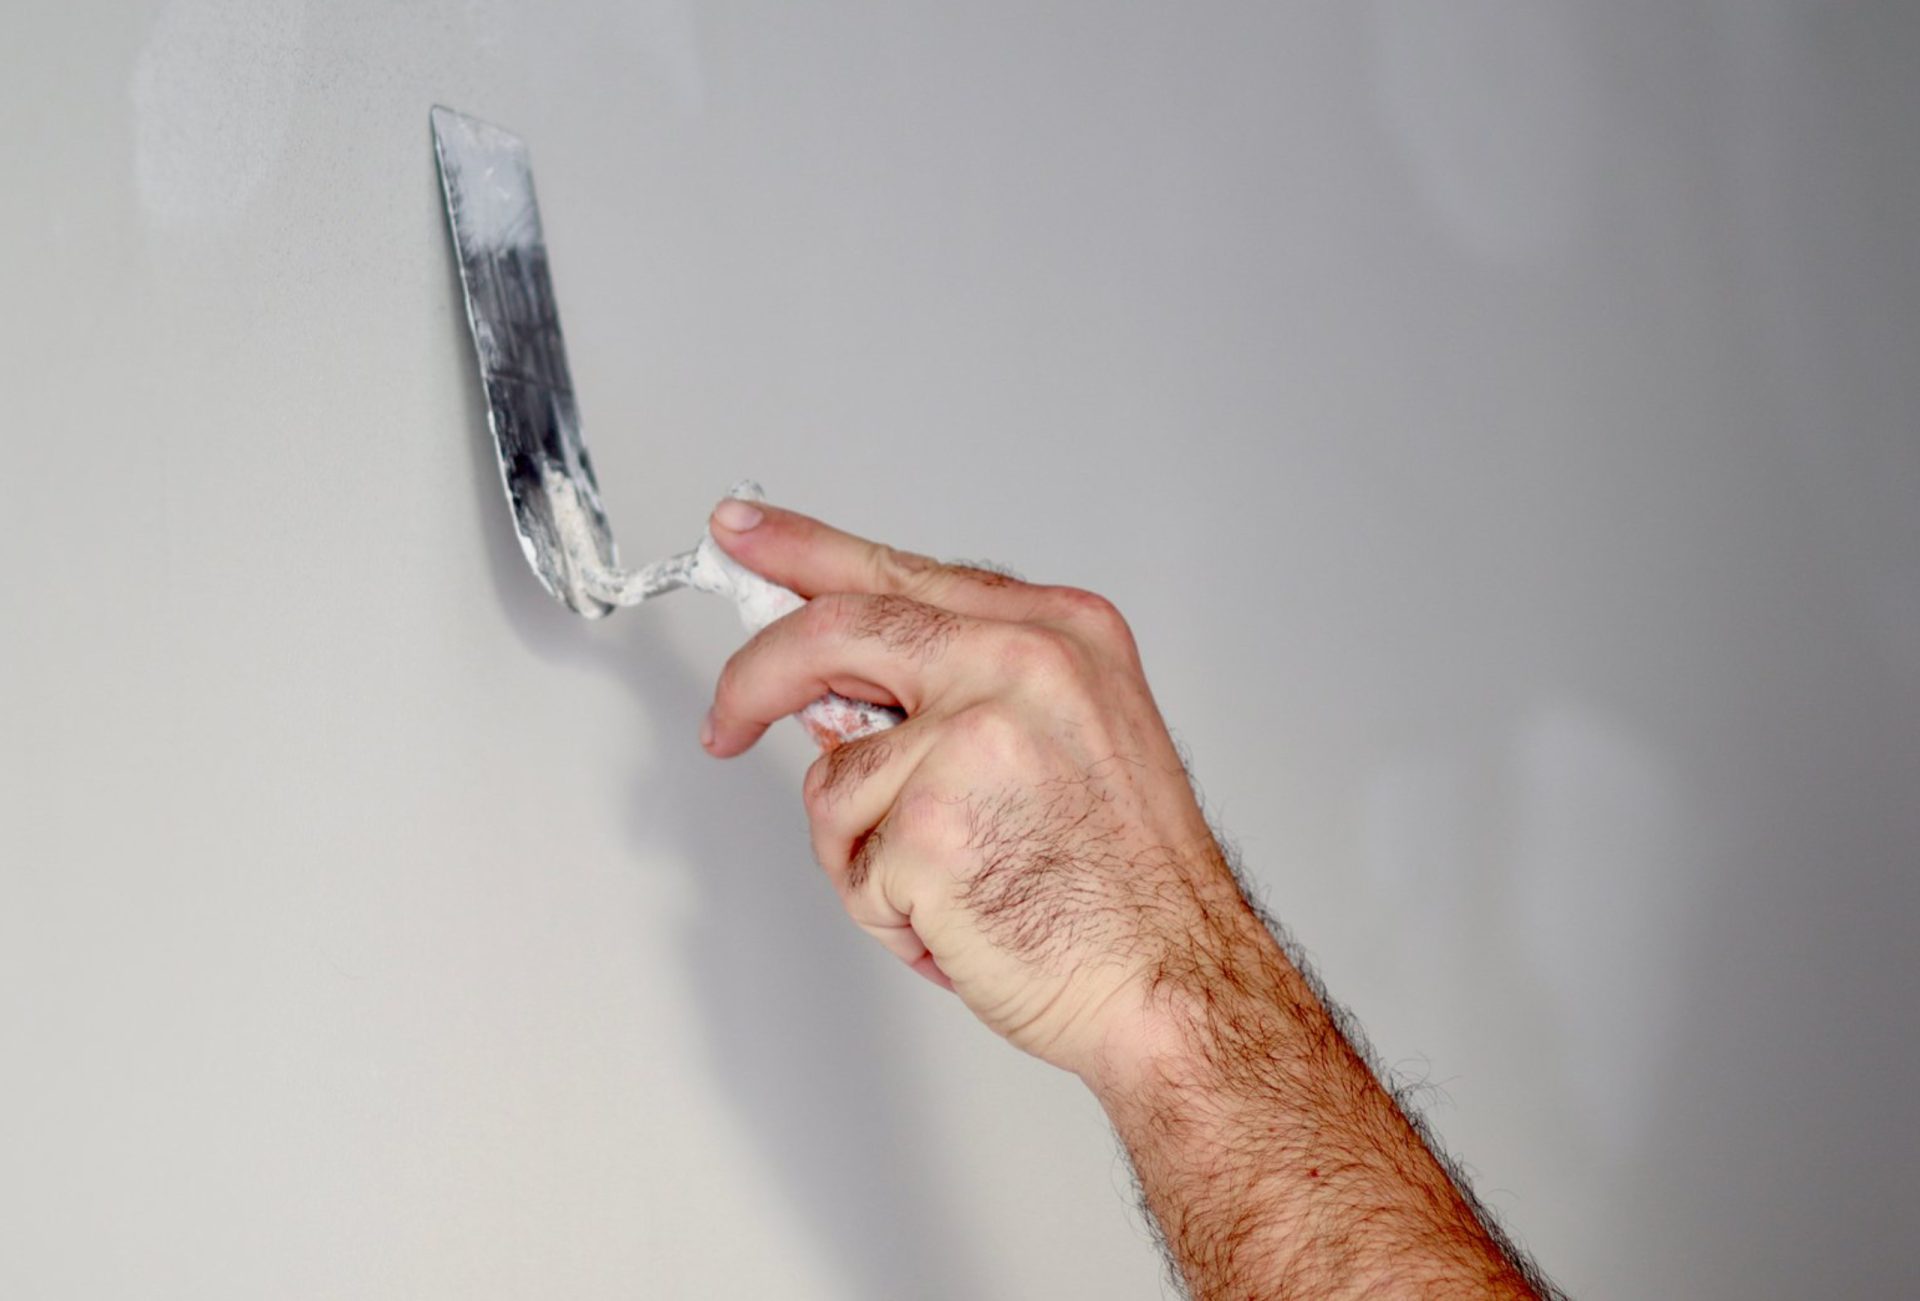
- Putty knife for patching holes or dents
- Clean cloth or vacuum for dust removal
Pro Tip: Using quality tools and materials ensures smooth results and reduces rework.
3. Preparing the Surface for Sanding
- Remove furniture or cover it with drop cloths.
- Tape off edges, trim, and fixtures.
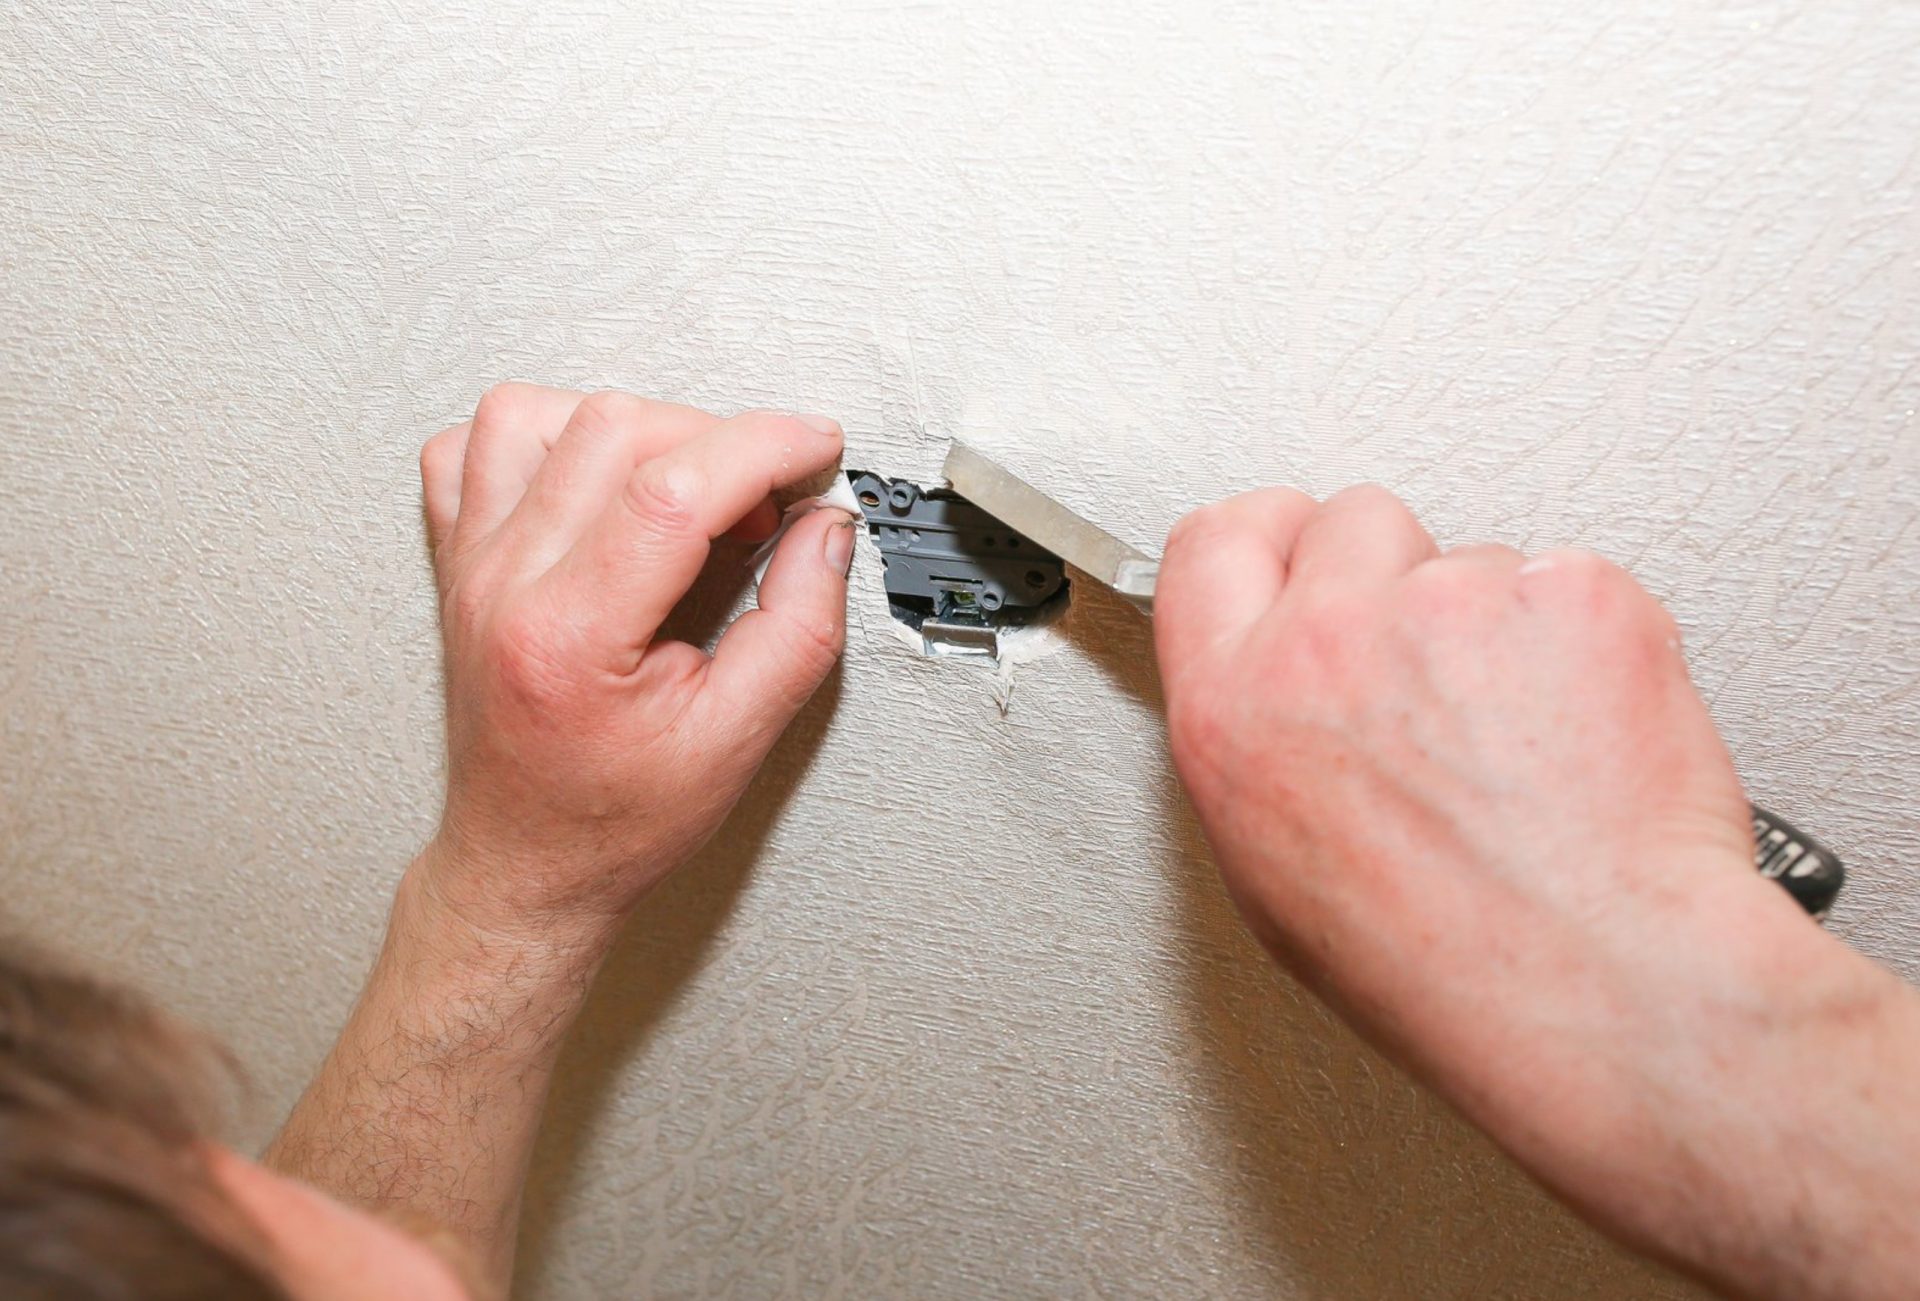
- Fill any holes, cracks, or dents with spackle or joint compound.
- Let repair patches dry fully before sanding.
Pro Tip: Preparing the wall ensures that sanding is effective and prevents damage to surrounding areas.
4. Sanding Techniques for Smooth Walls
- Use medium-grit sandpaper to smooth rough areas or previous paint ridges.
- Finish with fine-grit sandpaper for a polished, even surface.
- Sand in circular motions or along the wall’s grain to avoid visible scratches.
- Always sand patched areas to blend them with the surrounding wall.
Pro Tip: Light sanding is better than over-sanding; you want a smooth surface without creating grooves.
5. Cleaning After Sanding
- Remove dust using a vacuum, dry cloth, or damp sponge.
- Ensure the wall is completely clean and dry before applying primer.
Pro Tip: Dust left on the wall can interfere with primer adhesion and create a rough finish.
6. The Importance of Priming
- Primer seals porous surfaces and ensures even paint absorption.
- Blocks stains, water marks, and discoloration.
- Improves durability of the paint, especially for new drywall or repaired walls.
Pro Tip: Skipping primer may result in blotchy coverage and peeling paint, even with high-quality paint.
7. Choosing the Right Primer
- Interior Walls: Use a water-based or latex primer for general use.
- Exterior Walls: Choose weather-resistant, stain-blocking primers.
- Problem Areas: For areas with stains, smoke damage, or water marks, select a stain-blocking or bonding primer.
Pro Tip: Matching the primer type to the wall condition ensures optimal adhesion and finish.
8. How to Apply Primer Properly
- Stir primer thoroughly before use.
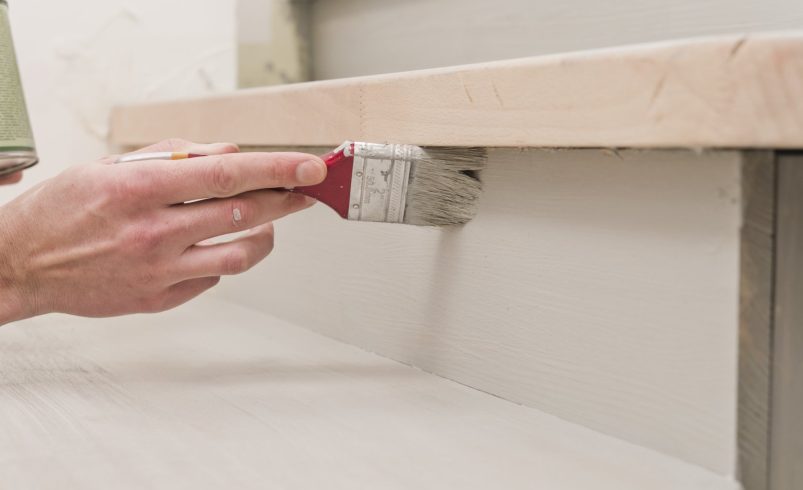
- Use a high-quality brush for corners and edges.
- Apply primer in even strokes with a roller for large surfaces.
- Feather edges to prevent thick lines or streaks.
- Allow primer to dry completely before painting.
Pro Tip: Applying primer correctly creates a smooth base and enhances the paint’s appearance.
9. Common Sanding & Priming Mistakes to Avoid
- Skipping sanding or primer: Leads to uneven finish and poor adhesion.
- Over-sanding: Can damage walls and create uneven surfaces.
- Uneven primer application: Causes streaks or patchy coverage.
- Ignoring wall cleanliness: Dust prevents proper adhesion of primer and paint.
Pro Tip: Following the right techniques ensures professional, long-lasting results.
10. Final Tips for Long-Lasting Paint
- Use proper protective gear when sanding to avoid inhaling dust.
- Allow sufficient drying time between sanding, priming, and painting.
- Inspect walls under bright light before painting to catch missed imperfections.
- Invest in high-quality brushes, rollers, and primer for best results.
Pro Tip: Attention to detail during sanding and priming prevents costly touch-ups later.
Conclusion
Sanding and priming are critical steps for achieving a flawless, durable paint finish. Proper surface preparation, careful sanding, and correct primer application ensure that your paint adheres well, looks smooth, and lasts for years. For professional-quality results, Chicagoland Paint Pro provides expert sanding and priming services to guarantee walls that are perfectly prepared for painting.