
Skim coating is a highly effective technique for creating smooth, paint-ready walls, but common mistakes can ruin the finish and lead to uneven surfaces, cracking, or visible imperfections. Whether you’re a DIY enthusiast or a homeowner prepping walls for professional painting, understanding these mistakes—and how to avoid them—ensures a flawless result.
1. Skipping Surface Preparation
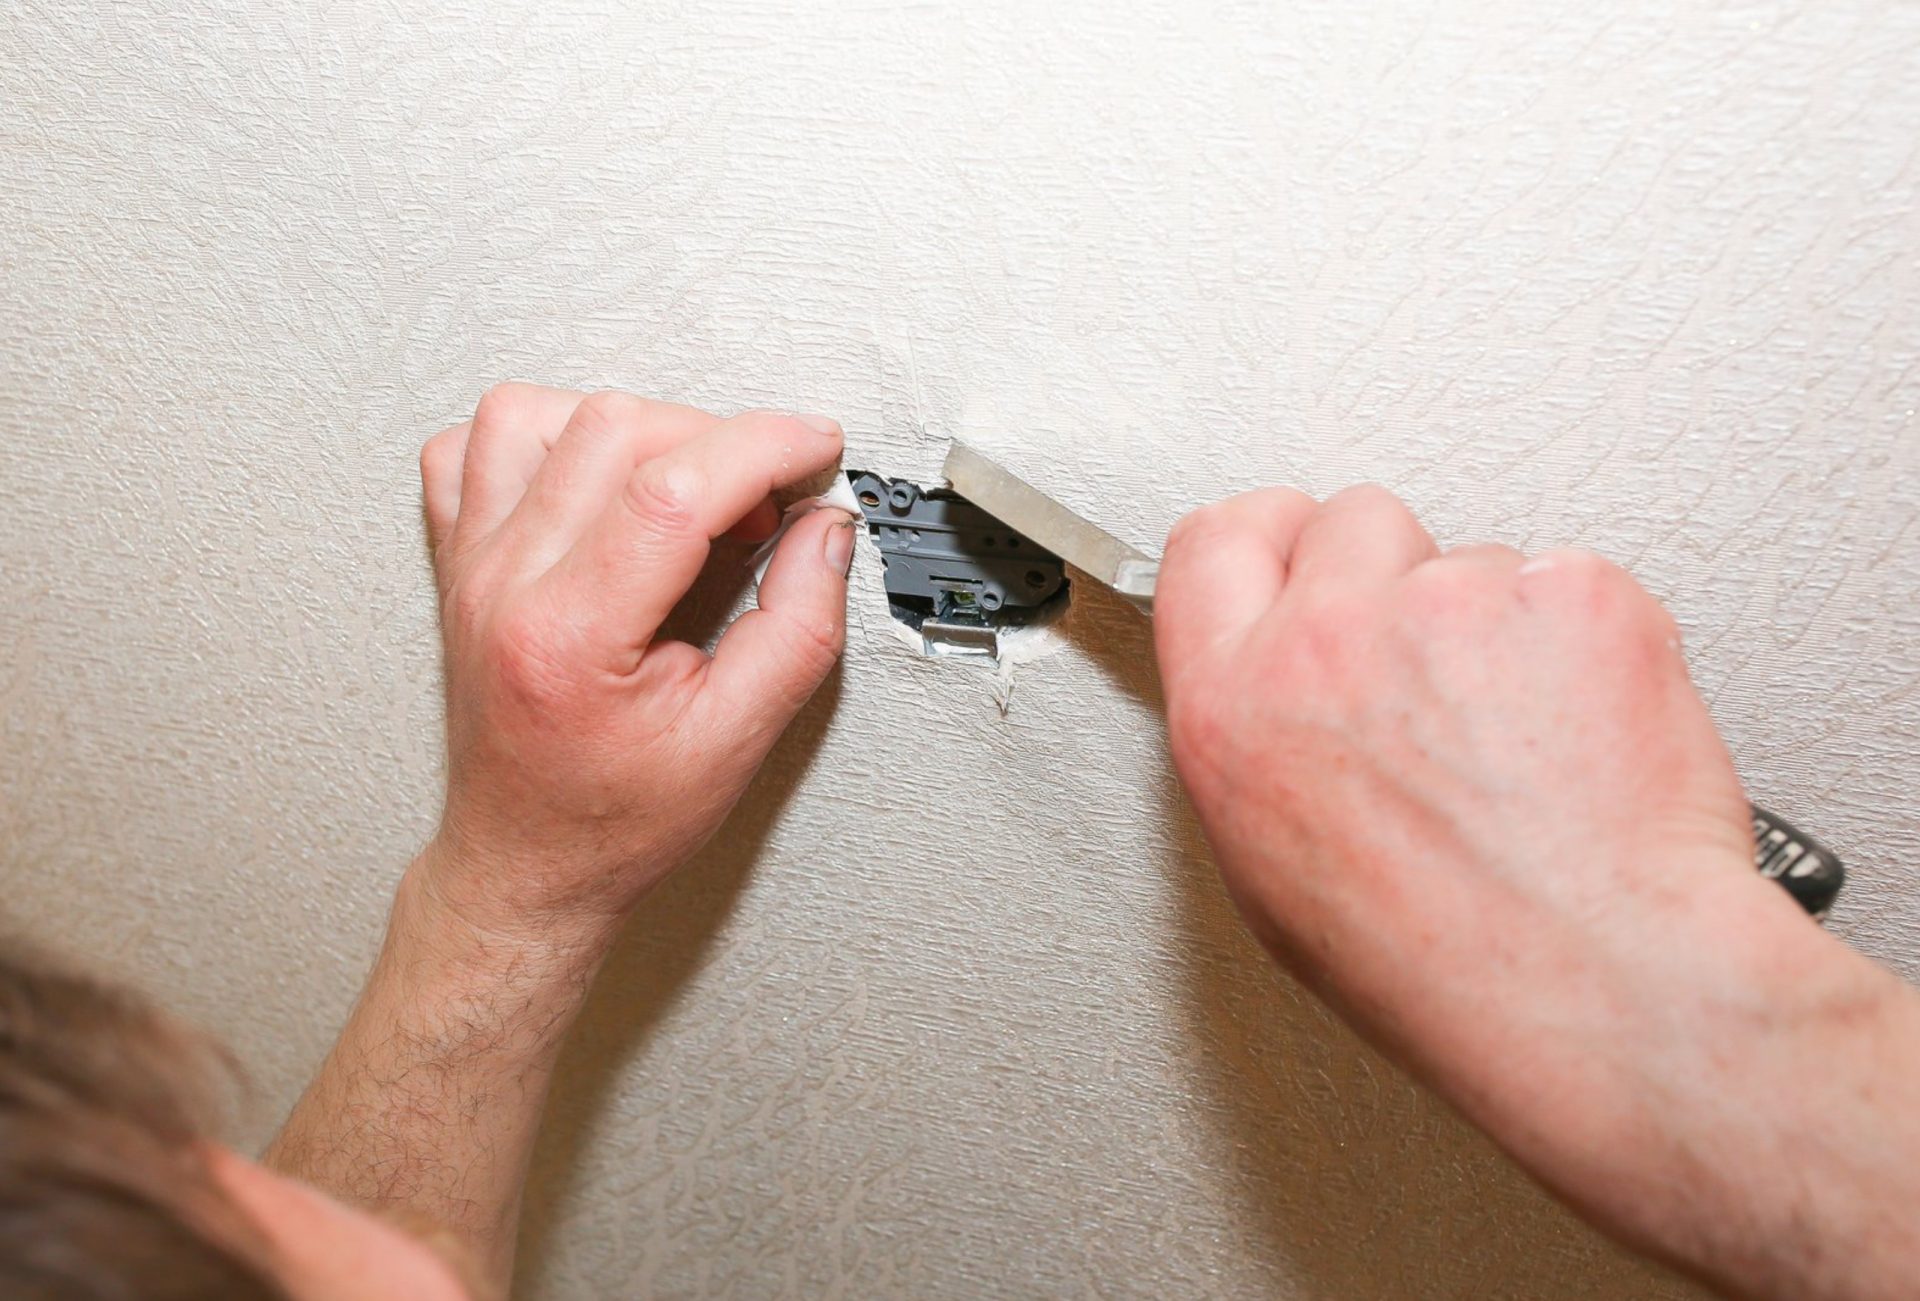
- Mistake: Applying joint compound directly on dirty, greasy, or poorly sanded walls.
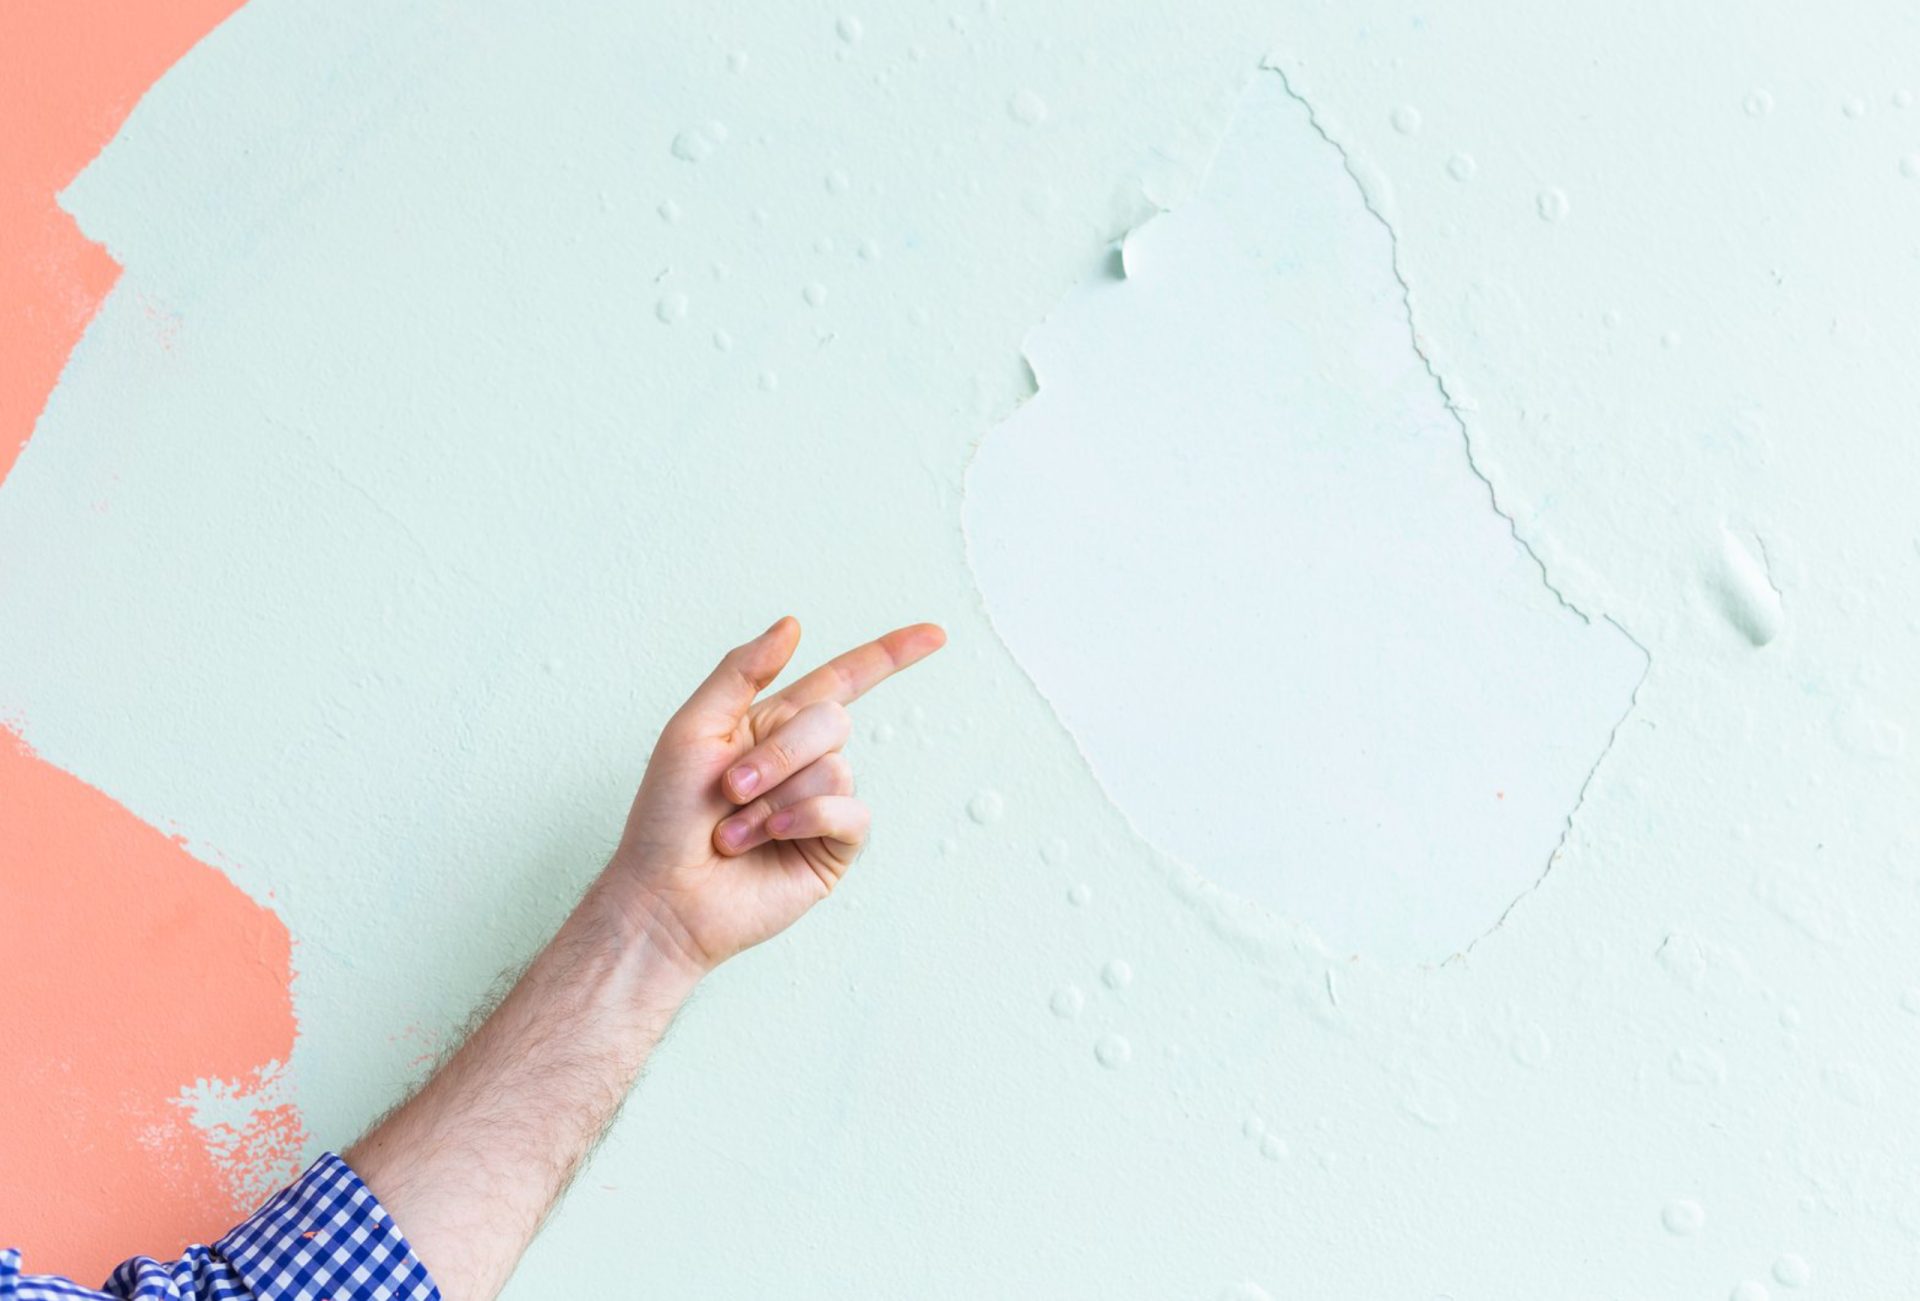
- Consequence: Compound may not adhere properly, leading to cracks or peeling.
- Solution: Clean walls thoroughly, remove loose paint or debris, and lightly sand uneven areas.
Pro Tip: Proper surface prep is the foundation for a flawless skim coat.
2. Applying Too Thick a Coat
- Mistake: Using a thick layer of joint compound to “fix everything at once.”
- Consequence: Thick coats take longer to dry, crack easily, and are difficult to sand smoothly.
- Solution: Apply thin, even layers, letting each coat dry completely before adding the next.
Pro Tip: Multiple thin coats are far more effective than one thick application.
3. Not Feathering Edges Properly
- Mistake: Leaving harsh edges around patched or skim-coated areas.
- Consequence: Edges are visible after painting, creating an uneven wall appearance.
- Solution: Feather edges carefully with a wide drywall knife or damp sponge for a seamless transition.
Pro Tip: Feathering is critical for a professional-looking wall.
4. Over-Sanding or Under-Sanding
- Mistake: Sanding too aggressively flattens texture, while insufficient sanding leaves lumps and ridges.
- Consequence: Imperfect surfaces that show through the paint.
- Solution: Sand lightly between coats, and only remove high spots. Use fine-grit sandpaper for the final coat.
Pro Tip: Controlled, minimal sanding preserves smoothness while maintaining even surfaces.
5. Rushing Drying Times
- Mistake: Applying another coat or painting before the previous coat is fully dry.
- Consequence: Compound may smudge, peel, or form bubbles under paint.
- Solution: Wait for each layer to dry completely—typically 12–24 hours depending on conditions.
Pro Tip: Patience ensures durability and a smooth, flawless finish.
6. Ignoring Lighting Conditions
- Mistake: Inspecting walls under poor lighting or only from one angle.
- Consequence: Small imperfections are missed and become visible after painting.
- Solution: Use bright, angled lighting to highlight bumps, ridges, or uneven areas before sanding and painting.
Pro Tip: Proper lighting reveals flaws that need correction before painting.
7. Using the Wrong Tools
- Mistake: Using a small knife, old brush, or low-quality trowel.
- Consequence: Streaks, lumps, or inconsistent application of joint compound.
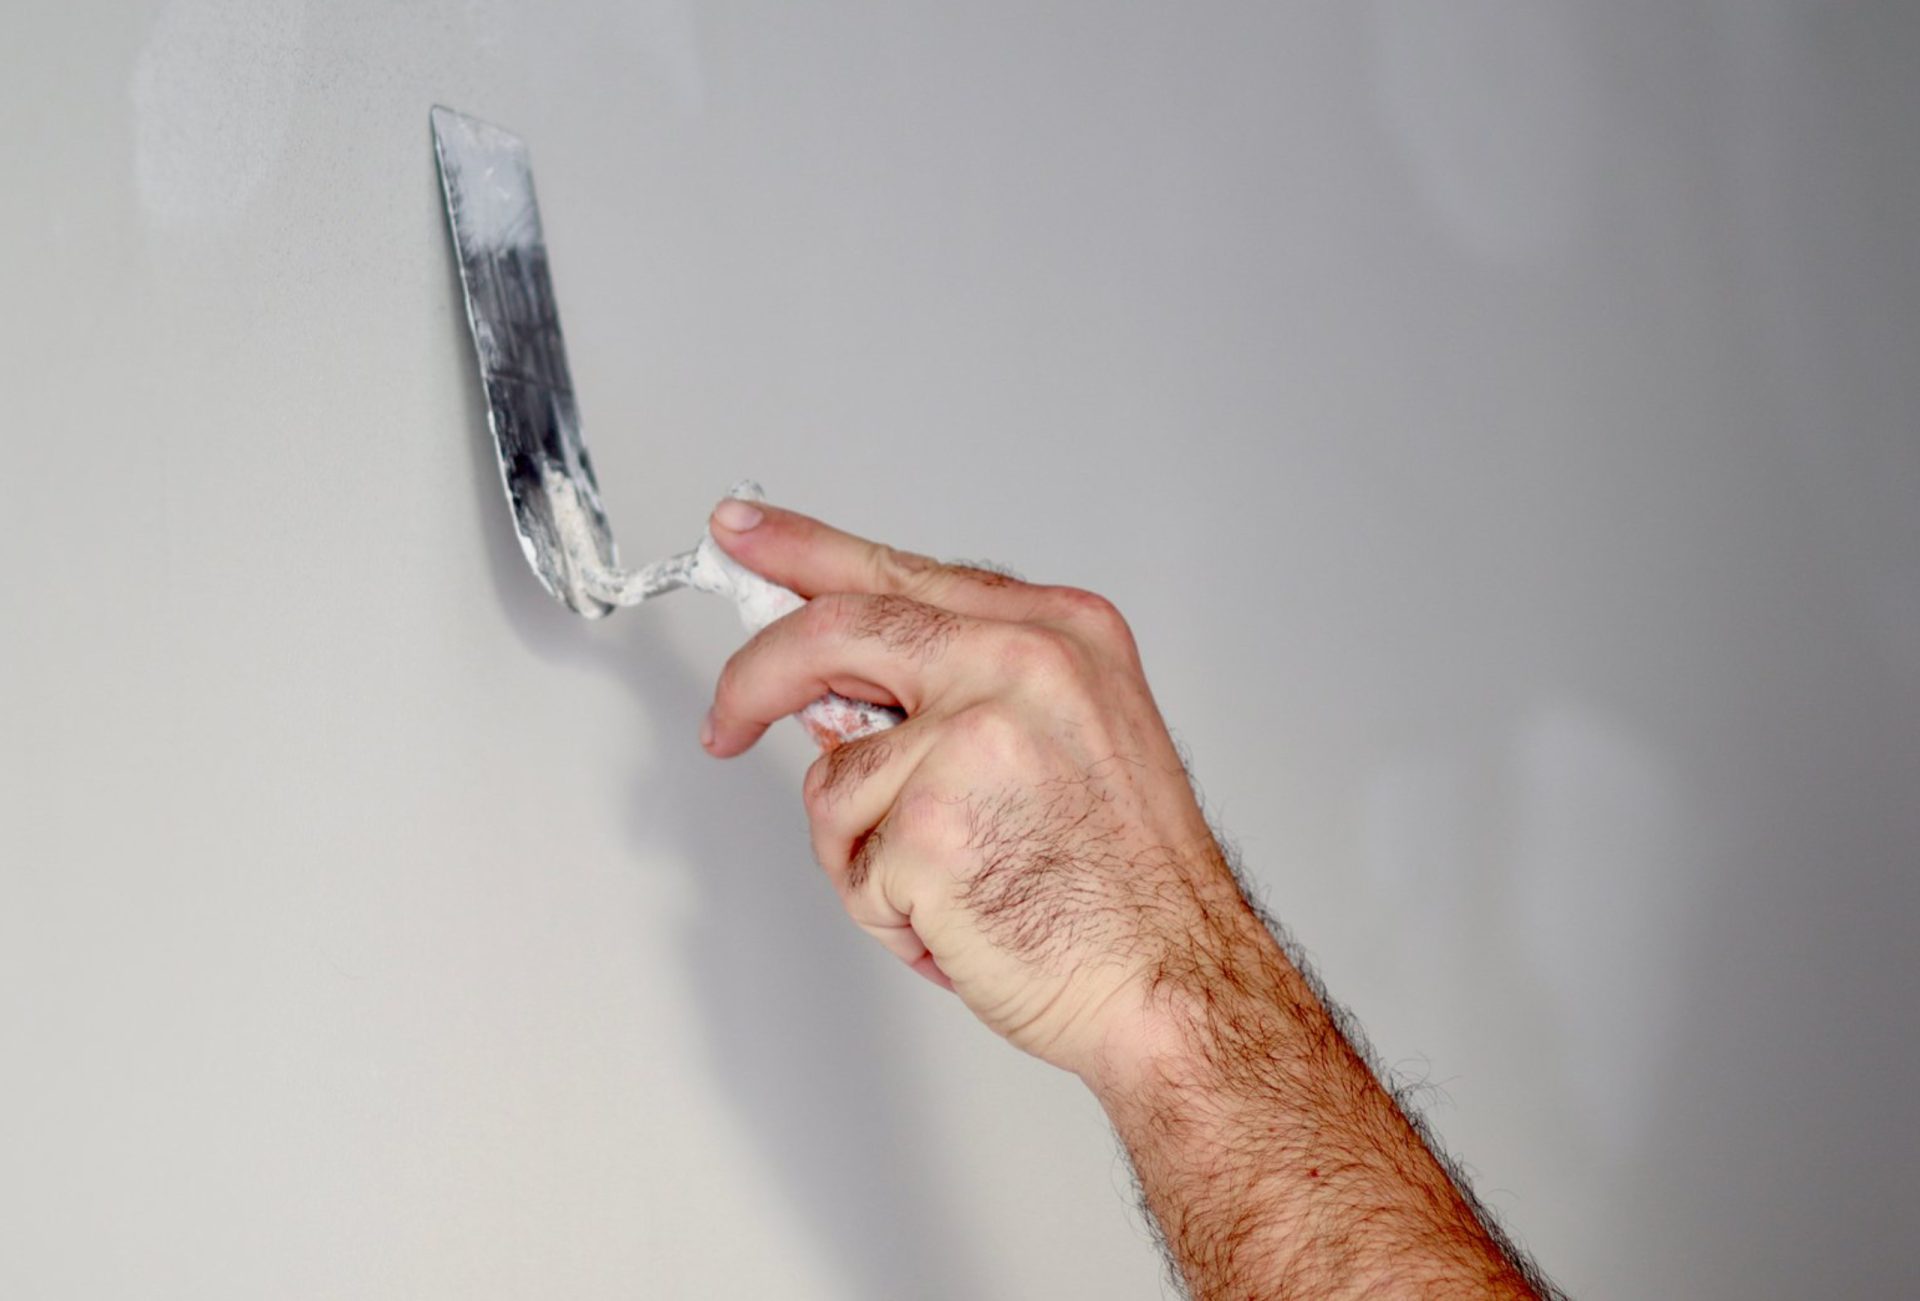
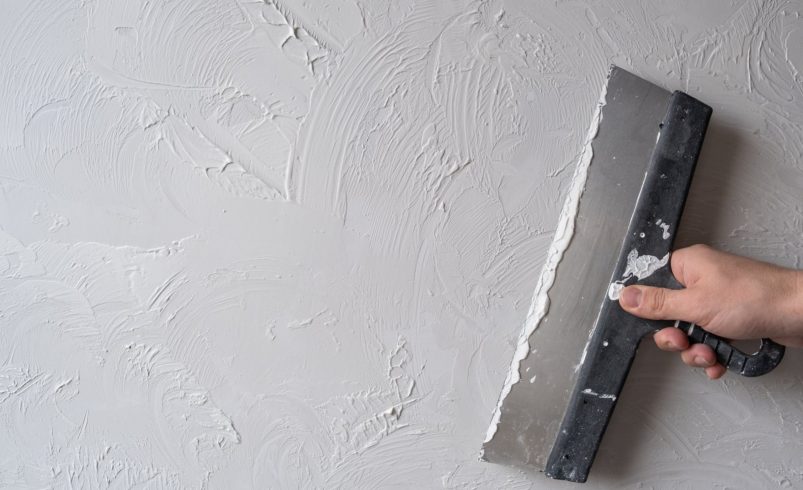
- Solution: Use wide drywall knives, hawks, and clean, professional tools for smooth application.
Pro Tip: High-quality tools save time and ensure professional-looking results.
8. Skipping Primer
- Mistake: Painting directly over skim-coated walls without priming.
- Consequence: Uneven paint absorption, patchy color, and reduced adhesion.
- Solution: Apply a high-quality primer to seal the surface before painting.
Pro Tip: Primer ensures uniform color and prevents the skim coat from soaking paint unevenly.
9. Overworking the Joint Compound
- Mistake: Continuously spreading or reworking compound after it starts to set.
- Consequence: Creates ridges, lines, or uneven textures.
- Solution: Apply carefully in smooth strokes and stop once the layer is evenly spread.
Pro Tip: Efficiency and controlled movements lead to the cleanest finish.
10. Failing to Protect Surrounding Surfaces
- Mistake: Not covering floors, trim, or furniture.
- Consequence: Dust and compound splatter create extra cleanup and risk damage.
- Solution: Use drop cloths, painter’s tape, and protective coverings before starting.
Pro Tip: Proper protection saves time and ensures a professional working environment.
Conclusion
Skim coating walls requires skill, patience, and attention to detail. Avoiding these common mistakes—preparation errors, improper layering, sanding issues, and ignoring primer—ensures smooth, professional-looking walls ready for painting. For flawless results without the guesswork, Chicagoland Paint Pro provides expert skim coating services that guarantee perfect walls and long-lasting finishes.