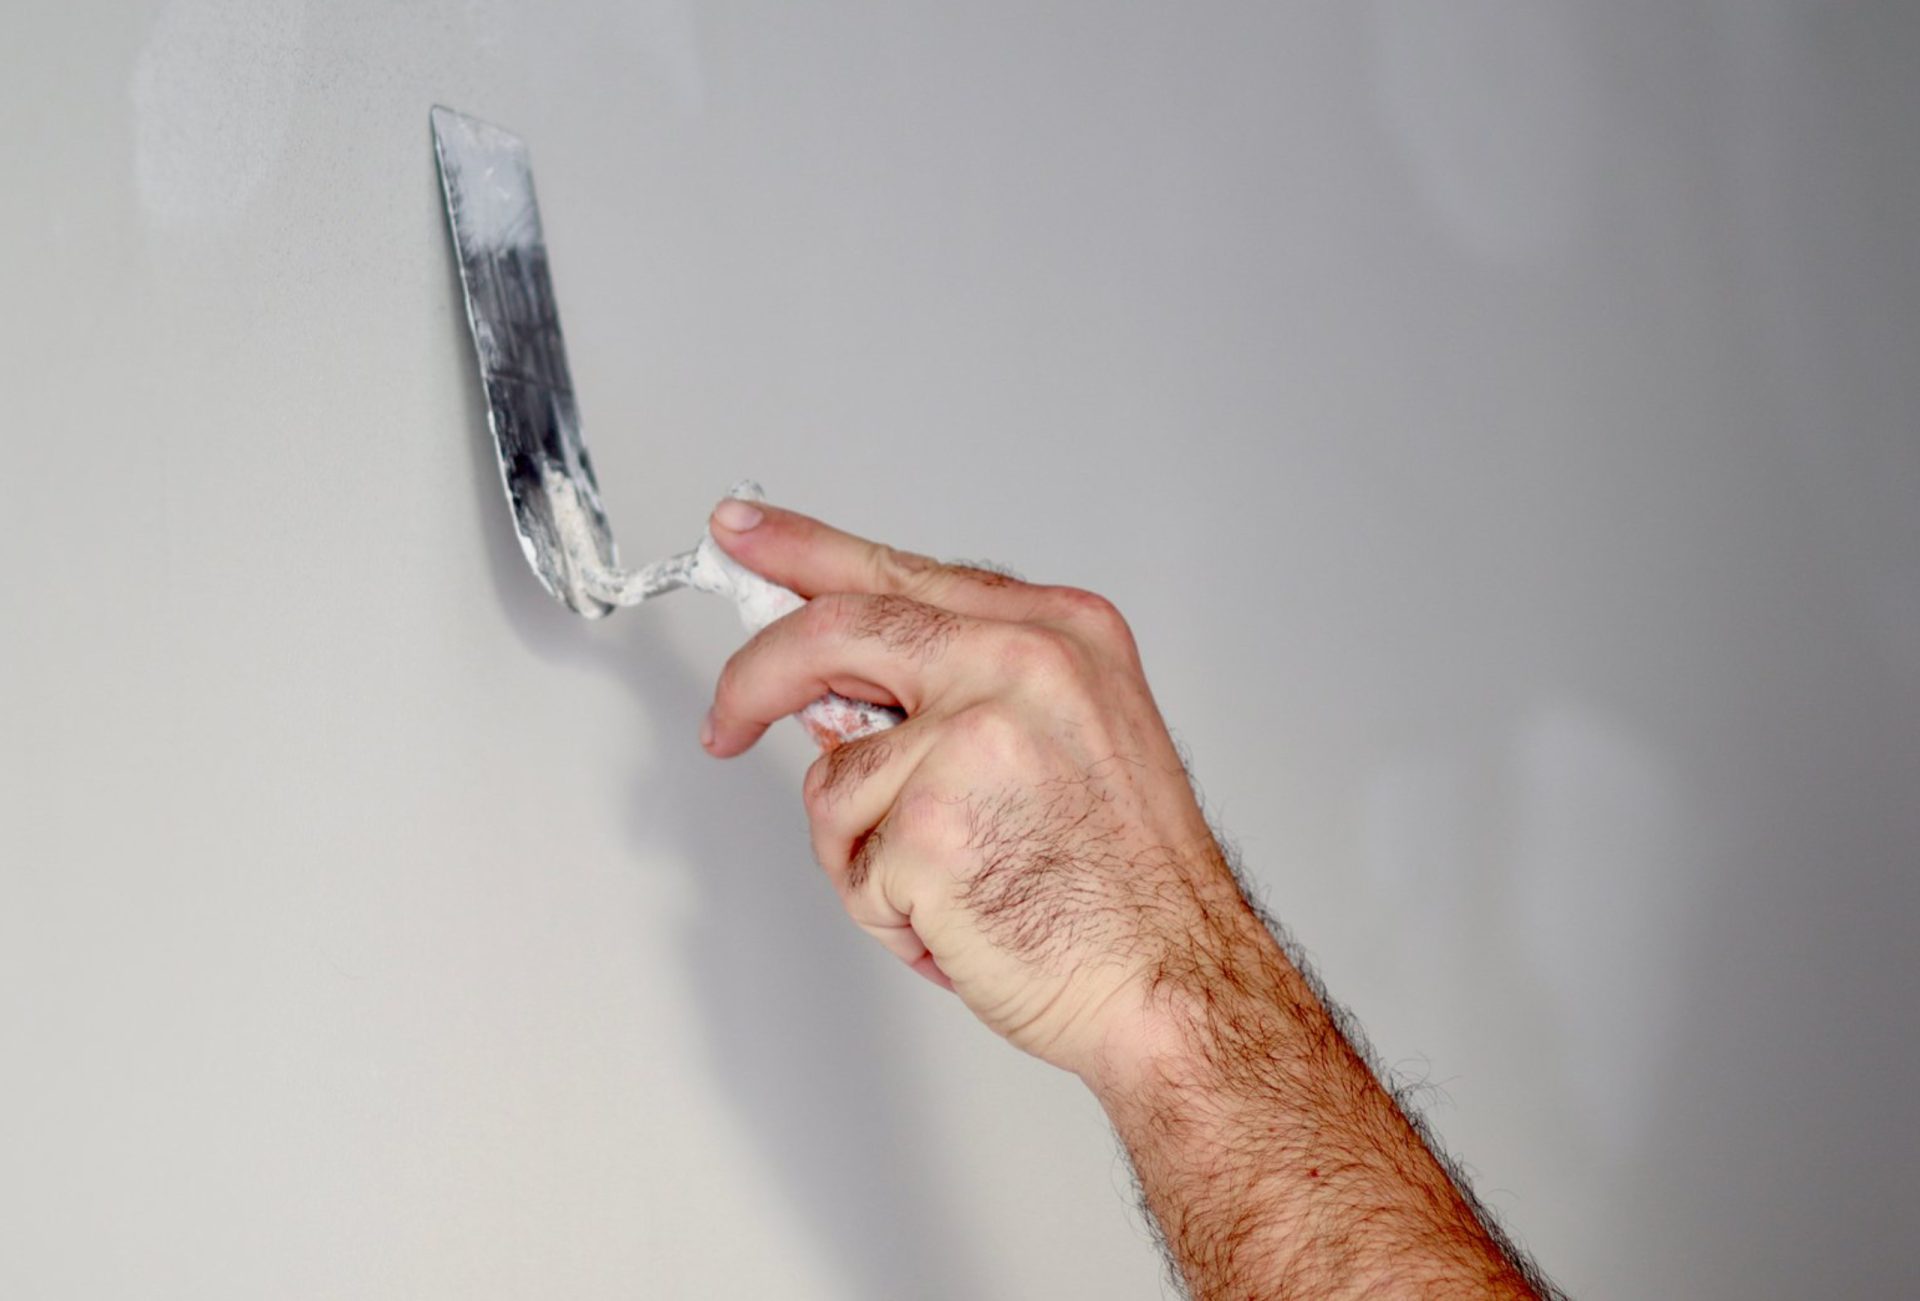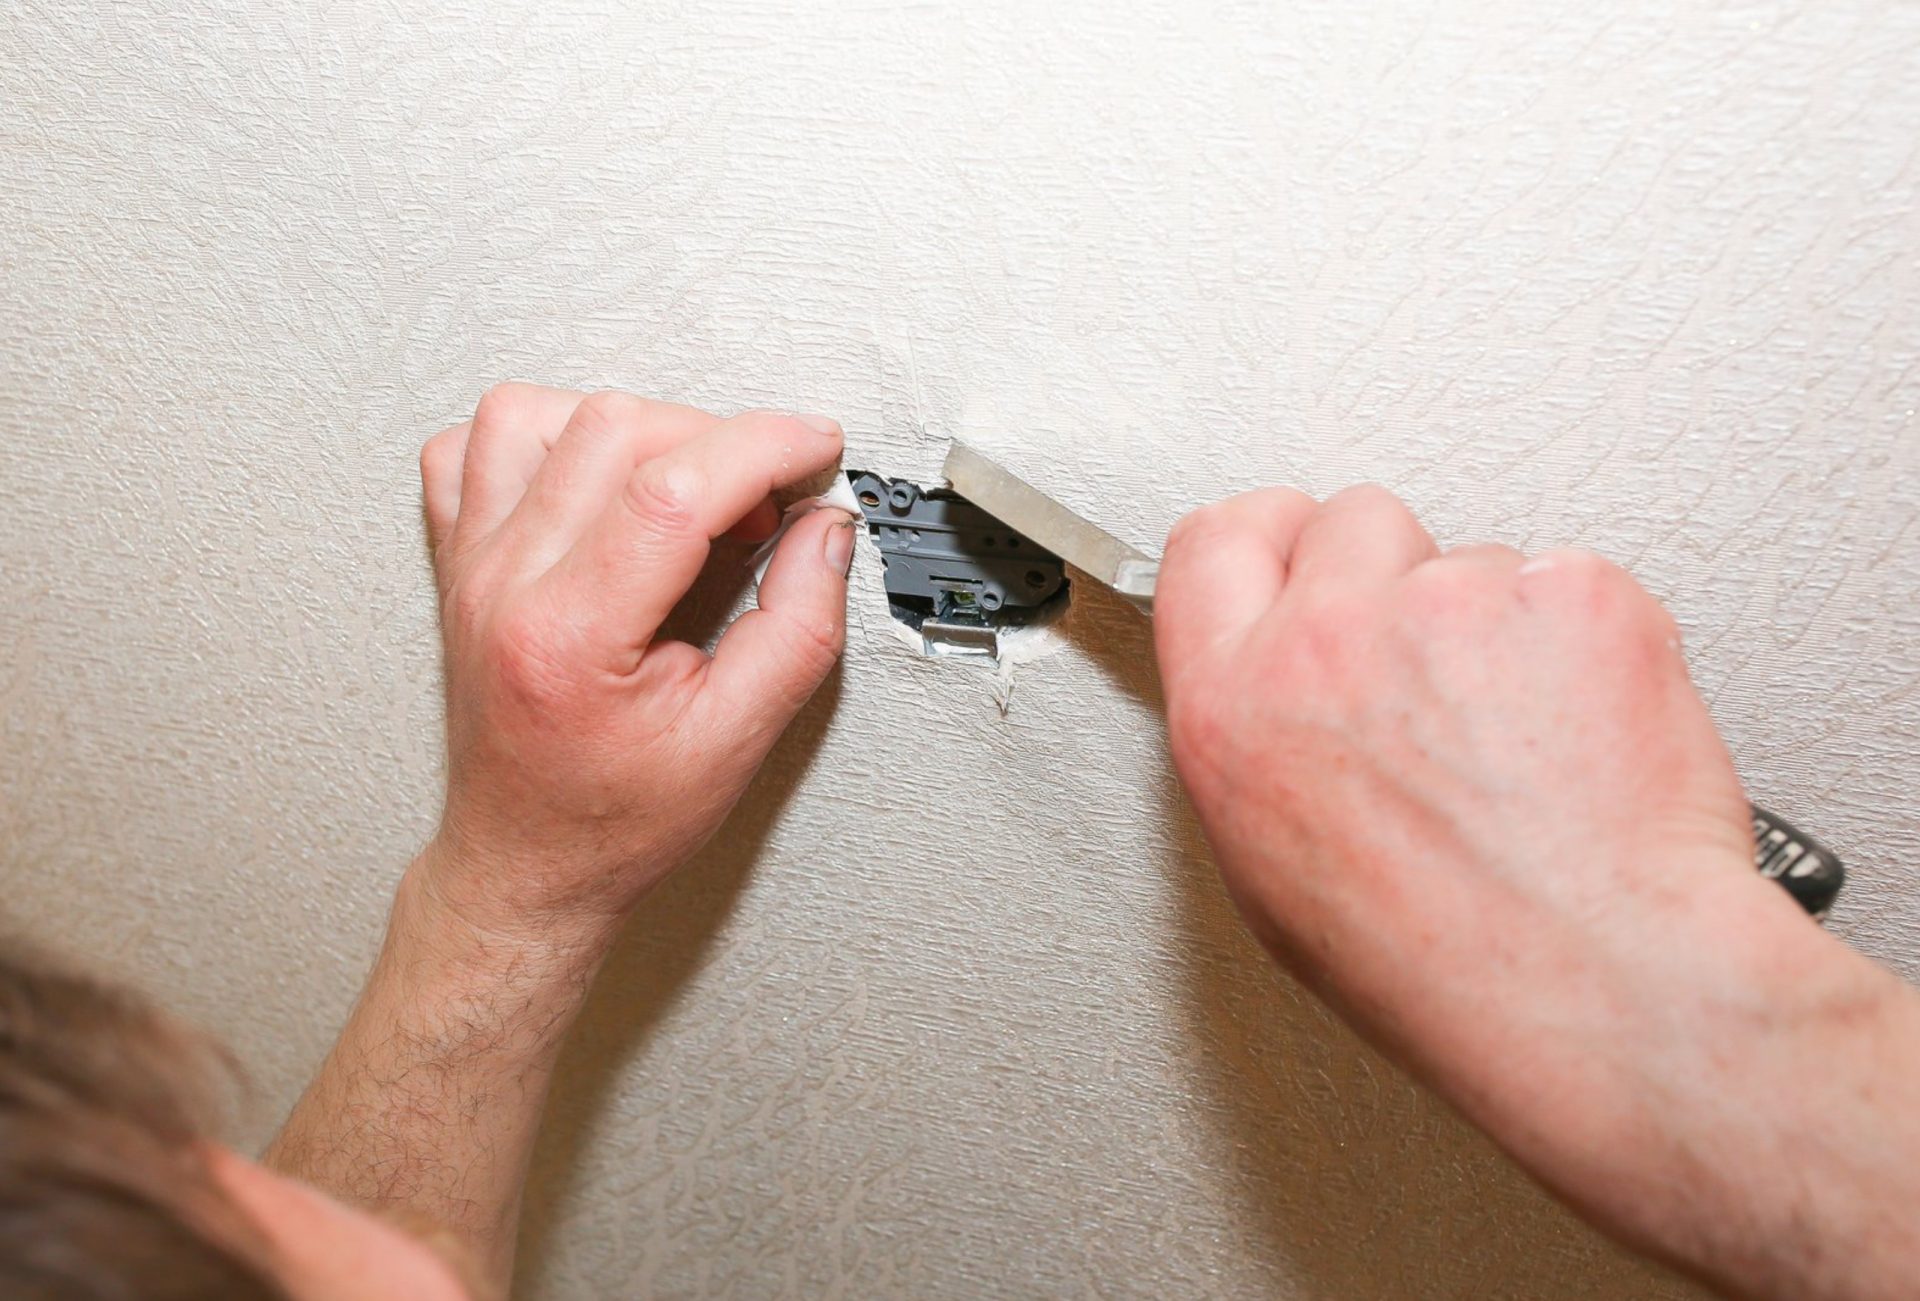

Skim coating is a professional wall repair technique used to create perfectly smooth surfaces by applying a thin layer of joint compound over drywall, plaster, or textured walls. It’s ideal for walls with imperfections, water damage, or old textures. When done correctly, skim coating provides a flawless base for painting and dramatically improves the look of your interior walls. This guide provides step-by-step instructions to skim coat like a pro.
1. Understand When Skim Coating Is Needed
- Uneven walls: Walls with dents, scratches, or minor damage.
- Textured walls: Removing old popcorn, orange peel, or knockdown textures.
- Water damage repair: Covering patched areas for a uniform finish.
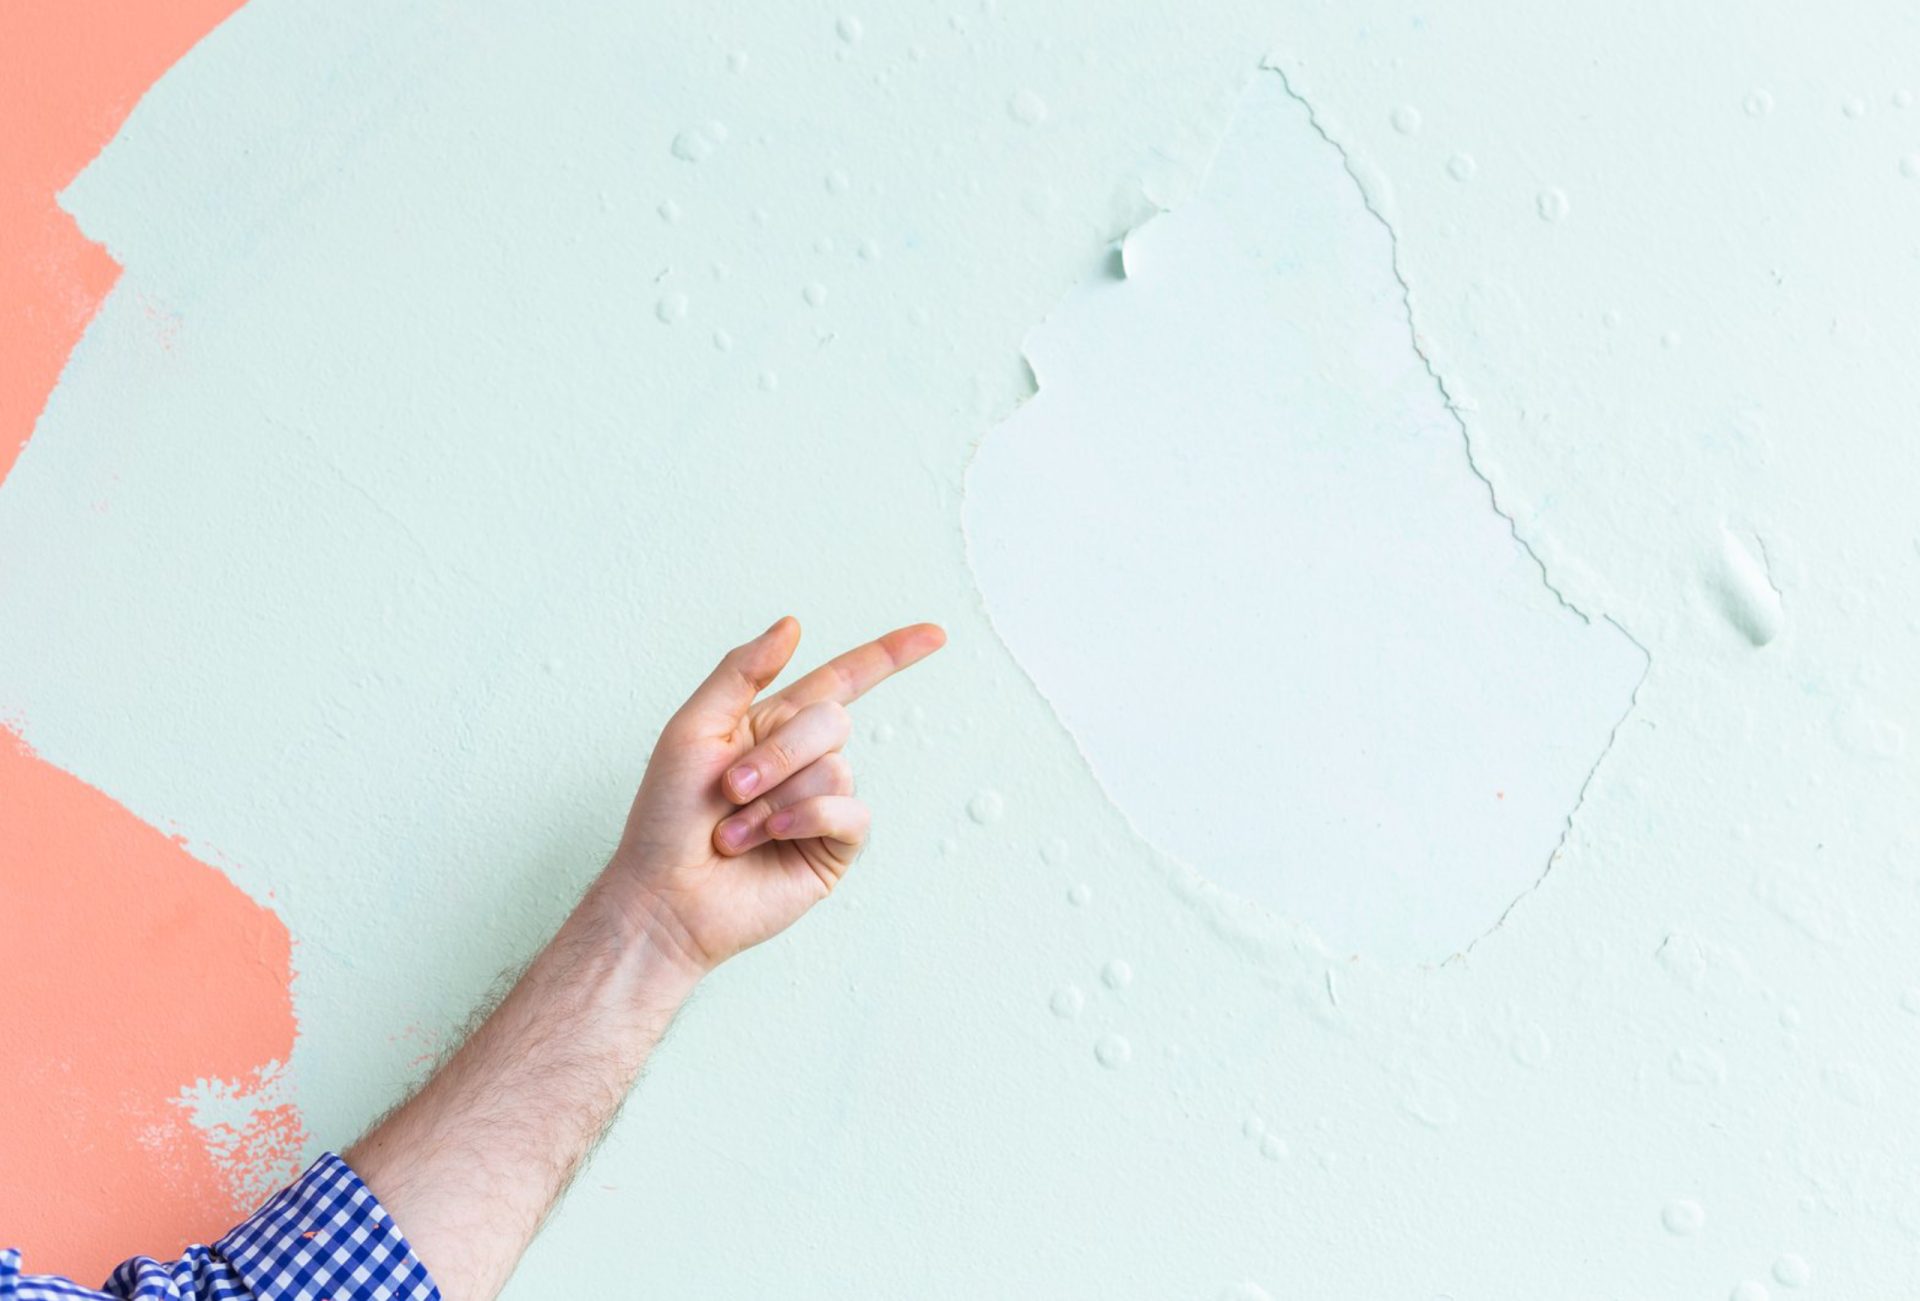
- Old paint issues: Walls with peeling or multiple layers of paint.
Pro Tip: Skim coating is a cost-effective alternative to full drywall replacement.
2. Gather Tools and Materials
Tools Needed:
- Taping knife or wide drywall knife (10–12 inches)
- Hawk or mud pan for joint compound
- Sanding block or pole sander
- Sponge for smoothing
Materials Needed:
- Joint compound (ready-mix or powder mixed with water)
- Primer
- Drop cloths and painter’s tape
Pro Tip: Using high-quality tools ensures smooth, even application and minimizes errors.
3. Prepare the Wall Surface
- Remove loose paint, wallpaper, or damaged drywall.
- Sand rough areas lightly to ensure better adhesion.
- Clean dust, dirt, or grease from the wall.
- Protect floors and furniture with drop cloths.
Pro Tip: Proper preparation is key to a seamless skim coat finish.
4. Apply the First Coat of Joint Compound
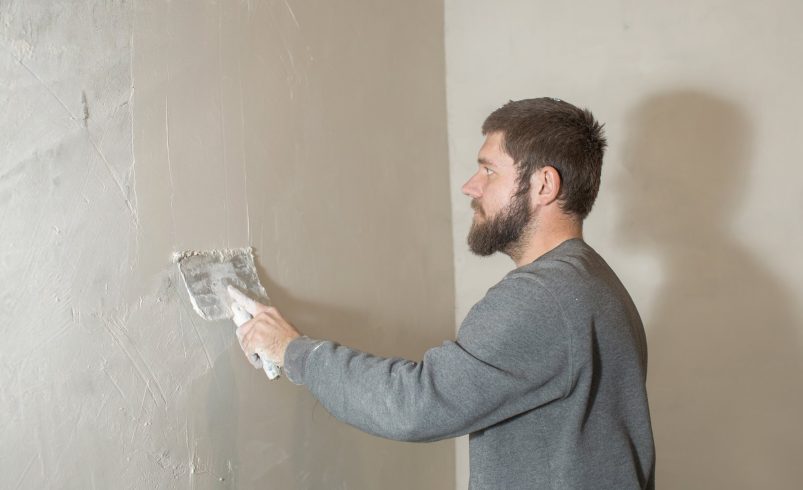
- Scoop a thin layer of compound onto the wall using a wide drywall knife.
- Apply with long, smooth strokes, keeping edges feathered.
- Cover small dents, cracks, and damaged areas evenly.
- Avoid thick layers; thin coats dry faster and reduce cracking.
Pro Tip: Start with a thin first coat to level the wall and create a smooth base.
5. Let the First Coat Dry Completely
- Drying times depend on humidity, temperature, and coat thickness.
- Avoid sanding or applying another coat until fully dry to prevent uneven surfaces.
Pro Tip: Patience ensures a smooth finish and prevents common skim coating problems.
6. Sand Between Coats
- Lightly sand the first coat using a sanding block or pole sander.
- Remove ridges, bubbles, and imperfections.
- Wipe dust from the wall before applying the next coat.
Pro Tip: Sanding between coats helps achieve a flawless, professional finish.
7. Apply Additional Coats if Necessary
- Most walls require 2–3 coats for a completely smooth finish.
- Apply each coat thinner than the previous one to refine the surface.
- Feather edges and maintain consistent thickness across the wall.
Pro Tip: Multiple thin coats are more effective than one thick coat.
8. Final Sanding and Inspection
- After the final coat dries, sand lightly to remove any high spots.
- Inspect the wall under bright light to detect imperfections.
- Touch up any remaining areas before priming.
Pro Tip: Bright lighting reveals subtle flaws that can be corrected before painting.
9. Prime the Wall
- Apply a high-quality primer to seal the skim coat and prepare for paint.
- Primer improves paint adhesion and ensures uniform color and sheen.
Pro Tip: Skim-coated walls absorb paint differently, making primer essential for even coverage.
10. Tips for a Professional Finish
- Keep tools clean to avoid lumps and streaks.
- Maintain a wet edge when applying joint compound.
- Avoid overworking the compound, which can cause ridges.
- Use light pressure and long strokes to maintain smoothness.
- Protect adjacent walls, floors, and fixtures from dust and splatter.
Pro Tip: Attention to detail makes the difference between DIY and professional results.
Conclusion
Skim coating is a highly effective technique for repairing, smoothing, and preparing walls for painting. With proper preparation, careful application, and patience, even DIY enthusiasts can achieve a professional-looking finish. For precise, flawless results, Chicagoland Paint Pro provides expert skim coating services that restore walls to perfection and ensure your paint looks impeccable.