
Wall texture adds character and depth to a room, but damaged or inconsistent textures can make a space look unfinished or poorly maintained. Whether repairing small dents, holes, or larger damaged sections, achieving a professional-looking wall requires careful technique, the right tools, and attention to detail. This guide provides expert tips for flawless texture repair.
1. Assess the Damage Before Repairing
- Small imperfections: Dents, minor cracks, or chips in the texture.
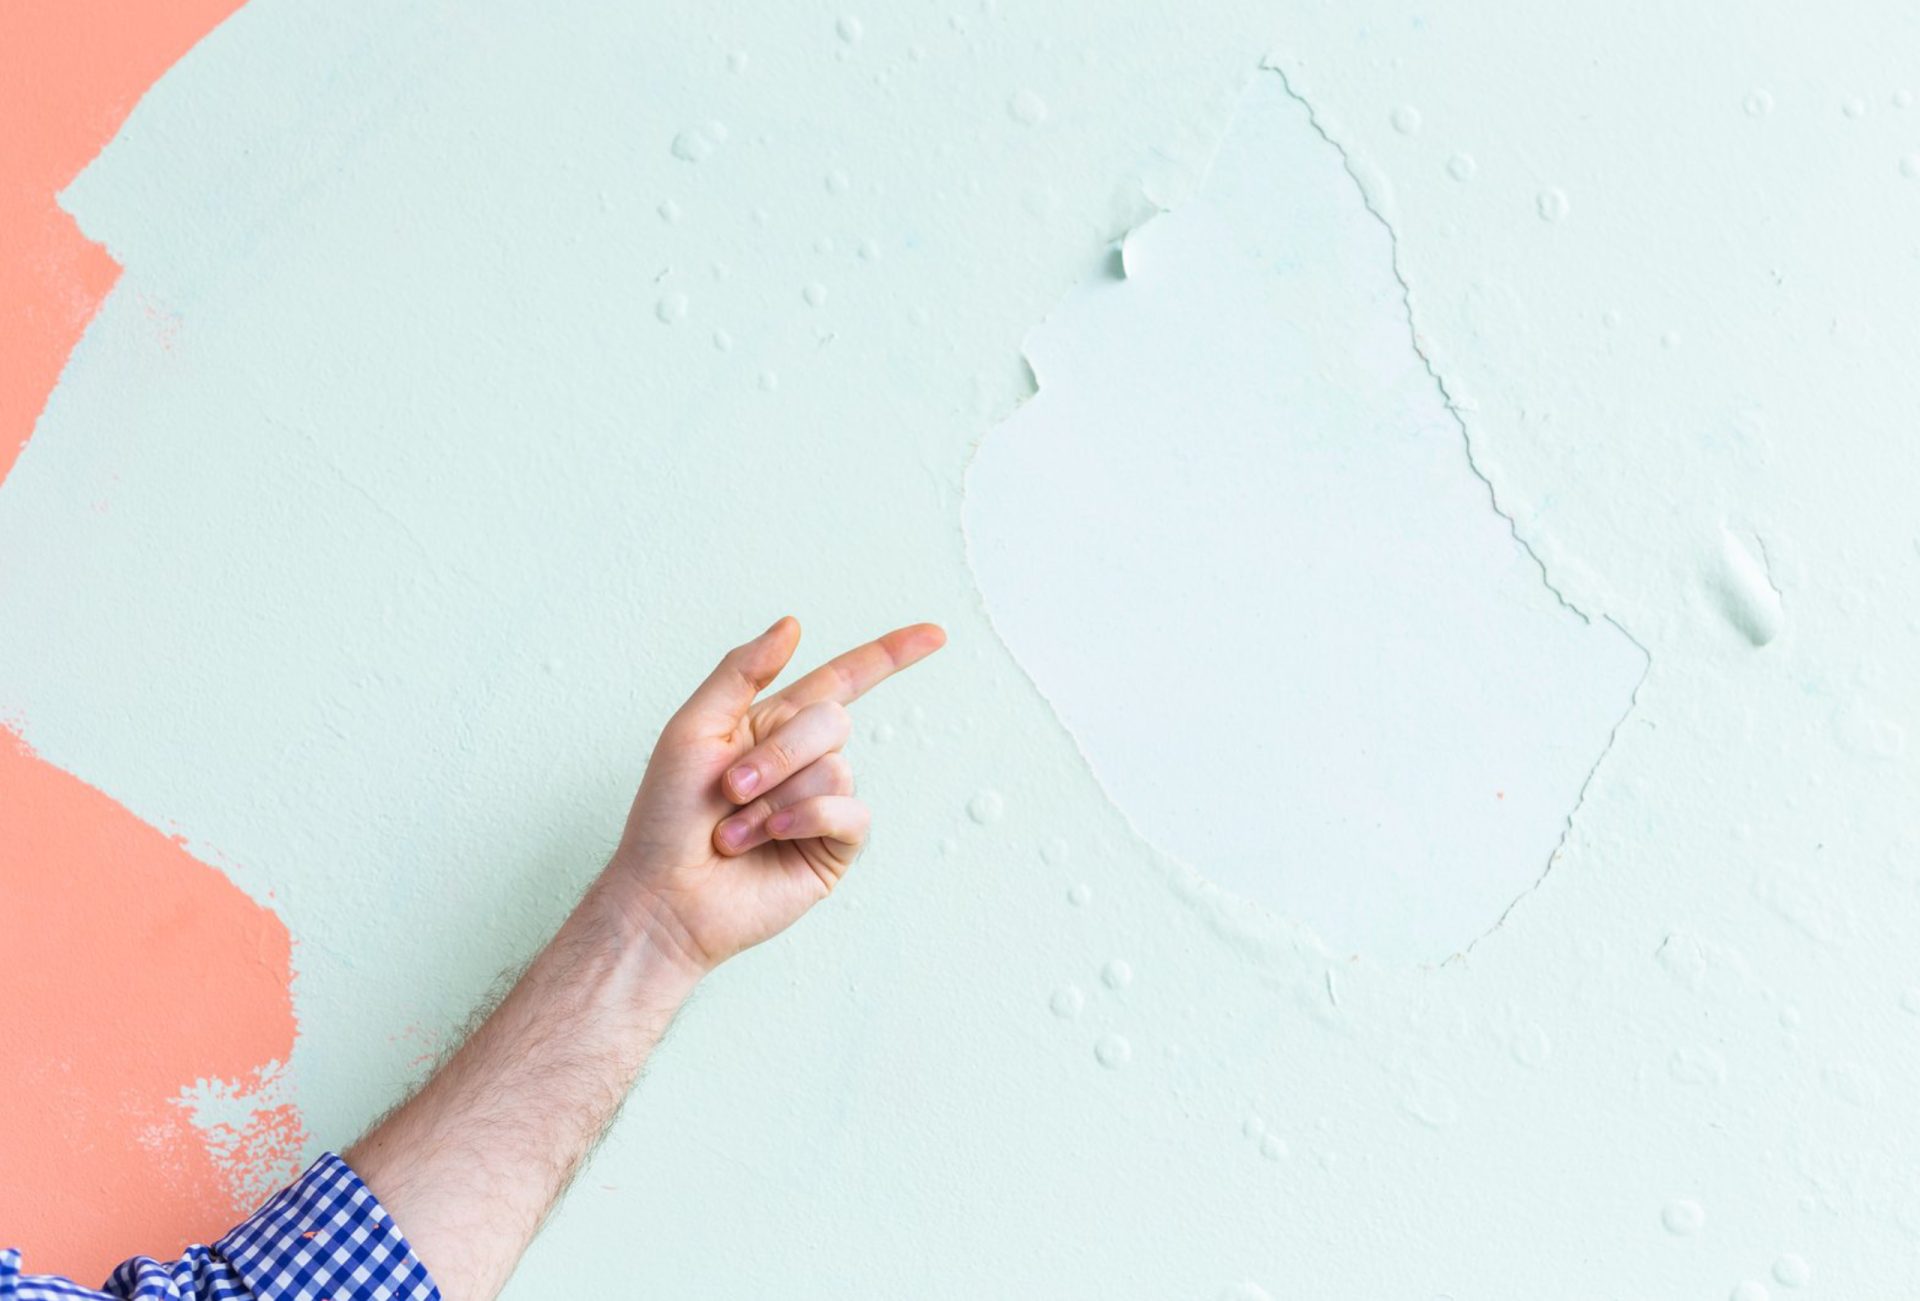
- Moderate damage: Peeling, flaking, or water-damaged areas.
- Large-scale damage: Extensive wall or ceiling damage requiring resurfacing.
Pro Tip: Properly identifying the extent of damage helps determine whether to patch, repair, or replace the textured surface.
2. Gather the Right Tools and Materials
Tools Needed:
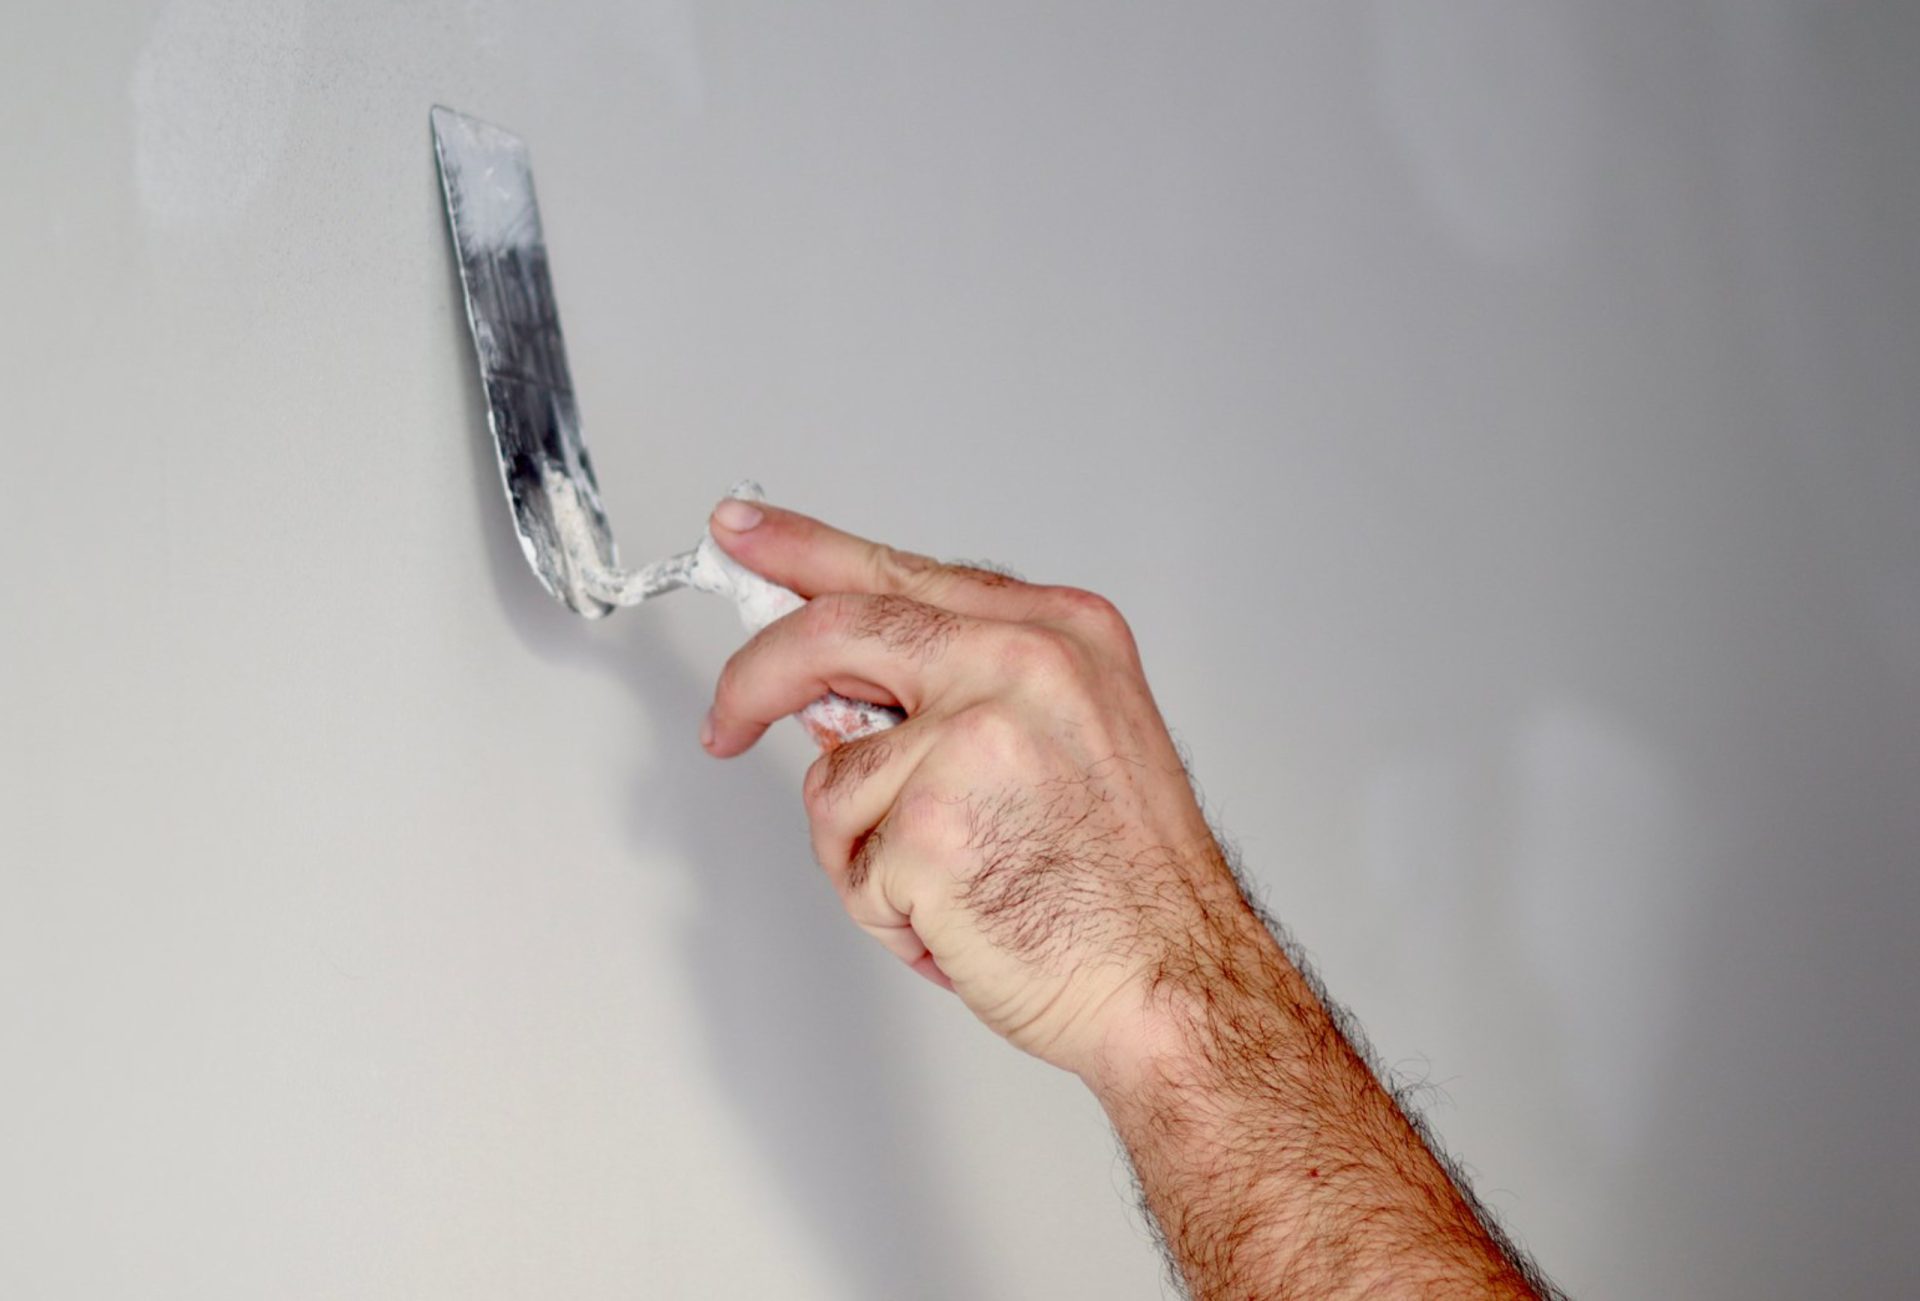
- Putty knife or drywall knife
- Texture spray gun or trowel (depending on texture type)
- Sanding sponge or block
- Sponge or cloth for cleaning
Materials Needed:
- Joint compound or premixed texture compound
- Primer
- Paint matching existing wall finish
Pro Tip: Professional-grade tools make it easier to achieve smooth, consistent results.
3. Prepare the Surface for Repair
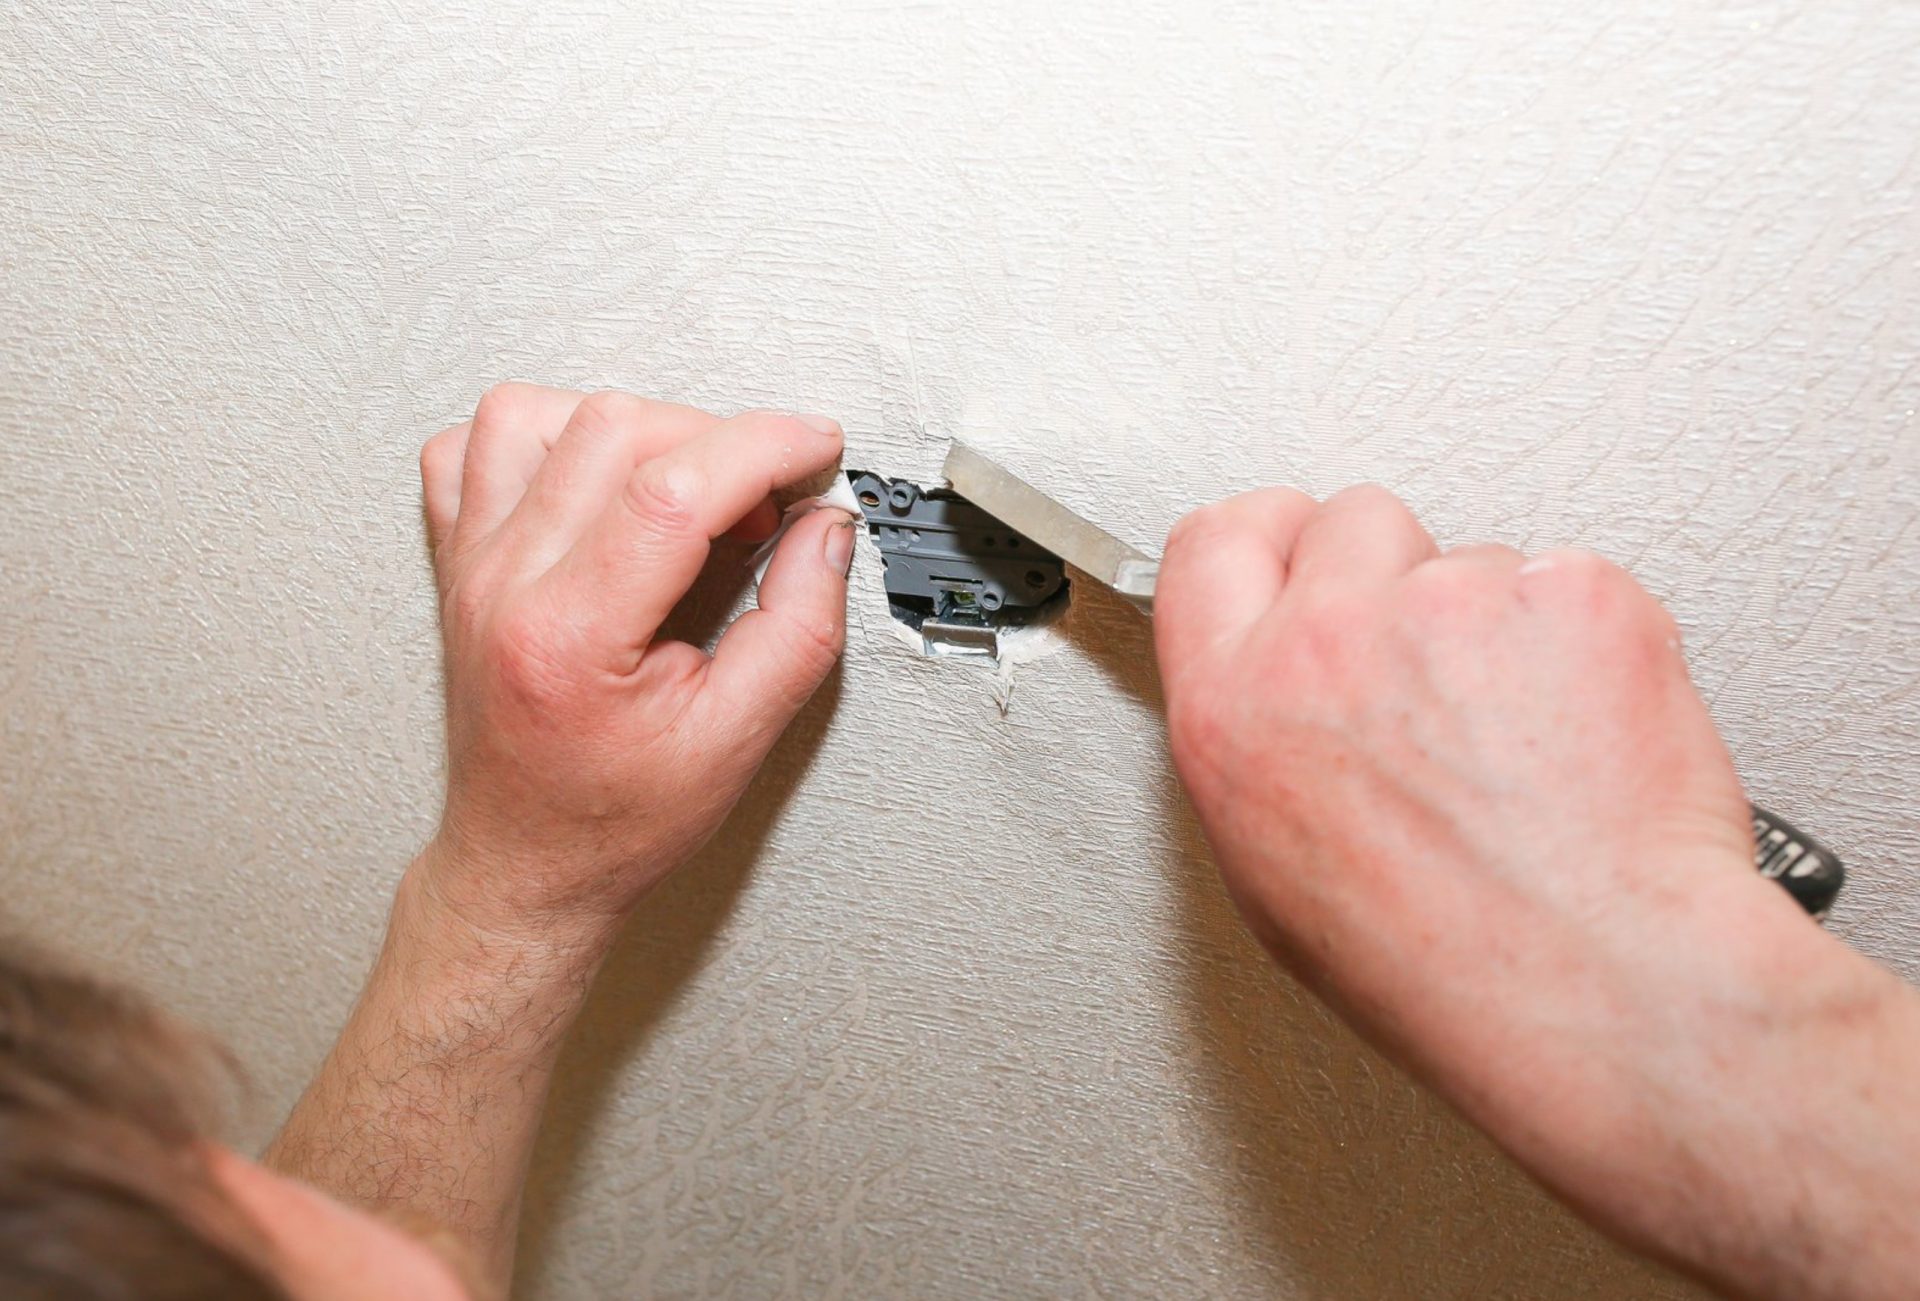
- Remove loose or damaged texture using a scraper or knife.
- Sand surrounding edges to feather into the existing wall.
- Clean dust and debris to ensure proper adhesion of new texture.
Pro Tip: Clean, smooth, and prepared surfaces are essential for professional-looking repairs.
4. Match the Existing Texture
- Orange peel: Spray texture with appropriate air pressure.
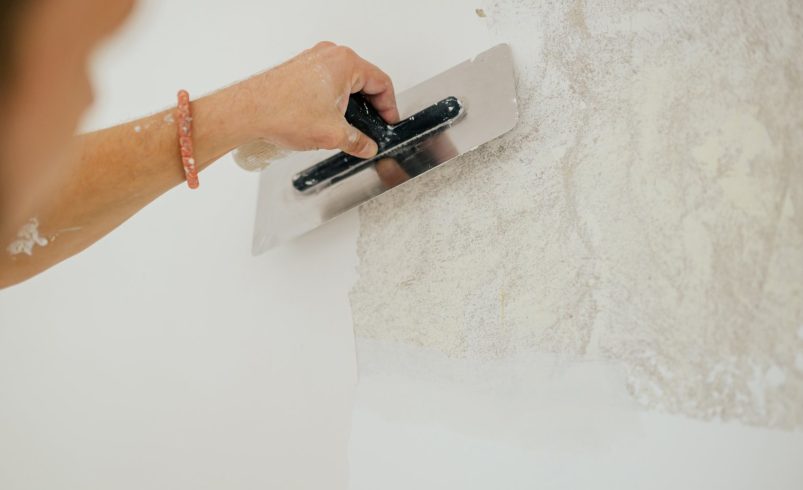
- Knockdown: Apply compound and lightly drag a trowel over peaks.
- Popcorn: Use a hopper gun with premixed popcorn texture.
- Skip trowel: Random trowel application mimics existing pattern.
Pro Tip: Practice on a scrap board before applying to the wall to replicate texture accurately.
5. Apply Texture in Thin, Even Layers
- Avoid applying thick layers of compound, which can crack or look uneven.
- Work in small sections and blend edges into the surrounding area.
- Feather edges carefully with a knife, sponge, or trowel.
Pro Tip: Thin layers dry faster and provide better control over the final appearance.
6. Allow Proper Drying Time
- Let the texture dry completely before sanding or priming.
- Drying time varies with temperature, humidity, and compound thickness.
Pro Tip: Rushing the drying process can result in smudging or flattening the texture.
7. Sand Carefully for a Smooth Finish
- Lightly sand high spots while maintaining the natural texture.
- Avoid over-sanding, which can flatten the pattern and create noticeable repair spots.
Pro Tip: Minimal, controlled sanding enhances the finished appearance without altering the original texture.
8. Prime and Paint the Repaired Area
- Apply primer over patched or repaired areas to ensure even paint coverage.
- Use paint that matches the surrounding wall in both color and sheen.
- Blend paint edges with a roller or brush for a seamless finish.
Pro Tip: Priming prevents stains, improves adhesion, and helps the repaired texture look uniform after painting.
9. Avoid Common Mistakes
- Skipping surface preparation.
- Applying compound too thickly.
- Not matching the texture correctly.
- Painting before the texture is fully dry.
- Failing to feather edges into surrounding surfaces.
Pro Tip: Avoiding these mistakes ensures a repair that is virtually indistinguishable from the original wall.
10. When to Hire Professionals
- Large damaged areas requiring extensive resurfacing.
- Textures that are difficult to replicate, like popcorn or skip trowel.
- Desire for a flawless, paint-ready finish with no visible patches.
Pro Tip: Professionals like Chicagoland Paint Pro have the experience and tools to restore wall textures to perfection, saving time and guaranteeing a premium result.
Conclusion
Texture repair is a delicate process that requires attention to detail, patience, and proper technique. Following these expert tips ensures professional-looking walls, whether you are repairing small imperfections or larger damaged areas. For precise, long-lasting results, Chicagoland Paint Pro provides expert texture repair services that restore walls to their original beauty and prepare them perfectly for painting.